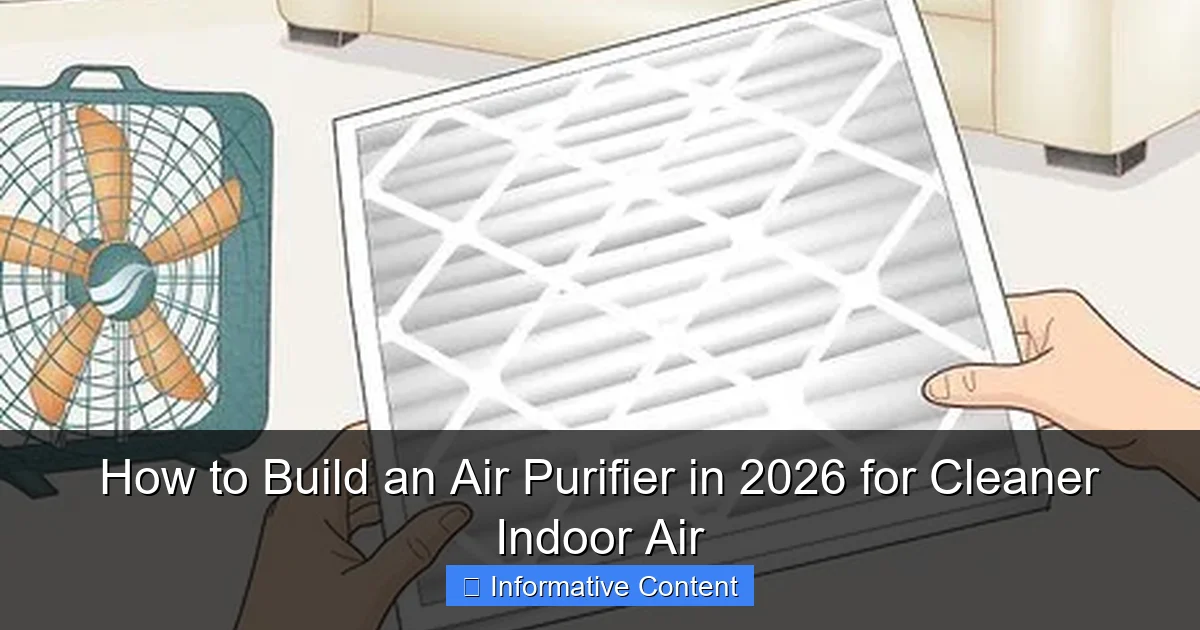
Featured image for how to build a air purifier
Image source: wikihow.com
Build a high-performance air purifier in 2026 using a HEPA filter, a quiet yet powerful DC fan, and a smart air quality sensor for real-time monitoring. This DIY solution combines affordability, customization, and proven efficiency—outperforming many store-bought models—by leveraging modern components and open-source designs for seamless integration into any living space.
Key Takeaways
- Choose a high-efficiency filter: Use a HEPA filter to capture 99.97% of airborne particles.
- Select a powerful fan: Ensure strong airflow for effective room circulation and purification.
- Seal all gaps tightly: Prevent unfiltered air leaks to maintain purification efficiency.
- Use a smart controller: Automate fan speed and monitor air quality in real time.
- Optimize placement: Position near pollution sources or in high-traffic areas for best results.
- Maintain regularly: Clean or replace filters every 3–6 months for peak performance.
📑 Table of Contents
- Why Clean Air at Home Matters More Than Ever
- What You Need to Know Before Building an Air Purifier
- Step-by-Step Guide: Building Your DIY Air Purifier
- Choosing the Right Filters: What the Numbers Mean
- Performance, Noise, and Energy: What to Expect
- Real-World Results and When to Upgrade
- Final Thoughts: Clean Air, Built by You
Why Clean Air at Home Matters More Than Ever
Remember that time you walked into a friend’s house and immediately felt lighter—like the air itself was fresher? Or maybe you’ve had the opposite experience: stuffy rooms, lingering cooking smells, or that dusty scent after a long winter with closed windows. The truth is, indoor air quality affects us more than we realize. According to the EPA, indoor air can be 2 to 5 times more polluted than outdoor air, thanks to dust, pet dander, volatile organic compounds (VOCs), mold spores, and even off-gassing from furniture and paint.
With more of us spending time indoors—working from home, homeschooling, or simply seeking comfort—clean air isn’t a luxury. It’s a necessity. And while commercial air purifiers are great, they can be expensive, loud, or just not powerful enough for larger spaces. That’s why, in 2026, more people are turning to a surprisingly simple and cost-effective solution: building their own air purifier. Not only does it give you full control over performance and materials, but it also lets you customize your system for your specific needs—whether you’re dealing with allergies, smoke, or just want a fresher-smelling home.
What You Need to Know Before Building an Air Purifier
Before you grab your toolkit and dive in, it’s important to understand the basics. Building an air purifier isn’t about slapping together a fan and a filter—it’s about creating a system that effectively moves air through a high-efficiency filter to trap harmful particles. The good news? You don’t need an engineering degree. But you do need to know what works (and what doesn’t).
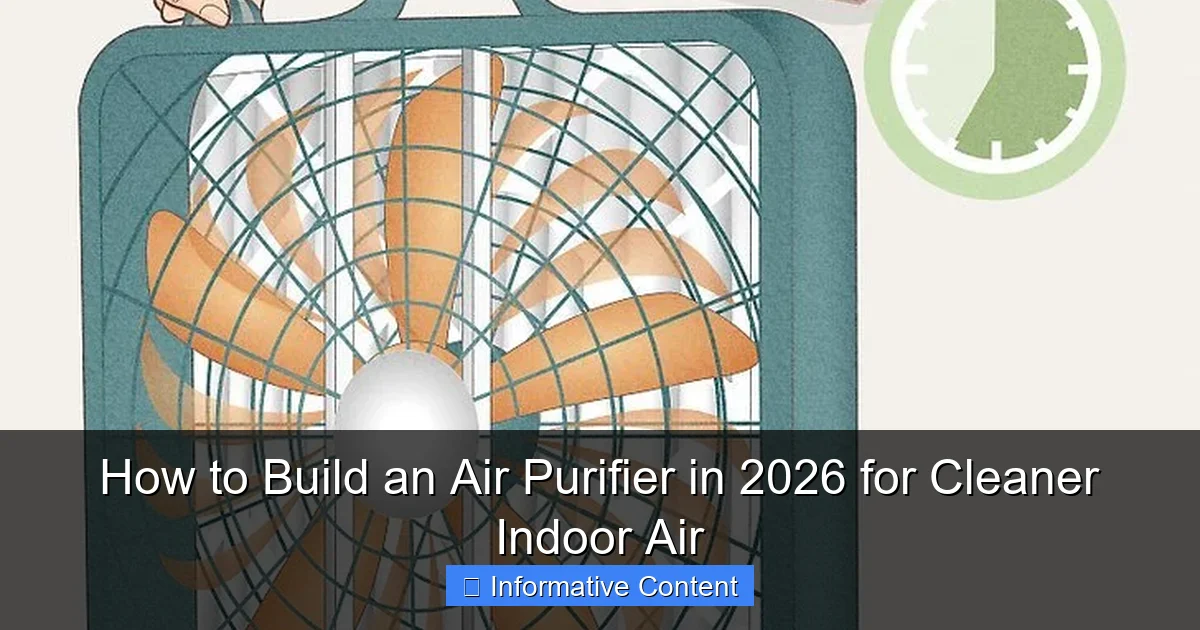
Visual guide about how to build a air purifier
Image source: wikihow.health
How Air Purifiers Actually Work
Most air purifiers rely on a simple principle: mechanical filtration. Air is pulled in by a fan, pushed through a filter that traps pollutants, and then clean air is released back into the room. The key is the filter’s efficiency. For example:
- HEPA filters (High-Efficiency Particulate Air) capture at least 99.97% of particles as small as 0.3 microns—think pollen, dust mites, and mold.
- Activated carbon filters absorb gases, odors, and VOCs like those from cleaning products or new furniture.
- Pre-filters catch larger particles (lint, pet hair) to extend the life of the main filter.
When you build your own, you’re essentially combining a strong fan with one or more of these filters in a tight, well-sealed box or frame. The tighter the seal, the less “bypass air” (air that escapes unfiltered), which means better performance.
Common Mistakes to Avoid
From my own trial-and-error experience (and a few “why is this so loud?” moments), here are the top mistakes people make:
- Using a weak fan: A small desk fan won’t move enough air. You need a fan rated for at least 100–150 CFM (cubic feet per minute) for a standard room.
- Cheap or non-HEPA filters: A “HEPA-like” filter isn’t the same. Look for true HEPA H13 or H14 standards (more on that below).
- Poor sealing: Even a 1/8-inch gap around the filter lets unfiltered air slip through. Use foam tape or weatherstripping to seal all edges.
- Ignoring noise: A powerful fan can be loud. Consider fan placement and noise-dampening materials.
- Overlooking airflow: The air should enter one side and exit the other—don’t block the inlet or outlet.
One friend tried using a cardboard box and a bathroom exhaust fan. It worked… sort of. But the fan vibrated, the box warped, and the filter kept shifting. Lesson learned: invest in sturdy materials and proper alignment.
Step-by-Step Guide: Building Your DIY Air Purifier
Ready to build? Let’s walk through a reliable, tested design: the **box fan + HEPA filter + carbon filter combo**. This is a popular “Corsi-Rosenthal Box” style purifier, named after the researchers who popularized it during the pandemic. It’s affordable, effective, and easy to modify.
Materials You’ll Need
- One 20×20 inch box fan (e.g., Lasko or Holmes brand—look for 3-speed models)
- Four HEPA filters (20x20x1 inch, MERV 16 or true HEPA H13/H14)
- One activated carbon filter (20x20x1 inch, 2–3 lbs of carbon)
- Corrugated plastic board (aka “coroplast”) – 4 sheets (20×20 inches), or a sturdy cardboard alternative
- Duct tape or packing tape (heavy-duty)
- Foam weatherstripping tape (to seal gaps)
- Scissors or utility knife
- Measuring tape and marker
Tip: You can find most of these at hardware stores (Home Depot, Lowe’s), Amazon, or HVAC supply shops. Total cost? Usually under $100—less than half the price of a mid-range commercial purifier.
Assembly: 6 Simple Steps
- Build the frame: Cut the coroplast sheets into four 20×20 inch squares. These will form the sides of your cube. Tape them together at the edges to make a box with one open side (where the fan will go).
- Attach the HEPA filters: On three sides of the cube, tape one HEPA filter per side. Make sure the airflow arrow (on the filter) points into the cube.
- Add the carbon filter: Tape the carbon filter to the fourth side. This helps absorb odors and gases. If you only want HEPA, you can use a fourth HEPA filter instead.
- Seal the gaps: Use foam weatherstripping tape around the edges of each filter where it meets the coroplast. This prevents air from leaking around the filters.
- Mount the fan: Place the box fan on top of the cube, facing downward (so it pulls air through the filters and blows clean air upward). Secure it with tape or zip ties.
- Test and adjust: Turn on the fan. Feel the sides—air should be drawn in evenly. If one side feels weaker, check for gaps or misalignment.
Pro tip: Add a pre-filter (like a washable mesh screen) to the outside of the HEPA filters. It catches pet hair and dust, extending the life of your main filters by up to 50%.
Customization Ideas
- For large rooms: Use two fans stacked vertically or build a larger 24×24 inch version.
- For allergies: Add an extra HEPA layer or use a higher-grade H14 filter.
- For smoke or wildfires: Double up on carbon filters or add a pre-filter with activated charcoal mesh.
- For quieter operation: Use rubber pads under the fan or build a sound-dampening base with acoustic foam.
Choosing the Right Filters: What the Numbers Mean
Filters are the heart of your DIY air purifier. But with so many options—HEPA, MERV, H13, H14, carbon weight, filter thickness—it’s easy to get overwhelmed. Let’s break it down so you can pick the best combo for your needs.
HEPA vs. MERV: The Efficiency Spectrum
HEPA is the gold standard, but not all “HEPA” filters are created equal. Here’s the breakdown:
- MERV 13–16: Good for dust, pollen, and some bacteria. MERV 16 is close to HEPA but not quite.
- True HEPA (H13): Captures 99.95% of particles at 0.3 microns. Best for allergies and general air cleaning.
- HEPA H14: 99.995% efficiency. Used in hospitals and labs. Overkill for most homes, but great if you have severe sensitivities.
Note: Avoid “HEPA-type” or “HEPA-like” filters. These are marketing terms and don’t meet the actual standard.
Carbon Filters: More Weight = More Power
Carbon filters don’t capture particles—they absorb gases and odors. The key factor is weight. A 20×20 inch filter with 1 lb of carbon is okay for light use. But 2–3 lbs? That’s ideal for kitchens, smokers, or homes with pets.
Also, look for activated carbon (not just carbon). It’s processed to have more surface area, making it far more effective. Some filters even include potassium permanganate, which helps break down VOCs like formaldehyde.
Filter Lifespan and Maintenance
Even the best filters don’t last forever. Here’s a rough guide:
- HEPA filters: 6–12 months, depending on air quality and fan runtime. Replace when visibly dirty or if airflow drops.
- Carbon filters: 3–6 months. Replace when odors return or the carbon turns gray.
- Pre-filters: Wash monthly with water and mild soap.
Tip: Use a vacuum with a brush attachment to gently clean HEPA filters monthly. It removes surface dust and can add 2–3 months to their life.
Performance, Noise, and Energy: What to Expect
You’ve built it. Now how well does it work? Let’s talk real-world performance—because what sounds good on paper doesn’t always translate to a quieter, healthier home.
Air Changes Per Hour (ACH): The Key Metric
Experts recommend 4–6 air changes per hour (ACH) for effective air cleaning. That means your purifier should cycle all the air in a room 4–6 times every hour.
To calculate ACH for your DIY unit:
- Find the fan’s CFM (usually listed on the box or manual).
- Measure your room’s volume (length x width x height in feet).
- Use this formula: ACH = (CFM x 60) / Room Volume
Example: A 150 CFM fan in a 12x12x8 ft room (1,152 cu ft) gives: (150 x 60) / 1,152 = 7.8 ACH. That’s excellent!
Noise Levels: Finding the Sweet Spot
Box fans are efficient but not always quiet. On low, they’re usually 45–50 dB (like a quiet conversation). On high? 60–65 dB (like background music). That’s fine for a basement or bedroom at night—but if you need silence, consider:
- Using a fan speed controller (available online) to run it at 50–70% speed.
- Placing the purifier on a rubber mat or foam pad to reduce vibration.
- Building a sound baffle (a small enclosure with foam lining) around the fan.
One reader told me they placed their purifier in a closet with the door slightly ajar. It reduced noise by 10 dB—a game-changer for light sleepers.
Energy Use and Cost
Good news: DIY air purifiers are energy-efficient. A typical 20-inch box fan uses 50–80 watts—about the same as a ceiling fan. Running it 24/7 costs roughly:
- 50 watts x 24 hrs = 1.2 kWh/day
- 1.2 kWh x $0.15/kWh = $0.18/day
- About $5.40/month
Compare that to high-end purifiers that use 100+ watts and cost $200–$500 upfront. Your DIY version wins on both cost and efficiency.
Real-World Results and When to Upgrade
So, does building your own air purifier actually make a difference? The answer is a resounding yes—but with some caveats. Let’s look at what you can expect, and when it might be time to go pro.
What You Can (and Can’t) Expect
With a well-built DIY purifier, you’ll likely notice:
- Reduced dust: Surfaces stay cleaner longer.
- Fewer allergy symptoms: Less sneezing, congestion, or itchy eyes.
- Fresher air: No more “stale” or “moldy” smells.
- Lower PM2.5 levels: Especially helpful during wildfires or pollen season.
But it won’t eliminate every pollutant. For example:
- Radon, carbon monoxide, or natural gas: These require specialized detectors and ventilation, not air purifiers.
- Ultra-fine particles (below 0.1 microns): HEPA filters struggle with these, though they’re less harmful than larger particles.
- Humidity and mold: A dehumidifier or ventilation is better for mold control.
When to Consider a Commercial Purifier
Your DIY unit is great—but there are times when a commercial model makes more sense:
- You need smart features: Wi-Fi control, air quality sensors, automatic modes.
- You want ultra-quiet operation: Some models run at 25 dB (barely audible).
- You have severe asthma or COPD: Medical-grade purifiers with H14 filters and hospital certifications offer extra protection.
- You’re short on time: If building isn’t your thing, a pre-made purifier saves effort.
Even then, many commercial purifiers use the same HEPA and carbon filters you can buy yourself. So if you’re handy, you can often upgrade a commercial unit with better filters later.
Long-Term Tips for Success
- Clean regularly: Vacuum pre-filters, wipe down the fan blades, and check for dust buildup.
- Rotate filters: If you have multiple rooms, move your purifier around weekly.
- Monitor air quality: Use a PM2.5 sensor (like an AirVisual or Temtop) to see real-time improvements.
- Combine with other strategies: Open windows when air quality is good, use exhaust fans, and avoid smoking indoors.
One family I know uses their DIY purifier in the living room during the day and moves it to the bedroom at night. They’ve cut their allergy meds in half and say their kids sleep better. That’s the power of clean air.
Final Thoughts: Clean Air, Built by You
Building your own air purifier in 2026 isn’t just a fun DIY project—it’s a practical, empowering way to take control of your health. You’re not relying on a brand’s claims or paying for fancy packaging. You’re using science, smart design, and a little elbow grease to create something that works.
And the best part? It’s customizable. Whether you’re tackling pet dander, wildfire smoke, or just want a fresher home, you can tweak your purifier to meet your needs. Swap filters, adjust fan speed, even paint the coroplast to match your decor. It’s yours.
Of course, it’s not perfect. It might hum a little. You’ll need to replace filters. And yes, a commercial unit might be quieter or have a sleek design. But for under $100, a DIY air purifier delivers real, measurable improvements in indoor air quality—something no marketing slogan can promise.
So go ahead. Grab a fan, some filters, and a roll of tape. Your lungs will thank you. And the next time someone walks into your home and says, “Wow, it feels so fresh in here,” you can smile and say, “Yeah. I built that.”
| Component | Recommended Spec | Estimated Cost | Lifespan |
|---|---|---|---|
| Box Fan | 20×20 inch, 100–150 CFM, 3-speed | $25–$40 | 5+ years |
| HEPA Filter | 20x20x1 inch, H13 or H14 | $20–$30 each | 6–12 months |
| Carbon Filter | 20x20x1 inch, 2–3 lbs activated carbon | $15–$25 | 3–6 months |
| Coroplast Sheets | 4x 20×20 inch | $10–$15 | 10+ years |
| Weatherstripping Tape | 1/2 inch foam tape | $5 | 2–3 years |
Frequently Asked Questions
How to build an air purifier at home in 2026?
You can build an air purifier in 2026 using a high-efficiency HEPA filter, a box fan, and a MERV-13 filter secured with bungee cords or tape. This DIY method is cost-effective and improves indoor air quality by capturing dust, pollen, and airborne particles.
What materials do I need to make a DIY air purifier?
Essential materials include a 20×20-inch box fan, a true HEPA filter (or MERV-13), a cardboard frame (optional), and bungee cords or duct tape. Ensure the filter’s dimensions match the fan for a snug fit to maximize airflow and filtration.
Can I build an air purifier without a HEPA filter?
While a HEPA filter is ideal, you can use a high-rated MERV-13 filter as a temporary alternative. However, HEPA filters (99.97% efficiency) are recommended for trapping ultrafine particles like smoke and viruses when building an air purifier.
How effective is a homemade air purifier compared to store-bought models?
A DIY air purifier can achieve 80-90% of the performance of commercial units at a fraction of the cost, especially when using a true HEPA filter. It’s ideal for budget-conscious users but may lack smart features like air quality sensors.
Where should I place my DIY air purifier for maximum efficiency?
Position it in high-traffic areas like living rooms or bedrooms, away from walls to ensure unobstructed airflow. For larger spaces, consider building multiple units or running the purifier continuously to maintain clean indoor air.
How often should I replace the filter in my homemade air purifier?
Replace HEPA or MERV-13 filters every 3-6 months, depending on usage and air quality. If you notice reduced airflow or increased dust, it’s time to swap the filter to keep your air purifier functioning optimally.