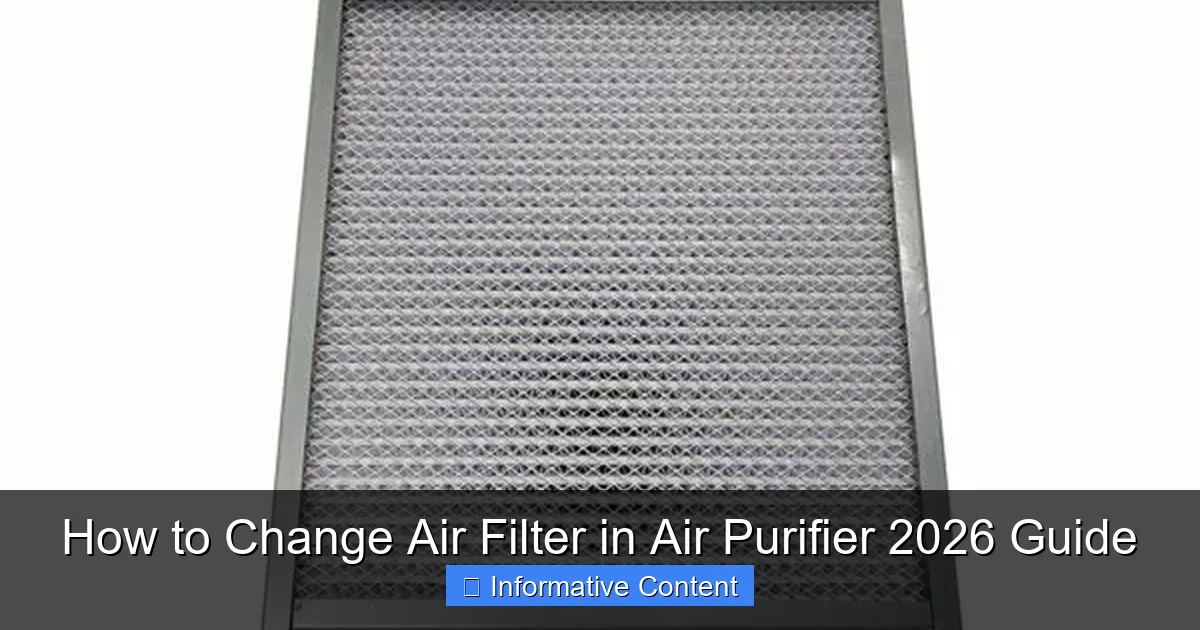
Featured image for how to change air filter in air purifier
Image source: dtf2u.com
Replacing the air filter in your air purifier is essential for maintaining peak performance and ensuring clean, healthy indoor air. Follow this simple 2026 guide to safely remove the old filter, install a compatible replacement, and reset the filter indicator—keeping your unit running efficiently with minimal effort. Regular filter changes not only improve air quality but also extend the lifespan of your device.
Key Takeaways
- Check your manual first: Always consult your air purifier’s manual for model-specific filter replacement instructions.
- Replace filters on schedule: Follow manufacturer recommendations to maintain optimal air quality and performance.
- Turn off and unplug: Ensure safety by powering down the unit before removing or installing a new filter.
- Handle filters carefully: Avoid touching the filter media to prevent contamination or damage.
- Recycle old filters properly: Dispose of used filters according to local guidelines to reduce environmental impact.
- Reset filter indicator: After replacement, reset the filter life monitor if your model has one.
📑 Table of Contents
- Why Changing Your Air Filter Matters
- Know Your Air Purifier and Its Filters
- When and How Often to Change Your Air Filter
- Step-by-Step: How to Change Air Filter in Air Purifier
- Common Mistakes and How to Avoid Them
- Filter Replacement Schedule and Cost Comparison
- Final Thoughts: Breathe Easy with a Well-Maintained Purifier
Why Changing Your Air Filter Matters
Let’s be honest—how often do you think about your air purifier? It sits quietly in the corner, doing its job, filtering out dust, pollen, pet dander, and even invisible pollutants. But just like your car needs an oil change, your air purifier needs a regular air filter change to keep working effectively. I learned this the hard way when my allergies suddenly spiked, and my purifier’s airflow slowed to a crawl. A quick check revealed a filter clogged with months of grime. It was time to learn how to change air filter in air purifier the right way.
Neglecting this simple maintenance task can turn your air purifier into a dust magnet instead of a clean air machine. Worse, a dirty filter can strain the motor, shorten the device’s lifespan, and even release trapped pollutants back into your home. The good news? Replacing an air filter is one of the easiest home maintenance tasks you can do—once you know how. In this 2026 guide, I’ll walk you through the process step-by-step, share my personal tips (and mistakes), and help you keep your air clean and your purifier running like new. Whether you’re using a HEPA-based unit, an activated carbon filter, or a multi-stage system, this guide has you covered.
Know Your Air Purifier and Its Filters
Types of Air Filters in Modern Purifiers
Before you dive into replacing your filter, it helps to understand what’s inside your air purifier. Not all filters are created equal, and knowing the types helps you choose the right replacement and change them at the right time.

Visual guide about how to change air filter in air purifier
Image source: i.ytimg.com
- Pre-filters: These are usually foam or mesh screens that catch large particles like pet hair and dust. They’re often washable and should be cleaned monthly. Think of them as the “first line of defense.”
- HEPA filters: High-Efficiency Particulate Air filters are the gold standard. They trap 99.97% of particles as small as 0.3 microns—perfect for allergens, mold spores, and fine dust. HEPA filters aren’t washable and must be replaced every 6–12 months, depending on usage and air quality.
- Activated carbon filters: These are great for odors, smoke, and VOCs (volatile organic compounds). They absorb gases and smells but lose effectiveness over time. Replace every 3–6 months, especially in homes with pets, cooking, or smokers.
- UV-C or ionizer stages: Some purifiers include UV lights or ionizers to kill bacteria or charge particles. These don’t need replacing but should be wiped clean occasionally.
For example, my Coway Airmega 400 has a pre-filter, a true HEPA filter, and a carbon filter. I clean the pre-filter every 4 weeks, replace the carbon filter every 4 months, and swap the HEPA every 10 months. It’s a rhythm that keeps the unit running smoothly.
How to Identify Your Filter Model
Not all filters are universal. Using the wrong one can reduce performance or even damage your purifier. Here’s how to find the exact replacement:
- Check the manual: Most manuals list filter types and replacement intervals. If you’ve lost it, search the model number online (e.g., “Coway Airmega 400 filter”).
- Look at the filter itself: Open your purifier and inspect the old filter. It often has a model number printed on the frame (e.g., “HEPA-13” or “CF-2026”).
- Visit the manufacturer’s website: Brands like Honeywell, Blueair, and Dyson have filter lookup tools. Just enter your model number, and they’ll show you the correct replacement.
- Third-party vs. OEM filters: OEM (Original Equipment Manufacturer) filters are guaranteed to fit and perform well, but they’re pricier. Third-party options can save money, but check reviews to ensure they meet filtration standards.
Pro tip: Take a photo of your old filter with your phone before removing it. This helps you confirm the size and model when shopping online or in-store.
When and How Often to Change Your Air Filter
Manufacturer’s Guidelines vs. Real-World Conditions
Every air purifier manual says something like “replace HEPA filter every 12 months.” But is that realistic? In my experience—no. The actual lifespan depends on your environment. A filter in a dusty home with two shedding dogs won’t last as long as one in a clean, smoke-free apartment.
Here’s how to decide when to change your filter:
- High pollution areas: Cities with smog, wildfire smoke, or heavy traffic? Replace HEPA filters every 6–8 months. Carbon filters may need changing every 3–4 months.
- Pet owners: Dander and fur clog filters fast. I change my pre-filter monthly and HEPA every 8 months.
- Allergy/asthma sufferers: Don’t wait. Change filters more frequently (every 6 months for HEPA) to maintain optimal air quality.
- Low-usage rooms: A purifier in a guest room used twice a month? It might last the full 12 months.
One trick I use: Set a recurring calendar reminder for filter checks. Every 3 months, I open the purifier and visually inspect the pre-filter and HEPA. If the pre-filter looks gray or the HEPA is discolored, it’s time to act.
Signs It’s Time to Change Your Filter
Your air purifier will often tell you when it’s struggling. Watch for these red flags:
- Reduced airflow: If the purifier sounds louder or air output feels weaker, the filter might be clogged.
- Unpleasant odors: A carbon filter that’s saturated can emit musty or sour smells—especially after cooking or when pets are around.
- Increased allergy symptoms: If you start sneezing or your eyes water, the HEPA filter may no longer be trapping allergens effectively.
- Filter indicator light: Many modern purifiers (like the Dyson Pure Cool) have built-in sensors that alert you when a filter needs changing.
- Visible dirt or discoloration: A HEPA filter that’s turned gray or black is past its prime.
For example, last winter, my purifier started making a high-pitched whine. I ignored it for a week—big mistake. When I finally opened it, the HEPA was so clogged with dust and pet hair that the motor was straining. A fresh filter fixed the noise immediately.
Step-by-Step: How to Change Air Filter in Air Purifier
Preparation: Gather Your Tools and Supplies
Changing a filter is simple, but a little prep makes it foolproof. Here’s what you’ll need:
- Replacement filters: Make sure they’re the correct model and size.
- Vacuum with brush attachment: To clean the interior and pre-filter.
- Soft microfiber cloth: For wiping down the housing.
- Gloves (optional): If you’re sensitive to dust or have allergies.
- Trash bag: To dispose of the old filter (wrap it in a plastic bag to contain dust).
Before you start, unplug the air purifier. Safety first! Also, work in a well-ventilated area—old filters can release a surprising amount of dust when handled.
Step 1: Remove the Old Filter
Every purifier opens differently, but here’s the general process:
- Locate the access panel: Most purifiers have a front, side, or back panel that slides, clips, or screws open. Check your manual if you’re unsure.
- Open the panel: Gently release any latches or screws. Don’t force it—some panels are delicate.
- Remove the pre-filter (if present): Pull it out and set it aside. If it’s washable, clean it now (see below).
- Extract the HEPA and carbon filters: Slide them out carefully. Note their orientation (which side faces front/back).
Tip: If the filter is stuck, gently wiggle it side-to-side. Never use tools to pry it out—this can damage the housing.
Step 2: Clean the Interior and Pre-Filter
While the filters are out, give the purifier a quick clean:
- Vacuum the interior: Use the brush attachment to remove dust from the housing, fan blades, and around the motor.
- Wipe down the housing: Dampen a microfiber cloth with water (or a 1:1 water-vinegar mix) and wipe away grime. Avoid harsh cleaners.
- Clean the pre-filter: If it’s washable, rinse it under cool water and let it air dry completely before reinstalling. Don’t use soap or a dryer—this can damage the mesh.
My Blueair purifier has a washable pre-filter. I rinse it monthly and hang it to dry overnight. It’s still going strong after two years!
Step 3: Install the New Filters
This is the easy part—but attention to detail matters:
- Check the airflow arrow: Most filters have an arrow showing which direction air should flow. Make sure it points toward the fan (usually inward).
- Insert the HEPA filter first: Slide it in, ensuring it’s snug and flush with the housing.
- Add the carbon filter (if separate): Place it behind the HEPA, again checking the airflow arrow.
- Reinstall the pre-filter: If it’s dry, put it back in place.
Pro tip: Take a photo of the new filter setup before closing the panel. If you ever need to troubleshoot, you’ll know the correct configuration.
Step 4: Reassemble and Test
- Close the access panel: Secure all latches or screws.
- Plug in the purifier and turn it on.
- Run it at high speed for 5–10 minutes to clear any residual dust from the new filter.
- Check for unusual noises or vibrations: If the purifier sounds odd, double-check that filters are seated properly.
After installing a new filter, I always notice a fresh, clean smell—almost like the air is “lighter.” It’s a small but satisfying win!
Common Mistakes and How to Avoid Them
Using the Wrong Filter
It’s tempting to buy the cheapest filter online, but not all HEPA filters are true HEPA. Some third-party brands claim “HEPA-like” performance but don’t meet the 99.97% standard. Worse, a filter that’s too small or too large can leave gaps, letting unfiltered air bypass the system.
Solution: Stick with OEM filters or reputable third-party brands (like FilterBuy or AirX) that specify “true HEPA” and list their efficiency. Read reviews and check for certifications (e.g., AHAM Verified).
Forgetting to Clean the Pre-Filter
I used to skip cleaning my pre-filter, thinking, “It’s just a mesh screen—how bad can it be?” Bad. A clogged pre-filter forces the HEPA to work harder, shortening its life. I once replaced a $80 HEPA filter after only 4 months because I neglected the pre-filter.
Solution: Clean the pre-filter every 1–2 months. It takes 5 minutes and can double your HEPA filter’s lifespan.
Installing Filters Backwards
It happens! I once installed my carbon filter with the arrow pointing outward. The purifier ran fine, but the odor control was terrible. After a week, I opened it and realized my mistake.
Solution: Always double-check the airflow arrow. If your purifier has a diagram inside the housing, use it as a guide.
Ignoring the Housing
Even with new filters, a dirty housing can harbor mold or bacteria. I learned this when my purifier started smelling musty. A quick wipe with vinegar fixed it.
Solution: Clean the housing every time you change the filter. A 1:1 water-vinegar solution is safe and effective.
Filter Replacement Schedule and Cost Comparison
Data Table: Filter Lifespan and Costs by Type
Below is a comparison of common air purifier filters, their average lifespan, and replacement costs. Note that prices vary by brand and region, but this gives a realistic estimate for 2026.
| Filter Type | Average Lifespan | Replacement Cost (USD) | Best For | Maintenance Tip |
|---|---|---|---|---|
| Pre-filter (washable) | 2–5 years | $0 (washable) | Large particles, pet hair | Rinse monthly; air dry completely |
| True HEPA filter | 6–12 months | $40–$100 | Allergens, dust, mold spores | Replace every 6–12 months; check for clogs |
| Activated carbon filter | 3–6 months | $25–$60 | Odors, smoke, VOCs | Replace every 3–6 months; avoid high humidity |
| Combined HEPA + Carbon | 6–8 months | $50–$90 | All-in-one filtration | Check both layers for saturation |
| UV-C bulb (if applicable) | 1–2 years | $20–$50 | Bacteria, viruses | Wipe with alcohol; replace if dim |
For example, my Coway Airmega costs about $150/year in filter replacements ($60 for HEPA, $40 for carbon, $50 for pre-filter). But compared to the $500+ I spend on allergy meds, it’s a bargain for cleaner air.
Long-Term Savings Tips
- Buy in bulk: Some brands offer 2-pack or 3-pack filter deals. I save 10–15% by buying two HEPA filters at once.
- Subscribe and save: Amazon and manufacturer sites often offer 5–10% off with auto-ship.
- DIY pre-filters: For purifiers with mesh pre-filters, you can cut replacement screens from hardware store mesh (though I prefer OEM for fit).
Final Thoughts: Breathe Easy with a Well-Maintained Purifier
Changing your air purifier’s filter isn’t just a chore—it’s a small act of self-care. Clean air means better sleep, fewer allergies, and a healthier home. After following this guide, you’ll know exactly how to change air filter in air purifier without stress or guesswork. From identifying your filter type to avoiding common mistakes, you’re now equipped to keep your purifier running at peak performance.
Remember, consistency is key. Set reminders, clean the pre-filter regularly, and don’t wait for the filter light to turn on. A little effort every few months pays off in cleaner air and longer device life. And if you ever feel unsure? Refer back to this guide—or take that photo of your old filter before removing it. It’s saved me more than once!
So go ahead, unplug that purifier, open the panel, and give your home the fresh start it deserves. Your lungs—and your purifier—will thank you.
Frequently Asked Questions
How often should I change the air filter in my air purifier?
Most manufacturers recommend changing the air filter every 6 to 12 months, depending on usage and air quality. If you live in a dusty environment or have pets, you may need to replace it more frequently to maintain optimal performance.
What are the signs that my air purifier filter needs replacing?
Common signs include reduced airflow, unusual odors, or the filter appearing visibly dirty or clogged. Many modern air purifiers also have a filter replacement indicator light that alerts you when it’s time to change the filter.
Can I clean and reuse the air filter in my air purifier?
Only certain types, like washable pre-filters, can be cleaned and reused. Most HEPA and carbon filters are not washable and must be replaced when dirty to ensure effective air purification.
How do I find the right replacement filter for my air purifier model?
Check your air purifier’s user manual or the manufacturer’s website for the correct filter model number. You can also look for compatible filters using your device’s brand and model when shopping online or in stores.
Is it difficult to change the air filter in an air purifier?
No, changing the air filter is usually simple and takes just a few minutes. Most models have a front or side panel that opens easily, allowing you to remove the old filter and insert the new one without tools.
What happens if I don’t change the air filter in my air purifier?
An old or clogged filter reduces efficiency, strains the motor, and may allow pollutants to recirculate. Regularly changing the air filter ensures your purifier works effectively and maintains good indoor air quality.