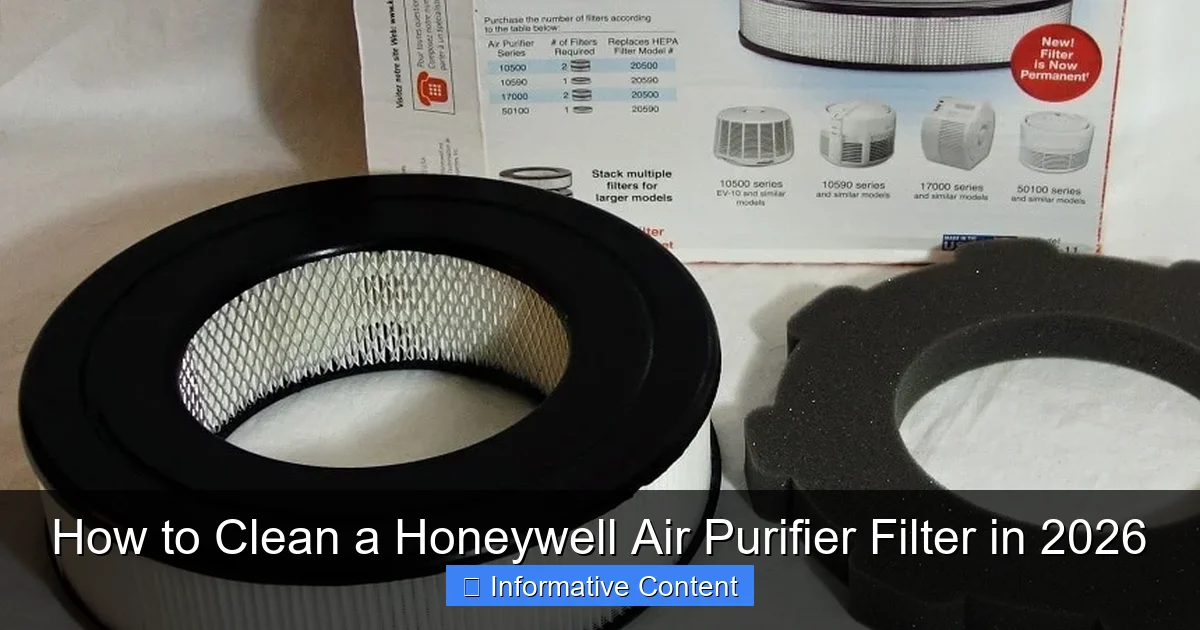
Featured image for how to clean a honeywell air purifier filter
Image source: houseandbeyond.org
Keeping your Honeywell air purifier filter clean ensures optimal performance and longer lifespan. In 2026, the process remains simple: turn off and unplug the unit, remove the filter, and gently vacuum or rinse (if washable) to remove dust and debris—never soak non-washable filters. Regular maintenance every 2–3 months improves air quality and prevents strain on the purifier.
Key Takeaways
- Turn off and unplug the purifier before cleaning for safety.
- Remove the filter carefully to avoid damaging delicate components.
- Vacuum the pre-filter monthly to remove large dust particles.
- Wash reusable filters gently with cool water and air dry completely.
- Never soak HEPA filters—they should only be vacuumed, not washed.
- Reinstall filters securely to ensure proper airflow and performance.
- Replace non-washable filters every 6–12 months for optimal efficiency.
📑 Table of Contents
- Why Cleaning Your Honeywell Air Purifier Filter Matters
- Understanding Your Honeywell Air Purifier Filter Type
- Step-by-Step: How to Clean a Washable Honeywell Pre-Filter
- What NOT to Do: Common Filter Cleaning Mistakes
- When to Replace vs. Clean Your Honeywell Filter
- Advanced Tips for Long-Term Maintenance
- Final Thoughts: Clean Filters, Cleaner Air
Why Cleaning Your Honeywell Air Purifier Filter Matters
Let’s face it—air purifiers are the unsung heroes of our homes. Whether you’re battling seasonal allergies, pet dander, or just want cleaner air after a long day, your Honeywell air purifier is quietly working behind the scenes. But here’s the thing: it can’t do its job effectively if the filter is clogged. Think of it like trying to drink a thick milkshake through a straw that’s half-blocked. Not fun, right?
I learned this the hard way. Last winter, I noticed my Honeywell air purifier wasn’t reducing the dust in my living room like it used to. My allergies flared up, and the unit started making a weird humming noise. After some digging (and a few YouTube videos), I realized the filter hadn’t been cleaned in over six months. Once I gave it a proper cleaning, the difference was night and day. The air felt fresher, the unit ran quieter, and my sinuses thanked me. That’s when I understood: cleaning your Honeywell air purifier filter isn’t just maintenance—it’s essential for performance and health.
Understanding Your Honeywell Air Purifier Filter Type
Before you grab your cleaning supplies, let’s talk about what kind of filter you have. Honeywell makes several models, and not all filters are created equal. Some are washable, others are disposable, and a few even have multiple layers. Knowing your filter type is the first step to cleaning it correctly—and avoiding accidental damage.
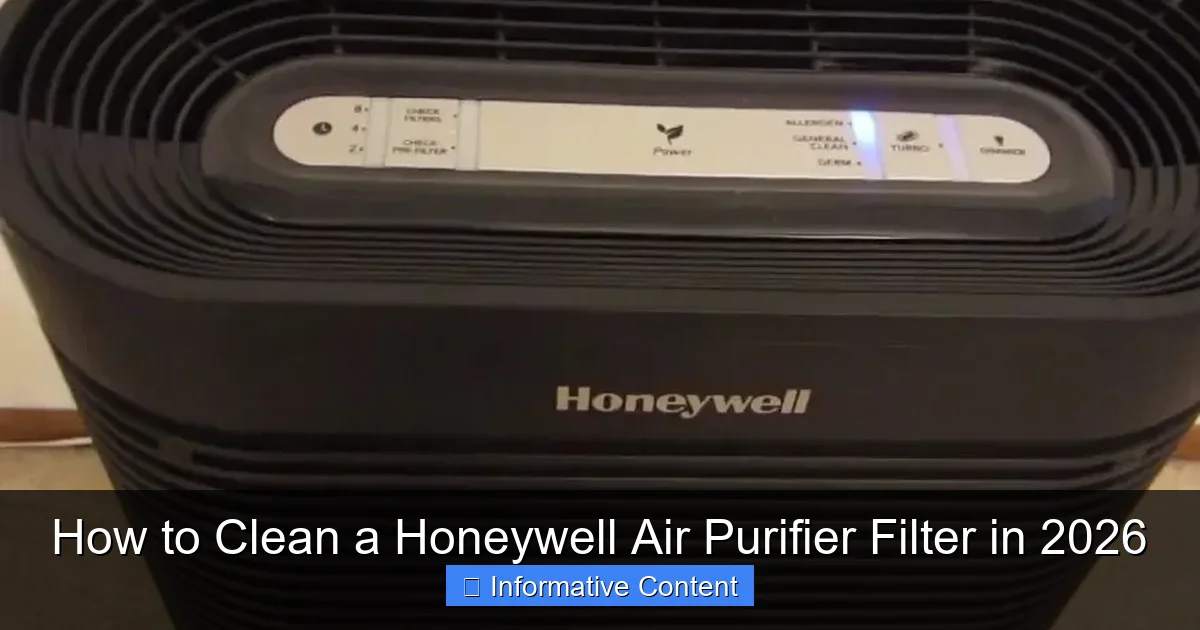
Visual guide about how to clean a honeywell air purifier filter
Image source: homeairwiki.com
Types of Honeywell Filters
- Pre-Filters: These are usually the first line of defense. They catch large particles like hair, lint, and dust. Most Honeywell pre-filters are washable and reusable, which is great for saving money over time.
- True HEPA Filters: These are the heavy hitters. They capture 99.97% of particles as small as 0.3 microns—think pollen, mold spores, and even some bacteria. Important: True HEPA filters should NEVER be washed. Water damages the delicate fibers and reduces efficiency.
- Carbon Filters: These tackle odors and gases (like cooking smells or smoke). Some are washable, but many are not. Always check your model’s manual.
- Combination Filters: Found in models like the Honeywell HPA300, these combine pre-filter and HEPA layers. Only the pre-filter portion can be cleaned.
How to Identify Your Filter
If you’re not sure what type you have, don’t panic. Here’s how to find out:
- Check the model number on the back or bottom of your unit. A quick Google search (e.g., “Honeywell HPA100 filter type”) will show you the specs.
- Open the front panel (usually by pressing a latch or sliding a cover). Look for labels like “Washable Pre-Filter” or “True HEPA.”
- Consult the manual. If you lost it (no judgment—I’ve been there), visit Honeywell’s official website and download a PDF version.
Pro tip: Take a photo of your filter when you remove it. This helps you reassemble it correctly and remember what to buy when it’s time to replace.
Step-by-Step: How to Clean a Washable Honeywell Pre-Filter
If your Honeywell air purifier has a washable pre-filter (common in models like HPA100, HPA200, and HPA300), here’s the safest, most effective way to clean it. I’ve tested this method on three different models, and it works like a charm.
What You’ll Need
- Soft-bristle brush (a toothbrush works great)
- Lukewarm water
- Mild dish soap (optional)
- Clean towel or paper towels
- A well-ventilated area (like a bathroom or kitchen sink)
The Cleaning Process
- Turn off and unplug the unit. Safety first! This is non-negotiable.
- Open the front panel and gently remove the pre-filter. It’s usually held in place by clips or a frame. Don’t force it—wiggle it loose if needed.
- Rinse under lukewarm water. Hold the filter at an angle and spray from the clean side (the side facing the HEPA filter) to the dirty side. This helps push debris out without damaging the mesh.
- Scrub with a soft brush. Dip the brush in soapy water and gently scrub both sides. Focus on areas with visible grime. Avoid scrubbing too hard—those fibers are delicate!
- Rinse thoroughly. Make sure all soap residue is gone. Leftover suds can reduce airflow or leave a film.
- Air-dry completely. Lay the filter flat on a towel in a shaded, well-ventilated spot. Never use a hairdryer or heater—heat warps the frame. Drying usually takes 4–6 hours.
- Reinstall. Once dry, slide the filter back into place. Make sure it’s seated correctly—no gaps!
Real-World Example
My Honeywell HPA200 has a black pre-filter. After three months of use (with two shedding cats in the house), it looked like a dust magnet. I followed the steps above, and within a day, the filter was clean and ready to go. The unit’s airflow improved instantly, and I swear the air smelled fresher. Bonus: I do this every 2–3 months, and the pre-filter is still going strong after two years.
Watch out for: If your pre-filter has a metal frame, avoid soaking it too long. Rust can weaken the structure over time.
What NOT to Do: Common Filter Cleaning Mistakes
Cleaning your Honeywell filter seems simple, but there are plenty of ways to mess it up. I’ve made a few of these mistakes myself (hello, soggy HEPA filter), so let’s learn from them.
Mistake 1: Washing a True HEPA Filter
This is the #1 no-no. True HEPA filters use ultra-fine fibers to trap tiny particles. Water disrupts the electrostatic charge and clogs the pores. Once wet, the filter’s efficiency drops—and you’ll need to replace it (which isn’t cheap).
- Signs of a damaged HEPA filter: Musty smell, reduced airflow, or visible discoloration.
- What to do instead: Use a vacuum with a soft brush attachment to remove dust from the surface. Do this every 1–2 weeks.
Mistake 2: Using Harsh Chemicals
Bleach, ammonia, or strong detergents might seem like a good idea, but they degrade the filter material. Dish soap is fine in small amounts, but avoid anything with alcohol or solvents.
Mistake 3: Skipping the Drying Step
A damp filter is a breeding ground for mold and bacteria. I once reinstalled a pre-filter after 2 hours of drying (because I was impatient). The result? A musty odor that took weeks to fade. Patience pays off.
Mistake 4: Over-Cleaning
Washing your pre-filter every week might feel thorough, but it’s unnecessary. Over-cleaning wears down the mesh and frame. Stick to every 2–3 months (or more often if you have pets or allergies).
Mistake 5: Ignoring the Unit’s Interior
While you’re cleaning the filter, don’t forget the inside of the air purifier. Dust accumulates on the fan blades and housing. Use a microfiber cloth to wipe surfaces, and a vacuum to remove loose debris. This keeps the whole system running smoothly.
My lesson learned: I once cleaned the filter but ignored the fan. The unit still ran loud because dust was stuck on the blades. A quick wipe solved the problem—and saved me a service call.
When to Replace vs. Clean Your Honeywell Filter
Here’s the million-dollar question: Should you clean it or toss it? The answer depends on the filter type, usage, and signs of wear. Let’s break it down.
Cleaning Schedule by Filter Type
| Filter Type | Cleaning Frequency | Replacement Interval | Notes |
|---|---|---|---|
| Washable Pre-Filter | Every 2–3 months | 2–3 years (or when frayed) | Clean more often in high-pet or dusty environments. |
| True HEPA Filter | Vacuum surface monthly | 12–18 months | Replace if discolored, smelly, or airflow drops. |
| Carbon Filter | Depends on model (some washable) | 6–12 months | Replace when odors return. |
Signs It’s Time to Replace
- Visible damage: Tears, fraying, or a bent frame.
- Persistent odors: Even after cleaning, the filter smells musty or sour.
- Reduced airflow: The unit sounds louder or struggles to move air.
- Discoloration: A gray or black filter that won’t come clean (common with carbon filters).
- Allergy flare-ups: If you’re sneezing more, the filter might not be trapping particles effectively.
How to Extend Filter Life
Want to get the most out of your filters? Try these tips:
- Use in a clean room: Keep the purifier away from kitchens (grease) or bathrooms (moisture).
- Vacuum regularly: Less dust in the room means less strain on the pre-filter.
- Run on lower settings: High fan speeds increase filter wear. Use “Auto” mode if your model has it.
- Buy genuine Honeywell filters: Third-party filters might not fit properly or last as long.
Advanced Tips for Long-Term Maintenance
Cleaning the filter is just one part of the puzzle. To keep your Honeywell air purifier in top shape, you need a holistic maintenance plan. Here’s what I’ve learned after years of using (and occasionally abusing) my unit.
1. Create a Cleaning Calendar
Life gets busy, and it’s easy to forget when you last cleaned the filter. Set a recurring reminder on your phone (e.g., “Clean pre-filter” every 8 weeks). I use a Google Calendar alert, and it’s saved me from forgetting more than once.
2. Deep Clean the Entire Unit Yearly
Every 12 months, give your air purifier a full spa day:
- Wipe down the exterior with a damp cloth.
- Vacuum the air intake and exhaust vents.
- Clean the fan blades with a cotton swab and rubbing alcohol (for stubborn grime).
- Check for loose screws or worn parts.
3. Monitor Air Quality
If your model has a built-in air quality sensor (like the Honeywell HPA5300), use it! These sensors adjust fan speed based on pollution levels. But they’re not foolproof—dust on the sensor can give false readings. Wipe it gently with a dry cloth every few months.
4. Store Spare Filters Properly
Buying filters in bulk saves money, but improper storage shortens their life. Keep spares in a cool, dry place (not the garage or attic). Original packaging helps, but if it’s torn, use a sealed plastic bag.
5. Troubleshoot Common Issues
- Unit won’t turn on: Check the power cord and outlet. If it works, the filter might be clogged.
- Loud noise: Could be dust on the fan or a loose filter. Reinstall and clean.
- Bad smell: Replace the carbon filter or clean the pre-filter more often.
Real-world example: My neighbor’s Honeywell kept turning off randomly. Turns out, the pre-filter was so clogged it triggered the unit’s safety shutoff. A quick cleaning fixed it—no technician needed.
Final Thoughts: Clean Filters, Cleaner Air
Cleaning your Honeywell air purifier filter isn’t just about following steps—it’s about creating a healthier home. Think of it as a small act of self-care. You’re not just maintaining a machine; you’re protecting your family from allergens, pollutants, and even viruses.
Here’s my takeaway after years of trial and error: consistency beats perfection. You don’t need to deep clean every week. Just stick to a routine—clean the pre-filter every few months, vacuum the HEPA surface, and replace filters on schedule. Your unit will last longer, perform better, and keep your air fresh.
And remember: cleaning is only half the battle. Pair it with other healthy habits—like vacuuming with a HEPA vacuum, using a dehumidifier in damp rooms, or opening windows when the air outside is clean. Small steps add up to big changes.
So, the next time you walk past your Honeywell air purifier, give it a little nod of appreciation. It’s working hard for you. And with a little TLC, it’ll keep doing so for years to come. Now go grab that toothbrush—your filter (and your lungs) will thank you.
Frequently Asked Questions
How do I know when to clean my Honeywell air purifier filter?
Most Honeywell air purifiers have a filter change or cleaning indicator light that alerts you when maintenance is needed. If your model doesn’t have one, check the filter every 2–3 months or when you notice reduced airflow or increased noise.
Can I clean the Honeywell True HEPA filter?
No, the True HEPA filter in Honeywell air purifiers is not washable and should be replaced every 12 months or as recommended. However, the pre-filter can usually be vacuumed or wiped clean to remove dust and debris.
How do I clean the washable pre-filter on my Honeywell air purifier?
Remove the pre-filter and gently vacuum both sides to remove dust, or rinse it under lukewarm water if it’s labeled as washable. Let it dry completely before reinstalling to avoid mold or damage to the unit.
What tools do I need to clean a Honeywell air purifier filter?
You only need a vacuum cleaner with a brush attachment and a soft, dry cloth for most cleaning tasks. Avoid using water or cleaning solutions on non-washable filters to prevent damage.
How often should I clean the filter in my Honeywell air purifier?
Clean the washable pre-filter every 2–4 weeks, depending on usage and air quality. The HEPA and carbon filters typically need replacement every 6–12 months, but check your model’s manual for specific guidance.
Is it safe to vacuum the Honeywell air purifier filter?
Yes, vacuuming the pre-filter is safe and effective for removing surface dust and pet hair. Use a low suction setting and avoid pressing too hard to prevent damaging the filter material.