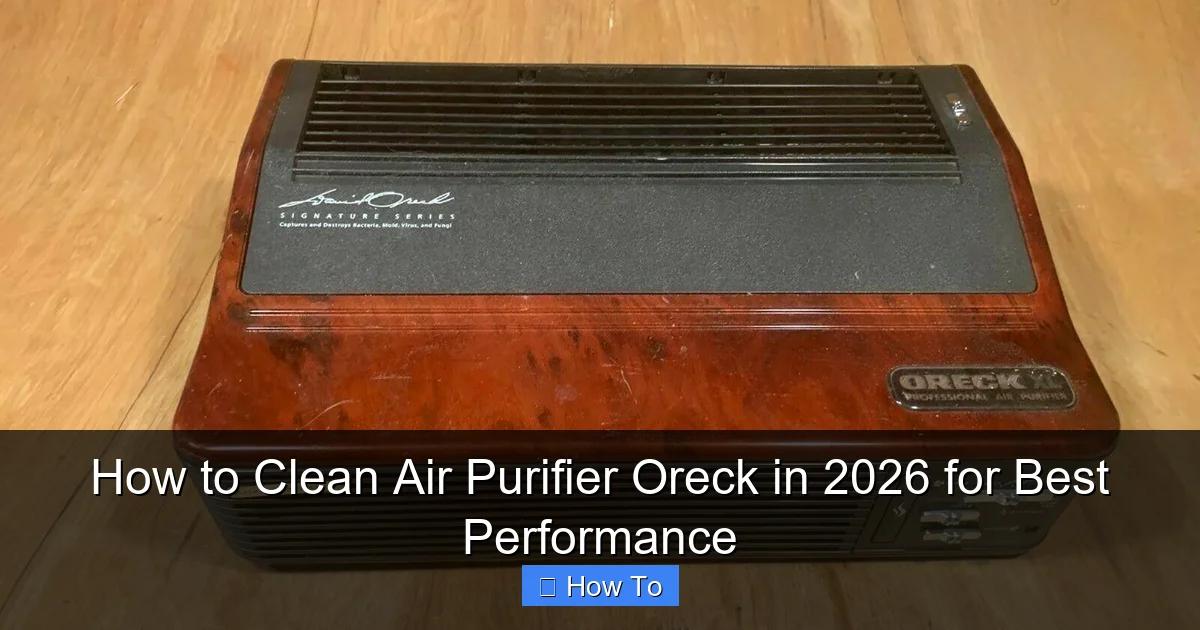
Featured image for how to clean air purifier oreck
Image source: hvaclifehack.com
Keeping your Oreck air purifier clean is essential for peak performance and long-term efficiency. In 2026, follow a simple routine of vacuuming the exterior, washing the HEPA filter monthly, and wiping down internal components to ensure optimal air quality and extend the unit’s lifespan. Regular maintenance not only boosts purification power but also prevents costly repairs and energy waste.
“`html
How to Clean Air Purifier Oreck in 2026 for Best Performance
Key Takeaways
- Unplug the unit before cleaning to ensure safety and prevent damage.
- Wash the pre-filter monthly with mild soap and air-dry completely.
- Vacuum the interior gently to remove dust buildup without damaging components.
- Inspect the HEPA filter regularly and replace as recommended by Oreck.
- Wipe the exterior with a damp cloth to maintain appearance and hygiene.
- Avoid water on electronic parts to prevent malfunctions and extend lifespan.
- Clean every 1-3 months for optimal performance and air quality.
Why This Matters / Understanding the Problem
Let’s be honest—your Oreck air purifier works hard every single day. It’s quietly pulling dust, pet dander, pollen, and even odors out of your home’s air. But here’s the thing: if you don’t clean it regularly, all that gunk builds up inside, and your purifier starts working against you instead of for you.
I learned this the hard way last winter. My allergies were worse than ever, even though my Oreck XL Professional was running nonstop. I assumed it was just seasonal—until I opened it up and found the filters clogged with what looked like a science experiment gone wrong. Once I cleaned everything properly, the difference was night and day. The air felt fresher, the unit ran quieter, and my sneezing fits dropped by half.
Cleaning your Oreck isn’t just about maintenance—it’s about making sure your investment actually delivers on its promise. In 2026, with indoor air quality more important than ever (thanks, wildfire smoke and lingering pandemic habits), knowing how to clean air purifier Oreck in 2026 for best performance isn’t optional. It’s essential.
Neglecting this simple task can lead to reduced airflow, louder operation, higher energy bills, and even mold growth inside the unit. Worse? You might be breathing in re-circulated contaminants instead of purified air. So let’s fix that—together.
What You Need
Before we dive in, gather these supplies. Most are probably already in your cleaning cabinet:
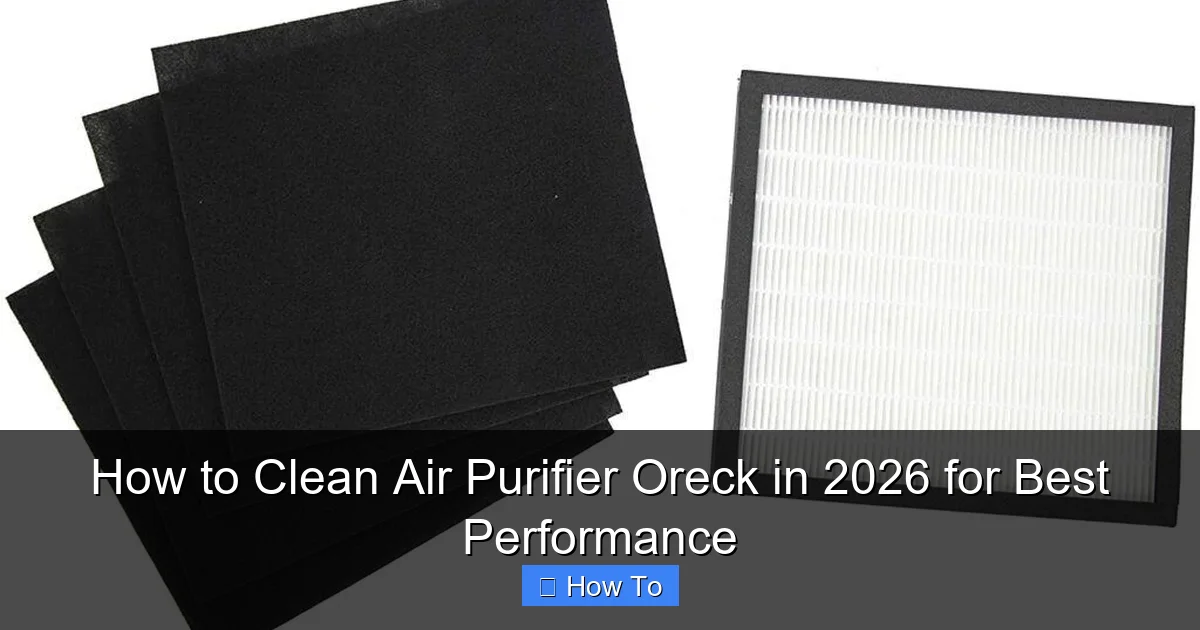
Visual guide about how to clean air purifier oreck
Image source: indoorbreathing.com
- A soft microfiber cloth or lint-free towel
- Mild dish soap (unscented is best)
- White vinegar (optional, for odor or hard water spots)
- A small brush—like an old toothbrush or soft-bristle detailing brush
- A vacuum cleaner with a brush attachment (optional but helpful)
- Replacement filters (if yours are due for a swap—check your model’s schedule)
- Rubber gloves (if you’re sensitive to dust or cleaning products)
Pro tip: Always unplug your Oreck before cleaning. Safety first, always. And if you’ve got pets or live in a dusty area, aim to clean your unit every 4–6 weeks. Otherwise, every 8–10 weeks should do the trick.
Step-by-Step Guide to How to Clean Air Purifier Oreck in 2026 for Best Performance
Step 1: Turn Off and Unplug the Unit
This might seem obvious, but I’ve seen people skip this step—and it’s not worth the risk. Electricity and water don’t mix, especially around delicate electronics. So before you touch anything, make sure your Oreck is completely powered down and unplugged from the wall.
While you’re at it, give the exterior a quick wipe with a dry microfiber cloth to remove surface dust. This prevents grime from falling into the internals when you open it up.
Step 2: Remove the Front Grille and Pre-Filter
Most Oreck models—like the XL Professional series—have a front grille that snaps off easily. Gently pull it away from the body. You’ll usually find a removable pre-filter right behind it. This mesh-like layer catches large particles like hair and dust bunnies.
Rinse the pre-filter under lukewarm water. Avoid hot water—it can warp the material. If it’s really grimy, add a drop of mild dish soap and gently scrub with your soft brush. Rinse thoroughly and let it air-dry completely before reinstalling. Never put a wet filter back in—it can trap moisture and grow mold.
Step 3: Access and Clean the HEPA Filter (If Washable)
Here’s where things get tricky. Not all Oreck HEPA filters are washable. Some are labeled “permanent” but actually mean “cleanable with dry methods only.” Check your user manual or look for a label on the filter itself.
If yours is dry-clean only, use your vacuum’s brush attachment to gently suction dust from both sides. Do this outdoors if possible—you don’t want to redistribute allergens into your living space.
If it’s truly washable (rare, but some older models allow it), rinse it very gently under cool water—no soap, no scrubbing. Again, air-dry completely for at least 24 hours. Never use a hair dryer or place it near heat sources to speed up drying. Heat damages the delicate fiber structure.
⚠️ Warning: If your HEPA filter is labeled “replaceable” or looks frayed, cracked, or discolored, it’s time for a new one. Cleaning won’t restore its efficiency. A degraded filter can actually release captured pollutants back into your room.
Step 4: Wipe Down the Interior Chamber
With the filters removed, you’ll see the inner chamber where air flows through. Use your damp microfiber cloth (lightly wrung out!) to wipe down the walls, fan blades, and any visible surfaces. For stubborn grime, dip your toothbrush in a mix of water and a splash of white vinegar—great for breaking down grease and neutralizing odors.
Be extra careful around the motor housing and electrical components. Never spray liquid directly into the unit. If you’re unsure, stick to dry wiping or use a slightly damp cloth and wipe immediately with a dry one.
For models with an ionizer or electrostatic plates (like some Oreck Signature units), gently brush off dust buildup. These components attract particles magnetically, so they get dirty fast—but a light touch keeps them effective.
Step 5: Clean the Exterior and Air Vents
Don’t forget the outside! Dust loves to settle on the top and sides of your purifier, especially if it’s on a shelf or nightstand. Use your microfiber cloth to wipe down all surfaces. For tight spots around vents, fold the cloth into a thin edge or use a cotton swab.
If you notice black spots or sticky residue near the intake vents, that’s likely mold or nicotine buildup (common in homes with smokers or high humidity). Mix equal parts water and white vinegar, dip your cloth, and gently scrub. Vinegar is naturally antimicrobial and safe for most finishes.
Once done, buff the exterior with a dry cloth to prevent streaks—especially on black or dark-colored models.
Step 6: Reassemble and Test
Now that everything is clean and dry, it’s time to put your Oreck back together. Start by placing the pre-filter into the grille, then snap the grille back onto the unit. Make sure it clicks securely—loose parts can cause rattling or reduce suction.
Plug the unit back in and turn it on at the lowest setting. Listen for unusual noises—grinding, whining, or excessive vibration could mean something’s misaligned. If everything sounds smooth, gradually increase the fan speed. You should notice improved airflow and a fresher scent within minutes.
Run it for about 30 minutes to let any residual cleaning smells dissipate. Then enjoy your cleaner, quieter, more efficient air purifier!
Pro Tips & Common Mistakes to Avoid
After cleaning dozens of Oreck units (mine and friends’), I’ve spotted a few patterns—both good and bad.
Pro Tip: Keep a cleaning log! Note the date you last cleaned each component. It’s easy to forget, but consistency is key to maintaining peak performance. I use a sticky note on the side of my unit—low-tech but effective.
Common Mistake: Using harsh chemicals like bleach or ammonia. These can degrade filter materials and leave toxic residues that get blown back into your home. Stick to mild soap, water, or vinegar.
Pro Tip: Clean your purifier in a well-ventilated area—preferably outdoors or near an open window. You’ll avoid inhaling stirred-up dust and make the process more pleasant.
Common Mistake: Reinstalling damp filters. Even slightly moist filters can foster mold growth within hours, especially in humid climates. Patience pays off here—wait until everything is 100% dry.
Pro Tip: If your Oreck has a “Filter Change” indicator light, don’t rely on it blindly. These timers estimate usage but don’t account for your actual environment. If you have pets, live near construction, or suffer from allergies, replace or clean filters more often.
FAQs About How to Clean Air Purifier Oreck in 2026 for Best Performance
Q: How often should I clean my Oreck air purifier?
A: It depends! If you have pets, smoke indoors, or live in a dusty area, clean every 4–6 weeks. Otherwise, every 8–10 weeks is fine. Always check the pre-filter—if it’s gray or clogged, it’s time.
Q: Can I wash the HEPA filter in my Oreck?
A: Only if your model specifically says it’s washable. Most Oreck HEPA filters are “permanent” but meant to be vacuumed, not rinsed. Check your manual—or look for a label on the filter itself.
Q: My Oreck is making a loud noise after cleaning. What’s wrong?
A: Likely the grille or filter isn’t seated properly. Turn it off, unplug it, and double-check that everything is snapped in securely. Loose parts vibrate and create noise.
Q: Is it safe to use vinegar inside the unit?
A: Yes—in moderation. Diluted white vinegar (50/50 with water) is safe for wiping interior surfaces and won’t harm components. Just avoid soaking electrical parts.
Q: Do I need to replace filters even if they look clean?
A: Absolutely. HEPA filters lose efficiency over time, even if they appear clean. Most Oreck models recommend replacing the HEPA filter every 12–18 months. The pre-filter can usually be cleaned repeatedly, but replace it if it tears or loses shape.
Q: Can I clean my Oreck with a steam cleaner?
A: No! Steam introduces too much moisture and can warp plastic parts or damage electronics. Stick to damp cloths and gentle brushing.
Q: Will cleaning my Oreck improve my allergies?
A: Often, yes! A clean purifier captures allergens more effectively. But remember—it’s just one part of the puzzle. Vacuum regularly, wash bedding in hot water, and consider reducing indoor sources of dust and dander.
Final Thoughts
Cleaning your Oreck air purifier might not be the most exciting chore, but it’s one of the smartest things you can do for your health and your wallet. A well-maintained unit uses less energy, lasts longer, and actually improves your indoor air quality—instead of just moving dirty air around.
Think of it like changing the oil in your car. Skip it, and you’ll pay later in repairs or replacements. Do it regularly, and your machine runs smoother, longer.
So set a reminder on your phone, grab that microfiber cloth, and give your Oreck the TLC it deserves. Your lungs—and your peace of mind—will thank you. And if you’ve been wondering how to clean air purifier Oreck in 2026 for best performance, now you’ve got a clear, step-by-step plan that actually works.
Happy breathing!
“`