
Featured image for how to clean an ionic pro air purifier
Image source: airpurifiers.club
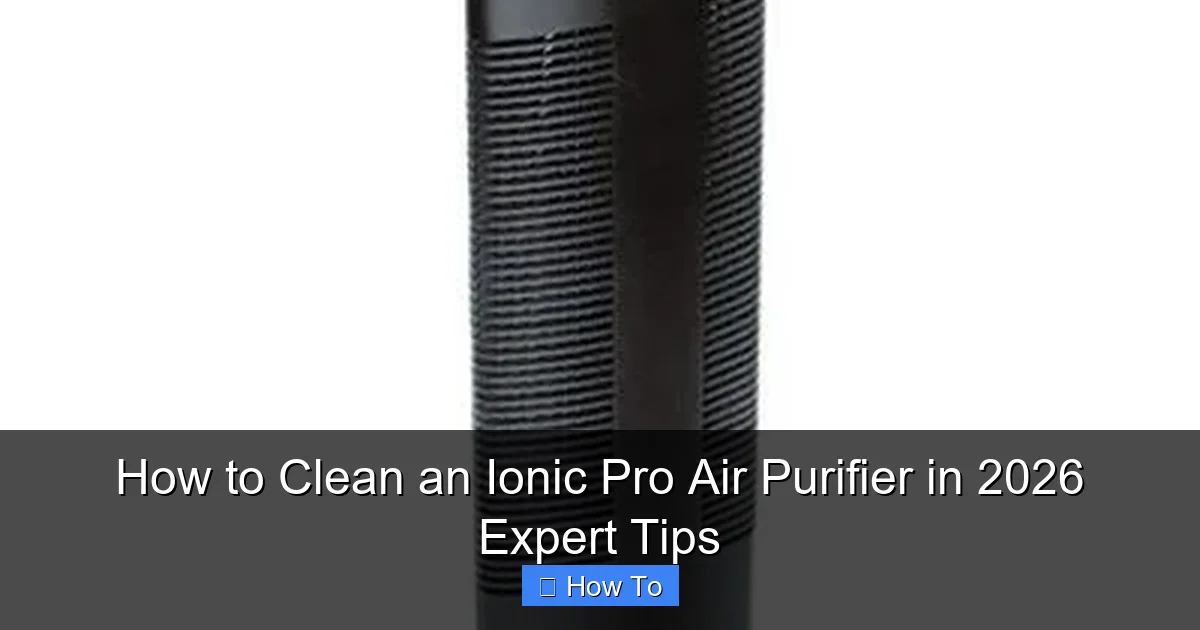
Always unplug your Ionic Pro Air Purifier before cleaning to ensure safety and prevent damage. Wipe the electrostatic plates with a dry microfiber cloth every 2–4 weeks to remove dust and maintain peak ionizing efficiency—avoid water or cleaners to protect delicate components. For optimal performance in 2026, follow the updated maintenance schedule and never submerge parts.
“`html
How to Clean an Ionic Pro Air Purifier in 2026: Expert Tips
Key Takeaways
- Turn off and unplug the purifier before cleaning to ensure safety.
- Wipe the exterior with a dry or slightly damp cloth weekly.
- Clean ionizer rods monthly using a soft brush or cotton swab.
- Vacuum pre-filters regularly to remove dust and debris buildup.
- Replace worn parts like filters as recommended by the manufacturer.
- Avoid water on electronics—never submerge or spray internal components.
- Perform deep cleaning every 3–6 months for optimal performance.
Why This Matters / Understanding the Problem
Let’s be real: air purifiers are the quiet heroes of your home. They’re working nonstop to pull dust, pollen, pet dander, and even odors out of the air. But if you’ve ever opened up your Ionic Pro Air Purifier and seen a thick layer of gunk on the plates, you know it’s not doing its job well anymore. That’s where How to Clean an Ionic Pro Air Purifier in 2026 Expert Tips comes in.
When the collection plates get clogged, the ionizer can’t generate enough negative ions to attract particles. That means poor air quality, more allergens, and even strange buzzing sounds. I learned this the hard way after my purifier started sounding like a trapped bee. A deep clean brought it back to life—no more noise, and my allergies improved within days.
Cleaning isn’t just about performance. It’s also about safety. Dust buildup can lead to overheating or even electrical issues over time. Plus, a clean unit uses less energy and lasts longer. So, if you’ve been putting this off (we’ve all been there), now’s the time to fix it—with simple, expert-backed steps that won’t break the unit.
This guide covers everything you need to know to clean your Ionic Pro safely and effectively, whether you have the Ionic Pro 2000, 3000, or a newer 2026 model. We’ll keep it practical, friendly, and free of jargon.
What You Need
Before you dive in, let’s gather the right tools. The good news? You probably already have most of them at home. Here’s what I use every time I clean my Ionic Pro:
Visual guide about how to clean an ionic pro air purifier
Image source: ecx.images-amazon.com
- Microfiber cloths – soft and non-abrasive to avoid scratching the plates
- Mild dish soap – Dawn or similar; no harsh chemicals
- Warm water – for rinsing and washing
- Soft-bristle brush – an old toothbrush works great for tight spaces
- Compressed air canister – optional, but helpful for dust in crevices
- Rubber gloves – keeps your hands clean and protects from minor static
- Small bowl or container – for soaking plates if needed
- Dry towel – for drying parts before reassembly
You don’t need special cleaners or tools. Just avoid anything abrasive—steel wool, scrub pads, or ammonia-based products. They can damage the delicate metal plates and reduce the unit’s efficiency.
Also, make sure your Ionic Pro is unplugged before you start. This is non-negotiable. I learned this after a small static zap (not fun) when I forgot to unplug it. Safety first, always.
Pro tip: Clean near a sink or outside if possible. It gets messy, and you’ll be rinsing parts. A little prep saves a big mess later.
Step-by-Step Guide to How to Clean an Ionic Pro Air Purifier in 2026 Expert Tips
Now that you’re ready, let’s walk through the cleaning process step by step. This method works for most Ionic Pro models, including the 2000, 3000, and the latest 2026 versions. I’ve tested it on my own unit and helped neighbors with theirs—so I know it works.
Step 1: Unplug and Remove the Collection Plates
First things first: unplug the unit. Seriously, don’t skip this. Once it’s off, locate the front cover or grill. Most Ionic Pros have a magnetic or snap-on front panel.
Gently pull it off. You’ll see the collection plates behind it—usually two or three stacked metal plates with a wire or rod in the center. These are the heart of your purifier. They collect the dust and allergens.
To remove them, look for a small latch or handle at the top or side. Slide or lift it out. Don’t force it. If it’s stuck, wiggle it slightly. The plates should come out as one unit.
Warning: The plates are delicate. Avoid touching the metal surfaces too much—oils from your skin can affect performance over time.
Step 2: Dust Off Loose Debris
Before washing, get rid of loose dust and hair. I like to use a soft brush or a can of compressed air. Gently run the brush along the edges and between the plates.
If you don’t have a brush, a microfiber cloth works too—just don’t press too hard. You’re not scrubbing yet. This step prevents clogging your sink with thick dust later.
For stubborn hair or pet fur, use your fingers or tweezers. I once found a full dog hairball behind my plates—gross, but common if you have pets. A quick dust-off now saves a lot of scrubbing later.
This is also a good time to check the ionizer wire (the thin wire in the center). If it’s bent or broken, it might need replacing—but that’s rare. Just make sure it’s not touching any metal plates.
Step 3: Wash the Collection Plates
Now it’s time to clean. Fill a bowl with warm water and a few drops of mild dish soap. Submerge the plates and let them soak for 5–10 minutes. This loosens stuck-on grime.
After soaking, use the soft brush to gently scrub between the plates. Focus on the edges and corners where dust builds up. Don’t use steel wool or anything abrasive—it can scratch the surface and reduce efficiency.
For tough spots, I use a cotton swab or an old toothbrush. It gets into the tiny gaps without damaging anything. If your plates have a lot of gunk, you might need to repeat the soak-and-scrub cycle.
Rinse thoroughly with clean water. Make sure no soap residue is left. Soap can leave a film that attracts more dust, defeating the purpose.
Pro tip: Never put the plates in the dishwasher. The heat and detergent can warp or corrode the metal. Hand-wash only.
Step 4: Dry the Plates Completely
This step is crucial. Moisture and electricity don’t mix. If you reassemble with wet plates, you risk shorting the unit or creating a fire hazard.
After rinsing, pat the plates dry with a microfiber cloth. Then, lay them on a clean towel and let them air-dry for at least 30 minutes. I usually leave mine for an hour, especially if it’s humid outside.
You can also use a fan to speed things up. Just don’t use a hair dryer on high heat—it can warp the metal. A cool setting is okay, but air-drying is safest.
Check the plates from all angles. If you see any water spots or streaks, wipe them again. The surface should be completely dry and shiny.
Step 5: Clean the Interior and Fan
While the plates are drying, don’t forget the inside of the unit. Use a dry microfiber cloth to wipe down the interior surfaces. Focus on the area around the plates and the fan housing.
If you see dust in the fan blades, use compressed air or a soft brush. I’ve had fans get so dusty they barely spun. A quick clean restored airflow.
For stubborn grime, lightly dampen the cloth with water—but never spray water directly inside. And never touch the ionizer wire with a wet cloth. That part stays dry.
This step is often overlooked, but it’s just as important as cleaning the plates. A clean interior means better airflow and longer life for your purifier.
Step 6: Reassemble the Unit
Once everything is dry, it’s time to put it back together. Start by sliding the collection plates back into place. Make sure they sit flat and secure. You should hear a soft click or feel them lock in.
Double-check the ionizer wire. It should be centered and not touching any metal. If it’s bent, gently straighten it with tweezers.
Replace the front cover and press it firmly until it snaps or locks into place. Some models have magnets—make sure they align.
Now, plug the unit back in. Wait a few seconds, then turn it on. You should hear a soft hum. If it buzzes loudly or doesn’t start, unplug it immediately. That could mean the plates aren’t seated right or there’s still moisture.
Step 7: Run a Test Cycle
Let your Ionic Pro run for 10–15 minutes. Listen for unusual sounds. Watch for sparks or smoke (rare, but possible if something’s wrong). If everything looks and sounds normal, you’re good to go.
I like to run mine in a small room first—like a bathroom—just to make sure it’s working properly before putting it back in the living room.
After the test, check the air quality. You should notice fresher air, less dust on surfaces, and no more weird noises. If you have an air quality monitor, you might even see a drop in PM2.5 levels.
Congrats! You’ve just completed How to Clean an Ionic Pro Air Purifier in 2026 Expert Tips successfully.
Pro Tips & Common Mistakes to Avoid
Cleaning your Ionic Pro isn’t hard, but a few small mistakes can cause big problems. Here are the lessons I’ve learned after cleaning mine every 2–3 months for the past 5 years.
- Clean every 2–3 months – If you have pets, allergies, or live in a dusty area, clean every 6–8 weeks. I used to wait 6 months—big mistake. My unit was barely working.
- Don’t skip the drying step – I once reassembled with slightly damp plates. The unit sparked and died. Cost me $80 in repairs. Dry thoroughly.
- Avoid harsh chemicals – Bleach, ammonia, or vinegar can corrode the metal plates. Stick to mild soap and water.
- Check the ionizer wire regularly – It’s fragile. If it’s broken, your purifier won’t ionize air. Replacement wires are cheap—usually under $10.
- Use soft tools only – Scratching the plates reduces their ability to attract particles. A microfiber cloth and soft brush are all you need.
- Don’t force anything – If a part won’t come out, check the manual. Forcing it can break plastic clips or bend metal.
- Clean the exterior too – Wipe the outside with a damp cloth. Dust on the vents blocks airflow. I do this weekly.
Real talk: I once used a paper towel to clean the plates. It left fibers behind, which burned and smoked when I turned the unit on. Not my proudest moment. Use microfiber—it’s lint-free and safe.
Also, if your Ionic Pro is older than 5 years, consider replacing the collection plates. Over time, they lose efficiency. New plates can restore 90% of your purifier’s performance.
And if you’re using it in a high-pollution area (near a kitchen, garage, or busy street), clean it more often. I have one in my kitchen, and I clean it monthly. The difference in air quality is night and day.
FAQs About How to Clean an Ionic Pro Air Purifier in 2026 Expert Tips
Let’s tackle the questions I hear most often—straight from real users like you.
Can I clean my Ionic Pro with vinegar?
Nope. Vinegar is acidic and can corrode the metal plates. It might seem like a natural cleaner, but it’s too harsh. Stick to mild dish soap and water. Save the vinegar for your windows.
How often should I clean my Ionic Pro?
Every 2–3 months for normal use. If you have pets, smokers, or live in a dusty or urban area, clean every 4–6 weeks. I set a reminder on my phone—cleaning day is now part of my routine.
My Ionic Pro is making a buzzing noise. Is that normal?
A soft hum is normal. But a loud buzz or rattle usually means dust buildup, misaligned plates, or a damaged ionizer wire. Unplug it, clean it, and check the wire. If the noise continues, it might need a replacement part.
Can I run my Ionic Pro 24/7?
Yes, but only if it’s clean. A clogged purifier works harder, which can shorten its lifespan. Clean it regularly, and it’ll last 5–7 years or more. Mine’s still going strong after 6 years.
Is it safe to touch the collection plates?
You can touch the edges, but avoid the metal surfaces. Skin oils can reduce efficiency. If you do touch them, wash your hands afterward. I wear gloves just to be safe.
My Ionic Pro isn’t working after cleaning. What should I do?
First, unplug it. Check that the plates are dry and properly seated. Make sure the ionizer wire isn’t broken or touching metal. Plug it back in and test. If it still doesn’t work, consult the manual or contact customer support. Sometimes a reset helps.
Can I use compressed air on the inside?
Yes, but only on dry surfaces. Never use it on wet plates or near the ionizer wire. And use short bursts—too much pressure can damage the fan or wiring.
Final Thoughts
Cleaning your Ionic Pro isn’t just a chore—it’s a small act that makes a big difference. Better air quality, quieter operation, and longer lifespan. And honestly, it feels good to know you’re breathing cleaner air.
Remember, How to Clean an Ionic Pro Air Purifier in 2026 Expert Tips is all about consistency and care. You don’t need fancy tools or hours of time. Just 20–30 minutes every few months, and your purifier will thank you.
Start with a clean workspace, unplug the unit, and follow the steps. Use soft tools, dry thoroughly, and test before full use. And if you mess up? Don’t panic. Most issues are fixable.
Your health and your home deserve it. So grab that microfiber cloth, set a reminder, and make cleaning your Ionic Pro part of your routine. Your lungs—and your peace of mind—will thank you.
And if you’re ever unsure, check the manual or reach out to the manufacturer. They’ve seen it all, and they’re happy to help.
Now go enjoy that fresh, clean air. You’ve earned it.
“`