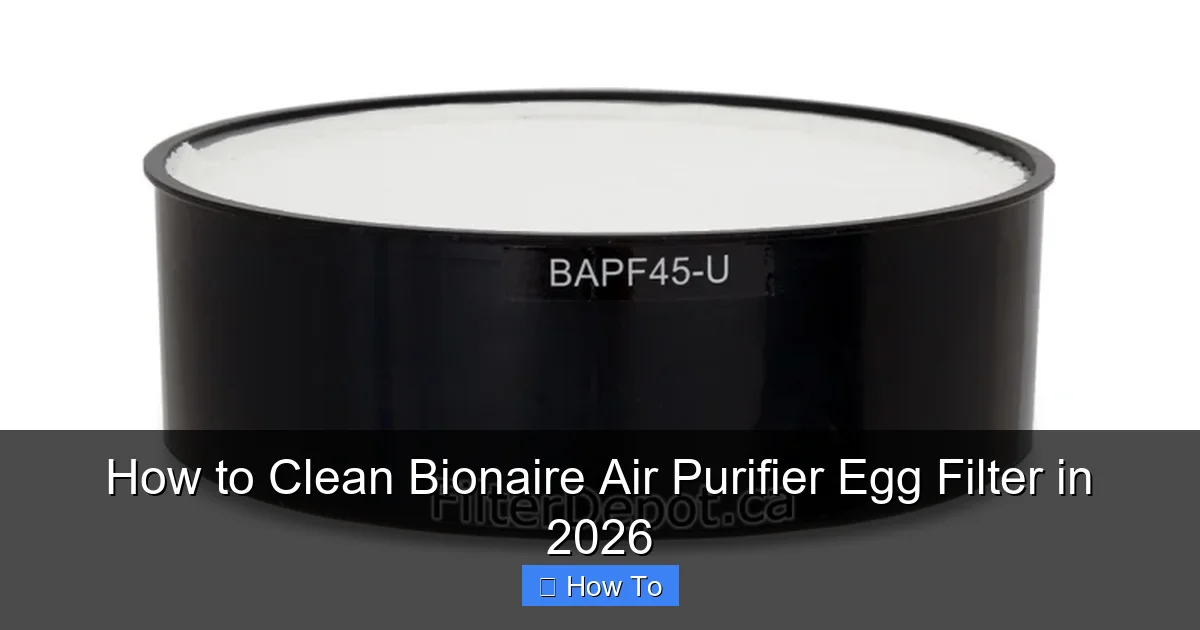
Featured image for how to clean bionaire air purifier egg filter
Image source: filterdepot.ca
Cleaning your Bionaire Air Purifier Egg Filter regularly is essential for optimal performance and improved air quality in 2026. To clean, simply remove the filter, rinse it gently under lukewarm water, and let it air dry completely before reinserting—never use soap or harsh chemicals that can damage the filter’s structure. This quick monthly maintenance ensures maximum efficiency and extends your purifier’s lifespan.
“`html
How to Clean Bionaire Air Purifier Egg Filter in 2026
Key Takeaways
- Unplug the purifier first to ensure safety before cleaning.
- Remove the egg filter gently to avoid damaging its delicate structure.
- Rinse with lukewarm water to remove dust and debris effectively.
- Air-dry completely before reinserting to prevent mold growth.
- Clean monthly for optimal performance and air quality.
- Replace if damaged to maintain purifier efficiency and longevity.
Why This Matters / Understanding the Problem
Let’s be honest: air purifiers are one of those appliances we love to use but forget to maintain. I learned this the hard way when my Bionaire Egg Air Purifier started sounding like a jet engine and my allergies flared up—again.
After some digging, I realized the issue wasn’t the machine itself but the filter. A clogged or dirty filter doesn’t just reduce efficiency; it can actually reintroduce dust and allergens into your room. That’s when I dove into how to clean Bionaire Air Purifier Egg Filter in 2026—and discovered it’s easier (and more important) than most people think.
Whether you’re a first-time owner or a long-time user, knowing the right way to clean your Bionaire Egg Filter ensures cleaner air, longer device life, and fewer sneezes. And yes, this applies even in 2026, when newer models still rely on the same core filter tech.
What You Need
Before you start, gather these simple tools. Nothing fancy—most are already in your kitchen or bathroom.
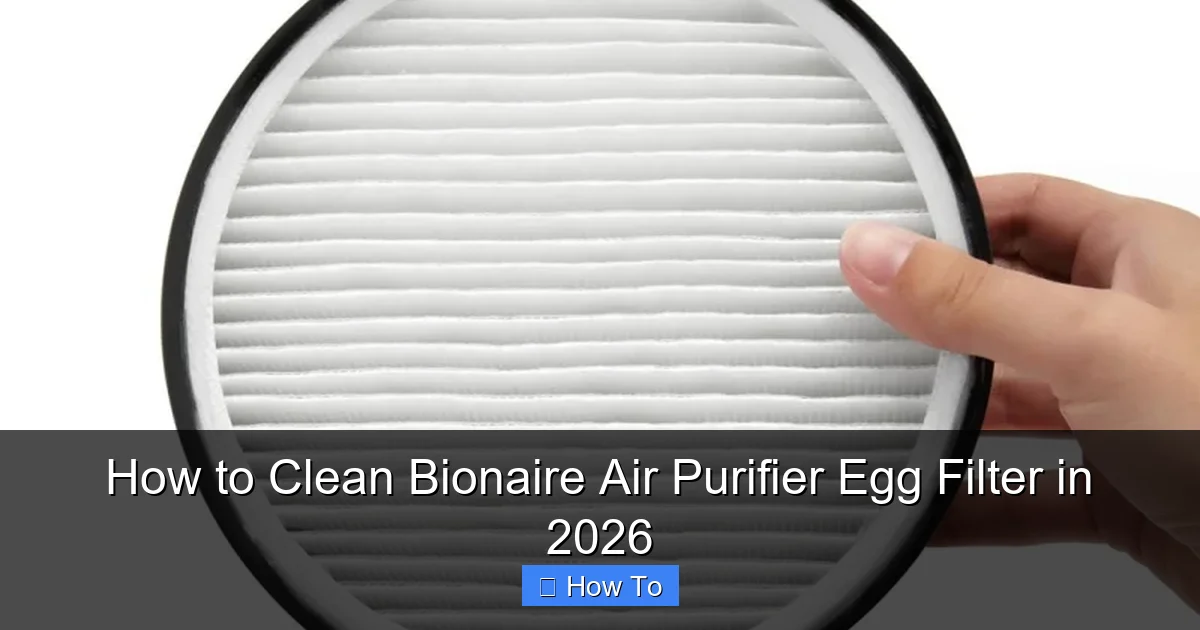
Visual guide about how to clean bionaire air purifier egg filter
Image source: filterdepot.ca
- Soft-bristle brush (like an old toothbrush or makeup brush)
- Microfiber cloth (lint-free is best)
- Mild dish soap (unscented, phosphate-free)
- Lukewarm water (never hot—warping is real)
- Vacuum with hose attachment (optional but super helpful)
- Clean towel (for drying)
- Small bowl or sink (for soaking)
You don’t need special cleaners or tools. The key is gentleness. This isn’t a dishwasher-safe item. Think of the filter like a sponge—it needs care, not scrubbing.
Pro insight: I once used a stiff brush and ended up tearing the foam layer. Now I keep a dedicated soft brush just for this. It’s saved me from buying a replacement filter twice.
Step-by-Step Guide to How to Clean Bionaire Air Purifier Egg Filter in 2026
Step 1: Power Off and Unplug the Unit
First things first: safety. Always turn off and unplug your Bionaire Egg Air Purifier before touching the filter. Even if it looks harmless, you don’t want it turning on mid-clean.
I learned this after a minor heart attack when the fan kicked on while I was holding the filter. Not fun.
Once it’s off, wait about 30 seconds to let any residual charge dissipate. Then, gently lift the top shell of the egg-shaped unit. Most models have a simple snap-on lid—no tools required.
Step 2: Remove the Pre-Filter (Foam Layer)
The Bionaire Egg has two main parts: the outer foam pre-filter and the inner HEPA-type filter (if your model includes one).
Start with the pre-filter. It’s the black or gray foam ring that wraps around the inner core. Gently pull it off—no force needed. If it’s stuck, wiggle it slightly. It’s designed to come off easily.
Hold it up to the light. If you see thick dust, pet hair, or discoloration, it’s definitely time to clean. This foam layer traps larger particles, so it gets dirty fast, especially if you have pets or live in a dusty area.
Cleaning the pre-filter regularly is the #1 thing you can do to extend the life of the main filter. It’s like giving your HEPA filter a bodyguard.
Step 3: Vacuum the Pre-Filter (Optional but Smart)
Before washing, use your vacuum’s hose attachment to remove loose debris. This step isn’t required, but it helps preserve the foam’s structure and reduces the amount of gunk going down your drain.
I do this every time—even for light cleaning. It only takes 30 seconds and makes the next step so much easier.
Use the lowest suction setting and gently run the nozzle over the foam. Don’t press hard. Think of it like vacuuming a delicate rug.
Warning: Never use compressed air or a high-power vacuum nozzle. I tried it once and nearly shredded the foam. Stick to low suction.
Step 4: Wash the Pre-Filter with Mild Soap and Water
Now for the main event. Fill a small bowl or sink with lukewarm water—no hotter than your hand can comfortably stand. Add a few drops of mild dish soap. Unscented is best; strong detergents can degrade foam over time.
Submerge the foam pre-filter and gently squeeze it like a sponge. Work in sections, focusing on dirty spots. Don’t twist or wring—this can tear the material.
Let it soak for 5–10 minutes if it’s really grimy. I’ve had filters that looked like they’d survived a dust storm—soaking made all the difference.
Rinse thoroughly under running water until the water runs clear. Squeeze out excess water, but again—no twisting. Just press gently.
Step 5: Dry the Pre-Filter Completely
This step is critical. A damp filter can grow mold or mildew, which defeats the whole purpose of an air purifier.
Lay the foam on a clean, dry towel. Roll the towel up and press down to absorb moisture. Then, unroll and let the filter air-dry for at least 12–24 hours.
Place it in a well-ventilated area, away from direct sunlight or heat sources. I use a small fan in a corner of my laundry room. It speeds things up without risking warping.
Never use a hair dryer, radiator, or microwave. I’ve seen forum posts about people doing this—please don’t. Heat damages the foam’s cell structure.
Step 6: Check the Inner HEPA Filter (If Applicable)
Not all Bionaire Egg models have a replaceable HEPA filter. If yours does (often labeled as “HEPA-type” or “True HEPA”), now’s the time to inspect it.
Remove it carefully. Hold it up to a light. If it’s dark gray or black, or you see visible mold, it’s time to replace it—not clean it. HEPA filters cannot be washed. Water ruins their microscopic fiber network.
If it’s just dusty, gently vacuum the surface with a soft brush attachment. Do this outside if possible—don’t let dust blow back into your home.
Pro tip: I keep a photo of my clean HEPA filter on my phone. I compare it every time I clean the pre-filter. It’s an easy way to track when replacement is due.
Step 7: Reassemble the Air Purifier
Once the pre-filter is completely dry, slide it back over the inner core. Make sure it sits evenly—no bunching or gaps. A poorly seated filter reduces airflow and efficiency.
Reattach the top shell of the egg. It should click into place. Give it a gentle wiggle to confirm it’s secure.
Plug the unit back in and power it on. You should hear a smooth hum, not rattling. If it sounds off, double-check that the filter is seated properly.
Let it run for 10–15 minutes. I like to do this in the bathroom with the door closed—it helps me notice any lingering musty smells from incomplete drying.
Step 8: Reset the Filter Indicator (If Your Model Has One)
Some Bionaire Egg models have a filter replacement light or timer. After cleaning, reset it according to your manual. This prevents false alerts later.
If there’s no indicator, mark your calendar. I set a recurring reminder every 2 months on my phone. It’s saved me from forgetting—again.
Remember: How to clean Bionaire Air Purifier Egg Filter in 2026 isn’t a one-time thing. It’s a habit. Think of it like brushing your teeth—small effort, big payoff.
Pro Tips & Common Mistakes to Avoid
After cleaning dozens of these filters (yes, I’ve helped friends and family), I’ve learned a few hard truths. Here’s what you really need to know.
1. Don’t Wash the HEPA Filter
This is the #1 mistake. HEPA filters are made of ultra-fine fibers. Water clogs the pores and ruins their ability to trap tiny particles. Once wet, they’re done.
Even if it looks salvageable, don’t risk it. Replacement is cheaper than breathing moldy air.
2. Never Use Bleach or Harsh Chemicals
I once thought bleach would “deep clean” the foam. Big mistake. It broke down the foam’s structure and left a chemical smell for days.
Stick to mild dish soap. It’s safe, effective, and won’t degrade the material.
3. Don’t Rush the Drying Process
I get it—you want your purifier back ASAP. But rushing to dry it with heat or stuffing it back in wet is a recipe for mold.
Patience pays. A 24-hour dry time might feel long, but it’s worth it. I’ve had filters that took 48 hours in humid climates. Just plan ahead.
4. Clean More Often If You Have Pets or Allergies
My cat sheds like it’s her job. In my house, I clean the pre-filter every 4–6 weeks, not 2–3 months.
If you have allergies, smokers in the house, or live in a dusty area, increase cleaning frequency. It makes a huge difference in air quality.
5. Keep a Cleaning Log
I use a simple spreadsheet: Date | Pre-Filter Cleaned | HEPA Checked | Notes. It helps me track patterns and avoid surprises.
For example, I noticed my filter gets dirtier in spring and fall—likely due to pollen. Now I clean it more often during those seasons.
6. Inspect the Fan and Vents
While the filter is out, take 2 minutes to wipe the fan blades and inner vents with a microfiber cloth. Dust buildup here reduces airflow.
I use a cotton swab for tight spots. It’s like giving your purifier a mini spa day.
7. Store Spare Filters Properly
If you keep a spare pre-filter (I do), store it in a sealed plastic bag in a cool, dry place. Avoid attics or basements—humidity and temperature swings ruin foam.
Label the bag with the purchase date. Foam degrades over time, even unused.
FAQs About How to Clean Bionaire Air Purifier Egg Filter in 2026
1. How often should I clean the Bionaire Egg filter?
For most homes, clean the pre-filter every 2–3 months. But if you have pets, allergies, or live in a dusty area, do it every 4–6 weeks. The HEPA filter (if present) should be replaced every 6–12 months, depending on use.
I clean mine every 8 weeks and replace the HEPA once a year. It’s a sweet spot for my lifestyle.
2. Can I use vinegar to clean the filter?
Technically yes, but I don’t recommend it. Vinegar can break down foam over time and leave a lingering smell. Mild soap and water are safer and just as effective.
If you’re worried about bacteria, the key is thorough drying, not harsh cleaners.
3. What if my filter is torn or damaged?
Replace it. A damaged pre-filter won’t trap particles properly, and a torn HEPA filter is useless. Check Bionaire’s website or Amazon for OEM replacements.
I keep a spare pre-filter on hand. It’s saved me during allergy season more than once.
4. Is it safe to run the purifier without the pre-filter?
No. The pre-filter protects the fan and inner components. Running without it can damage the motor and reduce efficiency. It’s like driving without a seatbelt—possible, but risky.
5. Why does my purifier smell musty after cleaning?
That’s a sign the filter wasn’t dried completely. Mold or mildew grows in damp foam. If it smells, wash it again, dry it longer (48+ hours), and run the purifier with the door closed for a few hours.
I once ignored a musty smell. A week later, my sinuses were worse than ever. Lesson learned.
6. Can I clean the filter in the dishwasher?
Absolutely not. High heat, harsh detergents, and spinning racks will destroy the foam. Stick to hand-washing.
I’ve seen this question a lot—please don’t try it. Your filter will be toast in minutes.
7. Does cleaning the filter really make a difference?
Yes. A clean filter improves airflow, reduces noise, and captures more particles. I noticed a huge difference in my purifier’s performance after my first deep clean. It went from wheezing to purring.
Think of it like a clogged vacuum hose—once it’s clear, everything works better.
Final Thoughts
Cleaning your Bionaire Air Purifier Egg Filter isn’t just about maintenance—it’s about breathing better. And honestly, it takes less than 30 minutes once you’ve done it a couple of times.
Remember: how to clean Bionaire Air Purifier Egg Filter in 2026 isn’t about perfection. It’s about consistency. A quick vacuum of the pre-filter every few weeks, a deep clean every couple of months, and a yearly HEPA check—that’s all it takes.
Don’t wait for the filter light to turn on. Don’t wait until you’re sneezing. Take 20 minutes this weekend. Your lungs will thank you.
And if you’re ever unsure, check your manual or Bionaire’s support site. But honestly, once you’ve done it once, you’ll wonder why you ever worried. It’s one of those “why didn’t I do this sooner?” moments.
So go ahead—unplug, clean, dry, and restart. Clean air is just a few steps away.
“`