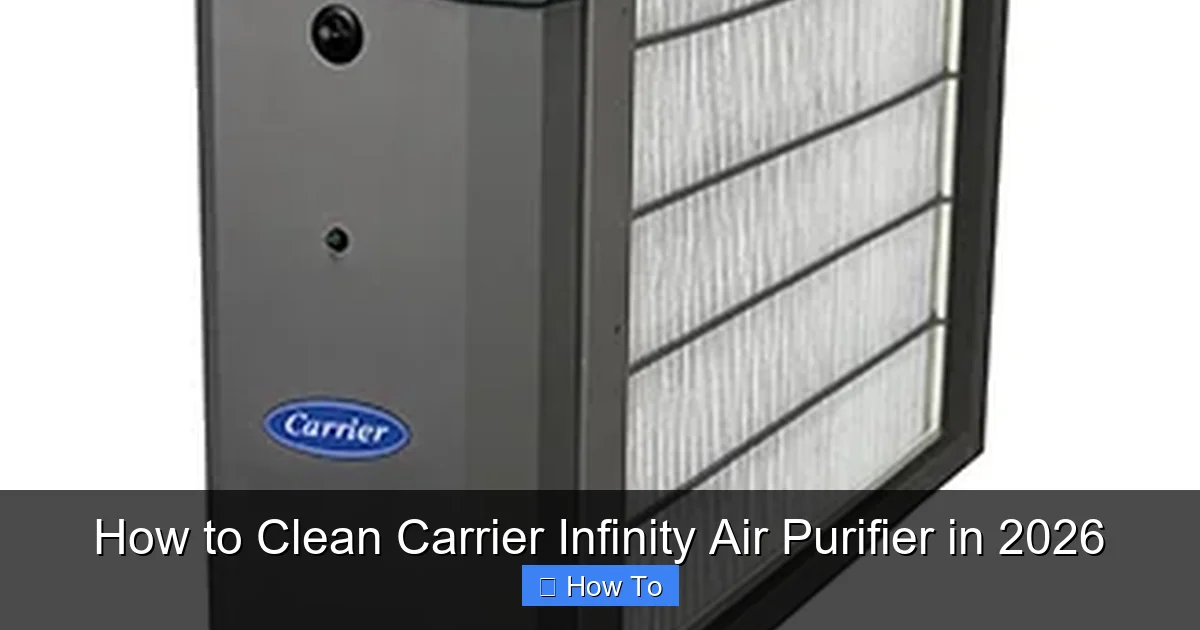
Featured image for how to clean carrier infinity air purifier
Image source: images.carriercms.com
Regularly cleaning your Carrier Infinity Air Purifier is essential to maintain peak performance and extend its lifespan in 2026. Follow the manufacturer’s step-by-step process—power down, remove and rinse the pre-filter, gently clean the HEPA and carbon filters (if washable), and wipe the unit’s interior with a dry cloth to prevent dust buildup. Never use harsh chemicals or submerge non-washable filters to avoid irreversible damage.
“`html
How to Clean Carrier Infinity Air Purifier in 2026
Key Takeaways
- Turn off and unplug the unit before cleaning for safety.
- Remove and rinse the pre-filter monthly with warm water.
- Vacuum the interior gently to remove dust buildup.
- Wipe the exterior with a damp cloth and mild cleaner.
- Replace filters as recommended by Carrier for optimal performance.
- Check for error codes after reassembly to ensure proper function.
Why This Matters / Understanding the Problem
Let’s be honest: we all love clean air, but how often do we think about what’s *inside* our air purifiers?
I learned this the hard way when my Carrier Infinity air purifier started making a weird humming noise last winter. At first, I ignored it—until the air smelled musty and my allergies flared up. That’s when I realized: a dirty purifier doesn’t clean the air. It *pollutes* it.
Over time, dust, pet hair, and allergens build up on filters and internal components. If you skip cleaning, the system works harder, wastes energy, and can even release trapped particles back into your home. That’s why knowing how to clean Carrier Infinity air purifier in 2026 isn’t just maintenance—it’s health.
Whether you’ve had your unit for six months or six years, this guide walks you through the process step by step. No jargon, no fluff. Just real talk from someone who’s been there (and accidentally broke a filter clip once—oops).
What You Need
Before you start, gather these supplies. Most are household items, so you likely already own them.
Visual guide about how to clean carrier infinity air purifier
Image source: econoairhc.com
- Soft microfiber cloth (lint-free, gentle on surfaces)
- Mild dish soap (unscented, no harsh chemicals)
- Warm water (not hot—never use boiling water)
- Soft-bristled brush (like an old toothbrush or paintbrush)
- Vacuum with brush attachment (for dust removal)
- Replacement filters (if your HEPA or carbon filters are due—check model number)
- Plastic gloves (optional, but keeps hands clean)
- Small flashlight (to inspect hard-to-see areas)
Note: Never use bleach, ammonia, or abrasive cleaners. They can damage internal parts and leave toxic residues. Also, avoid compressed air—it can push debris deeper into the unit.
Pro insight: I keep a cleaning kit in a shoebox under my purifier. It includes a spare microfiber cloth, a labeled filter reminder card, and a mini flashlight. Makes the whole process faster and less of a chore.
Step-by-Step Guide to How to Clean Carrier Infinity Air Purifier in 2026
Step 1: Turn Off and Unplug the Unit
Start by powering down the purifier. Hold the power button for 3 seconds (or flip the switch, depending on your model), then unplug it from the wall.
This isn’t just about safety—it also gives the internal fans time to stop completely. I once tried cleaning while the unit was in standby mode. Big mistake. The fan kicked on and sent dust flying everywhere.
Unplugging also prevents accidental activation during cleaning. Trust me: you don’t want to learn this lesson the hard way.
Step 2: Remove the Front Cover and Pre-Filter
Most Carrier Infinity models have a magnetic or snap-on front cover. Gently press the release tabs or lift from the bottom. You’ll see the pre-filter—a thin mesh screen that catches large debris like pet hair and dust bunnies.
Pull it out slowly. If it’s caked with gunk, don’t panic. That means it’s doing its job.
Rinse the pre-filter under warm running water. Use a soft brush to scrub gently. Avoid scrubbing too hard—those fibers can tear.
Warning: Never put the pre-filter in the dishwasher or washing machine. The heat and agitation can warp or damage it.
Let it air dry completely—about 30 minutes—before reinstalling. If it’s still damp, it can grow mold or restrict airflow.
Step 3: Vacuum the Interior and Fan Area
With the pre-filter out, you’ll see the main filter housing and fan. Use your vacuum’s brush attachment to remove loose dust from the interior walls, fan blades, and grilles.
Pay special attention to the fan blades. They’re often overlooked, but dust buildup here reduces efficiency and causes noise.
I like to use a flashlight to spot hidden dust pockets. Shine it from the side to see shadows—dust shows up like snow in a spotlight.
Don’t vacuum the main filters yet. We’ll handle them next.
Step 4: Inspect and Clean (or Replace) the Main Filters
Your Carrier Infinity typically has two main filters:
- HEPA filter: Captures 99.97% of particles as small as 0.3 microns (dust, pollen, mold spores).
- Activated carbon filter: Absorbs odors, VOCs, and gases (cooking smells, smoke, pet odors).
Check both filters. Look for discoloration, tears, or a strong odor. If the HEPA filter is gray or black, it’s likely clogged. If the carbon filter smells like a campfire, it’s saturated.
For HEPA filters: These are not washable. Use a soft brush to gently remove surface dust. If it’s damaged or over 12 months old, replace it.
For carbon filters: Also not washable. Tap it gently to dislodge loose particles, but if it’s over 6 months old or smells off, replace it.
Pro tip: Write the installation date on the filter with a permanent marker. I use a red dot for HEPA and blue for carbon. Makes tracking easy.
Replacement filters are model-specific. Check your user manual or the label inside the purifier. Common models include:
- Infinity 24ANB1
- Infinity 24ANB2
- Infinity 24ANB7
Buy OEM (original equipment manufacturer) filters when possible. Third-party knockoffs might fit, but they often lack the same efficiency and can void your warranty.
Step 5: Wipe Down the Exterior and Grilles
While the filters dry (or while waiting for replacements), clean the outside.
Mix a few drops of mild dish soap with warm water. Dip your microfiber cloth—never spray liquid directly on the unit.
Wipe the exterior, control panel, and intake/exhaust grilles. For tight grilles, use the soft brush to dislodge dust, then wipe with the damp cloth.
I once used a wet sponge on the control panel. The screen flickered and died. Lesson learned: always use a barely damp cloth, and never let water seep into buttons or vents.
For stubborn fingerprints, a 50/50 mix of water and white vinegar works well. Just don’t let it sit—wipe it off immediately.
Step 6: Clean the Air Quality Sensor (If Equipped)
Some Carrier Infinity models have an air quality sensor—a small circular port on the side or front.
Over time, dust can coat the sensor, making it read “clean air” even when it’s not. That’s why your purifier might stay on “low” mode in a smoky kitchen.
Use a dry cotton swab to gently wipe the sensor lens. No water, no soap. Just a light swipe.
If your model has a removable sensor cover, take it off and wipe both sides. I found a hair stuck in mine once—no wonder it was misreading!
Step 7: Reassemble and Test
Once everything is dry and clean, reassemble in reverse order:
- Reinsert the main filters (HEPA first, then carbon).
- Put the pre-filter back.
- Snap or magnetically reattach the front cover.
- Plug the unit back in.
Turn it on and listen. It should run quietly. If you hear rattling, double-check that all filters are seated properly.
Run it on high for 15 minutes to clear any residual dust. Then set it to auto or your preferred mode.
Check the air quality display (if your model has one). It should respond to changes—like when you open a window or light a candle.
Pro Tips & Common Mistakes to Avoid
Cleaning your purifier isn’t just about following steps—it’s about doing it right. Here’s what I’ve learned after cleaning mine every 2 months for the past 3 years.
Tip 1: Clean Every 2–3 Months (or More Often in High-Dust Homes)
Your schedule depends on your environment. If you have pets, live near a highway, or have allergies, clean every 6–8 weeks.
I set a phone reminder every 2 months. No excuses.
For low-traffic homes, every 3 months is fine. But don’t wait longer than 6 months—even if it looks clean. Filters degrade over time.
Tip 2: Never Skip the Pre-Filter
The pre-filter is the unsung hero. It takes the brunt of the dust, protecting your expensive HEPA filter.
I once skipped cleaning it for 4 months. The HEPA filter was clogged in half the time. Replacing it cost $80—more than the pre-filter cleaning effort!
Tip 3: Label Your Filters
As mentioned earlier, mark your filters with the install date. I use a Sharpie and a dot system. It’s simple, but it works.
Some people use phone apps or calendar alerts. Do what fits your routine.
Common Mistake: Using Water on HEPA or Carbon Filters
This is a big one. I’ve seen people hose down their HEPA filters. It’s a disaster.
Water destroys the fiber structure. The filter becomes less efficient and can grow mold when wet.
Same with carbon filters. Water washes away the activated charcoal, reducing odor absorption.
Warning: If a filter gets wet, replace it. Don’t try to dry it out. It’s not worth the risk.
Common Mistake: Forgetting the Fan
The fan is often ignored, but it’s critical. Dust buildup on the blades throws off balance, causing noise and vibration.
I once ignored mine for a year. The purifier sounded like a helicopter. A quick vacuum fixed it—but the noise had been driving my dog crazy!
Common Mistake: Reusing Old Filters Too Long
Filters have a lifespan. Even if they look okay, their efficiency drops after 6–12 months.
I used to push mine to 18 months. Then I bought an air quality monitor. It showed particle levels were 3x higher than when the filter was new. Oops.
Stick to the manufacturer’s recommendation. It’s there for a reason.
FAQs About How to Clean Carrier Infinity Air Purifier in 2026
Can I wash the HEPA filter in my Carrier Infinity air purifier?
Nope. The HEPA filter is made of delicate fibers. Water damages the structure, reducing efficiency. Instead, gently brush or vacuum the surface to remove dust. If it’s dirty, gray, or over 12 months old, replace it. This is a key part of how to clean Carrier Infinity air purifier in 2026—knowing what not to wash.
How often should I clean the pre-filter?
Every 2–3 months, or more often if you have pets, smoke, or live in a dusty area. The pre-filter catches big stuff, so it gets dirty fast. I clean mine monthly because I have two cats. It’s quick—under 5 minutes.
What if my air purifier smells bad after cleaning?
That’s usually from a dirty or expired carbon filter. It can’t absorb odors anymore and starts releasing them. Replace the carbon filter. Also, check for mold on the pre-filter or inside the unit—especially if it was damp. Wipe with a 50/50 vinegar-water mix, then dry thoroughly.
Can I use a hair dryer to speed up drying?
Only for the pre-filter—and only on cool setting. Never use heat. It can melt or warp the mesh. For filters or the interior, air dry only. Patience is key.
My purifier is making a loud noise after cleaning. What’s wrong?
Most likely, a filter isn’t seated properly. Turn it off, unplug it, and check that the pre-filter and main filters are flush with the housing. Also, make sure the fan isn’t hitting anything. If the noise persists, contact Carrier support.
Are third-party filters safe to use?
Some are okay, but many don’t meet the same standards. I’ve used a few “compatible” filters that were thinner and less effective. Stick with OEM filters for best performance. Your warranty might require it, too.
How do I know when to replace the filters?
Check the user manual, but generally:
- HEPA filter: Every 12 months
- Carbon filter: Every 6 months
- Pre-filter: Clean monthly; replace if torn or warped
Also, if your allergies worsen or the unit runs louder than usual, it’s a sign. An air quality monitor can help confirm.
Final Thoughts
Cleaning your Carrier Infinity air purifier isn’t rocket science—but it’s easy to skip. I get it. Life gets busy. But a few minutes every couple of months can make a huge difference in your air quality, energy bills, and even your sleep.
Remember: how to clean Carrier Infinity air purifier in 2026 starts with unplugging, cleaning the pre-filter, checking the main filters, and wiping down the exterior. It’s simple, but it works.
Set a reminder. Keep your supplies handy. And don’t wait until the unit sounds like a jet engine or your allergies flare up. Proactive cleaning keeps your purifier—and your home—breathing easy.
And hey, if you mess up? It’s okay. I’ve broken clips, soaked filters, and once vacuumed up a sock. We’ve all been there. The important thing is to start. Your lungs will thank you.
Now go give your purifier some love. It’s been working hard for you. Time to return the favor.
“`