
Featured image for how to clean clarifion mini air purifier
Image source: cleanestor.com
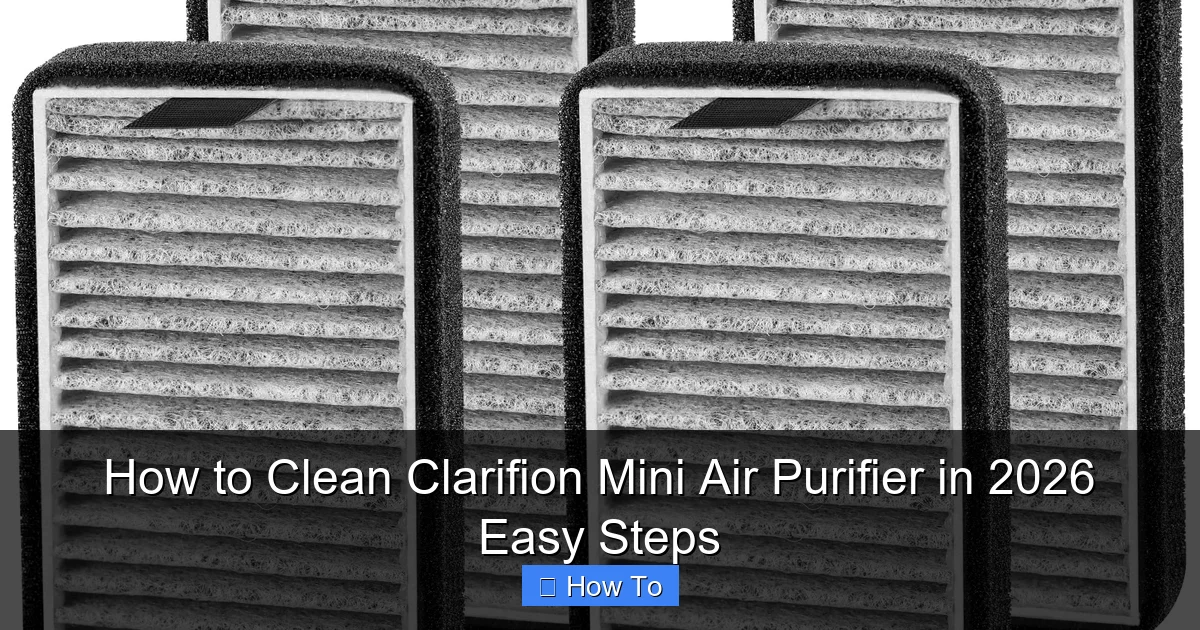
Clean your Clarifion Mini Air Purifier in under 10 minutes by unplugging it, removing the filter, and wiping the exterior and internal fan with a dry or slightly damp microfiber cloth—never use water or harsh chemicals to avoid damaging sensitive components. For optimal performance in 2026, repeat this simple cleaning every 2–4 weeks and replace the filter every 3–6 months.
“`html
How to Clean Clarifion Mini Air Purifier in 2026 Easy Steps
Let’s be honest—air purifiers are like the quiet heroes of our homes. They’re working 24/7 to keep the air fresh, especially if you’ve got pets, allergies, or just live in a city with more exhaust fumes than trees. I’ve had my Clarifion Mini Air Purifier for over a year now, and honestly? It’s been a game-changer. But here’s the thing: even the best gadgets need a little TLC. And if you’ve been wondering, “How do I clean Clarifion Mini Air Purifier in 2026 easy steps?”—you’re in the right place.
I used to ignore the maintenance part. Out of sight, out of mind, right? But then I noticed it wasn’t working as well. The air didn’t feel as crisp, and honestly, it started making a weird humming noise. That’s when I realized: cleaning your air purifier isn’t optional—it’s essential. And the good news? It’s way easier than you think. In this guide, I’ll walk you through exactly how to clean Clarifion Mini Air Purifier in 2026 easy steps, so you can keep breathing easy without the hassle.
Key Takeaways
- Unplug the device before cleaning to ensure safety and prevent electrical damage.
- Remove the filter gently to avoid tearing or damaging sensitive components.
- Vacuum the exterior weekly to remove dust and maintain optimal airflow.
- Wipe surfaces with a damp cloth—never use harsh chemicals or submerge parts.
- Replace the filter every 6 months or as recommended for peak performance.
- Reassemble carefully to ensure proper function and avoid air leaks.
Why This Matters / Understanding the Problem
Think of your Clarifion Mini like a vacuum cleaner for the air. Over time, it pulls in dust, pet dander, pollen, and even tiny bits of smoke. All that gunk builds up inside—especially in the filters and vents. If you don’t clean it regularly, your purifier has to work harder, uses more energy, and eventually loses effectiveness. Worse, a dirty unit can start blowing *dirty* air back into your room. Yikes.
I learned this the hard way. One summer, my allergies were worse than ever—even with the purifier on. I finally opened it up and found a thick layer of dust clogging the pre-filter. No wonder it wasn’t helping! That’s when I committed to a regular cleaning routine. Now, I clean mine every two weeks, and the difference is night and day. The air feels fresher, the unit runs quieter, and I haven’t had a single allergy flare-up since.
Cleaning your Clarifion Mini isn’t just about performance—it’s about longevity. A well-maintained unit lasts longer, saves you money on replacements, and keeps your indoor air quality at its best. Whether you’re dealing with seasonal allergies, pet fur, or just want cleaner air, knowing how to clean Clarifion Mini Air Purifier in 2026 easy steps is a must.
What You Need
Before we dive in, let’s gather the essentials. Don’t worry—you probably already have most of these at home. Here’s what I use every time I clean my Clarifion Mini:
Visual guide about how to clean clarifion mini air purifier
Image source: m.media-amazon.com
- Soft microfiber cloth – Great for wiping down surfaces without scratching.
- Mild dish soap – Gentle enough for electronics, tough enough for grime.
- Warm water – Lukewarm is best—hot water can warp plastic parts.
- Soft-bristled toothbrush – Perfect for getting into tight corners and vents.
- Compressed air (optional) – Helps blow out dust from hard-to-reach areas.
- Vacuum with brush attachment (optional) – Great for sucking up loose dust before wiping.
- Replacement filters (if needed) – Check your model—some Clarifion Minis use washable filters, others need replacing.
Pro tip: Always unplug your purifier before cleaning. Safety first! I learned that lesson after a minor shock incident (don’t ask). Also, avoid harsh chemicals like bleach or ammonia—they can damage the plastic and leave harmful residues.
Step-by-Step Guide to How to Clean Clarifion Mini Air Purifier in 2026 Easy Steps
Now, let’s get into the nitty-gritty. I’ve broken this down into simple, no-fuss steps that take less than 15 minutes. Whether you’re a cleaning newbie or a seasoned pro, this method works every time. Let’s go!
Step 1: Turn Off and Unplug the Unit
First things first—safety. Always turn off your Clarifion Mini and unplug it from the wall. I can’t stress this enough. Even if the power button is off, there’s still a small chance of electrical current. Unplugging eliminates any risk.
While you’re at it, give the outside a quick once-over. If it’s been sitting on a dusty shelf or near a window, wipe down the exterior with a dry microfiber cloth. This prevents dirt from falling inside when you open it up.
Step 2: Remove the Front Cover and Pre-Filter
Now, locate the front cover of your Clarifion Mini. Most models have a snap-on design—just gently press the sides or top and pull it away. If you’re not sure, check the user manual (or look for small tabs near the edges).
Once the cover is off, you’ll see the pre-filter. This is the first line of defense against large particles like hair and dust. Depending on your model, it might be a mesh screen or a foam-like layer. Carefully lift it out.
I like to tap the pre-filter over a trash can to loosen any loose debris. Then, if it’s washable (most are), rinse it under lukewarm water. Use a drop of mild dish soap if it’s really grimy. Gently scrub with your fingers or a soft toothbrush, then rinse thoroughly.
Let it air dry completely—this is crucial. Never put a wet filter back in. I usually set mine on a clean towel near a window. It takes about 30 minutes to an hour, depending on humidity.
Step 3: Clean the Interior Vents and Fan Blades
With the pre-filter removed, you’ll have access to the inner chamber. This is where dust loves to hide. Use your soft-bristled toothbrush to gently scrub around the vents and fan blades. Be careful—those blades are delicate!
If there’s stubborn buildup, dampen the toothbrush slightly with soapy water. Wipe away the residue, then use a dry part of the cloth to remove any moisture. For tight spots, a cotton swab works wonders.
Optional: Use compressed air to blow out dust from crevices. I do this every other cleaning—it’s quick and effective. Just hold the can upright and spray in short bursts.
Step 4: Wipe Down the Interior and Exterior Surfaces
Now, take your microfiber cloth and wipe down the inside of the front cover and the main housing. I use a slightly damp cloth with a tiny bit of soap for sticky spots, then follow up with a dry cloth to prevent moisture buildup.
Don’t forget the exterior! Wipe the top, sides, and base. If your Clarifion Mini has a control panel, use a dry cloth—never spray liquid directly on it. A slightly damp cloth is fine, but make sure it’s not dripping.
I also check the power cord and plug for dust. It’s easy to overlook, but dust there can affect performance over time.
Step 5: Reassemble and Test
Once everything is dry, it’s time to put your Clarifion Mini back together. Start by placing the clean, dry pre-filter back into position. Make sure it sits flat and secure—no gaps or folds.
Snap the front cover back on. You should hear a soft click when it’s properly seated. Plug the unit back in and turn it on.
Listen for smooth operation. If it’s quieter and the airflow feels stronger, you’ve done it right! I usually run mine on the lowest setting for 10 minutes to make sure everything’s working before going back to normal use.
Pro Tips & Common Mistakes to Avoid
Cleaning your Clarifion Mini is simple, but there are a few pitfalls to watch out for. Here’s what I’ve learned from trial and error:
Pro Tip: Clean your pre-filter every 2 weeks if you have pets or live in a dusty area. For lighter use, once a month is fine. But don’t wait too long—clogged filters reduce efficiency fast.
Warning: Never soak the main unit or submerge any part in water. The Clarifion Mini isn’t waterproof, and moisture can damage the internal electronics.
Common Mistake: Putting a damp filter back in. I made this mistake once and noticed a musty smell the next day. Always let filters dry completely—rushing this step can lead to mold.
Pro Tip: Keep a cleaning log. I use a sticky note on the unit with the last cleaning date. It’s a simple way to stay on track without relying on memory.
Common Mistake: Using paper towels. They leave lint behind and can scratch surfaces. Stick to microfiber—it’s gentler and more effective.
Also, if your Clarifion Mini has a HEPA or carbon filter (not all models do), check the manual. These usually aren’t washable and need replacing every 6–12 months. Don’t try to clean them—just replace them when needed.
FAQs About How to Clean Clarifion Mini Air Purifier in 2026 Easy Steps
Got questions? I’ve got answers. Here are the most common ones I hear from friends and online forums.
Q: How often should I clean my Clarifion Mini Air Purifier?
A: I recommend cleaning the pre-filter every 2–4 weeks, depending on usage. If you have pets, allergies, or live in a dusty area, go with every 2 weeks. The exterior can be wiped down weekly.
Q: Can I wash the HEPA filter in my Clarifion Mini?
A: It depends on the model. Some Clarifion Minis use washable pre-filters, but HEPA filters are typically not washable. Check your user manual. If it says “replace only,” don’t try to clean it—just swap it out when needed.
Q: My Clarifion Mini is making a rattling noise. Is that normal?
A: Not really. A clean unit should run quietly. Rattling usually means dust is stuck in the fan or the filter isn’t seated properly. Open it up, clean the fan blades, and make sure everything is snapped in place.
Q: Can I use vinegar to clean my air purifier?
A: I wouldn’t recommend it. Vinegar is acidic and can damage plastic over time. Stick to mild soap and water—it’s safer and just as effective for most cleaning jobs.
Q: How do I know if my filter needs replacing?
A: If the filter looks dark, smells musty, or the purifier isn’t pulling in air as well, it’s time for a new one. Also, most manufacturers recommend replacing non-washable filters every 6–12 months.
Q: Can I clean my Clarifion Mini with a wet wipe?
A: Only if it’s labeled as safe for electronics. Many wet wipes contain alcohol or chemicals that can damage the surface. I stick to a damp microfiber cloth with a drop of soap—gentler and more controlled.
Q: Will cleaning my air purifier improve air quality?
A: Absolutely! A clean unit works more efficiently, captures more pollutants, and uses less energy. I noticed a big difference in air freshness after my first deep clean.
Final Thoughts
Cleaning your Clarifion Mini Air Purifier doesn’t have to be a chore. With these easy steps, you can keep it running like new—without spending hours or calling a technician. I used to dread maintenance, but now it’s part of my monthly routine, like changing the sheets or watering my plants.
Remember, the key is consistency. A little effort every few weeks goes a long way in maintaining performance, improving air quality, and extending the life of your device. And if you’ve been putting it off, now’s the perfect time to start.
So grab your microfiber cloth, unplug that unit, and give your Clarifion Mini the love it deserves. Your lungs—and your peace of mind—will thank you. And the next time someone asks, “How to clean Clarifion Mini Air Purifier in 2026 easy steps?”—you’ll know exactly what to say.
“`