Featured image for how to clean claro 4 in 1 air purifier
Image source: smartshopping.guide
Regularly cleaning your Claro 4 in 1 Air Purifier every 2–4 weeks ensures peak performance and longer filter life. Follow the manufacturer’s guide to safely remove, vacuum, and wipe down the pre-filter, HEPA, and activated carbon filters—never use water on non-washable components to prevent damage and maintain air quality.
“`html
How to Clean Claro 4 in 1 Air Purifier in 2026
Key Takeaways
- Unplug the unit before cleaning to ensure safety.
- Remove and rinse the pre-filter monthly under warm water.
- Wipe the HEPA filter gently with a dry cloth—do not wash.
- Clean the ionizer plates with a soft brush to maintain efficiency.
- Use a damp cloth to wipe the exterior and control panel.
- Reassemble only when dry to prevent damage or mold growth.
- Schedule deep cleaning every 3–6 months for optimal performance.
Why This Matters / Understanding the Problem
Let’s be honest—air purifiers are like the unsung heroes of our homes. They quietly work behind the scenes, trapping dust, pollen, pet dander, and even odors, so we can breathe easier. But here’s the thing: if you don’t clean your Claro 4 in 1 Air Purifier regularly, it starts working against you instead of for you.
I learned this the hard way last winter. My allergies were worse than ever, even though my Claro was running nonstop. Turns out, the filters were clogged with gunk, and the unit was just blowing stale, dirty air back into the room. Once I finally gave it a proper deep clean? Game changer. My sinuses cleared up, and the air actually felt fresher.
Cleaning your Claro 4 in 1 Air Purifier isn’t just about maintenance—it’s about performance, longevity, and your health. In 2026, with indoor air quality becoming more important than ever (thanks, wildfire season and rising pollution levels), keeping your purifier in top shape is non-negotiable. Whether you’ve had yours for a few months or a couple of years, knowing how to clean Claro 4 in 1 Air Purifier in 2026 ensures you’re getting the most out of your investment.
Plus, a clean unit uses less energy, runs quieter, and lasts longer. So let’s roll up our sleeves and get into it—no fancy tools or engineering degree required.
What You Need
Before we dive into the step-by-step process, let’s gather our supplies. The good news? You probably already have most of these at home.
Visual guide about how to clean claro 4 in 1 air purifier
Image source: i.pinimg.com
- Microfiber cloths – These are gentle on surfaces and won’t leave lint behind.
- Mild dish soap – Nothing harsh or abrasive. Just a drop of Dawn or similar will do.
- White vinegar – Great for breaking down grease and mineral buildup without chemicals.
- Soft-bristle brush – An old toothbrush works perfectly for tight spaces.
- Vacuum cleaner with a brush attachment – For sucking up loose dust before wiping.
- Distilled water – Tap water can leave mineral deposits; distilled keeps things clean.
- Replacement filters (if needed) – Check your model—some Claro 4 in 1 units use HEPA and carbon filters that need swapping every 6–12 months.
- Rubber gloves (optional) – If you’re sensitive to dust or cleaning solutions.
That’s it! No specialty kits or expensive cleaners. Just simple, effective tools that get the job done right.
Step-by-Step Guide to How to Clean Claro 4 in 1 Air Purifier in 2026
Step 1: Turn Off and Unplug the Unit
First things first—safety. Always turn off your Claro 4 in 1 Air Purifier and unplug it from the wall before cleaning. Even if it seems obvious, I’ve made the mistake of wiping a unit while it was still humming. Not fun. Electricity and water don’t mix, and we want this process to be smooth, not shocking.
Give the unit a minute to cool down if it’s been running. Warm motors and electronics can be sensitive, and sudden temperature changes aren’t kind to internal components.
Step 2: Remove the Front Panel and Filters
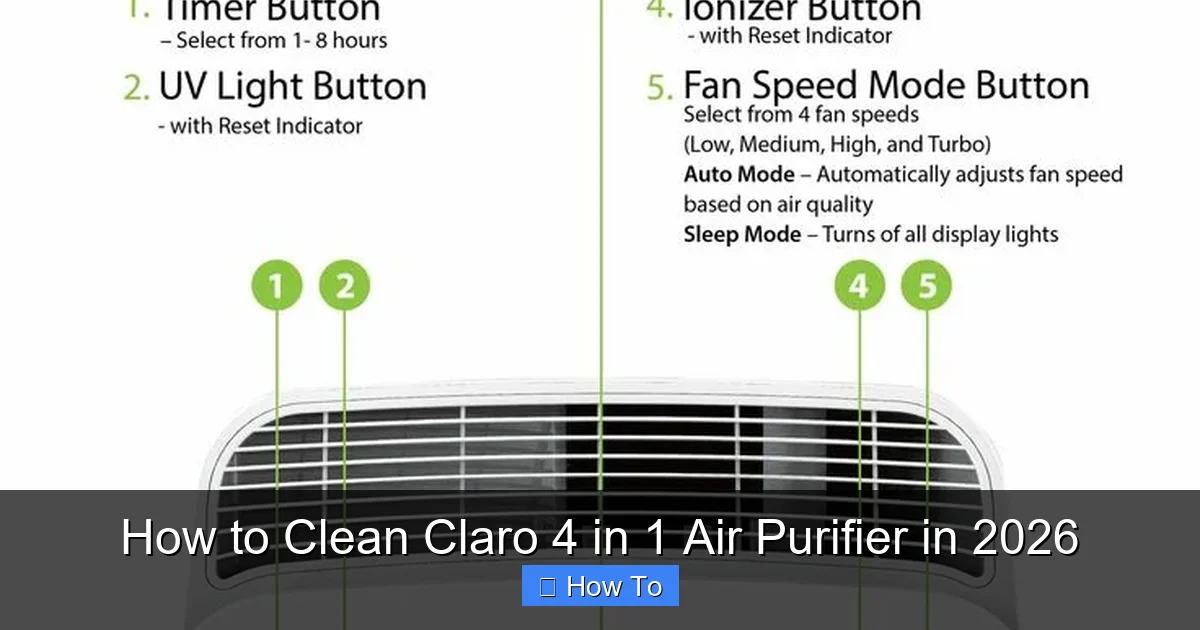
Now, gently remove the front cover. On most Claro 4 in 1 models, this panel snaps off with light pressure—usually along the bottom or sides. Look for small tabs or grooves. If you’re unsure, check your user manual (or snap a quick photo before removing so you remember how it goes back).
Once the panel is off, you’ll see the filters. The Claro 4 in 1 typically uses a multi-stage system: a pre-filter (for large particles), a HEPA filter (for fine allergens), and sometimes a carbon filter (for odors and VOCs). Carefully pull each one out by the edges. Avoid touching the filter media itself—oils from your skin can degrade performance over time.
Set the filters aside on a clean towel. We’ll clean or replace them in a later step.
Step 3: Vacuum the Interior and Fan Blades
With the filters out, you’ll likely see dust bunnies, pet hair, and general grime inside the unit. Grab your vacuum with the brush attachment and gently suction out the interior. Pay special attention to the fan blades—they collect a surprising amount of debris and can throw off the balance if too dirty.
Don’t press too hard. The fan assembly is delicate, and you don’t want to bend or misalign anything. Just a light pass should lift most of the loose gunk.
If your model has a washable pre-filter (often the outermost layer), you can vacuum that too—or rinse it separately (we’ll cover that next).
Step 4: Clean the Washable Pre-Filter
The pre-filter is your first line of defense, catching hair, dust, and larger particles before they reach the finer filters. Most Claro 4 in 1 units include a reusable, washable pre-filter—so don’t toss it!
Rinse it under lukewarm water. Use a drop of mild dish soap if it’s really grimy. Gently rub it between your fingers (or use that soft-bristle brush) to loosen embedded dirt. Avoid hot water—it can warp the mesh.
Once clean, shake off excess water and let it air-dry completely on a clean towel. Never reinstall a wet filter—moisture can breed mold or damage the HEPA layer. I usually leave mine overnight to be safe.
Step 5: Wipe Down the Interior and Exterior
While the pre-filter dries, tackle the inside and outside of the unit. Mix a solution of 1 part white vinegar and 2 parts distilled water in a spray bottle. Lightly mist a microfiber cloth (not the unit directly—we don’t want liquid seeping into electronics).
Wipe down the interior walls, the area around the fan, and any accessible crevices. Vinegar cuts through grease and disinfects naturally. For stubborn spots, use the soft brush dipped in the solution.
For the exterior, use the same cloth (or a fresh one) to wipe the front panel, sides, and base. Pay attention to the air intake and outlet vents—dust loves to accumulate there. A quick pass with the vacuum brush attachment beforehand helps.
Pro tip: Avoid harsh cleaners like bleach or ammonia. They can degrade plastic parts and leave toxic residues that get blown into your room.
Step 6: Inspect and Replace Non-Washable Filters
Now, take a close look at your HEPA and carbon filters. If they’re visibly dirty, discolored, or have been in use for 6–12 months (check your manual for specifics), it’s time to replace them.
HEPA filters aren’t washable—they’re made of tightly packed fibers that trap microscopic particles. Once clogged, they can’t be revived. Trying to rinse one will ruin it.
Carbon filters also lose effectiveness over time as their pores fill up with odors and chemicals. If your home has pets, smokers, or strong cooking smells, you might need to replace them more often.
When buying replacements, make sure they’re compatible with your exact Claro 4 in 1 model. Generic filters might fit, but they won’t perform as well. I learned this after buying a cheap third-party HEPA that let dust right through.
Step 7: Reassemble the Unit
Once everything is dry and clean, it’s time to put your purifier back together. Start by placing the clean (or new) pre-filter into its slot. Make sure it’s seated properly—no gaps or folds.
Next, insert the HEPA and carbon filters in the correct order. Most units have labels or notches to guide you. If you took a photo earlier, now’s the time to reference it.
Snap the front panel back into place. Give it a gentle press around the edges to ensure it’s secure. You shouldn’t hear any rattling when you tilt the unit slightly.
Step 8: Plug In and Test
Finally, plug your Claro 4 in 1 Air Purifier back in and turn it on. Start on the lowest setting and listen—does it sound smoother than before? Is the airflow stronger?
Run it for about 15–20 minutes and notice the difference. You might even smell the cleaner air right away, especially if you used vinegar (the scent fades quickly).
If something seems off—unusual noises, weak airflow, or error lights—double-check that all filters are properly installed and the panel is fully closed.
Pro Tips & Common Mistakes to Avoid
Over the years, I’ve made my share of cleaning blunders. Here’s what I wish I’d known sooner:
Pro Tip: Clean your pre-filter every 2–4 weeks, even if it doesn’t look dirty. Prevention is easier than deep cleaning later.
Warning: Never soak the entire unit or submerge any electronic parts. Water damage isn’t covered under warranty—and it’s a fire hazard.
Common Mistake: Skipping the vacuum step. Wiping alone won’t remove embedded dust. Always vacuum first, then wipe.
Pro Insight: Keep a cleaning calendar. I set a phone reminder every month to check the pre-filter and every 6 months for a full deep clean. Consistency keeps performance high.
Don’t Forget: Clean the area around your purifier too. Dust on nearby shelves or carpets gets sucked in, shortening filter life.
Also, if you have pets, consider cleaning more frequently. Pet hair and dander clog filters faster than you’d think. My cat-loving friends swear by weekly pre-filter rinses.
FAQs About How to Clean Claro 4 in 1 Air Purifier in 2026
Q: How often should I clean my Claro 4 in 1 Air Purifier?
A: For most homes, clean the washable pre-filter every 2–4 weeks and do a full deep clean every 3–6 months. If you have pets, allergies, or live in a dusty area, lean toward the shorter end of that range.
Q: Can I wash the HEPA filter?
A: No—HEPA filters are not washable. They’re designed to trap ultra-fine particles, and water will destroy their structure. Replace them as recommended (usually every 6–12 months).
Q: What if my Claro 4 in 1 has a “filter replacement” light?
A: That light is based on runtime, not actual filter condition. It’s a good reminder, but trust your eyes and nose too. If the air feels stale or the unit struggles, replace the filters even if the light hasn’t come on.
Q: Is vinegar safe to use inside the purifier?
A: Yes—as long as you use a diluted solution (1:2 vinegar to water) and only apply it to non-electronic parts. Wipe, don’t spray. The acetic acid evaporates quickly and leaves no residue.
Q: My purifier smells musty after cleaning. What’s wrong?
A: That usually means moisture got trapped. Make sure all filters and parts are 100% dry before reassembling. Run the unit on high for an hour to air it out. If the smell persists, check for mold in hard-to-reach areas.
Q: Can I use compressed air to clean the fan?
A: It’s not recommended. Compressed air can force dust deeper into the motor or damage delicate blades. Gentle vacuuming is safer and just as effective.
Q: Do I need to clean the outside of the unit?
A: Absolutely! Dust on the exterior blocks airflow and makes the fan work harder. A quick wipe-down weekly keeps things running efficiently.
Final Thoughts
Cleaning your Claro 4 in 1 Air Purifier might seem like a chore, but it’s one of the best things you can do for your health and your home. Think of it like changing the oil in your car—it’s routine maintenance that prevents bigger problems down the road.
By following this guide on how to clean Claro 4 in 1 Air Purifier in 2026, you’ll keep your unit running like new, extend its lifespan, and breathe cleaner air every single day. Plus, it only takes about 20–30 minutes once you get the hang of it.
So grab those microfiber cloths, fire up the vacuum, and give your purifier the TLC it deserves. Your lungs—and your Claro—will thank you.
“`