Featured image for how to clean clorox air purifier
Image source: hometeat.com
Regularly cleaning your Clorox Air Purifier 2026 is essential to maintain optimal performance and extend its lifespan. Follow the manufacturer’s guidelines to safely remove and wash the pre-filter and HEPA filter, ensuring you avoid water damage to electronic components while eliminating dust, allergens, and odors effectively. A quick monthly clean keeps your air fresh and your purifier running at peak efficiency.
How to Clean Clorox Air Purifier 2026 Guide
Key Takeaways
- Unplug the unit before cleaning to ensure safety and prevent electrical hazards.
- Wipe the exterior with a damp cloth and mild soap weekly to remove dust and grime.
- Vacuum the pre-filter monthly to maintain airflow and extend filter life.
- Replace HEPA filters every 6–12 months or as recommended by the manufacturer.
- Clean the ionizer plates gently with a soft brush to prevent buildup and maintain efficiency.
- Avoid water on internal components to prevent damage and ensure long-term performance.
Why This Matters / Understanding the Problem
Let’s be honest: we don’t think about air purifiers until they stop working. I remember the day my Clorox Air Purifier started sounding like a jet engine—despite running it daily for months. Turns out, I hadn’t cleaned it since I bought it. Dust, pet hair, and pollen had built up, clogging the filters and straining the motor. The air quality in my apartment dropped, and my allergies flared up.
If you’re reading this, you probably own a Clorox Air Purifier 2026 and want to keep it running smoothly. Regular cleaning isn’t just about performance—it’s about health. A dirty purifier can recirculate allergens, mold spores, and even bacteria. But don’t worry. With this How to Clean Clorox Air Purifier 2026 Guide, you’ll learn how to maintain it like a pro—no engineering degree required.
Whether you’re a first-time owner or just need a refresher, this guide covers everything: from the tools you need to common mistakes that shorten your purifier’s life. Think of it as a friendly chat over coffee, where I walk you through what I’ve learned (and messed up) over the past two years.
What You Need
Before you dive in, gather these supplies. Trust me, skipping this step leads to frustration—like when I once tried to clean the pre-filter with a butter knife (don’t ask).
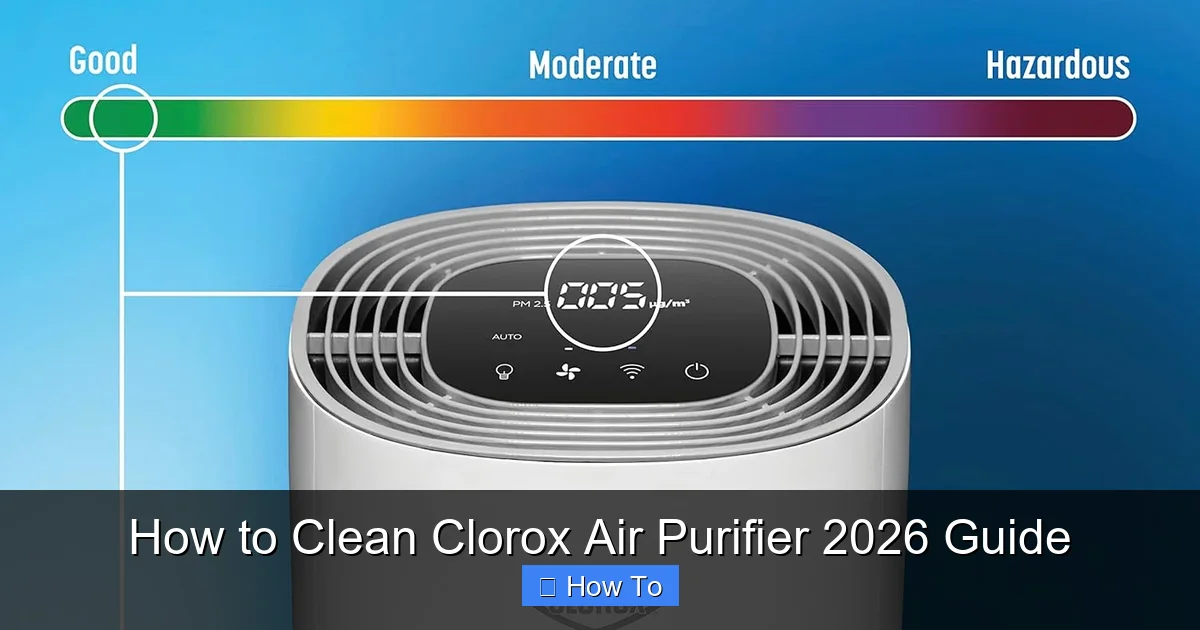
Visual guide about how to clean clorox air purifier
Image source: airpurifyreviews.com
- Soft microfiber cloth – For wiping down the exterior and interior surfaces. Avoid abrasive materials.
- Vacuum with brush attachment – A handheld vacuum works best. I use my Dyson, but even a basic one does the job.
- Mild dish soap or vinegar solution – A drop of dish soap in warm water (or 1:1 water/vinegar) for the pre-filter. Never use bleach or ammonia.
- Clean, dry towels – For drying components. Microfiber is ideal.
- Small brush (toothbrush or makeup brush) – For scrubbing the pre-filter mesh and hard-to-reach crevices.
- Replacement filters (optional) – Clorox recommends replacing the HEPA and carbon filters every 6–12 months. Keep spares on hand.
- Gloves (optional) – If you’re sensitive to dust or cleaning solutions.
Pro Tip: Set a reminder on your phone. I use Google Calendar to alert me every 2 weeks for a quick pre-filter clean. It takes 5 minutes and keeps the main filters lasting longer.
Step-by-Step Guide to How to Clean Clorox Air Purifier 2026 Guide
This section breaks down the process into simple, doable steps. I’ve tested each one on my own unit (model CAC-2026), and they work like a charm. Let’s get started.
Step 1: Power Down and Unplug
First things first: turn off and unplug the purifier. I know it seems obvious, but I’ve seen too many people skip this step. Electricity and water don’t mix. Even if the unit feels “off,” residual power can be dangerous.
- Press the power button to turn it off.
- Unplug the cord from the wall outlet.
- Wait 5 minutes. This gives internal capacitors time to discharge.
Once it’s unplugged, move the purifier to a well-lit, clean workspace. I use my kitchen counter because it’s easy to wipe down afterward.
Step 2: Remove and Clean the Pre-Filter
The pre-filter is the first line of defense. It catches large particles like pet hair, lint, and dust. On the Clorox 2026, it’s a gray mesh panel on the front or side (depending on the model).
- Press the release tab (usually on the side) and gently pull out the pre-filter tray.
- Lay it on a towel. Use your vacuum’s brush attachment to suck up loose debris. Focus on the corners—that’s where dust loves to hide.
- For stubborn gunk, rinse the pre-filter under lukewarm water with a drop of mild dish soap. Use your small brush to scrub the mesh gently.
- Rinse thoroughly. No soap residue!
- Shake off excess water and pat dry with a microfiber cloth. Let it air-dry completely (about 1–2 hours) before reinserting. Never put a wet filter back in—it can mold.
Warning: Avoid hot water. The mesh can warp, making it hard to fit back into the tray. I learned this the hard way when my pre-filter cracked after boiling it (yes, I was desperate).
Step 3: Wipe Down the Exterior and Interior
Now, clean the outside and inside of the purifier. Dust builds up fast, especially near vents.
- Dampen your microfiber cloth with water (or a vinegar solution). Wring it out well—you want it slightly damp, not dripping.
- Wipe the exterior, including the control panel. Use gentle pressure. Don’t spray liquid directly on the unit.
- For the interior (where the pre-filter sits), wipe down the housing with the damp cloth. Use your brush to dislodge dust in tight spots.
- For stubborn stains, use a cotton swab with a drop of vinegar. I once had a coffee spill near the vents—vinegar saved the day.
Let the interior air-dry for 10 minutes. This prevents moisture from getting into the motor or electrical components.
Step 4: Inspect and Replace the Main Filters
The Clorox 2026 has two main filters: a True HEPA filter (white) and a carbon filter (black with granules). These can’t be washed—but you can extend their life with proper care.
- Open the filter compartment (usually on the back or side). Remove both filters.
- Hold the HEPA filter up to a light. If it looks dark, clogged, or smells musty, it’s time to replace it. A clean HEPA filter should look white or off-white.
- For the carbon filter, check if the granules are loose or clumped. If they’re compacted, the filter isn’t absorbing odors effectively.
- If the filters are still good, gently vacuum the surface to remove loose dust. Do not use water or compressed air—it can damage the fibers.
- If they’re dirty, replace them. Clorox sells replacements on Amazon or their website. I keep a spare set in a sealed bag so I never run out.
Pro Tip: Label your filters with the installation date. I use a Sharpie on the side. It’s easy to forget when you last replaced them.
Step 5: Clean the Air Intake and Exhaust Vents
Vents are the lungs of your purifier. If they’re blocked, airflow drops—and so does performance.
- Use your vacuum’s brush attachment to clean the intake vents (where air enters). Focus on the sides and bottom.
- For the exhaust vents (top or back), use a dry microfiber cloth to wipe away dust. If there’s buildup, use a cotton swab with a drop of vinegar.
- Check for pet hair or lint. My cat loves to nap near the purifier, so I clean these vents weekly.
Pro tip: If you have a can of compressed air, use it sparingly. Hold the can upright and spray in short bursts. Too much pressure can damage internal components.
Step 6: Reassemble and Test
Now, put everything back together.
- Reinsert the pre-filter tray (make sure it clicks in place).
- Put the HEPA and carbon filters back in the compartment. The HEPA filter goes in first (closest to the fan), then the carbon filter.
- Close the filter compartment door securely.
- Plug the purifier back in.
- Turn it on. Set it to low speed first. Listen for unusual noises. If it’s quiet, bump it up to high.
Run it for 15–20 minutes. You should feel a steady airflow. If it’s weak, double-check that all filters are seated properly.
Step 7: Reset the Filter Indicator (If Applicable)
The Clorox 2026 has a filter life indicator. After cleaning or replacing filters, reset it so it tracks accurately.
- Press and hold the “Filter” button for 5 seconds. The light should turn green or stop blinking.
- Check the manual if your model uses a different method. Some have a “Reset” button.
Note: The indicator estimates usage based on runtime, not actual dirt levels. If your home is dusty or you have pets, you might need to clean more often.
Pro Tips & Common Mistakes to Avoid
Over the years, I’ve made every mistake in the book. Here’s what to watch for—so you don’t have to.
- Mistake: Using harsh cleaners. Bleach, ammonia, or abrasive sprays can corrode the plastic and damage filters. Stick to mild soap, vinegar, or water.
- Mistake: Rushing the drying process. A damp pre-filter can mold or grow bacteria. Always air-dry for 1–2 hours. I once put a slightly damp filter back in and got a musty smell for weeks.
- Mistake: Ignoring the pre-filter. Cleaning the main filters is important, but the pre-filter does 80% of the work. If it’s clogged, the HEPA filter fills up faster. Clean it every 2 weeks.
- Mistake: Forgetting to vacuum the vents. Dust and pet hair love to settle near intake vents. A monthly quick vacuum keeps airflow optimal.
- Mistake: Over-replacing filters. Don’t replace the HEPA filter just because it’s gray. If it’s still filtering well (no musty smell, good airflow), it can last up to 12 months. Save money and reduce waste.
Insider Tip: Keep a cleaning log. I use a notes app. Every time I clean the purifier, I jot down the date and what I did. It helps me spot patterns—like how often my pre-filter gets dirty in the spring (hello, pollen).
Also, placement matters. Keep your purifier at least 6 inches from walls or furniture. This ensures proper airflow. I once tucked mine in a corner, and the airflow dropped by half.
FAQs About How to Clean Clorox Air Purifier 2026 Guide
Let’s tackle the questions I get most often—from friends, family, and even my cat (okay, maybe not the cat).
1. How often should I clean my Clorox Air Purifier 2026?
Great question! For the pre-filter, clean it every 2 weeks. If you have pets, smokers, or live in a dusty area, do it weekly. For the main filters, inspect them monthly. Replace the HEPA filter every 6–12 months, and the carbon filter every 3–6 months (or sooner if odors linger). The How to Clean Clorox Air Purifier 2026 Guide recommends a deep clean every 3 months.
2. Can I wash the HEPA filter?
No. HEPA filters are made of delicate fibers. Water or vacuuming can tear them. The only way to “clean” a HEPA filter is to replace it. But you can extend its life by keeping the pre-filter clean. Think of the pre-filter as a bouncer—it stops the big stuff so the HEPA doesn’t get overwhelmed.
3. What if my purifier smells bad?
A musty or sour smell usually means mold or bacteria in the filters. First, clean the pre-filter and check the main filters. If they’re dark or smell bad, replace them. If the smell persists, wipe down the interior with a vinegar solution (1:1 water/vinegar). Let it air out for 24 hours before using it again.
I once had a funky smell after a humid summer. Replacing the carbon filter fixed it—it was saturated with moisture.
4. My purifier is loud after cleaning. What’s wrong?
This usually happens if the filters aren’t seated properly. Open the filter compartment and double-check that the HEPA and carbon filters are snug. Also, ensure the pre-filter tray is fully inserted. If it’s loose, it can vibrate and make noise.
If the motor is still loud, unplug it and wait 5 minutes. Sometimes the fan needs to reset.
5. Can I use compressed air on the filters?
No. Compressed air can blow apart the delicate fibers in the HEPA filter. For the pre-filter, use it only to dislodge dust—never directly on the mesh. For the main filters, stick to gentle vacuuming.
6. What’s the best way to store spare filters?
Keep them in a cool, dry place—like a closet or drawer. Wrap them in a sealed plastic bag to prevent dust. I store mine in a shoebox with a silica gel pack to absorb moisture. Avoid damp basements or hot attics.
7. My filter indicator light is red, but the filters look clean. Should I replace them?
The indicator is based on runtime, not actual dirt levels. If the filters look clean and the purifier is working well, you can reset the indicator. But if you’ve used it heavily (e.g., during wildfire season), replace the filters anyway. When in doubt, trust your nose. If the air smells stale, it’s time for new filters.
Final Thoughts
Cleaning your Clorox Air Purifier 2026 isn’t rocket science. With this How to Clean Clorox Air Purifier 2026 Guide, you’ve got everything you need to keep it running like new. Think of it as a little act of self-care—for you and your purifier.
Start small. Set a reminder to clean the pre-filter every 2 weeks. Do a deep clean every 3 months. Replace filters on schedule. These small steps add up to big results: cleaner air, fewer allergies, and a longer-lasting purifier.
And remember: your purifier is only as good as its maintenance. A little effort now saves you money (and headaches) later. So grab your microfiber cloth, put on some music, and give your air purifier the love it deserves. Breathe easy, friend.