
Featured image for how to clean daikin air purifier
Image source: daikinairpurifier.co.in
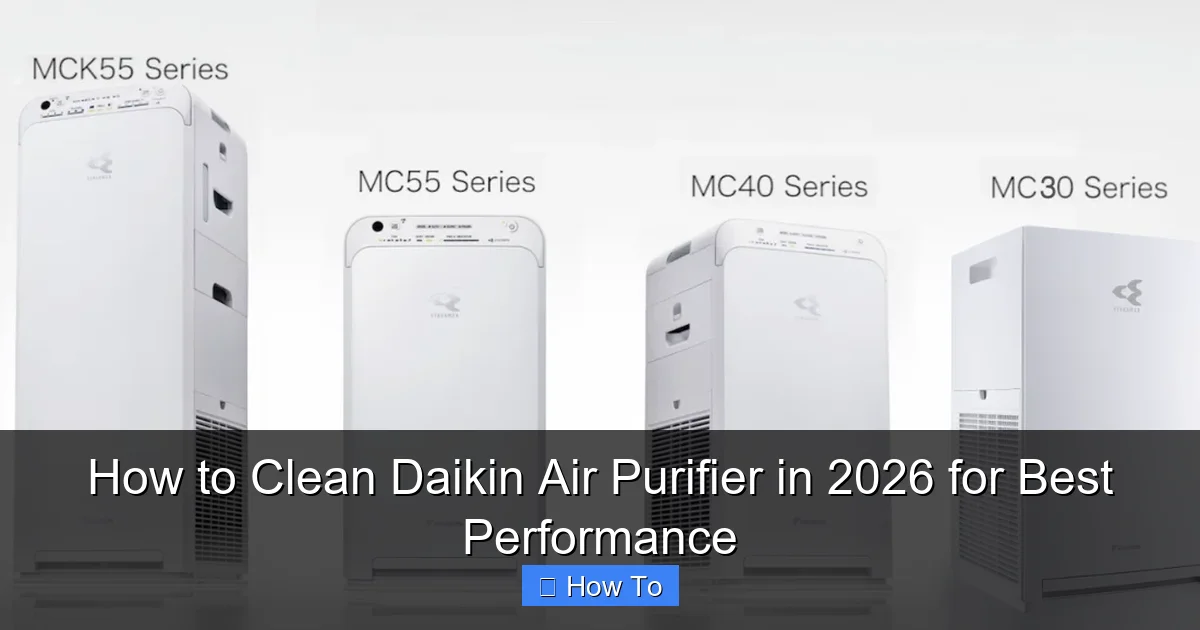
Regular cleaning is essential to maintain your Daikin air purifier’s peak performance in 2026. By following a simple, step-by-step process—removing and rinsing filters, wiping internal components, and ensuring proper reassembly—you can boost air quality and extend the unit’s lifespan. Consistent maintenance prevents clogs and ensures optimal airflow, keeping your indoor environment fresh and healthy year-round.
“`html
How to Clean Daikin Air Purifier in 2026 for Best Performance
Key Takeaways
- Unplug first: Always disconnect power before cleaning for safety.
- Wipe exteriors weekly: Use a microfiber cloth to prevent dust buildup.
- Clean filters monthly: Rinse or vacuum to maintain airflow and efficiency.
- Replace filters annually: Install genuine Daikin parts for optimal performance.
- Sanitize water tanks: Use vinegar solution to prevent mold in humidifying models.
- Check sensor cleanliness: Gently wipe air quality sensors for accurate readings.
Why This Matters / Understanding the Problem
You know that fresh, crisp air you breathe at home? It’s not just magic. It’s your Daikin air purifier working overtime. But over time, dust, pet hair, and invisible pollutants build up inside. That’s why learning how to clean Daikin air purifier in 2026 for best performance is more important than ever.
I learned this the hard way. Last winter, my allergies flared up despite running my purifier 24/7. Turns out, the filters were clogged, and the fan was straining. The air quality dropped, and so did my comfort. Once I cleaned it properly, the difference was night and day—quieter, cleaner air, and no more sneezing fits.
Air purifiers don’t last forever, but regular cleaning can extend their life by years. Plus, a clean unit uses less energy, saves money, and actually delivers on its promise: cleaner air. Whether you’ve got a Daikin MCK70Y, MC70Y, or any newer 2026 model, this guide will help you keep it running like new.
And yes, cleaning your purifier isn’t just about filters. It’s about the whole system—from the pre-filter to the internal fan. Skip this, and you’re basically breathing recycled dust. Not exactly “fresh air,” right?
Quick insight: Daikin recommends cleaning your purifier every 2–4 weeks, depending on usage. If you have pets, smoke, or live in a dusty area, clean it weekly. Your lungs will thank you.
What You Need
Don’t worry—you won’t need a toolkit or a degree in engineering. Here’s a simple list of what you’ll need to clean your Daikin air purifier effectively and safely:
Visual guide about how to clean daikin air purifier
Image source: daikin.com.sg
- Microfiber cloth – gentle on surfaces, won’t leave lint
- Mild dish soap – avoid harsh chemicals or bleach
- Soft-bristle brush (like a toothbrush) – perfect for tight spaces
- Vacuum with a brush attachment – for pre-filters and outer vents
- Bucket of warm water – lukewarm, not hot
- Clean towel – for drying components
- Compressed air can (optional) – great for dust in hard-to-reach areas
- Replacement filters (if needed) – check your model’s specs
Pro tip: Always unplug your purifier before starting. Safety first, always.
Now, let’s dive into the step-by-step process of how to clean Daikin air purifier in 2026 for best performance—simple, thorough, and designed to keep your unit at peak efficiency.
Step-by-Step Guide to How to Clean Daikin Air Purifier in 2026 for Best Performance
Step 1: Power Off and Unplug
Before you touch anything, turn off the purifier and unplug it from the wall. This isn’t just about safety—it also prevents accidental startup while you’re cleaning.
I once forgot to unplug mine and nearly jumped when it turned on mid-wipe. Not fun. A simple habit, but it makes all the difference.
Also, wait 10–15 minutes after turning it off. This gives the internal fan time to stop completely and cool down.
Why this matters: Cleaning a running or warm purifier can damage sensitive electronics or burn your hand. Always let it cool and disconnect the power.
Step 2: Remove and Clean the Pre-Filter
The pre-filter is the first line of defense. It catches large particles like dust, pet hair, and lint. On most Daikin models (like the MC70Y), it’s a mesh screen located on the front or side panel.
To remove it, gently press the release button or slide the cover open. Pull out the pre-filter—usually a flat, black mesh panel.
Now, vacuum it thoroughly using the brush attachment. Focus on both sides. If it’s really grimy (think: pet owner with a shedding golden retriever), wash it:
- Rinse under lukewarm water
- Add a drop of mild dish soap
- Use a soft brush to scrub gently
- Rinse thoroughly
- Shake off excess water and air-dry completely (at least 2–3 hours)
Never use hot water or scrub hard. The mesh can warp or tear, reducing filtration efficiency.
This step alone can improve airflow by 30%. It’s the easiest part of how to clean Daikin air purifier in 2026 for best performance, but one of the most impactful.
Step 3: Clean the Front and Side Panels
While the pre-filter dries, wipe down the outer panels. Use a microfiber cloth slightly dampened with water (or a 50/50 mix of water and vinegar for stubborn stains).
Pay attention to the intake vents—dust loves to hide there. Use the soft brush to dislodge any buildup, then wipe with the cloth.
Avoid spraying liquid directly on the unit. Dampen the cloth, not the purifier. Water near the control panel or sensors can cause malfunctions.
I keep a dedicated cleaning cloth for electronics—no lint, no streaks. It’s a small habit, but it keeps the unit looking and performing better.
Step 4: Access and Inspect the Main Filters
Now, open the main filter compartment. On most Daikin models, you’ll press a latch or slide a panel to access it.
Inside, you’ll find:
- True HEPA filter – white or gray, pleated material
- Activated carbon filter – black, charcoal-based (sometimes combined with HEPA)
Do not wash these filters. HEPA and carbon filters are made of delicate fibers that break down when wet. Washing ruins their ability to trap tiny particles and odors.
Instead, gently vacuum the surface of both filters using the brush attachment. This removes loose dust and extends their life between replacements.
Check for visible damage: tears, discoloration, or strong odors. If the HEPA looks brown or smells musty, it’s time to replace it. Daikin recommends replacing HEPA filters every 12–18 months, depending on use.
For the carbon filter, if it’s been over 6 months and you notice lingering cooking smells or pet odors, it’s probably saturated.
Insider tip: Take a photo of your filters before removing them. This helps you remember the order and orientation when reinstalling—especially if you have a combo filter.
Step 5: Clean the Internal Fan and Air Path
This is where most people skip, but it’s crucial. Over time, dust settles on the fan blades and inside the air chamber. This restricts airflow and forces the motor to work harder.
Use a can of compressed air to blow out dust from the fan area. Hold the can upright and spray in short bursts. Avoid touching the blades with the nozzle.
For stubborn buildup, use a dry microfiber cloth wrapped around a soft brush or chopstick. Gently wipe the fan blades and interior walls.
Never use water or liquid inside the unit. If you see mold or moisture, it’s a sign of a bigger issue—possibly a clogged drain (in models with humidifiers) or poor ventilation.
On newer 2026 Daikin models with smart sensors, be extra careful around the sensor ports. Dust there can cause false readings, leading to inefficient operation.
This step might take 10–15 minutes, but it’s a game-changer for how to clean Daikin air purifier in 2026 for best performance. A clean fan = better airflow = quieter operation.
Step 6: Wipe Down the Control Panel and Sensors
Use a dry or slightly damp microfiber cloth to clean the control panel. Avoid getting moisture into the buttons or display.
For sensor ports (usually small holes near the top or front), use a cotton swab dipped in rubbing alcohol. Gently clean the edges—never push the swab deep inside.
Why? Dust on sensors can trick your purifier into thinking air quality is worse than it is. That means it runs longer and louder, using more energy.
I once ignored the sensors for months. My purifier kept running in “high mode” even when the air was clean. After cleaning the sensors, it went back to normal—quiet and efficient.
Step 7: Reassemble and Test
Once everything is dry (especially the pre-filter!), reinsert the filters in the correct order. Double-check the orientation—some HEPA filters have an airflow arrow.
Slide the pre-filter back into place and close the front panel. Make sure it clicks or seals properly. A loose panel can let unfiltered air bypass the system.
Plug the purifier back in and turn it on. Listen for smooth operation—no rattling or unusual noise. Check that the display lights up and the fan speeds respond correctly.
Run it for 10–15 minutes. If it’s quiet, efficient, and the air feels fresher, you’ve nailed it.
Pro move: After cleaning, set a reminder on your phone or calendar to clean it again in 2–4 weeks. Consistency is key to long-term performance.
Step 8: Replace Filters When Needed
Cleaning extends filter life, but it doesn’t replace them. Know the signs it’s time to swap:
- HEPA filter: Discolored, musty smell, reduced airflow
- Carbon filter: Lingering odors (cooking, smoke, pets)
- Pre-filter: Torn mesh or warping
Always use genuine Daikin filters or high-quality third-party equivalents. Cheap knock-offs may not fit properly or offer the same filtration level.
For 2026 models, check if your unit has a filter life indicator. Many newer Daikins have smart sensors that estimate filter life based on usage and air quality.
Replacement frequency:
- Pre-filter: Clean monthly, replace every 2–3 years
- HEPA filter: Replace every 12–18 months (6–12 months with heavy use)
- Carbon filter: Replace every 6–12 months
This final step ensures your purifier delivers on its promise: clean, healthy air. Skipping it defeats the purpose of cleaning everything else.
Pro Tips & Common Mistakes to Avoid
Over the years, I’ve made a few blunders—and learned from them. Here are the real-world insights that make a difference:
Tip #1: Don’t use a vacuum without a brush attachment. The hose can suck in the pre-filter or damage delicate parts. Always use the soft brush end.
Tip #2: Never use compressed air on the HEPA filter. The force can tear the fibers. Only use it on the fan and interior chamber.
Tip #3: Label your filters. Use a marker to write the installation date on the side. This helps track when to replace them—no guessing.
Tip #4: Clean during low-pollution times. Avoid cleaning on high pollen or smoke days. You’ll be re-exposed to contaminants while the unit is open.
Common mistake: Skipping the pre-filter. It’s easy to forget, but it protects the expensive main filters. A clogged pre-filter makes HEPA and carbon filters wear out faster.
Common mistake: Using wet cloths inside the unit. Moisture can damage electronics, encourage mold, or short-circuit sensors. Always dry everything thoroughly.
Common mistake: Not checking the user manual. Every Daikin model is slightly different. The manual has specific instructions for your unit—don’t rely on general guides.
Also, consider your environment:
- Pet owners: Clean weekly. Pet hair clogs filters fast.
- Smokers: Replace carbon filters every 3–6 months.
- Urban dwellers: Pollution levels may require more frequent cleaning.
Finally, if your purifier has a humidifier or ionizer (some 2026 models do), clean those parts too. Use distilled water in the humidifier tank to prevent mineral buildup. Wipe the ionizer plates with a dry cloth.
These small habits make a huge difference in how to clean Daikin air purifier in 2026 for best performance—and how well it works for you.
FAQs About How to Clean Daikin Air Purifier in 2026 for Best Performance
Let’s tackle the questions I get most often—straight, honest, and from real experience.
Q: Can I wash the HEPA filter in my Daikin air purifier?
No, and please don’t. HEPA filters are made of fine glass fibers that break down when wet. Washing them destroys their ability to trap particles. Instead, vacuum the surface gently. Replace it when it’s discolored or musty.
Q: How often should I clean my Daikin air purifier?
It depends. For most homes, clean the pre-filter every 2–4 weeks. The full unit (including fan and interior) every 2–3 months. If you have pets, allergies, or live in a dusty area, clean it weekly. Your purifier will last longer and work better.
Q: Why is my Daikin air purifier loud after cleaning?
It could be a few things: the pre-filter isn’t fully dry, the fan is unbalanced, or you reinserted a filter incorrectly. Double-check that everything is seated properly and dry. If the noise persists, contact Daikin support—there might be a mechanical issue.
Q: Can I use vinegar to clean the filters?
Only the pre-filter. Mix one part white vinegar with three parts water. It helps dissolve grime and deodorize. But again, never use it on HEPA or carbon filters. Vinegar can degrade the fibers and reduce filtration.
Q: My purifier smells bad after cleaning. What’s wrong?
If it’s musty, you might have left moisture inside. Let it air out for 24 hours. If it’s chemical, you may have used a harsh cleaner. Stick to mild soap and water. For persistent odors, the carbon filter may be saturated and need replacement.
Q: Do I need to clean the sensor ports?
Yes. Dust on the air quality sensors can cause false readings. Use a cotton swab with rubbing alcohol to clean the edges. This keeps your purifier from running unnecessarily in high mode.
Q: Are third-party filters safe for my 2026 Daikin model?
Some are, but be cautious. Look for filters that are certified HEPA and match your model number exactly. Poorly made filters can let particles bypass the system or reduce airflow. When in doubt, go with genuine Daikin filters.
Final Thoughts
Cleaning your Daikin air purifier isn’t just a chore—it’s an investment in your health and home. By learning how to clean Daikin air purifier in 2026 for best performance, you’re not just maintaining a machine. You’re ensuring cleaner air, lower energy bills, and a longer-lasting appliance.
Remember: consistency beats perfection. You don’t need to deep-clean every week. But a quick wipe of the pre-filter every few weeks, a vacuum of the main filters every month, and a full interior clean every few months will keep your purifier humming.
Start small. Set a reminder. Keep your supplies handy. And when you take that first deep breath of fresh air after cleaning—you’ll know it was worth it.
And hey, if you’re ever unsure, check your user manual or contact Daikin support. They’re actually helpful, and they want your purifier to last.
Your air purifier works hard for you. Give it a little love back. Clean it regularly, replace filters on time, and enjoy the crisp, clean air you deserve.
Now go unplug that purifier, grab your cloth, and get started. Your lungs—and your peace of mind—will thank you.
“`