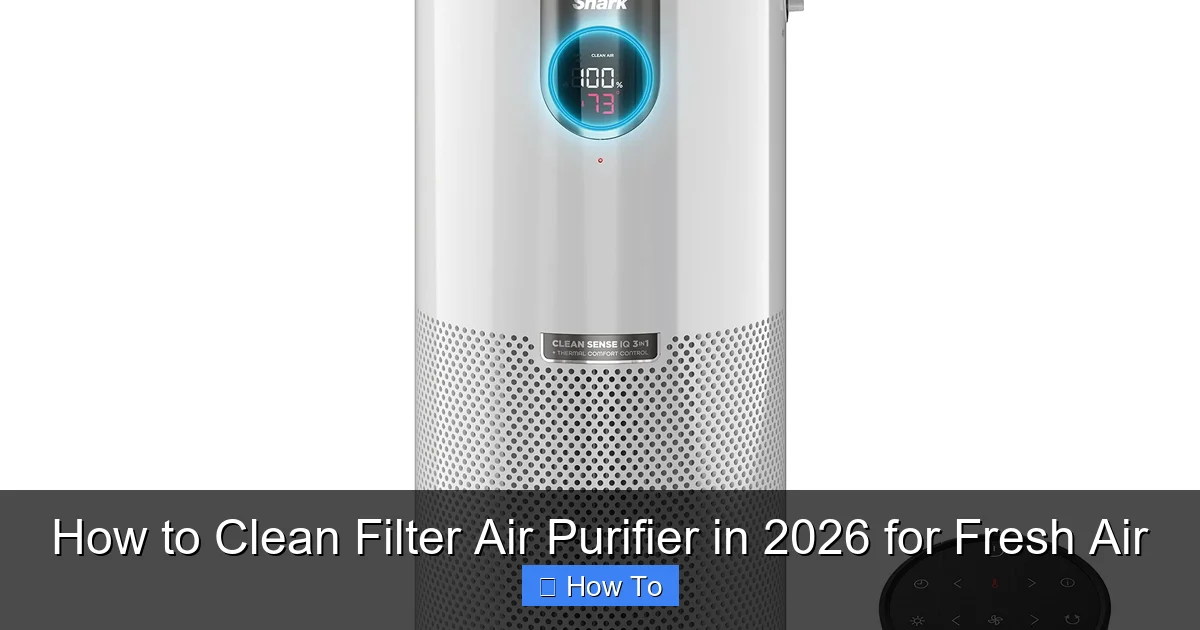
Featured image for how to clean filter air purifier
Image source: m.media-amazon.com
Regularly cleaning your air purifier filter is essential to maintain peak performance and ensure fresh, healthy air in 2026. Follow manufacturer guidelines to safely remove, vacuum, and wash (if reusable) the filter, then let it dry completely before reinstalling. Neglecting this step reduces efficiency and can release trapped pollutants back into your space.
“`html
How to Clean Filter Air Purifier in 2026 for Fresh Air
Key Takeaways
- Turn off and unplug the air purifier before cleaning to ensure safety.
- Remove the filter carefully to avoid spreading trapped dust and allergens.
- Rinse or vacuum monthly to maintain optimal airflow and efficiency.
- Replace filters annually or as recommended by the manufacturer for peak performance.
- Check pre-filters weekly and clean them to extend main filter life.
- Use mild soap only if washing; avoid harsh chemicals that damage filter material.
Why This Matters / Understanding the Problem
Imagine this: You’ve invested in a sleek, modern air purifier to keep your home smelling fresh and free of dust, pet dander, and allergens. You turn it on every day, feel good about breathing cleaner air, and then… you forget about the filter. Months go by. The purifier starts making a funny noise. The air feels stuffier, not fresher. Sound familiar?
This is the reality for so many people. Even the best air purifiers can’t do their job if the filter is clogged with dust, mold, or hair. And in 2026, with more of us working from home and spending time indoors, clean air isn’t a luxury—it’s a necessity.
That’s why knowing how to clean filter air purifier in 2026 for fresh air isn’t just a maintenance task. It’s a health hack. A clogged filter forces your purifier to work harder, wastes energy, and can even release trapped pollutants back into your home. Not exactly the clean air you signed up for.
But here’s the good news: Cleaning your air purifier filter is easier than you think. You don’t need special tools or a degree in engineering. With a little time and the right approach, you can restore your purifier to peak performance and enjoy truly fresh air.
And the best part? It’s not just about cleaning. It’s about understanding when to clean, what to clean, and how to do it right—without damaging your unit or voiding your warranty.
So whether you have a HEPA filter, a washable pre-filter, or a hybrid model, this guide will walk you through how to clean filter air purifier in 2026 for fresh air—safely, effectively, and with zero guesswork.
What You Need
Before we dive into the steps, let’s talk about what you’ll need. The good news? Most of these items are already in your home.
Visual guide about how to clean filter air purifier
Image source: airpurifiersandcleaners.com
- Vacuum cleaner with a brush or upholstery attachment (a handheld vacuum works great)
- Soft-bristled brush (like a clean toothbrush or makeup brush)
- Mild dish soap (fragrance-free is best)
- Clean, lukewarm water
- Microfiber cloth or lint-free towel
- Bucket or bowl (for soaking washable filters)
- Drying rack or clean surface (to air-dry filters—no towels or paper towels!)
- Flashlight (to inspect filter condition)
- Owner’s manual (yes, really—it’s your best friend)
Pro tip: If you’ve misplaced your manual (we’ve all been there), search your purifier’s model number online. Most manufacturers have digital copies available for free.
Warning: Never use bleach, ammonia, or harsh chemicals. They can degrade filter materials and release toxic fumes when the purifier runs. Also, avoid using a hairdryer or placing filters near a heat source—high heat warps and damages them.
Step-by-Step Guide to How to Clean Filter Air Purifier in 2026 for Fresh Air
Alright, let’s get into the nitty-gritty. Whether you’re cleaning a pre-filter, HEPA filter, or carbon filter, this guide covers all the bases. Remember: not all filters are washable. Some are meant to be replaced, not cleaned. That’s why checking your manual is step zero.
Step 1: Turn Off and Unplug the Air Purifier
Safety first, always. Before you do anything, turn off your air purifier and unplug it from the wall. This isn’t just about avoiding electric shocks (though that’s important). It also ensures the unit isn’t pulling in more dust while you’re working.
I learned this the hard way once—reaching into a running purifier to grab a filter. Not only did I get a minor shock, but I also inhaled a cloud of dust. Not fun. So, unplug it. No exceptions.
Once it’s off, let it sit for 5–10 minutes. This gives any internal components time to cool down and stops the fan from spinning if it was on a timer.
Step 2: Remove the Filter Cover or Access Panel
Most air purifiers have a front, side, or top cover that pops open or slides out. Look for latches, tabs, or screws. If it’s a snap-on cover, gently pry it open with your fingers or a plastic tool (a butter knife works in a pinch—just be careful not to scratch anything).
Some newer 2026 models have magnetic covers or touch-release mechanisms. If yours is one of these, you’ll feel it release with a soft click. No force needed.
Pro Tip: Take a quick photo of how the cover fits before removing it. It’ll save you from reassembly headaches later.
Once the cover is off, you’ll see the filter(s). Some purifiers have a single filter, while others have multiple layers (like a pre-filter, HEPA, and carbon filter stacked together).
Step 3: Identify and Remove Each Filter Layer
Now comes the fun part: identifying your filters. Here’s what to look for:
- Pre-filter: Usually a mesh or foam layer on the outside. It catches large particles like pet hair, lint, and dust. This is often washable.
- HEPA filter: Dense, accordion-style paper. Catches tiny particles like pollen, mold spores, and bacteria. Typically not washable—but can be vacuumed.
- Carbon filter: Looks like a black sponge or mesh. Absorbs odors, smoke, and VOCs. Usually not washable—but can be lightly vacuumed.
Carefully remove each layer. If they’re labeled, great! If not, take notes or photos so you can reassemble them in the right order.
For HEPA and carbon filters, never rinse or soak them. Water damages the fibers and reduces effectiveness. If you do, you’ll need to replace them—and that’s expensive.
Step 4: Clean the Washable Pre-Filter (If Applicable)
If your pre-filter is washable (check the manual!), this is your chance to give it a deep clean.
First, gently vacuum both sides to remove surface dust. Then, fill a bowl with lukewarm water and a few drops of mild dish soap. Submerge the pre-filter and let it soak for 5–10 minutes.
After soaking, use a soft-bristled brush to scrub both sides. Focus on corners and edges where grime builds up. Rinse thoroughly under cool water until all soap is gone. No suds!
Now, here’s a crucial step: shake off excess water and let it air-dry completely—this can take 4–8 hours, depending on humidity. Never, ever put a damp filter back in your purifier. Moisture breeds mold, and mold is the enemy of fresh air.
Warning: If your pre-filter is torn or falling apart, don’t clean it. Replace it. A damaged filter won’t catch particles and can damage your purifier’s motor.
Step 5: Vacuum the HEPA and Carbon Filters (If Not Washable)
For HEPA and carbon filters, your best tool is your vacuum’s brush attachment. Gently vacuum both sides, holding the nozzle about 1 inch from the surface. Use slow, overlapping strokes—like mowing a lawn.
Don’t press too hard. You’re removing dust, not sanding the filter. If you see visible mold, dark spots, or a musty smell, it’s time to replace the filter. Mold can’t be cleaned—it must be removed.
For carbon filters, vacuuming helps remove surface dust but won’t restore odor absorption. That’s why carbon filters have a shorter lifespan than HEPA filters (usually 6–12 months).
Pro tip: Use a flashlight to inspect the HEPA filter. If it’s gray or black (not white), it’s likely past its prime. A clean HEPA filter should look light gray or off-white.
Step 6: Wipe Down the Interior and Exterior
While the filters are drying (or after vacuuming), take a microfiber cloth and wipe down the inside of the purifier. Dust loves to collect on the fan, motor housing, and intake vents.
For stubborn spots, lightly dampen the cloth with water—never spray directly into the unit. And avoid the electronics! Just focus on the plastic housing and vents.
Wipe the exterior too. Dust on the outside means more dust entering the purifier. Plus, a clean unit just feels better.
Step 7: Reassemble and Test the Air Purifier
Once everything is dry (especially the pre-filter!), it’s time to put it all back together.
Start with the HEPA filter (if you have one), then the carbon filter, then the pre-filter. Make sure each layer is seated properly and the cover snaps or screws back on securely.
Plug the purifier back in and turn it on. Listen for smooth operation. No grinding, squeaking, or rattling. If it sounds off, double-check that all filters are in the right order and the cover is fully closed.
Run it on medium speed for 15–20 minutes. You should notice a difference in airflow and noise level. If it’s quieter and the air feels fresher, you’ve done it right!
Step 8: Reset the Filter Indicator (If Your Model Has One)
Many 2026 air purifiers have a filter replacement indicator—a light or app notification that tells you when to clean or replace filters.
After cleaning, you’ll want to reset it. The method varies by brand, but usually involves:
- Holding a button for 5–10 seconds
- Using a smartphone app
- Following prompts on an LCD screen
Check your manual for the exact steps. If you don’t reset it, the light might stay on, even though your filter is clean. Annoying, but fixable.
Pro Tips & Common Mistakes to Avoid
Now that you’ve cleaned your filter, let’s talk about the real-world stuff—the things I learned after years of cleaning air purifiers in my own home and helping friends.
Pro Tip #1: Create a Cleaning Schedule
Don’t wait for the filter light to turn on. Set a reminder every 2–4 weeks to vacuum the pre-filter and check the HEPA filter. If you have pets, allergies, or live in a dusty area, clean more often.
I use a Google Calendar reminder labeled “Air Purifier Check” on the first of every month. It takes 15 minutes, and I feel so much better knowing the air I’m breathing is actually clean.
Pro Tip #2: Label Your Filters
If you have multiple purifiers or different filter types, label them with a permanent marker (on the edge, not the surface). I once mixed up two HEPA filters and spent 20 minutes trying to figure out why one wasn’t fitting. Labeling saves time and stress.
Pro Tip #3: Store Spare Filters Properly
Got a spare HEPA or carbon filter? Keep it in a sealed plastic bag in a cool, dry place. Exposure to humidity or sunlight can degrade it before you even use it.
Common Mistake #1: Over-Washing Washable Filters
Just because a pre-filter is washable doesn’t mean you should wash it every week. Over-washing weakens the mesh and shortens its lifespan. Vacuum first, wash only when visibly dirty or after 2–3 months of use.
Common Mistake #2: Ignoring the Pre-Filter
Many people skip the pre-filter because “it’s just a mesh.” But it’s the first line of defense. A clogged pre-filter forces the HEPA filter to work harder and wear out faster. Don’t neglect it!
Common Mistake #3: Using Compressed Air
I’ve seen people use canned air to “blast” dust off filters. Bad idea. Compressed air can push dust deeper into the fibers or even tear the paper in HEPA filters. Stick to vacuuming or gentle brushing.
Common Mistake #4: Not Replacing Filters When Needed
Cleaning extends a filter’s life, but it doesn’t make it immortal. HEPA filters last 6–12 months, carbon filters 3–6 months. If your filter is dark, smelly, or damaged, replace it. No amount of cleaning will restore a dead filter.
Real Talk: I once tried to “revive” a moldy carbon filter with vinegar. It smelled worse afterward and made my whole room stink. Save yourself the trouble—replace it.
FAQs About How to Clean Filter Air Purifier in 2026 for Fresh Air
You’ve got questions—I’ve got answers. Here are the most common ones I hear from friends, family, and online communities.
Can I wash a HEPA filter?
Short answer: No. HEPA filters are made of delicate paper fibers. Water breaks them down, reducing efficiency and creating gaps that let pollutants through. Instead, vacuum it gently with a soft brush attachment every 2–4 weeks.
If your HEPA filter is washable (rare), follow the manufacturer’s instructions exactly. Even then, it’s usually not recommended.
How often should I clean my air purifier filter?
It depends on usage and environment:
- Light use (1–3 hours/day): Clean the pre-filter every 4 weeks, vacuum HEPA every 8 weeks.
- Heavy use (all day) or pets/allergies: Clean pre-filter every 2 weeks, vacuum HEPA every 4 weeks.
Replace HEPA filters every 6–12 months, carbon filters every 3–6 months.
What if my air purifier doesn’t have a pre-filter?
Some models combine the pre-filter and HEPA into one unit. In that case, vacuum the entire filter every 2–4 weeks. If it’s washable, follow the manual’s instructions. If not, vacuum only—and replace it when it’s dark or damaged.
Why does my air purifier smell bad after cleaning?
Two common reasons:
- You used a damp cloth or didn’t dry the pre-filter completely. Moisture + dust = mold or mildew. Let everything dry fully before reassembling.
- You cleaned a carbon filter with soap or water. Carbon loses its odor-absorbing power when wet. Never wash it—just vacuum.
If the smell persists, replace the carbon filter.
Can I clean the filter in the dishwasher or washing machine?
Absolutely not. The heat, water pressure, and detergent will destroy any filter. Even washable pre-filters should only be cleaned by hand in a bowl.
How do I know if my filter needs replacing?
Look for these signs:
- Visible mold, dark spots, or holes
- Musty or sour smell
- Reduced airflow (purifier feels weak)
- Filter is more than 12 months old (for HEPA) or 6 months (for carbon)
When in doubt, replace it. Fresh filters = fresh air.
Do I need to clean the air purifier fan?
Yes, but gently. Use a microfiber cloth to wipe the fan blades. If you see heavy dust, use a vacuum with a brush attachment. Never use water or spray cleaners. If the fan is noisy or vibrating, contact customer support—it might need professional service.
Final Thoughts
Cleaning your air purifier filter isn’t glamorous. It’s not something you’ll brag about at dinner parties. But it’s one of the most important things you can do for your health—and your wallet.
By learning how to clean filter air purifier in 2026 for fresh air, you’re not just extending your purifier’s life. You’re ensuring it works as designed—catching allergens, reducing odors, and giving you truly clean air.
Start small. Set a monthly reminder. Clean the pre-filter. Vacuum the HEPA. Wipe down the unit. It takes 15 minutes, and the payoff is huge.
And remember: clean filters mean cleaner air, lower energy bills, and fewer replacements. That’s a win-win-win.
So go ahead—plug in that purifier, breathe deep, and enjoy the fresh air you’ve earned. You’ve got this.
“`