Featured image for how to clean filter on philips air purifier
Image source: down-id.img.susercontent.com
Keeping your Philips Air Purifier running efficiently in 2026 starts with regular filter cleaning. Follow the manufacturer’s guidelines to safely remove and clean the pre-filter, while replacing the HEPA and carbon filters as recommended—typically every 6 to 12 months—to maintain optimal air quality and extend the unit’s lifespan. Proper maintenance ensures maximum performance and cleaner air year-round.
“`html
How to Clean Filter on Philips Air Purifier in 2026
Key Takeaways
- Turn off and unplug the purifier before cleaning for safety.
- Remove the filter carefully to avoid damaging internal components.
- Vacuum the filter gently to remove surface dust and debris.
- Wash reusable filters with lukewarm water; avoid harsh chemicals.
- Let filters dry completely before reinstalling to prevent mold.
- Replace non-washable filters as recommended by the manufacturer.
- Clean the exterior regularly with a soft, damp cloth.
Why This Matters / Understanding the Problem
Let’s be honest—most of us forget about our air purifiers until something goes wrong. Maybe the fan sounds louder than usual, or you notice dust piling up faster than before. That’s usually your Philips air purifier filter waving a red flag.
I learned this the hard way last winter. My allergies were acting up even though I kept windows closed and vacuumed regularly. Turns out, my Philips air purifier filter hadn’t been cleaned in over six months. It was so clogged it could barely pull air through. Once I cleaned it? Night and day difference—literally. Breathing felt easier, and the machine ran quieter.
Cleaning your filter isn’t just about performance—it’s about health. A dirty filter can’t trap allergens, smoke, or pet dander effectively. Worse, it can start blowing trapped pollutants back into your room. In 2026, with indoor air quality more important than ever, knowing how to clean filter on Philips air purifier in 2026 is a must-have skill for any home.
Plus, regular maintenance extends your purifier’s life and saves you money. Replacing filters gets expensive fast—especially HEPA and activated carbon ones. A little cleaning goes a long way.
What You Need
Before we dive in, gather these simple supplies. Most are probably already in your home:

Visual guide about how to clean filter on philips air purifier
Image source: m.media-amazon.com
- Soft-bristle brush (an old toothbrush works great)
- Vacuum cleaner with a hose attachment
- Microfiber cloth
- Mild dish soap (optional, for pre-filter only)
- Clean, dry towel
- Warm water
⚠️ Important: Never use harsh chemicals, bleach, or submerge HEPA or carbon filters in water. These filters are delicate and designed to be replaced—not washed.
Also, check your model number (usually on the back or bottom of the unit). Philips has several series—like the AC1215, AC2887, or newer Smart models—and while cleaning basics are similar, some have washable pre-filters and others don’t. Knowing your model helps avoid mistakes.
Step-by-Step Guide to How to Clean Filter on Philips Air Purifier in 2026
Step 1: Turn Off and Unplug the Unit
Safety first! Always unplug your Philips air purifier before handling any internal parts. Even if it seems obvious, I’ve seen too many people skip this step and risk electrical shock or damage to the motor.
Give the unit a minute to cool down if it’s been running. Then, place it on a flat, stable surface—like a table or counter—so you can work comfortably without straining your back.
Step 2: Locate and Remove the Front Panel
Most Philips air purifiers have a front grille or panel that snaps off easily. Look for small tabs or latches along the edges. Gently press or pull them (depending on your model) until the panel releases.
On newer Smart models, you might need to slide the panel upward or press a release button. If you’re unsure, check the user manual—or look up your model online. Philips usually includes clear diagrams.
Once removed, set the panel aside carefully. Avoid placing it on dusty surfaces—you don’t want to reintroduce grime when you reassemble.
Step 3: Identify Your Filters
Inside, you’ll typically see two or three layers:
- Pre-filter: The outermost layer, often foam or mesh-like. This catches large particles like pet hair and dust.
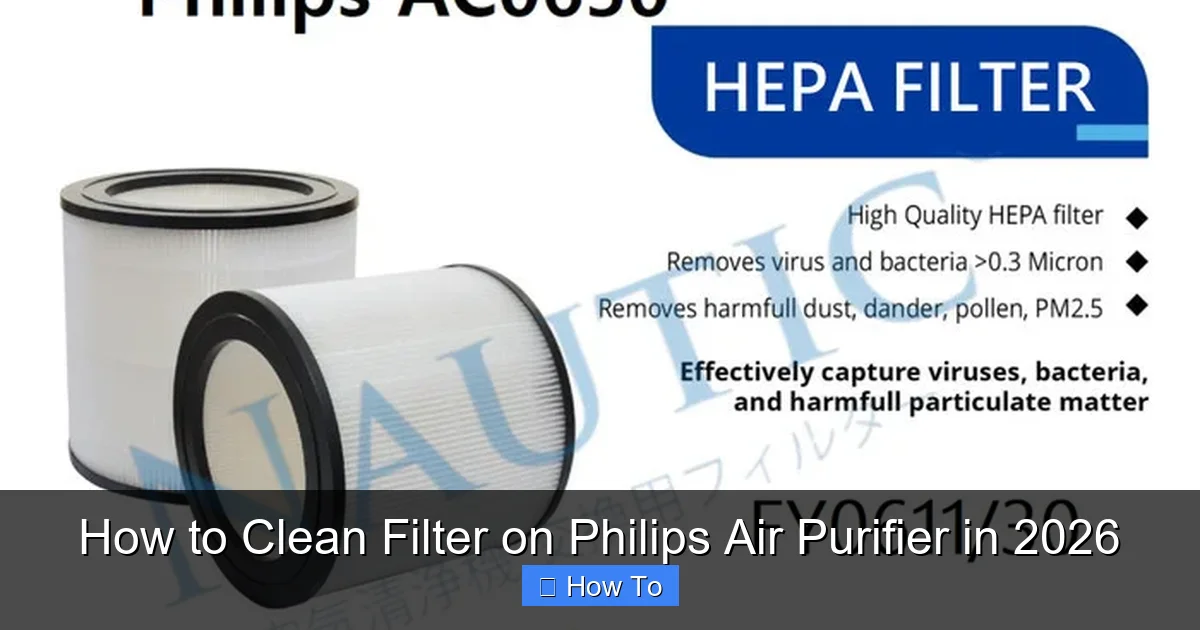
- HEPA filter: The main filtration layer. Looks like folded paper. Traps tiny particles like pollen, mold spores, and bacteria.
- Activated carbon filter (optional): Usually a black sheet or granular layer. Absorbs odors, smoke, and VOCs.
Only the pre-filter is generally washable. The HEPA and carbon filters are not meant to get wet. Cleaning them improperly can ruin their structure and reduce efficiency.
Step 4: Remove the Pre-Filter
Gently pull out the pre-filter. It should slide or lift out without force. If it feels stuck, double-check for hidden clips or tabs.
Inspect it closely. If it’s caked with fur, dust bunnies, or visible grime, it’s time for a clean. Even if it looks okay, a quick vacuum every 2–4 weeks helps maintain airflow.
Step 5: Vacuum the Pre-Filter
Use your vacuum’s hose attachment on the lowest suction setting. Run it over both sides of the pre-filter to lift loose debris. Hold the filter over a trash can to catch falling dust.
This step alone can restore a lot of your purifier’s performance. I do this weekly during allergy season—it takes less than a minute but makes a huge difference.
Step 6: Wash the Pre-Filter (If Needed)
If the pre-filter is still dirty after vacuuming, it’s time for a gentle wash. Fill a sink or basin with lukewarm water and add a drop of mild dish soap.
Swish the filter gently—don’t scrub or twist it. Let it soak for 5–10 minutes if heavily soiled. Then rinse thoroughly under cool running water until no soap remains.
⚠️ Never soak HEPA or carbon filters. Even a little moisture can degrade their effectiveness and encourage mold growth.
Step 7: Dry the Pre-Filter Completely
Pat the pre-filter dry with a clean towel, then let it air-dry completely—preferably overnight. Never reinstall a damp filter. Moisture trapped inside can breed bacteria or damage the unit.
I usually clean mine on Sunday evenings so it’s ready by Monday morning. Pro tip: Keep a spare pre-filter if you have pets or live in a dusty area. Swap them out while one dries.
Step 8: Vacuum the Interior and Other Filters
While the pre-filter dries, use your vacuum hose to gently clean the inside of the purifier housing. Focus on corners and vents where dust accumulates.
You can also lightly vacuum the surface of the HEPA and carbon filters—but only from the dirty side (the side that faces the incoming air). Use very low suction and avoid pressing too hard. This removes surface dust without damaging the delicate fibers.
Remember: This is just surface cleaning. HEPA filters should be replaced every 6–12 months, depending on usage and air quality.
Step 9: Reassemble the Unit
Once everything is dry, slide the pre-filter back into place. Make sure it sits flat and secure—no gaps or warping.
Reattach the front panel by aligning the tabs and pressing firmly until it clicks. Give it a gentle tug to confirm it’s locked in.
Step 10: Plug In and Test
Plug your Philips air purifier back in and turn it on. Listen for smooth operation—no rattling or unusual noises. Check that the airflow feels strong at all speed settings.
If your model has a filter indicator light, reset it according to the manual. Many newer Philips units automatically detect filter status, but manual reset ensures accuracy.
And that’s it! You’ve successfully completed how to clean filter on Philips air purifier in 2026—the right way.
Pro Tips & Common Mistakes to Avoid
Pro Tip: Set a calendar reminder every 2 weeks for pre-filter cleaning and every 3 months for a deep check. Consistency beats occasional heroics.
Warning: Don’t use compressed air to clean filters. It can push debris deeper into the fibers or tear delicate materials.
Common Mistake: Assuming all filters are washable. Only the pre-filter is safe to clean with water. HEPA and carbon filters need replacement—not washing.
I once made the mistake of rinsing my HEPA filter because it looked “just a little dusty.” Big error. The next day, my purifier smelled musty, and airflow dropped drastically. I had to replace the entire filter—costing me $60 instead of $5 for a pre-filter.
Another tip: If you have pets, consider upgrading to a washable nano-pre-filter (available for some Philips models). They’re designed to handle heavy fur loads and last longer between washes.
Also, avoid placing your purifier near curtains, beds, or walls. Proper airflow around the unit helps the filter work efficiently and reduces strain.
FAQs About How to Clean Filter on Philips Air Purifier in 2026
Q: How often should I clean the pre-filter?
A: Every 2–4 weeks, depending on usage. Pet owners or allergy sufferers may need to clean it weekly. If you notice reduced airflow or louder fan noise, it’s definitely time.
Q: Can I wash the HEPA filter?
A: No. HEPA filters are made of tightly packed glass fibers that lose integrity when wet. Washing voids the warranty and ruins performance. Replace it as recommended (usually every 6–12 months).
Q: My Philips air purifier has a “Filter Replacement” light. Does that mean I need a new filter?
A: Not always. Sometimes the light triggers based on runtime, not actual filter condition. If cleaning the pre-filter restores performance, you might just need to reset the indicator. But if airflow is weak or odors persist, replacement is likely needed.
Q: What if my pre-filter is torn or damaged?
A: Replace it immediately. A torn pre-filter lets large particles bypass into the HEPA filter, shortening its life. Philips sells replacement pre-filters online—just search your model number.
Q: Can I clean the exterior of the purifier?
A: Absolutely! Wipe the outside with a damp microfiber cloth and mild soap. Avoid spraying liquid directly on the unit. For touchscreens or displays, use a screen-safe cleaner.
Q: Do I need to clean the filter if I only run the purifier occasionally?
A: Yes—but less frequently. Even in standby mode, dust settles on filters. A quick vacuum every 6–8 weeks is wise, especially before heavy use seasons (like winter or pollen season).
Q: Are third-party filters safe to use?
A: Generally, no. Cheap knockoffs may not fit properly or meet Philips’ filtration standards. They can also trigger error messages on Smart models. Stick with genuine Philips filters for best results.
Final Thoughts
Learning how to clean filter on Philips air purifier in 2026 isn’t rocket science—but it’s one of those small habits that pays big dividends. Clean filters mean better air, quieter operation, and fewer replacements.
Think of it like changing your toothbrush or rotating your tires. It’s maintenance, not magic. But over time, those little efforts add up to a healthier home and a happier wallet.
So next time your purifier hums a little louder than usual, don’t ignore it. Pop off the front panel, give that pre-filter some love, and breathe easy knowing you’ve got clean air covered.
And if you’re ever unsure? Check your manual, visit Philips’ support page, or reach out to their customer service—they’re surprisingly helpful. Your lungs (and your purifier) will thank you.
“`