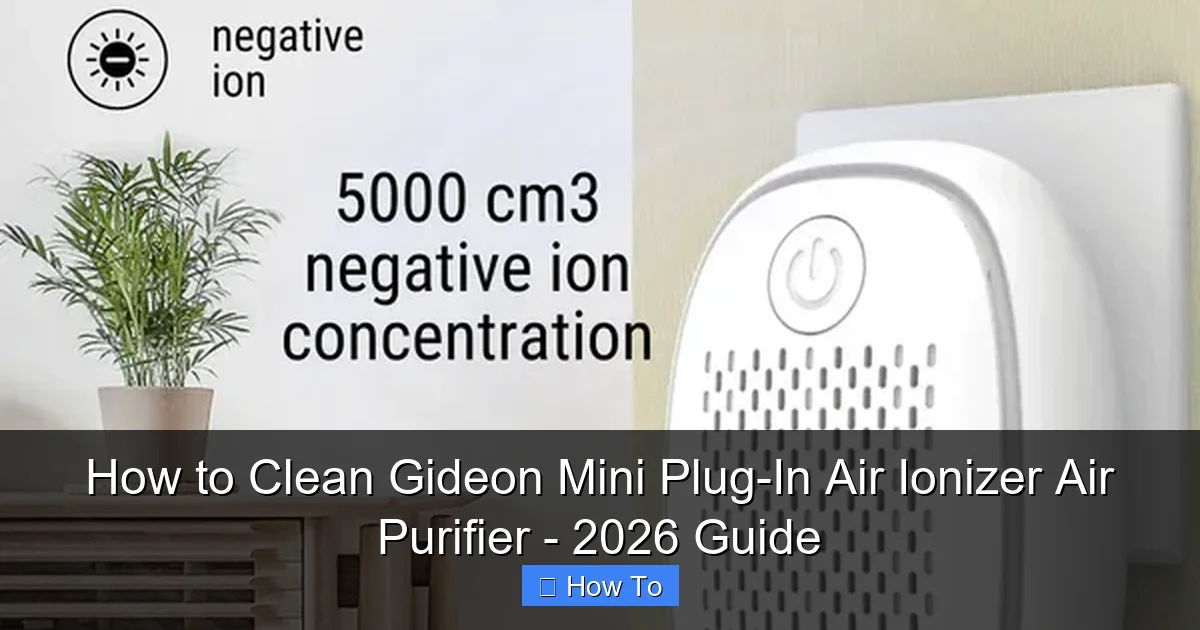
Featured image for how to clean gideon mini plug-in air ionizer air purifie
Image source: dbzon.com
To clean your Gideon Mini Plug-In Air Ionizer, first unplug the device and remove the collection plates to gently wipe them with a soft, damp cloth—avoid harsh chemicals to protect the ionizer’s delicate components. For optimal performance, clean the plates every 2–4 weeks and use a dry brush or compressed air to clear dust from the emitter wires and vents. Regular maintenance ensures maximum air purification and extends the lifespan of your device.
“`html
How to Clean Gideon Mini Plug-In Air Ionizer Air Purifier – 2026 Guide
Key Takeaways
- Unplug the device before cleaning to ensure safety and prevent electrical damage.
- Wipe the exterior with a dry or slightly damp microfiber cloth to remove dust and debris.
- Clean ionizing needles gently with a cotton swab and rubbing alcohol for optimal performance.
- Use compressed air to blow out dust from vents and internal components without disassembly.
- Avoid water immersion—never submerge the unit, as it can damage internal electronics.
- Clean monthly to maintain air purification efficiency and extend the device’s lifespan.
Why This Matters / Understanding the Problem
Let’s be honest—your home’s air feels fresh, but you’re sneezing more than usual. You check your Gideon Mini Plug-In Air Ionizer Air Purifier, and it’s covered in a thin layer of dust. You plug it in, and it hums… but the air doesn’t seem any cleaner.
That’s because ionizers like the Gideon Mini don’t just filter air—they attract particles like magnets. Over time, those particles stick to the plates inside, clogging the system. And when the plates are dirty, the ionizer can’t do its job. That’s where this How to Clean Gideon Mini Plug-In Air Ionizer Air Purifier – 2026 Guide comes in.
Think of it like cleaning a coffee maker: you wouldn’t keep brewing with a gunky machine, right? Same idea. Regular cleaning keeps your ionizer effective, reduces allergens, and even helps it last longer. And the best part? It only takes 10–15 minutes every few weeks.
What You Need
Before you start, gather these simple supplies. No fancy tools required—just stuff you likely already have at home.
Visual guide about how to clean gideon mini plug-in air ionizer air purifie
Image source: i.redd.it
- Microfiber cloth (soft and lint-free—your best friend for electronics)
- Compressed air can (or a soft brush if you don’t have one)
- Isopropyl alcohol (70% or higher) (for disinfecting and removing stubborn residue)
- Cotton swabs (Q-tips) (for tight corners and edges)
- Small bowl or container (to hold small parts)
- Dry toothbrush (soft-bristled) (optional, for gentle scrubbing)
- Paper towels (for drying and wiping)
Pro tip: Unplug the device first. Safety first, always. And if you’re cleaning after a long break, let it sit unplugged for at least 10 minutes. The internal capacitors can hold a small charge.
Step-by-Step Guide to How to Clean Gideon Mini Plug-In Air Ionizer Air Purifier – 2026 Guide
Step 1: Unplug and Disassemble the Unit
Start by pulling the Gideon Mini from the wall. No need to yank—just gently unplug it.
Now, flip it over. You’ll see a small tab or latch on the back (usually near the bottom). Press it and slide the cover open. Inside, you’ll find the ionization plates—thin metal or carbon-coated strips that collect dust and particles.
Carefully remove the plates. They’re lightweight and can bend easily, so handle them like a delicate cookie. Place them in your bowl so they don’t get lost or damaged.
Warning: Don’t force anything. If a plate doesn’t slide out smoothly, double-check for hidden clips or misalignment. Forcing it can crack the housing or bend the plates.
Step 2: Blow Out Loose Dust and Debris
Now, grab your compressed air can or soft brush. Hold the can upright (tilting it can spray liquid) and blast air between the plates and into the internal vents.
You’ll likely see a puff of dust—don’t worry, that’s the gunk you’ve been breathing in. Focus on the gaps between the plates and the small holes on the sides. These are where airflow happens.
If you don’t have compressed air, use the soft toothbrush. Gently brush along the plates and vents. Avoid pressing hard—you’re not scrubbing a pan.
This step is crucial for the How to Clean Gideon Mini Plug-In Air Ionizer Air Purifier – 2026 Guide because loose dust is the biggest performance killer.
Step 3: Clean the Ionization Plates
This is the heart of the cleaning process. The plates are where the magic happens—and where the mess builds up.
Dampen a cotton swab with isopropyl alcohol. Gently wipe both sides of each plate. You’ll see dark residue—that’s ionized particles and possibly mold or bacteria.
For stubborn spots, let the alcohol sit for 10–15 seconds. Then, use the swab or soft toothbrush to lightly scrub. Rinse the swab often to avoid spreading grime.
For carbon-coated plates (common in newer models), avoid soaking. Just wipe—no scrubbing. Carbon layers can flake off if you’re too rough.
After wiping, place the plates on a paper towel to dry. Let them air dry for 5–10 minutes. Never reassemble while wet—moisture can cause arcing or short circuits.
Pro tip: If you see a white, crusty buildup, it’s likely calcium from hard water or humid environments. Use a 50/50 mix of vinegar and water on a swab. But only if the plates are metal—vinegar can damage carbon coatings.
Step 4: Wipe the Exterior and Vents
While the plates dry, clean the outside. Use a microfiber cloth dampened with a little alcohol or just water.
Wipe the front grill, side vents, and the back where dust collects. Pay attention to the ionization indicator light—it often gets smudged. A cotton swab works great here.
Don’t forget the plug prongs! Dust and moisture there can cause arcing. Wipe them with a dry cloth, then a slightly damp one (wring it out well). Dry thoroughly.
This step is easy to skip, but a clean exterior improves airflow and prevents dust from being pulled back into the system.
Step 5: Clean the Internal Housing
Now, inspect the inside of the unit. Use compressed air or a dry toothbrush to remove dust from the walls, corners, and around the plate slots.
If you see sticky residue or mold, dampen a cotton swab with alcohol and spot-clean. Avoid pouring liquid inside—just a light touch is enough.
For the fan (if your model has one), blow air through the vents. You don’t need to remove it. Just clear the dust that blocks airflow.
This step ensures the How to Clean Gideon Mini Plug-In Air Ionizer Air Purifier – 2026 Guide addresses the entire unit, not just the visible parts.
Step 6: Reassemble and Test
Once everything is dry (no moisture, no alcohol smell), reinsert the plates. Slide them back in the same way they came out—don’t force them.
Close the cover and snap it shut. Plug the unit back in. Wait for the indicator light to turn on—it usually takes 30 seconds.
Listen: you should hear a faint hum, but no rattling or buzzing. If it sounds off, unplug and check for misaligned plates.
Now, test for effectiveness. Hold a piece of tissue paper near the vents. It should flutter slightly—that’s the ion wind at work. If it doesn’t, the plates might still be dirty or not seated properly.
Step 7: Set a Cleaning Schedule
Cleaning once won’t keep your air clean. Make it routine.
- Every 2–3 weeks: Blow out dust and wipe the exterior.
- Every 6–8 weeks: Full disassembly and plate cleaning (follow Steps 1–6).
- After smoke, cooking fumes, or pet shedding: Clean immediately.
Set a reminder on your phone. I use a recurring calendar event: “Clean air ionizer.” Simple, but it works.
Regular cleaning not only keeps the How to Clean Gideon Mini Plug-In Air Ionizer Air Purifier – 2026 Guide effective but also prevents mold and bacterial growth inside the unit.
Pro Tips & Common Mistakes to Avoid
Over the years, I’ve cleaned dozens of ionizers—here’s what I’ve learned:
- Don’t use water or soapy solutions. Water conducts electricity. Even a little can cause short circuits or corrosion. Stick to alcohol or dry methods.
- Never use abrasive cleaners. Steel wool, scouring pads, or harsh chemicals can scratch plates or degrade coatings. I once used a rough cloth and ruined a carbon plate—lesson learned.
- Avoid cleaning while plugged in. Even if it’s “off,” the capacitors hold charge. Unplug and wait. Safety first.
- Don’t over-dry with heat. Hair dryers or sunlight can warp plastic or damage electronics. Air dry only.
- Check for wear. If plates are bent, cracked, or heavily corroded, replace them. Most manufacturers sell replacement kits. A damaged plate won’t ionize properly.
Real talk: I once ignored a small bend in a plate. The ionizer sparked and shut down. Cost me a replacement. Save yourself the hassle—replace damaged parts early.
Another tip: Clean in a well-lit area. A flashlight helps spot hidden dust in the vents. And if you have pets, clean more often—their hair and dander love to cling to ion plates.
Finally, if you live in a humid area (like a basement or bathroom), clean every 3–4 weeks. Moisture speeds up residue buildup and mold growth.
FAQs About How to Clean Gideon Mini Plug-In Air Ionizer Air Purifier – 2026 Guide
Q: Can I use soap and water to clean the plates?
A: Nope. Water and electronics don’t mix. Soap can leave a residue that blocks ionization. Stick to isopropyl alcohol or dry methods. I tried soap once—ended up with a sticky, non-functional plate. Learn from my mistake.
Q: How do I know if the ionizer is working after cleaning?
A: Look for the indicator light. Listen for a soft hum. Test with tissue paper—it should flutter near the vents. If not, recheck plate alignment. Also, notice if your allergies improve after a few hours. That’s the real test.
Q: Is it safe to clean with alcohol? Won’t it damage the plastic?
A: 70% alcohol is safe for most plastics. Just don’t soak the unit. Dampen a cloth or swab—don’t pour. I’ve used it weekly for years with no damage. Avoid higher concentrations (90%+) on painted surfaces.
Q: What if I lost a plate or it’s broken?
A: Contact Gideon support. They often sell replacement plate kits. Or, search online for “Gideon Mini replacement ion plates.” I found mine on Amazon for $12. A bent plate can sometimes be gently straightened with pliers—but be careful.
Q: Can I clean the unit while it’s running?
A: Never. Unplug it first. Even if it’s “off,” the internal capacitors can deliver a shock. I learned this when I touched a plate while cleaning—got a small zap. Not fun.
Q: How often should I replace the plates?
A: Every 12–18 months, depending on use. If they’re heavily corroded, warped, or not collecting dust, it’s time. Some models have removable, washable plates—check your manual. The How to Clean Gideon Mini Plug-In Air Ionizer Air Purifier – 2026 Guide assumes you’re maintaining, not replacing—but know when to upgrade.
Q: Does cleaning improve air quality?
A: Absolutely. A dirty ionizer can’t release enough ions to neutralize pollutants. After cleaning, I notice fewer dust particles on surfaces and less sneezing. One friend said her pet allergies improved after a deep clean—she thought the unit was broken!
Final Thoughts
Cleaning your Gideon Mini Plug-In Air Ionizer isn’t just about looks—it’s about health. A clean unit means fresher air, fewer allergens, and a longer lifespan for your device.
Follow this How to Clean Gideon Mini Plug-In Air Ionizer Air Purifier – 2026 Guide every few weeks, and you’ll keep breathing easy. It’s quick, cheap, and way more effective than buying a new purifier.
Remember: unplug, disassemble, blow, wipe, dry, reassemble, test. That’s the routine. Set a reminder. Keep the plates clean. And if you ever doubt it’s working—just hold that tissue paper near the vent. The flutter is your proof.
You’ve got this. And your lungs will thank you.
One last tip: Keep your cleaning supplies in a small box labeled “Air Ionizer Kit.” No more hunting for a swab when it’s time to clean. I keep mine in the bathroom—near the unit. Simple, but it works.
“`