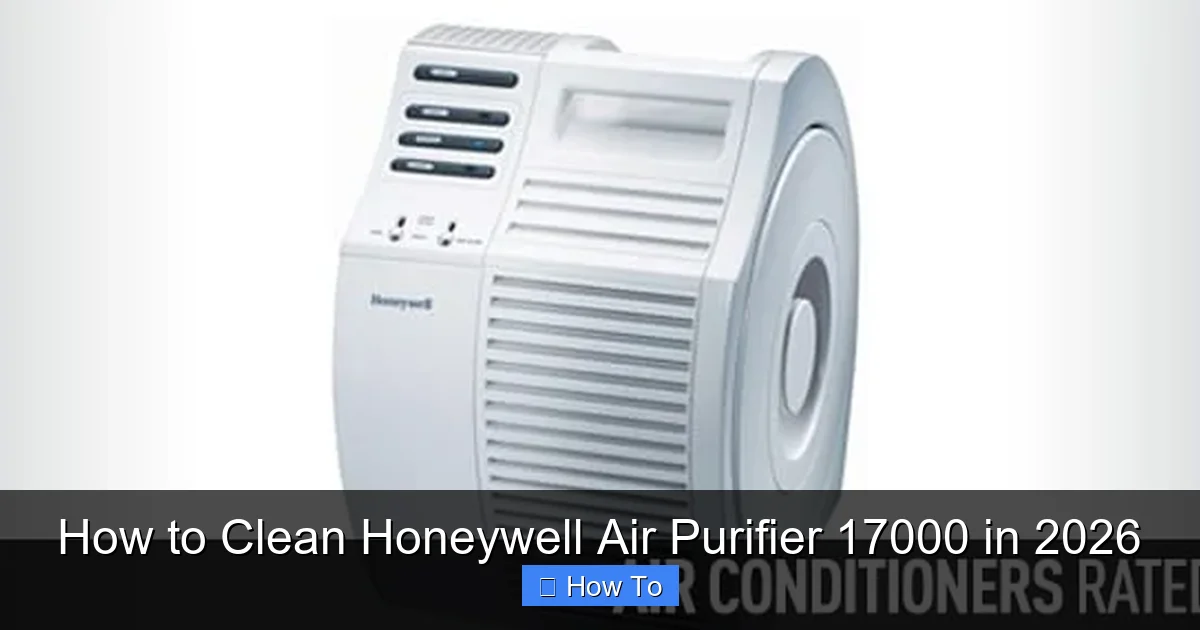
Featured image for how to clean honeywell air purifier 17000
Image source: airconditioner.reviews
Regularly cleaning your Honeywell Air Purifier 17000 is essential to maintain optimal performance and extend its lifespan. In 2026, the process remains simple: unplug the unit, remove and rinse the pre-filter, wipe the exterior, and vacuum the internal sensor to prevent dust buildup. Never submerge the main unit or use harsh chemicals—gentle maintenance ensures cleaner air and reliable operation.
How to Clean Honeywell Air Purifier 17000 in 2026
Key Takeaways
- Turn off and unplug the unit before cleaning for safety.
- Vacuum the exterior regularly to remove dust and debris buildup.
- Wash the pre-filter monthly with mild soap and let it air dry.
- Replace the HEPA filter every 12 months or as recommended.
- Wipe the interior gently with a dry cloth to avoid moisture damage.
- Check indicator lights to know when maintenance is needed.
Why This Matters / Understanding the Problem
Let’s be honest—how many of us actually remember to clean our air purifiers? You plug it in, set it to “auto,” and forget about it. But here’s the thing: your Honeywell Air Purifier 17000 isn’t a set-it-and-forget-it kind of device. Over time, dust, pet hair, and allergens build up in the filters and internal parts, making it less effective. Worse, a dirty purifier can actually recirculate pollutants back into your home.
I learned this the hard way. A few months ago, my allergies flared up, and my air quality monitor showed rising PM2.5 levels—despite running the purifier 24/7. Turns out, the pre-filter was clogged with cat fur, and the HEPA filter had turned a grimy gray. That’s when I realized: knowing how to clean Honeywell Air Purifier 17000 in 2026 isn’t just maintenance—it’s essential for healthy air.
Regular cleaning keeps your device running efficiently, extends its lifespan, and ensures you’re breathing clean air. And the best part? It’s way easier than you think. Whether you’re a busy parent, a pet owner, or someone just trying to keep their home healthy, this guide will walk you through the process—step by step—without any technical jargon.
What You Need
Before diving in, let’s gather the essentials. You don’t need a toolkit or special skills—just a few household items and a little time. Here’s your quick checklist:

Visual guide about how to clean honeywell air purifier 17000
Image source: cdn.imgbin.com
- A vacuum cleaner with a brush attachment – for the exterior and pre-filter
- A soft, lint-free microfiber cloth – for wiping down surfaces
- Warm, soapy water – mild dish soap works perfectly
- A clean, dry towel – for drying components
- A flashlight (optional but helpful) – to inspect internal areas for debris
- Replacement filters (if due) – HEPA and carbon filters should be swapped every 12–18 months
- Your user manual (or downloaded PDF) – just in case you need a refresher on disassembly
Pro Tip: Always unplug the purifier before cleaning. Safety first—no exceptions. And if you’re replacing filters, check the model number on your device to ensure compatibility.
This setup takes less than 5 minutes to gather. Once you have everything, you’re ready to start cleaning your Honeywell Air Purifier 17000. The whole process? About 20–30 minutes, depending on how dirty it is. And yes, doing this every 4–6 weeks will keep your Honeywell Air Purifier 17000 running like new.
Step-by-Step Guide to How to Clean Honeywell Air Purifier 17000 in 2026
Step 1: Unplug and Prepare the Area
First things first—unplug the unit. Even if it’s “off,” it’s safer to disconnect power completely. I once made the mistake of cleaning it while still plugged in (don’t ask how), and let’s just say the sudden restart wasn’t fun.
Next, move the purifier to a clean, flat surface—like a table or counter. I like to lay down an old towel or newspaper to catch any dust or debris. This keeps your floor clean and gives you a clear workspace. If your purifier has been running for months, it might be a little dusty on the outside—perfect for a quick wipe-down later.
Warning: Never clean the purifier near water sources or use a wet cloth on the electrical housing. Moisture and electronics don’t mix.
Step 2: Remove the Pre-Filter
The pre-filter is the first line of defense. It catches large particles like dust, lint, and pet hair. On the Honeywell Air Purifier 17000, it’s usually located behind a front grill or panel. Gently pull the grill open—it’s designed to snap in and out, not force it.
Once open, you’ll see the pre-filter. It’s a mesh-like screen, often gray or white. Pull it out carefully. Don’t yank it—some models have tabs or clips that need to be released first.
Now, inspect it. If it’s covered in dust or fur (hello, pet owners), it’s time to clean it. Use your vacuum’s brush attachment to gently suction away debris. I go over it in both directions to make sure I don’t miss any spots. If it’s really grimy, you can rinse it under warm water with a drop of dish soap—just make sure it’s completely dry before reinserting. Moisture can damage the HEPA filter.
Pro Tip: If the pre-filter is torn or damaged, replace it. A compromised pre-filter forces the HEPA filter to work harder, reducing its lifespan.
Step 3: Clean the Exterior and Air Intake Vents
While the pre-filter dries, let’s tackle the outside. Use your microfiber cloth to wipe down the entire unit—top, sides, and front. I use a slightly damp (not wet) cloth with a tiny bit of soapy water. Avoid getting moisture into the vents or control panel.
For the air intake vents (usually on the sides or back), use the vacuum’s brush attachment to suck out dust and lint. I once found a spiderweb in mine—no joke. A flashlight helps you spot hidden gunk. Be thorough but gentle. Scratching the plastic isn’t worth it.
This step is often overlooked, but it’s crucial. Dirty vents restrict airflow, making your purifier work harder and less efficiently. Cleaning them improves performance and helps your device last longer.
Step 4: Inspect and Replace the HEPA Filter (If Needed)
Now, the big one: the HEPA filter. This is the heart of your air purifier. It captures tiny particles like pollen, mold spores, and even some viruses. But it can’t be cleaned with water—so no rinsing!
To access it, remove the pre-filter panel (you’ve already done this). Behind it, you’ll see the HEPA filter—usually a rectangular cartridge with a cardboard frame and pleated material. Gently pull it out.
Inspect it closely. A clean HEPA filter is white or light gray. If it’s dark gray, black, or smells musty, it’s time to replace it. Even if it looks okay, Honeywell recommends replacing it every 12–18 months, depending on usage and air quality.
If it’s within the replacement window, do not clean it. Vacuuming the surface lightly is okay (use the brush attachment), but never submerge it or use compressed air. That damages the delicate fibers.
Common Mistake: People try to “clean” HEPA filters with water or blow them out. Don’t. You’ll ruin the filter and void any warranty. Replacement is the only option.
If it’s time to replace, grab a genuine Honeywell replacement filter (model 17000-99 or equivalent). Avoid knockoffs—they don’t meet the same efficiency standards. Slide the new filter in, making sure it’s seated properly and the arrow on the filter points toward the unit (indicating airflow direction).
Step 5: Check the Activated Carbon Filter (Optional)
Some models of the Honeywell Air Purifier 17000 include an activated carbon filter for odors and VOCs (volatile organic compounds). If yours has one, it’s usually behind the HEPA filter or in a separate slot.
The carbon filter can’t be cleaned either. It works by adsorption—once the carbon pores are full, it stops working. Honeywell suggests replacing it every 6–12 months, depending on odor levels in your home (think cooking, pets, or smoke).
To check it, look for discoloration or a noticeable drop in odor control. If your home still smells after running the purifier, the carbon filter might be spent. Replace it with a genuine Honeywell part for best results.
Step 6: Reassemble the Purifier
Now, it’s time to put everything back together. Start by sliding the pre-filter back into place. Make sure it’s snug and flush with the housing. No gaps!
Next, insert the HEPA filter (or new one) with the airflow arrow pointing inward. Then, reattach the front grill or panel. It should click securely into place. Give it a gentle wiggle to confirm it’s locked.
Double-check that all components are seated correctly. Misalignment can cause air leaks, reducing efficiency. I once forgot to fully insert the pre-filter—my purifier sounded louder than usual. Took me 10 minutes to figure out why!
Step 7: Wipe Down and Reconnect
Give the unit one final wipe with a dry microfiber cloth. Pay attention to the control panel—dust can settle there and interfere with buttons or sensors.
Now, plug it back in. I like to place it in its usual spot, making sure there’s at least 6 inches of clearance on all sides for proper airflow. Turn it on and listen. It should run smoothly, with no unusual noises or vibrations.
Run it for 15–30 minutes on medium or high to ensure everything is working. If the air quality indicator (if your model has one) shows improvement, you’re good to go.
Step 8: Reset the Filter Indicator (If Applicable)
Many Honeywell models have a filter reset button or indicator light. After replacing filters, you’ll need to reset it so the timer starts over.
On the Honeywell Air Purifier 17000, this is usually a small button near the control panel. Press and hold it for 3–5 seconds until the light changes color or turns off. Refer to your manual if you’re unsure—some models require a specific sequence.
Skipping this step means the indicator might falsely tell you to replace a new filter in a few weeks. Not ideal.
Pro Tips & Common Mistakes to Avoid
Cleaning your air purifier isn’t rocket science, but a few small mistakes can make a big difference. Here are my hard-earned lessons:
- Clean every 4–6 weeks – Even if it looks fine, regular cleaning prevents buildup. I set a monthly reminder on my phone.
- Use only genuine Honeywell filters – Third-party filters might save a few bucks, but they’re often less efficient and can void warranties.
- Don’t ignore the pre-filter – It’s easy to focus on the HEPA, but a clogged pre-filter reduces airflow and strains the fan.
- Check the fan blades (if accessible) – On some models, you can gently clean dust off the fan with a dry brush. But never touch the motor or wiring.
- Keep a cleaning log – I write the date on the filter with a marker. It helps track when replacements are due.
Warning: Never use chemical cleaners, bleach, or ammonia on any part of the purifier. These can damage plastic, corrode electronics, and release harmful fumes.
One mistake I see a lot? People wait until the purifier is really dirty before cleaning. By then, performance has already dropped. Think of it like dental hygiene—regular brushing prevents bigger problems.
Also, if you have pets or live in a dusty area, consider cleaning every 2–3 weeks. I have two cats, so I clean mine every three weeks. It’s a small time investment for cleaner air and a longer-lasting device.
And here’s a bonus tip: if your purifier has a UV-C light (not standard on all 17000 models), clean the bulb with a dry cloth every 6 months. Dust on the bulb reduces germ-killing effectiveness.
FAQs About How to Clean Honeywell Air Purifier 17000 in 2026
Q: Can I wash the HEPA filter with water?
A: Nope. The HEPA filter is made of delicate fibers that break down when wet. Water, soap, or even steam will destroy its ability to capture tiny particles. Replacement is the only option when it’s dirty. That’s why cleaning the pre-filter regularly is so important—it protects the HEPA.
Q: How do I know when to replace the HEPA filter?
A: Look for visible discoloration (dark gray or black), reduced airflow, or a musty smell. Honeywell recommends replacing it every 12–18 months, but if you have pets, allergies, or poor outdoor air quality, you might need to do it sooner. I replaced mine at 14 months because my cat sheds like crazy.
Q: Is it safe to vacuum the HEPA filter?
A: Light vacuuming with a brush attachment is okay—just don’t press hard. The goal is to remove loose dust, not scrub. But if the filter is already dark or smelly, vacuuming won’t help. Replace it instead. Remember: how to clean Honeywell Air Purifier 17000 in 2026 includes knowing when to replace, not just clean.
Q: Why is my purifier louder after cleaning?
A: This usually happens if a filter isn’t seated properly. Check that the pre-filter and HEPA filter are flush with the housing. Also, make sure the front panel clicks securely into place. Air leaks cause turbulence, which increases noise.
Q: Can I clean the carbon filter?
A: Not really. Activated carbon works by adsorption—once the pores are full, it can’t be regenerated. Replacement is the only option. If odors persist after running the purifier, the carbon filter is likely spent. Replace it every 6–12 months.
Q: Do I need to clean the inside fan or motor?
A: Generally, no. The internal fan is sealed and not user-serviceable. However, if you see dust near the vents, use the vacuum’s brush attachment to clean around (not inside) the housing. Never open the motor compartment unless you’re qualified.
Q: What if my model has a permanent filter?
A: The Honeywell Air Purifier 17000 uses replaceable filters, not permanent ones. If you see a model with a “permanent” filter, it’s likely a different unit. Always check your manual. For the 17000, stick to the pre-filter (cleanable) and HEPA/carbon (replaceable).
Final Thoughts
Cleaning your Honeywell Air Purifier 17000 isn’t just about maintenance—it’s about health. A clean purifier means cleaner air, fewer allergens, and a longer lifespan for your device. And now that you know how to clean Honeywell Air Purifier 17000 in 2026, it’s a simple, 30-minute task you can do every month.
Start small. Set a reminder on your phone. Keep your tools in a basket near the purifier. Make it part of your home care routine—like changing the sheets or wiping down counters. Over time, it becomes second nature.
And if you’re replacing filters, invest in genuine Honeywell parts. They’re designed for your model, ensuring optimal performance and safety. Your lungs (and your wallet, thanks to longer filter life) will thank you.
Remember: clean air isn’t a luxury—it’s a necessity. Whether you’re battling pollen, pet dander, or city smog, a well-maintained air purifier is one of the best tools you have. So unplug, clean, and breathe easy. You’ve got this.
Now go grab that microfiber cloth. Your purifier (and your sinuses) are waiting.