Featured image for how to clean honeywell air purifier hfd 010
Image source: getsmellout.com
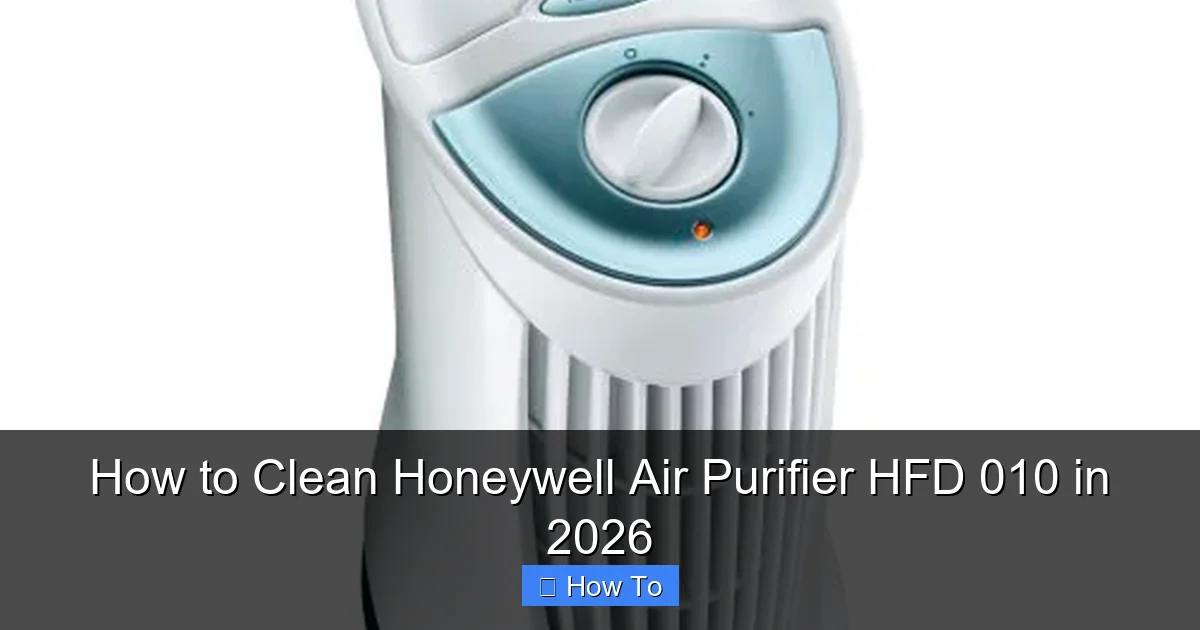
Unplug your Honeywell HFD-010 air purifier before cleaning to ensure safety and prevent damage. Wipe the exterior with a damp cloth and use a soft brush to remove dust from the filter and vents—avoid water near electrical components for optimal performance and longevity.
“`html
How to Clean Honeywell Air Purifier HFD 010 in 2026
Key Takeaways
- Unplug the unit before cleaning to ensure safety and prevent electrical damage.
- Wipe the exterior with a soft, damp cloth and mild detergent weekly.
- Vacuum the pre-filter monthly to remove dust and extend filter life.
- Replace the HEPA filter every 12 months or as recommended by Honeywell.
- Clean the fan blades gently with a brush to maintain optimal airflow.
- Never use water on internal components to avoid permanent damage.
Why This Matters / Understanding the Problem
Let’s be honest: your air purifier is like that quiet roommate who cleans up after everyone but never gets thanked. You plug it in, forget about it, and assume it’s doing its job. But if you’ve noticed weaker airflow, strange smells, or your allergies acting up again, it’s probably time to clean it.
I learned this the hard way after my Honeywell HFD-010 started sounding like a jet engine. Turns out, dust, pet hair, and even cooking grease had built up over six months. The good news? Cleaning it isn’t rocket science. In fact, how to clean Honeywell Air Purifier HFD 010 in 2026 is simpler than you think—once you know the right steps.
Regular cleaning boosts efficiency, extends the life of your purifier, and keeps the air in your home truly clean. And in 2026, with rising indoor pollution concerns and more people working from home, this isn’t just a “nice-to-do.” It’s essential.
Whether you’ve had your unit for a year or just bought it, this guide walks you through everything—from the tools you need to the sneaky spots most people miss. And yes, I’ll share the mistakes I made (like using a wet cloth on the wrong part) so you don’t have to.
What You Need
Before you start, gather these items. Nothing fancy—most are already in your home. Think of it as assembling your “air purifier spa kit.”

Visual guide about how to clean honeywell air purifier hfd 010
Image source: honeywellstore.com
- A microfiber cloth (or soft cotton rag—nothing abrasive)
- A soft-bristled brush (an old toothbrush works great)
- Mild dish soap (unscented, if possible)
- White vinegar (optional, for odor control)
- Warm water
- A bowl or sink
- A vacuum with a brush attachment (for dust removal)
- Compressed air (optional, for tight spots)
- Your owner’s manual (just in case)
<
<
<
Pro tip: Don’t use bleach, ammonia, or strong solvents. They can damage the pre-filter and reduce airflow. I once tried “deep cleaning” with a kitchen degreaser—bad idea. The plastic warped slightly. Stick to gentle, non-abrasive cleaners.
Also, unplug the unit before you begin. Safety first, always. Even if it’s just for a minute, you don’t want any accidental starts.
Step-by-Step Guide to How to Clean Honeywell Air Purifier HFD 010 in 2026
Let’s get into the nitty-gritty. This model uses a permanent, washable pre-filter and a HEPA-type filter (which you *don’t* wash). We’ll cover both, plus the exterior and fan. The whole process takes about 20–30 minutes—perfect for a coffee break.
Step 1: Unplug and Remove the Pre-Filter
Start by turning off and unplugging the air purifier. Place it on a clean, flat surface—your kitchen counter or a table works fine.
Locate the front grille. On the HFD-010, it’s the removable panel on the front. Gently press the release tabs (usually on the sides) and pull it off. You’ll see the pre-filter behind it—a mesh-like screen that catches large particles like hair and dust.
Carefully slide the pre-filter out. It’s lightweight and flexible, so don’t force it. If it’s stuck, wiggle it side to side. I once yanked it too hard and bent the frame—minor, but avoidable.
Why this matters: The pre-filter protects the HEPA filter from clogging. Cleaning it regularly keeps your main filter working longer. Think of it as the “first line of defense.”
Step 2: Vacuum the Pre-Filter and Interior
Before washing, vacuum the pre-filter to remove loose debris. Use the brush attachment to avoid scratching the mesh. I like to do this over a trash can so dust doesn’t fly everywhere.
Then, vacuum the inside of the grille and the area behind it. You’ll be surprised how much hair, dust, and even pet dander accumulate there. I found a whole spider web once—yikes.
If you have compressed air, use it to blow out tight corners. Hold the can upright and spray in short bursts. Don’t overdo it—you don’t want to push debris deeper.
This step is often skipped, but it makes the washing part way more effective. It’s like pre-rinsing a dish before putting it in the sink.
Step 3: Wash the Pre-Filter
Fill a bowl or sink with warm water. Add a few drops of mild dish soap. Submerge the pre-filter and let it soak for 5–10 minutes. This loosens stubborn grime.
Use your soft-bristled brush to gently scrub both sides. Focus on the edges and corners—dust loves to hide there. Don’t scrub too hard; the mesh is durable but not indestructible.
Rinse thoroughly under running water. I like to tilt it at an angle to make sure water flows through the mesh, not just over it. You want to flush out trapped particles.
Shake off excess water and pat dry with a microfiber cloth. Then, lay it flat on a clean towel to air-dry completely. Never reinstall it while damp. Moisture can damage the motor or encourage mold.
Warning: Don’t put the pre-filter in the dishwasher or washing machine. The heat and agitation can warp it. I tried it once—my filter looked like a taco after.
Step 4: Clean the Grille and Exterior
While the pre-filter dries, clean the grille and outer casing. Use the same soapy water and a microfiber cloth. Wipe down the grille, sides, and top. Pay attention to the vents—dust clings to the slats.
For stubborn spots, use the soft brush. I keep an old toothbrush in my cleaning kit just for this. It fits perfectly into the narrow gaps.
For the control panel, use a slightly damp cloth—never a soaked one. Wipe gently, then dry immediately. I once spilled water into the buttons and had to wait a day for it to dry. Not fun.
If your unit has a handle, clean that too. Hands transfer oils and dirt—especially if you’ve been cooking or handling pets.
Step 5: Clean the Fan and Internal Housing (Optional but Recommended)
This step is for deeper cleaning every 3–6 months. It’s not required every time, but it makes a big difference.
Locate the rear panel (the back of the unit). Use a screwdriver if needed to remove the screws. On the HFD-010, it’s usually just a few Phillips-head screws.
Carefully open the panel. You’ll see the fan and motor. Use compressed air or a vacuum to remove dust from the fan blades and housing. Hold the fan in place with your finger to prevent it from spinning.
If there’s visible grime, wipe it with a dry microfiber cloth. Avoid water or liquid near the motor. I once got a little too eager with a damp cloth and had to let the unit sit for 24 hours to dry.
Reattach the panel and screws. Make sure it’s snug but not over-tightened.
Pro tip: Take a photo before removing the panel. It’ll help you remember how everything fits back together—especially if you’re like me and forget where each screw goes.
Step 6: Inspect and Replace the HEPA-Type Filter (Do NOT Wash!)
Now, the main event: the HEPA-type filter. This is *not* washable. Honeywell labels it “permanent” but it’s actually a long-life filter that you replace every 3–5 years, depending on use.
Remove the filter by pulling it out from the back. It’s a flat, rectangular panel with a handle. Check it for discoloration, tears, or heavy soiling. If it looks gray or black, or if airflow is weak even after cleaning, it’s time to replace it.
To clean it, use a vacuum with the brush attachment. Gently run it over both sides. Don’t press hard—you could damage the filter fibers. I do this every 2–3 months to extend its life.
Never use water, compressed air, or a brush. These can break the delicate fibers and reduce filtration efficiency. I learned this after a friend tried “deep cleaning” his with a toothbrush—it never worked right again.
Replacement tip: Honeywell recommends the HRF-R3 filter for the HFD-010. Buy genuine replacements when possible. Third-party filters may fit, but they often don’t seal properly, letting unfiltered air bypass.
Step 7: Reassemble and Test
Once everything is dry, reassemble the unit in reverse order:
- Insert the HEPA filter (if not replacing)
- Place the clean pre-filter back in
- Snap the front grille into place
- Reattach the rear panel (if you opened it)
Plug it back in and turn it on. Listen for smooth operation. If it’s loud or vibrates, double-check that all parts are seated correctly.
Run it on the lowest setting for 10 minutes. Then, increase to medium. If airflow feels strong and there’s no strange smell, you’re golden.
I like to run mine for a few hours after cleaning to “reset” the air in the room. It’s not scientific, but it feels right.
Pro Tips & Common Mistakes to Avoid
Over the years, I’ve made every mistake in the book. Here’s what I wish I’d known sooner:
- Clean more often if you have pets or allergies. I clean mine every 4–6 weeks because I have two cats. If you’re in a dusty area or cook a lot, do it monthly.
- Don’t skip the vacuuming step. Washing a dusty pre-filter is like washing a muddy car with a hose—it’ll still be dirty. Vacuum first.
- Label your filters. I use a Sharpie to write the install date on the HEPA filter. It helps me remember when to replace it.
- Check the manual for filter life. Honeywell says 3–5 years, but in a pet-heavy home, mine lasted 2.5. Use your judgment.
- Store cleaning supplies nearby. I keep a small kit in the laundry room—microfiber cloth, toothbrush, vacuum attachment. Makes cleaning way easier.
- Never run the unit with a wet pre-filter. It can cause mold or electrical issues. I once did this and got a musty smell. Not cool.
- Don’t use scented cleaners. They can leave residue or react with the plastic. Stick to unscented dish soap and water.
Real talk: I ignored my purifier for a year. When I finally cleaned it, the pre-filter was black. The HEPA filter was clogged. My allergies got worse. Don’t be like past me. A quick monthly clean keeps everything running smoothly.
Also, remember that how to clean Honeywell Air Purifier HFD 010 in 2026 isn’t just about the filter. The fan, grille, and housing all play a role in performance. Think of it like cleaning your car—you don’t just wash the outside and forget the engine.
FAQs About How to Clean Honeywell Air Purifier HFD 010 in 2026
Q: How often should I clean the pre-filter?
I clean mine every 4–6 weeks. If you have pets, kids, or live in a dusty area, do it monthly. For light use, every 8 weeks is fine. The key is to check it regularly—look for visible dust or reduced airflow.
I once waited 3 months because “it looked fine.” Big mistake. It was clogged inside. Now I set a phone reminder every 5 weeks.
Q: Can I wash the HEPA-type filter?
No. The HFD-010 uses a HEPA-type filter that’s *not* washable. Washing it destroys the fibers and reduces filtration. Honeywell designed it for vacuuming only.
I tried it once—big regret. The filter never sealed properly again, and I had to replace it early. Save yourself the trouble: vacuum gently, don’t wet it.
Q: My purifier smells after cleaning. What’s wrong?
That’s usually from a damp pre-filter or residue from cleaning products. Make sure the pre-filter is 100% dry before reinstalling. If it still smells, wipe the interior with a cloth dampened with white vinegar (1 part vinegar to 3 parts water). Let it dry completely.
I once used a lavender-scented cleaner. The purifier smelled like a spa—until the scent mixed with dust. Vinegar is safer and odor-neutralizing.
Q: Can I use compressed air on the HEPA filter?
No. Compressed air can blow apart the delicate fibers. It’s like using a pressure washer on a paper towel. Stick to vacuuming with a brush attachment.
I tried it on a friend’s unit. The filter lost efficiency. He had to replace it. Learn from his mistake.
Q: How do I know when to replace the HEPA filter?
Look for these signs:
- Visible tears or holes
- Dark gray or black color
- Reduced airflow even after cleaning
- Allergies getting worse
Honeywell recommends 3–5 years, but in high-pollution areas, it may be sooner. I replace mine every 3 years, even if it looks okay.
Q: Is the HFD-010 filter washable?
Only the pre-filter is washable. The main filter (HEPA-type) is vacuum-only. The model number (HFD-010) refers to the unit, not the filter. The pre-filter is the mesh screen you remove first.
Some people confuse this with “washable HEPA” models, but this isn’t one of them. Always check your manual.
Q: What if I can’t remove the rear panel?
No worries. You can still clean effectively without it. Just vacuum the front grille, pre-filter, and exterior. Save the internal cleaning for when you’re comfortable with disassembly.
I didn’t open the back for two years. The purifier still worked fine. But when I finally did, I found a lot of dust. It’s optional, not mandatory.
Final Thoughts
Cleaning your Honeywell HFD-010 isn’t about perfection. It’s about consistency. A quick 20-minute session every few weeks keeps your air clean, your purifier happy, and your home healthier.
Remember, how to clean Honeywell Air Purifier HFD 010 in 2026 is less about following rules and more about building a simple habit. Set a reminder. Keep your supplies handy. And don’t stress if you miss a month—just pick up where you left off.
The best part? You’ll notice the difference. Fresher air, quieter operation, and fewer allergy flare-ups. It’s a small effort with big rewards.
So, grab that microfiber cloth, unplug your purifier, and give it the spa day it deserves. Your lungs (and your pets) will thank you.
And if you’re ever in doubt? Refer back to this guide. I wrote it because I wish I’d had it when I started. Now, it’s yours.
Happy cleaning!
“`