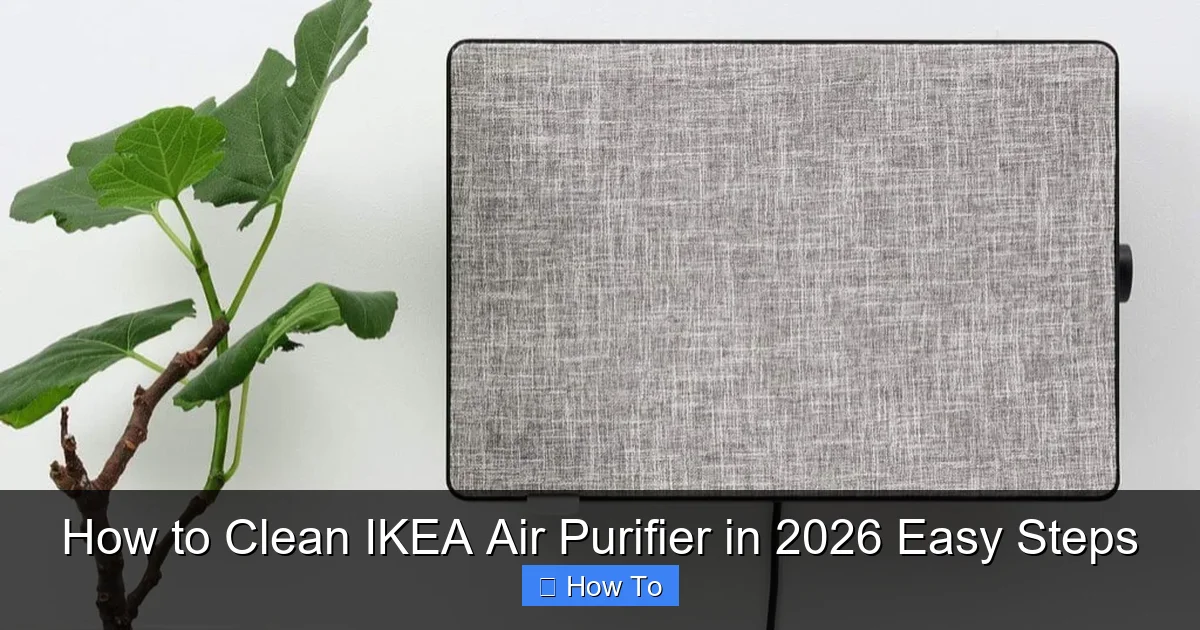
Featured image for how to clean ikea air purifier
Image source: ikeahackers.net
Clean your IKEA air purifier every 2–4 weeks to maintain optimal performance and indoor air quality—simply unplug the device, remove the filter, and wipe the exterior with a damp cloth. Never rinse or submerge the filter in water, as this can damage the unit; instead, vacuum loose debris or replace it every 6–12 months depending on usage. A quick, consistent routine ensures long-lasting efficiency and cleaner air in your home.
“`html
How to Clean IKEA Air Purifier in 2026 Easy Steps
Key Takeaways
- Unplug first: Always disconnect power before cleaning for safety.
- Wipe exterior: Use a damp cloth with mild soap, avoid harsh chemicals.
- Clean filters monthly: Rinse pre-filters gently; replace if damaged.
- Check HEPA filters: Never wash—replace every 6–12 months.
- Dry thoroughly: Air-dry all parts completely before reassembling.
- Reset filter timer: Use app or button after maintenance to track usage.
- Schedule cleaning: Set monthly reminders for optimal purifier performance.
Why This Matters / Understanding the Problem
You’ve got an IKEA air purifier humming quietly in your living room, bedroom, or home office. It’s doing its job—filtering dust, pollen, and maybe even pet dander. But over time, that quiet hero starts to slow down. The airflow drops. The noise increases. The filter light flashes like a warning siren.
If you’ve ever ignored that light or thought, “It’s just a light, how bad could it be?”—I’ve been there. A few months ago, my own air purifier started sounding like a mini jet engine. I opened it up, and the filter looked like a dust bunny convention. That’s when I learned: how to clean IKEA air purifier in 2026 easy steps isn’t just about aesthetics—it’s about performance, air quality, and even your wallet.
Dirty filters force your purifier to work harder, using more energy and shortening its lifespan. Plus, clogged filters can release trapped particles back into the air—defeating the whole purpose. Regular cleaning keeps your device efficient, quiet, and effective. And the best part? It takes less than 15 minutes every few weeks.
So whether you own the IKEA FÖRNUFTIG or the newer STARKVIND models, this guide walks you through how to clean IKEA air purifier in 2026 easy steps—with real-life tips, common mistakes to dodge, and answers to questions you didn’t even know you had.
What You Need
Before we dive in, let’s gather your cleaning toolkit. Don’t worry—nothing fancy. Most of this is already in your home.
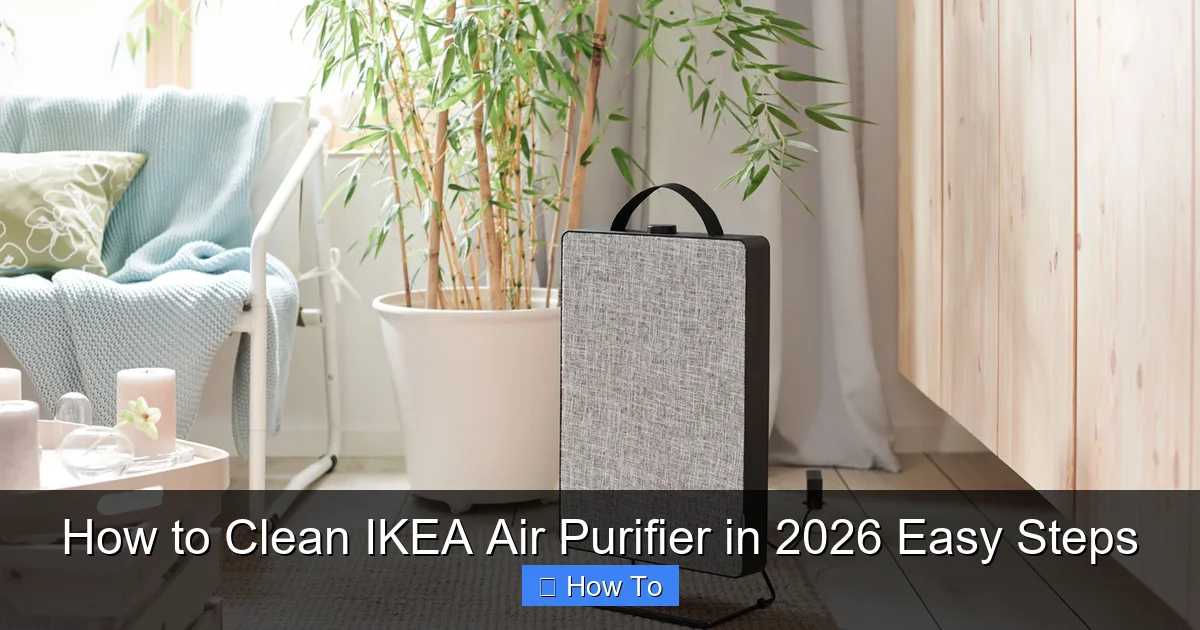
Visual guide about how to clean ikea air purifier
Image source: cdn.mos.cms.futurecdn.net
- Microfiber cloth (or a soft, lint-free cloth) – for wiping surfaces without scratching
- Vacuum cleaner with a brush attachment – essential for removing loose dust and debris
- Mild dish soap and lukewarm water – only for the removable pre-filter (if applicable)
- Soft-bristled brush (like an old toothbrush or paintbrush) – for scrubbing crevices
- Dry towel or paper towels – for drying
- Replacement filters (optional but smart) – check model compatibility before buying
- Small bowl or container – to hold screws or small parts during disassembly
- Mask (optional but recommended) – especially if you’re sensitive to dust or allergens
Pro note: Never use bleach, ammonia, or abrasive cleaners. These can damage filters and plastic components. Also, avoid submerging the main unit or electrical parts in water—ever.
Now, with your supplies ready, let’s get into the actual how to clean IKEA air purifier in 2026 easy steps.
Step-by-Step Guide to How to Clean IKEA Air Purifier in 2026 Easy Steps
Step 1: Power Off and Unplug
First rule of cleaning any electronic: unplug it. No exceptions. I once tried wiping down my purifier while it was running—bad idea. Not only did I risk electric shock (thankfully, the plug came loose), but I also blew dust deeper into the unit.
Turn off the purifier using the power button, then unplug the cord from the wall. Let it sit for a few minutes to cool down and discharge any residual power. This is especially important if you’ve been using it on high fan settings.
Once it’s off and cool, move it to a well-lit, open area—like your kitchen counter or dining table. Good lighting helps you spot grime and ensures you don’t miss a spot during how to clean IKEA air purifier in 2026 easy steps.
Step 2: Remove the Outer Cover and Filters
Most IKEA air purifiers (like the FÖRNUFTIG and STARKVIND) have a front or side panel that snaps or slides open. Look for small tabs or notches around the edges. Gently press or slide them to release the cover.
Inside, you’ll find one or more filters. Here’s what you’ll typically see:
- Pre-filter (if present): A mesh or foam layer that catches large particles like hair and dust. On the STARKVIND, this is often removable and washable.
- Main filter (HEPA or activated carbon): This is the heart of your purifier. It’s usually sealed in a cardboard or plastic frame. Do not wash this.
Carefully pull out each filter. Label them with tape (e.g., “Front,” “Back”) if they look similar—this helps with reinstallation. Place them on a clean towel or tray, away from foot traffic.
Warning: Don’t force the cover or filters. If something feels stuck, double-check the manual or look for hidden latches. Forcing it can crack plastic or damage the internal fan.
Step 3: Clean the Pre-Filter (If Applicable)
If your model has a washable pre-filter (common on STARKVIND), now’s the time to clean it. This step makes a huge difference in performance.
- Rinse the pre-filter under lukewarm water. Use your fingers to gently rub away dust and grime.
- If it’s really dirty, mix a few drops of mild dish soap with water and soak it for 5–10 minutes.
- Scrub gently with a soft brush—especially around the edges where dust hides.
- Rinse thoroughly to remove all soap residue.
- Shake off excess water and lay it flat on a dry towel. Let it air dry completely—do not use a hairdryer or heat.
While it dries, move on to the next steps. Never reinstall a damp pre-filter—it can grow mold or damage the main filter.
This step is a game-changer when learning how to clean IKEA air purifier in 2026 easy steps, because it extends the life of your main HEPA filter by catching big particles early.
Step 4: Vacuum the Interior and Fan Housing
Now, grab your vacuum with the brush attachment. This is where the real magic happens.
- Vacuum the inside of the purifier housing, focusing on corners and crevices.
- Use the brush to gently dislodge dust from the fan blades. (Yes, you can touch the fan—just be gentle.)
- Pay attention to the intake and exhaust grilles. These get clogged fast, especially near pets or cooking areas.
- Vacuum around the motor and wiring (but don’t poke the nozzle in too deep).
For stubborn buildup, use the soft brush to loosen dust first, then vacuum it up. I keep an old makeup brush for this—it’s perfect for tight spaces.
After vacuuming, wipe the inside walls with a microfiber cloth to pick up any remaining dust. This step ensures your purifier breathes easy and operates quietly.
Step 5: Wipe Down the Exterior and Control Panel
While the pre-filter dries, clean the outside. Use a microfiber cloth slightly dampened with water (or a 50/50 mix of water and white vinegar for tougher grime).
- Wipe the entire exterior, including the top, sides, and base.
- For the control panel, use a dry cloth or lightly dampen the corner of the cloth—never spray liquid directly on buttons or sensors.
- Use the soft brush to clean between buttons and around the display.
Avoid getting moisture into vents or openings. If your model has a touchscreen, use a screen-safe wipe (like those for phones or tablets).
This step keeps your purifier looking new and prevents dust from migrating back into the unit—a key part of how to clean IKEA air purifier in 2026 easy steps.
Step 6: Inspect and Replace the Main Filter (If Needed)
Now, take a close look at your main HEPA or carbon filter. Hold it up to the light. If you see:
- Visible mold or mildew
- Dark, caked-on dust (especially if it’s gray or black)
- Damage to the frame or mesh
…it’s time to replace it. No amount of vacuuming will revive a clogged or damaged HEPA filter.
Check your model’s manual for the recommended replacement schedule. For most IKEA purifiers, it’s every 6–12 months, depending on usage and environment.
When buying replacements, stick to genuine IKEA filters or reputable third-party brands that match the exact size and type. I once tried a cheaper “universal” filter—it didn’t seal properly and let unfiltered air through. Not worth the savings.
Pro tip: Set a phone reminder every 6 months to check your filter. Mark it in your calendar or use an app like Google Keep. Prevention beats panic.
Step 7: Reassemble and Test
Once the pre-filter is 100% dry and you’ve replaced the main filter (if needed), it’s time to put it all back together.
- Insert the main filter first, making sure it’s seated properly in the frame.
- Snap the pre-filter back in (if applicable).
- Close the cover—listen for a click or snap to confirm it’s secure.
- Plug in the purifier and turn it on.
Start with the lowest fan speed. Listen for any unusual noises. If it sounds smooth, increase the speed. Watch the airflow—it should feel stronger than before.
Most IKEA purifiers have a filter reset button or app notification. After replacing the main filter, press and hold the reset button (usually for 5–10 seconds) to clear the filter alert. If your model connects to the IKEA Home app, sync it to update the status.
Congratulations! You’ve just completed how to clean IKEA air purifier in 2026 easy steps—and your air will thank you.
Step 8: Set a Maintenance Schedule (Optional but Smart)
To keep your purifier running smoothly, create a cleaning routine:
- Weekly: Vacuum the exterior and grilles. Wipe the control panel.
- Monthly: Remove and vacuum the pre-filter (if washable) or gently tap it outside to dislodge dust.
- Every 3 months: Full cleaning as outlined above.
- Every 6–12 months: Replace the main filter.
Adjust based on your home. If you have pets, live in a dusty area, or cook often, clean more frequently. I clean mine every 2 months because my cat sheds like it’s her job.
Pro Tips & Common Mistakes to Avoid
After cleaning dozens of air purifiers (including my own and my parents’), here are the real-deal insights:
- Don’t skip the pre-filter. It’s easy to forget, but cleaning it monthly can double the life of your expensive HEPA filter.
- Never vacuum the main HEPA filter. It might seem tempting, but vacuuming can damage the delicate fibers. Only vacuum the housing and pre-filter.
- Label your filters. If you have multiple purifiers (like one in the bedroom and one in the living room), label the filters with tape. Mixing them up leads to confusion and wasted replacements.
- Clean in a clean space. Do this in a dust-free area. I once cleaned my purifier on the floor and ended up with carpet fibers stuck to the filter. Not ideal.
- Check for firmware updates. Some IKEA models (like STARKVIND with smart features) can update via the IKEA Home app. Updated firmware often improves filter life tracking.
- Use a mask if you’re allergy-prone. Cleaning stirs up dust. If you sneeze or get itchy eyes, wear a mask. Your sinuses will thank you.
- Don’t over-wet the pre-filter. Excess water can warp the foam or mesh. Rinse gently and dry flat.
Common mistake: People wait until the filter light is red before acting. By then, performance has already dropped. Think of it like a car—you don’t wait for the engine to overheat before checking the oil.
Also, avoid using compressed air. It can blow dust deeper into the unit or damage sensitive electronics. Stick to vacuuming and wiping.
FAQs About How to Clean IKEA Air Purifier in 2026 Easy Steps
Can I wash the main HEPA filter in my IKEA purifier?
Nope. The main HEPA filter is made of ultra-fine fibers that trap tiny particles. Water, soap, or even strong suction can damage these fibers. Washing it will reduce efficiency and may void the warranty. Only the pre-filter (if removable) can be washed. When the main filter is clogged, replace it. It’s part of how to clean IKEA air purifier in 2026 easy steps—knowing what not to do is just as important.
How often should I clean my IKEA air purifier?
It depends on your environment. In a typical home with no pets, clean the exterior weekly, vacuum the pre-filter monthly, and do a full cleaning every 3 months. Replace the main filter every 12 months. If you have pets, live in a dusty area, or have allergies, clean every 2 months and replace the main filter every 6–8 months. The more you use it, the more it needs care.
My purifier is making a rattling noise after cleaning. What’s wrong?
Most likely, the cover isn’t fully closed or a filter is loose. Turn it off, unplug it, and double-check that all parts are seated correctly. Make sure the main filter is flush with the frame and the cover clicks into place. If the noise persists, the fan might have a foreign object stuck in it—carefully inspect and remove it with tweezers or a vacuum.
Can I use vinegar to clean the inside of my IKEA purifier?
Only on non-electronic surfaces, and sparingly. A 50/50 mix of vinegar and water can help remove mineral deposits or stubborn grime on plastic parts. Never spray it directly—use a cloth. Avoid getting vinegar near the motor, wiring, or control panel. After wiping, dry thoroughly. For most cleaning, plain water or mild soap is safer.
Do I need to reset the filter light after cleaning?
Only after replacing the main filter. If you just cleaned the pre-filter or wiped the unit, you don’t need to reset. But if you installed a new HEPA filter, press and hold the filter reset button (usually on the side or back) for 5–10 seconds. On smart models, open the IKEA Home app and follow the prompts to reset the filter status. This keeps your purifier tracking accurately.
Is it safe to clean the purifier while it’s plugged in?
Absolutely not. Always unplug it before cleaning. Even if the power is off, residual electricity can be dangerous. Plus, moving parts (like the fan) can start unexpectedly. Safety first—unplug, wait, then clean. It’s a non-negotiable step in how to clean IKEA air purifier in 2026 easy steps.
What if my IKEA purifier doesn’t have a pre-filter?
Some models (like the basic FÖRNUFTIG) only have a main filter. In that case, vacuum the interior thoroughly and wipe the grilles. The cleaning process is otherwise the same. Just skip the pre-filter steps. The key is to keep the main filter from getting overloaded with large particles.
Final Thoughts
Cleaning your IKEA air purifier isn’t rocket science—but it does make a real difference. I’ve seen purifiers go from loud and sluggish to whisper-quiet and powerful after a simple cleaning. And the best part? It costs nothing but a little time.
By following how to clean IKEA air purifier in 2026 easy steps, you’re not just maintaining a gadget. You’re protecting your health, saving energy, and extending the life of your device. Think of it like brushing your teeth—small effort, big payoff.
Start today. Set a reminder on your phone. Keep your microfiber cloth and vacuum handy. And the next time that filter light flashes, you won’t panic. You’ll just smile and say, “I’ve got this.”
Your air—and your purifier—will thank you.
“`