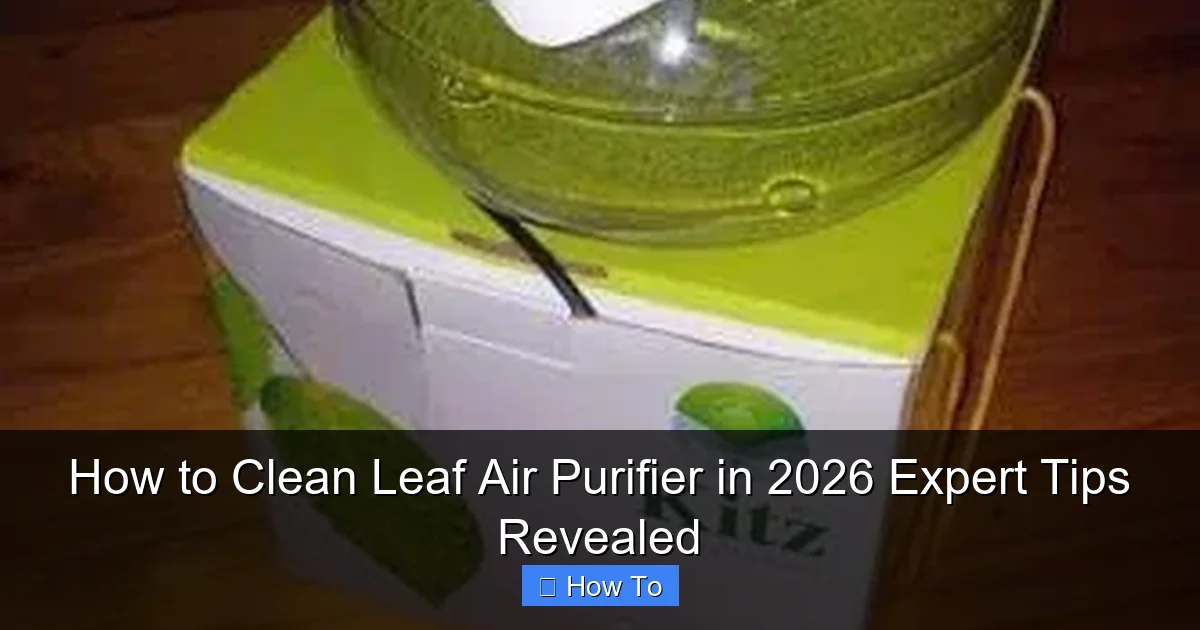
Featured image for how to clean leaf air purifier
Image source: naturenurture.co.za
Regularly cleaning your Leaf Air Purifier is essential to maintain peak performance and extend its lifespan. In 2026, experts recommend rinsing the pre-filter monthly, wiping the sensor every two weeks, and deep-cleaning the unit with mild soap and water every three months to ensure optimal air quality and prevent mold or debris buildup. Follow these simple steps to keep your purifier running efficiently year-round.
“`html
How to Clean Leaf Air Purifier in 2026 Expert Tips Revealed
Key Takeaways
- Turn off and unplug the Leaf air purifier before cleaning to ensure safety.
- Vacuum the exterior weekly to remove dust and maintain airflow efficiency.
- Wash the pre-filter monthly with mild soap and let it air dry completely.
- Replace HEPA filters every 6–12 months or as recommended by the manufacturer.
- Clean the ionizer plates gently with a soft brush to prevent buildup.
- Use a dry cloth for the internal sensors to avoid moisture damage.
- Reassemble carefully to ensure proper function and optimal air purification.
Why This Matters / Understanding the Problem
Let’s be real—your Leaf air purifier works hard every single day. It quietly hums away, trapping dust, pollen, pet dander, and even those sneaky cooking odors you’d rather not admit are in your kitchen. But here’s the thing: even the most reliable machines need a little TLC to keep performing at their best.
I learned this the hard way last winter. My allergies were acting up like crazy, and I couldn’t figure out why—until I opened up my Leaf purifier and found a thick layer of grime clogging the filters. It wasn’t just gross; it was basically running on fumes. Once I cleaned it properly, the difference was night and day. The air felt fresher, the unit ran quieter, and my sneezing fits dropped dramatically.
That’s when I realized: cleaning your Leaf air purifier isn’t just about maintenance—it’s about breathing easier. And in 2026, with more of us spending time indoors than ever, keeping your purifier in top shape is non-negotiable. Whether you’re a longtime Leaf owner or just unboxed your first unit, knowing how to clean Leaf air purifier in 2026 expert tips revealed can save you money, extend your device’s life, and actually improve your indoor air quality.
Plus, skipping regular cleanings can lead to reduced airflow, louder operation, and even mold growth inside the unit—yikes! So let’s get into the nitty-gritty of how to keep your Leaf purifier running like new, step by simple step.
What You Need
Before we dive in, don’t worry—you probably already have most of what you need lying around the house. No fancy tools or expensive kits required. Here’s your quick checklist:
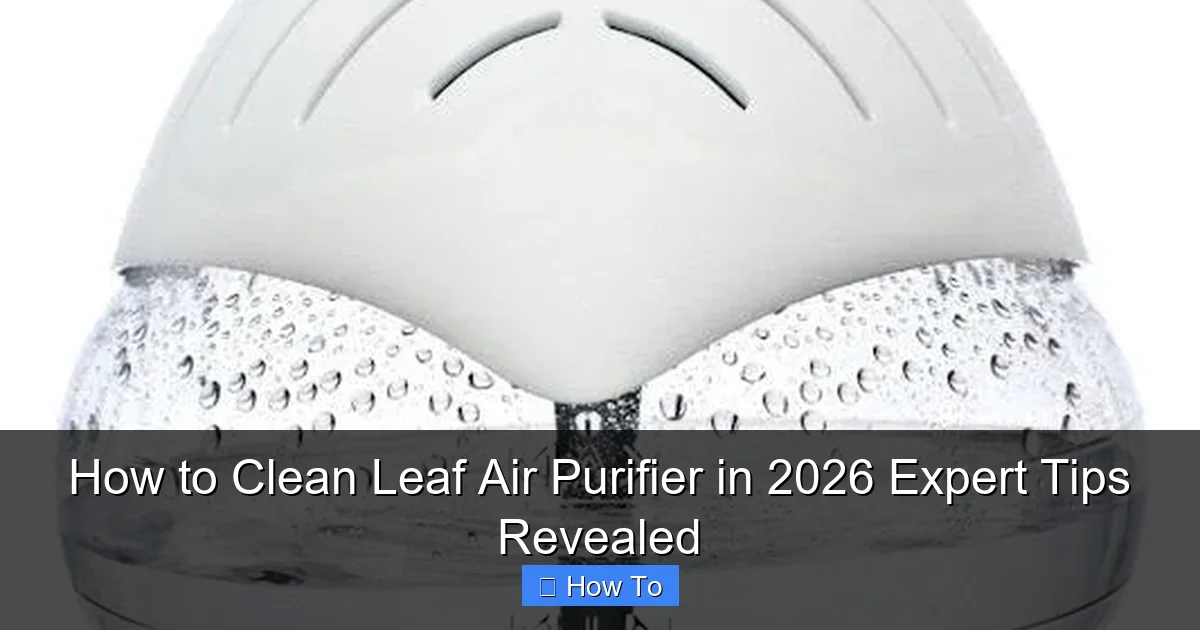
Visual guide about how to clean leaf air purifier
Image source: naturenurture.co.za
- Microfiber cloths (soft and lint-free—no paper towels!)
- Mild dish soap (gentle and fragrance-free if possible)
- White vinegar (great for breaking down grease and odors)
- Soft-bristled brush (an old toothbrush works perfectly)
- Vacuum cleaner with a brush attachment (optional but super helpful)
- Distilled water (tap water can leave mineral deposits)
- Replacement HEPA filter (if it’s time—check your model’s schedule)
Oh, and one more thing: always unplug your Leaf air purifier before cleaning. Safety first, always. I made the mistake of wiping down the exterior while it was still plugged in once—let’s just say my heart did a little jump. Lesson learned!
Step-by-Step Guide to How to Clean Leaf Air Purifier in 2026 Expert Tips Revealed
Step 1: Power Down and Unplug the Unit
This might seem obvious, but it’s worth repeating: never clean your air purifier while it’s plugged in. Not only is it a safety hazard, but you also risk damaging internal components if liquid gets near live electronics. Take a moment to turn it off, unplug it from the wall, and give it a few minutes to cool down if it’s been running.
While you’re at it, check the indicator light (if your model has one). Many Leaf purifiers have a filter replacement or maintenance alert—this is your cue that cleaning time is overdue. Even if the light isn’t on, aim to clean your unit every 4–6 weeks for optimal performance.
Step 2: Remove and Inspect the Filters
Now, gently open the front panel or side compartment (depending on your Leaf model—most have a simple latch or magnetic seal). Carefully slide out the pre-filter and HEPA filter. Don’t yank them! These filters are delicate, especially the HEPA layer.
Take a close look. If the pre-filter looks gray or caked with dust, it’s definitely time for a clean. The HEPA filter should appear white or light gray—if it’s dark brown or smells musty, it’s likely reached the end of its lifespan (usually 6–12 months, depending on usage).
Pro tip: Snap a photo of how the filters sit before removing them. It’ll make reassembly way easier, especially if you’re cleaning multiple units or doing this for the first time.
Step 3: Clean the Pre-Filter
The pre-filter catches larger particles like hair and dust, so it gets dirty fast. Start by using your vacuum’s brush attachment to suck up loose debris. Hold the filter over a trash can and gently tap it to dislodge stubborn clumps.
Next, fill a sink or basin with lukewarm water and add a few drops of mild dish soap. Submerge the pre-filter and let it soak for 10–15 minutes. Then, use your soft-bristled brush to gently scrub both sides—focus on areas with visible buildup.
Rinse thoroughly with distilled water until all soap residue is gone. Shake off excess water and lay the filter flat on a clean towel to air-dry completely. Never put a wet filter back into the unit—moisture can breed mold and damage the motor.
Step 4: Wipe Down the Interior and Exterior
While the pre-filter dries, grab your microfiber cloth and wipe down the inside of the purifier’s housing. Dust loves to settle in corners and around the fan blades. If you spot sticky residue or grease (common in kitchens), dampen a corner of the cloth with a 50/50 mix of white vinegar and water. Vinegar cuts through grime without harsh chemicals.
For the exterior, use the same damp cloth—just make sure it’s only slightly moist, not dripping. Avoid spraying anything directly onto the unit. Pay special attention to the air intake and outlet vents; these can get clogged with pet hair or lint over time.
If your Leaf model has a removable front grille or cover, take it off and clean it separately. Some parts are even dishwasher-safe (check your manual!), but hand-washing is always safer.
Step 5: Address the HEPA Filter (If Reusable)
Here’s a common misconception: HEPA filters can’t be cleaned. And while that’s true for most standard HEPA filters, some Leaf models come with washable or reusable HEPA-style filters. Check your user manual to confirm.
If yours is reusable, you can lightly vacuum it or rinse it under cool water—but never soak it, scrub it, or use soap. After rinsing, let it air-dry for at least 24 hours in a well-ventilated area. Rushing this step is a recipe for mold.
If your HEPA filter isn’t washable (which is more common), don’t try to clean it. Instead, replace it according to the manufacturer’s schedule. Yes, it costs money—but think of it as an investment in your health. A clogged HEPA filter can’t trap allergens effectively, defeating the whole purpose of having an air purifier.
Step 6: Reassemble and Test
Once everything is dry—and I mean completely dry—carefully put the filters back in their original positions. Double-check that the pre-filter is seated correctly and the HEPA filter isn’t bent or folded.
Close the panel securely, plug the unit back in, and turn it on. Listen for unusual noises or vibrations—these could mean something’s misaligned. Run it on low for 10–15 minutes to ensure airflow feels strong and consistent.
Bonus move: Place a bowl of baking soda near the unit for a day or two if you noticed any lingering odors during cleaning. It’ll help neutralize smells naturally.
Pro Tips & Common Mistakes to Avoid
Over the years, I’ve made my fair share of mistakes while cleaning air purifiers—and learned some golden rules along the way. Here’s what to keep in mind:
Pro Tip: Set a calendar reminder every month to check your Leaf purifier. Even if it doesn’t need a full clean, a quick vacuum of the exterior and pre-filter can prevent major buildup.
Warning: Never use compressed air to blow out the filters. It can damage the delicate fibers and reduce filtration efficiency.
Common Mistake: Assuming “clean” means “spotless.” You don’t need to deep-clean your purifier weekly. Over-cleaning can wear out components faster. Stick to the 4–6 week schedule unless you have pets or live in a dusty area.
Personal Insight: I used to think vinegar was too harsh for electronics—but diluted properly, it’s actually one of the safest cleaners for air purifiers. Just avoid getting it near circuit boards or sensors.
Also, if you have pets, consider cleaning the pre-filter every 2–3 weeks. Pet hair and dander accumulate fast, and a clogged pre-filter forces the HEPA filter to work harder, shortening its life.
FAQs About How to Clean Leaf Air Purifier in 2026 Expert Tips Revealed
Q: How often should I clean my Leaf air purifier?
A: For most households, every 4–6 weeks is ideal. But if you have pets, smoke indoors, or live in a high-pollen area, bump it up to every 2–3 weeks. Always check the filter indicator light if your model has one.
Q: Can I wash the HEPA filter?
A: It depends! Some Leaf models include washable HEPA-style filters—check your manual. Standard HEPA filters cannot be washed and must be replaced. When in doubt, replace it.
Q: What happens if I don’t clean my air purifier?
A: Reduced airflow, louder operation, unpleasant odors, and even mold growth. Worst case? Your purifier stops removing pollutants effectively, so you’re breathing in the very stuff it’s supposed to filter out.
Q: Is it safe to use tap water for cleaning?
A: Not recommended. Tap water contains minerals that can leave white spots or residue on filters and internal parts. Distilled water is your best bet for rinsing.
Q: My Leaf purifier smells musty after cleaning. What now?
A: That’s usually a sign of trapped moisture or mold. Make sure all parts were fully dry before reassembly. Run the unit with the windows open for a few hours, or place it near a fan to speed up drying. If the smell persists, inspect the HEPA filter—it may need replacing.
Q: Do I need special tools to clean my Leaf air purifier?
A: Nope! A microfiber cloth, mild soap, vinegar, and an old toothbrush are all you need. No specialty kits required.
Q: Can I clean my air purifier while it’s running?
A: Absolutely not. Always unplug it first. Cleaning while powered on risks electric shock and can damage sensitive components.
Final Thoughts
Cleaning your Leaf air purifier might not be the most exciting chore on your list—but it’s one of the most impactful. Think of it like changing the oil in your car: skip it, and you’ll pay the price later. Do it regularly, and your purifier will reward you with cleaner air, quieter operation, and years of reliable service.
By following these steps on how to clean Leaf air purifier in 2026 expert tips revealed, you’re not just maintaining a machine—you’re investing in your well-being. And honestly? That’s worth the 20 minutes it takes every month.
So grab that microfiber cloth, unplug your unit, and give your Leaf the love it deserves. Your lungs (and your future self) will thank you.
“`