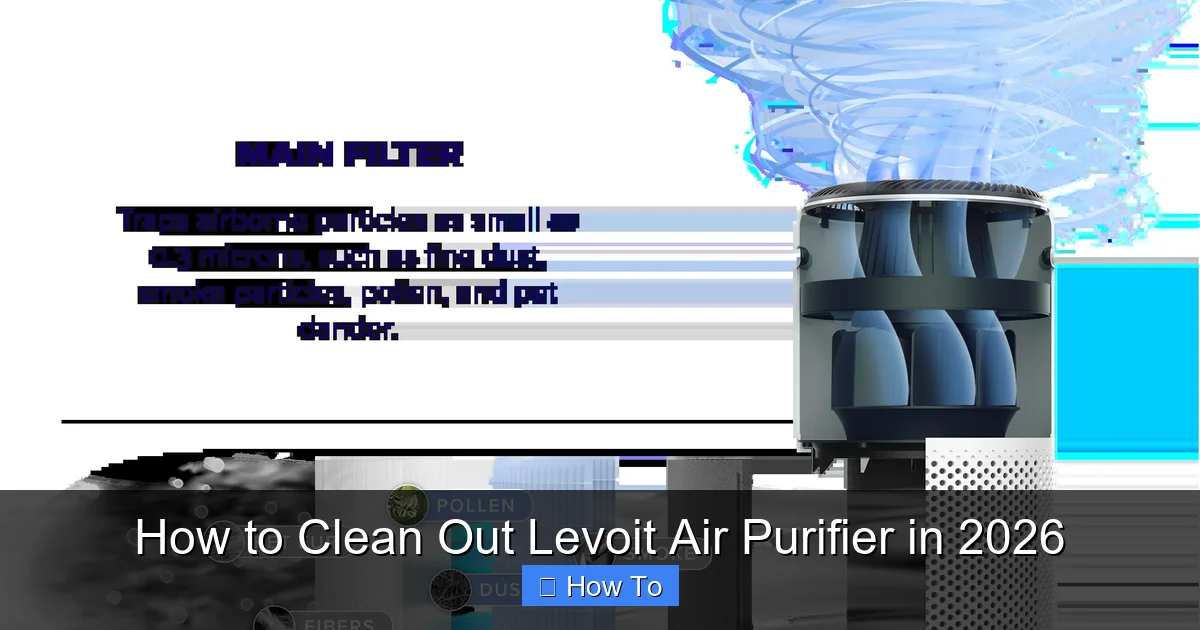
Featured image for how to clean out levoit air purifier
Image source: levoit.com
Regularly cleaning your Levoit air purifier is essential to maintain peak performance and extend its lifespan. Follow a simple, step-by-step process: unplug the unit, remove and rinse the pre-filter, wipe down the interior with a dry or slightly damp cloth, and ensure the HEPA filter is replaced every 6–12 months—never washed. Proper maintenance in 2026 ensures cleaner air, better efficiency, and fewer allergens in your home.
“`html
How to Clean Out Levoit Air Purifier in 2026
Key Takeaways
- Turn off and unplug the purifier before cleaning for safety.
- Vacuum the exterior regularly to remove dust and debris buildup.
- Wipe the air intake with a dry cloth to maintain airflow efficiency.
- Clean or replace filters as recommended to ensure optimal performance.
- Use a damp cloth for the internal pre-filter; avoid soaking components.
- Reassemble carefully to prevent damage and ensure proper function.
Why This Matters / Understanding the Problem
Let’s be real—your Levoit air purifier works hard every day to keep your home’s air fresh and clean. But if you’ve been using it for a while without a proper cleaning, you might start noticing things like reduced airflow, weird smells, or even a drop in performance. Sound familiar?
I learned this the hard way. Last winter, my Levoit started making a faint buzzing noise, and the air in my bedroom didn’t feel as crisp as it used to. At first, I thought it was just the season change. But after a quick inspection, I realized the filters were clogged with dust, pet dander, and who-knows-what-else. That’s when I knew it was time to finally learn how to clean out Levoit air purifier in 2026—and do it right.
Cleaning your air purifier isn’t just about maintenance; it’s about efficiency, longevity, and your health. A dirty unit can’t trap pollutants effectively, which means you’re breathing in more allergens and irritants than you think. Plus, a well-maintained purifier uses less energy and lasts longer. So whether you’re dealing with seasonal allergies, pet hair, or just want cleaner air, knowing how to clean out Levoit air purifier in 2026 is a must.
And don’t worry—this isn’t rocket science. With the right approach, it’s actually pretty simple. In this guide, I’ll walk you through everything you need to know, step by step, based on my own experience and what I’ve learned from Levoit’s recommendations and user forums. No fluff, no jargon—just real, practical advice.
What You Need
Before we dive in, let’s gather the essentials. You don’t need a full cleaning kit or fancy tools—just a few basics you probably already have at home. Here’s what I keep in my “air purifier cleaning kit”:

Visual guide about how to clean out levoit air purifier
Image source: akintrends.com
- Soft microfiber cloths – Great for wiping down surfaces without scratching.
- Vacuum cleaner with a brush attachment – Ideal for gently removing dust from vents and pre-filters.
- Mild dish soap and warm water – Perfect for cleaning removable parts like the pre-filter or outer casing.
- Compressed air (optional) – Helpful for blowing dust out of tight spaces like fan blades.
- Replacement filters (if needed) – Check your model’s filter life indicator or manual to see if it’s time for a new HEPA or carbon filter.
- Rubber gloves (optional) – If you’re sensitive to dust or pet dander, these can help.
Pro tip: Always unplug your Levoit air purifier before cleaning. Safety first, always. I learned that lesson after nearly giving myself a shock while wiping down the unit with one hand and holding a plug with the other. Not my finest moment.
Also, check your user manual—yes, I know, it’s tempting to skip it—but Levoit models vary slightly. Some have washable pre-filters, others don’t. Knowing your specific model (like the Core 300, LV-H132, or Vital 100) will help you clean more effectively and avoid damaging anything.
Step-by-Step Guide to How to Clean Out Levoit Air Purifier in 2026
Step 1: Turn Off and Unplug the Unit
First things first—safety. Always turn off your Levoit air purifier and unplug it from the wall before you start cleaning. This isn’t just a suggestion; it’s essential. Even if the unit is off, there’s still a risk of electric shock if water gets near internal components.
Visual guide about how to clean out levoit air purifier
Image source: airpurifierfirst.com
I made the mistake once of cleaning while it was still plugged in (don’t ask why), and let’s just say the sudden power surge wasn’t fun. Now, I unplug it the moment I decide to clean. It takes two seconds and gives me peace of mind.
Once it’s unplugged, let the unit sit for about 10–15 minutes. This allows any internal components to cool down, especially if you’ve been running it on high all day. Warm parts can warp or get damaged if you start wiping them down too soon.
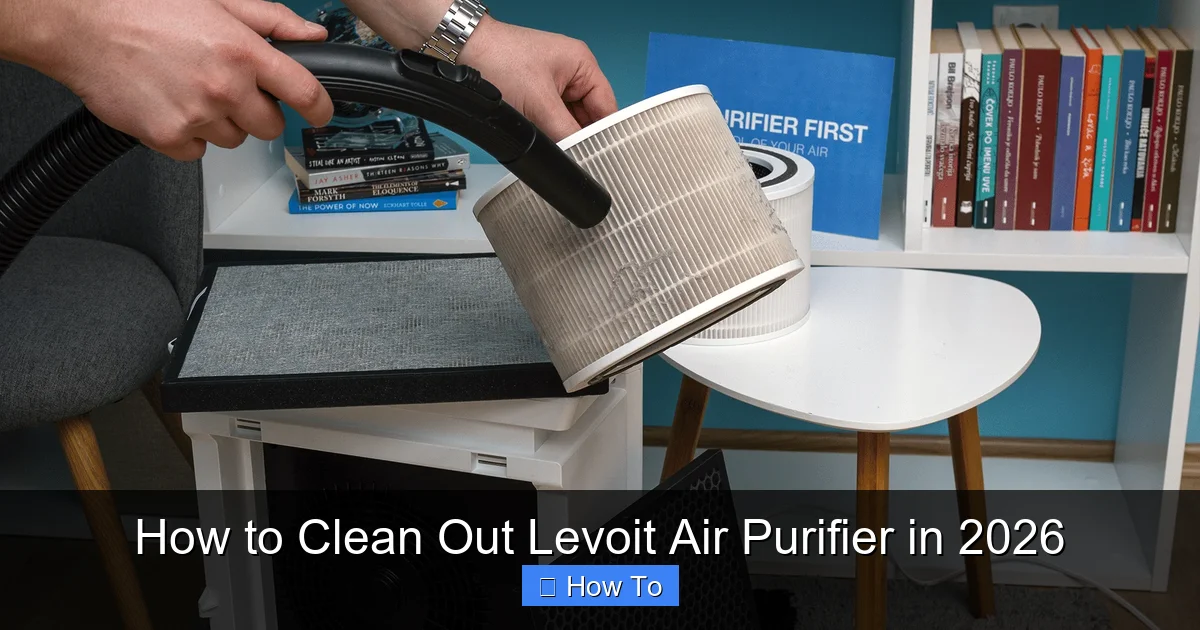
Step 2: Remove the Front Panel and Pre-Filter
Now it’s time to access the inside. Most Levoit models have a front panel that snaps off easily. On my Core 300, I just press the release button on the top and gently pull the panel forward. No tools needed—just a little patience.
Once the panel is off, you’ll see the pre-filter. This is the first line of defense against large particles like hair, dust, and pet fur. Depending on your model, this filter might be washable or disposable.
If it’s washable (like on the Core series), gently remove it and tap it against a trash can to loosen loose debris. Then, rinse it under lukewarm water. Avoid hot water—it can damage the filter material. Let it air dry completely before reinserting. Never put a wet filter back in; moisture can lead to mold or mildew.
If your pre-filter isn’t washable, use your vacuum’s brush attachment to gently suction away dust. Don’t press too hard—these filters are delicate. And if it’s looking worn or discolored, it’s probably time to replace it.
Step 3: Clean the HEPA and Carbon Filters (If Applicable)
Here’s where things get a bit tricky. The HEPA filter in your Levoit is designed to trap tiny particles like pollen, mold spores, and bacteria. But unlike the pre-filter, it’s not meant to be washed.
So how do you clean it? The short answer: you don’t. At least, not with water. Instead, use your vacuum’s brush attachment to gently remove surface dust. Do this outdoors if possible—you don’t want to stir up allergens inside your home.
I usually do this once a month, especially during allergy season. It helps extend the life of the filter and keeps airflow strong. But remember: vacuuming only removes surface debris. It won’t restore a clogged or saturated filter.
The carbon filter, which handles odors and gases, also shouldn’t be washed. If your model has a combined HEPA-carbon filter (common in many Levoit units), treat it the same way—gentle vacuuming only.
Now, here’s a key point: Levoit recommends replacing the HEPA filter every 6–8 months, depending on usage. If you have pets, live in a dusty area, or run the purifier 24/7, you might need to replace it sooner. Check the filter life indicator on your unit or app (if applicable) to stay on top of it.
Step 4: Wipe Down the Interior and Fan Blades
With the filters removed, you’ll have a clear view of the inside. This is your chance to clean areas that usually stay hidden.
Use a dry microfiber cloth to wipe down the interior walls. Dust loves to settle here, especially near the intake vents. If you see stubborn grime, lightly dampen the cloth with water—never spray liquid directly into the unit.
Now, the fan blades. This is where compressed air comes in handy. Gently blow dust off the blades. If you don’t have compressed air, a soft-bristled brush (like an old toothbrush) works too. Be careful not to bend or damage the blades—they’re delicate.
I once tried using a cotton swab to clean between the blades. Big mistake. It got stuck, and I had to take the whole unit apart to remove it. Lesson learned: stick to brushes or air.
Also, check the fan motor area. If you see dust buildup, use the vacuum attachment to suck it out. Never use water here—moisture near electrical components is a no-go.
Step 5: Clean the Exterior and Air Vents
Don’t forget the outside! Dust and fingerprints can build up on the casing, especially if your purifier sits on a nightstand or shelf.
Wipe the exterior with a slightly damp microfiber cloth. For tougher stains, add a drop of mild dish soap to the cloth—never pour soap directly on the unit. Avoid harsh chemicals like bleach or ammonia; they can damage the plastic.
Pay special attention to the air intake and output vents. These can get clogged with dust, reducing airflow. Use the vacuum brush attachment or a dry cloth to clean them. If the vents have removable grilles, take them off and rinse them under water (if safe for your model).
On my LV-H132, the top vent has small slats that trap dust. I use a soft brush to clean between them every few weeks. It’s a small step, but it makes a big difference in performance.
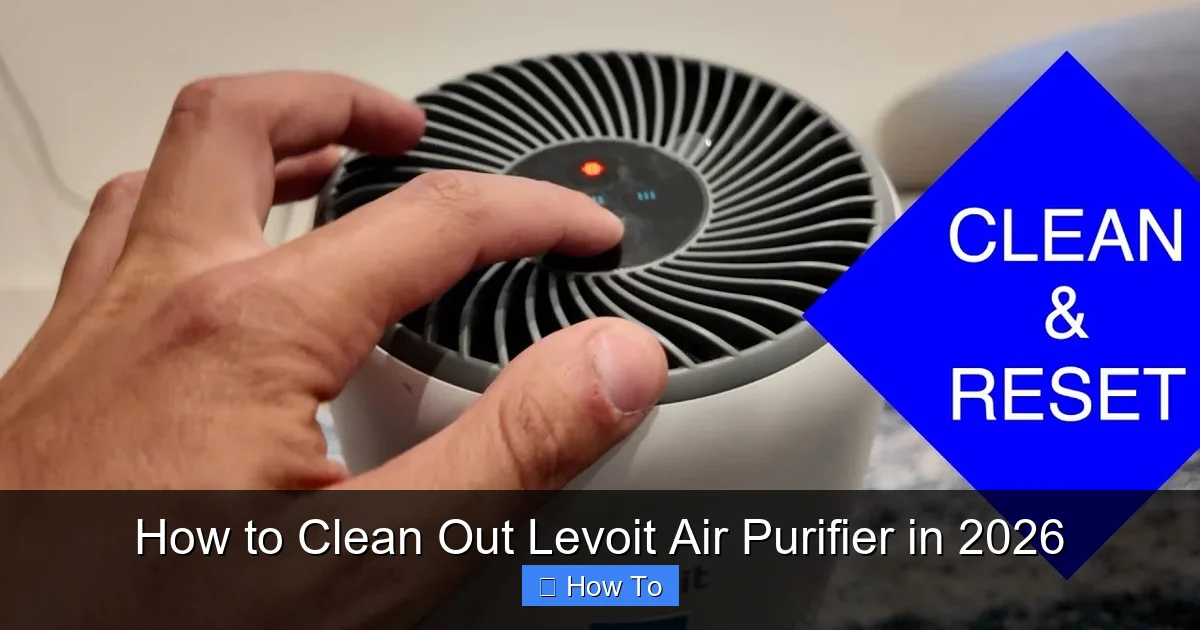
Step 6: Reassemble and Test the Unit
Once everything is clean and dry, it’s time to put your Levoit back together.
Start by reinserting the pre-filter. Make sure it’s seated properly—there’s usually a notch or alignment guide. Then snap the front panel back into place. You should hear a click when it’s secure.
Plug the unit back in and turn it on. Start on the lowest setting and listen for unusual noises. If everything sounds normal, gradually increase the speed. Watch the airflow—it should feel stronger and smoother than before.
I like to run mine for about 30 minutes after cleaning to “reset” the system. It helps circulate fresh air and lets me confirm everything is working as it should.
If you notice reduced performance or strange smells, double-check that all parts are dry and properly installed. Sometimes, a slightly damp filter or misaligned panel can cause issues.
Pro Tips & Common Mistakes to Avoid
Over the years, I’ve made my share of mistakes while learning how to clean out Levoit air purifier in 2026. Here are some hard-earned lessons and pro tips to help you avoid the same pitfalls.
Visual guide about how to clean out levoit air purifier
Image source: i.ytimg.com
Pro Tip: Clean your pre-filter every 2–4 weeks, depending on usage. If you have pets or live in a dusty area, do it weekly. A clean pre-filter reduces strain on the HEPA filter and improves overall efficiency.
Warning: Never wash the HEPA filter. I made this mistake early on, thinking a quick rinse would help. Spoiler: it ruined the filter. Water damages the delicate fibers, reducing its ability to trap particles. Stick to vacuuming only.
Common Mistake: Forgetting to let filters dry completely. I once put a slightly damp pre-filter back in and noticed a musty smell the next day. Mold had started to grow. Always air-dry filters for at least 24 hours before reinstalling.
Pro Tip: Use a filter replacement reminder. I set a calendar alert every 6 months to check my HEPA filter. It’s easy to forget, but staying consistent keeps your purifier running smoothly.
Warning: Don’t use compressed air too close to internal components. High pressure can damage fan blades or dislodge small parts. Hold the can at least 6 inches away and use short bursts.
Another thing I’ve learned: consistency is key. Cleaning your Levoit once a year won’t cut it. Think of it like changing the oil in your car—regular maintenance prevents bigger problems down the road.
Also, keep an eye on the filter life indicator. Some Levoit models have a light that turns red when it’s time to replace the filter. If yours doesn’t, mark the installation date on the filter with a marker. That way, you’ll know exactly when it’s due.
FAQs About How to Clean Out Levoit Air Purifier in 2026
Q: How often should I clean my Levoit air purifier?
A: It depends on usage, but I recommend cleaning the pre-filter every 2–4 weeks and doing a full cleaning (including interior and exterior) every 3 months. If you have pets or allergies, increase the frequency.
Q: Can I wash the HEPA filter in my Levoit?
A: No, you should never wash the HEPA filter. Water damages the fine fibers and reduces its effectiveness. Use a vacuum brush to remove surface dust instead.
Q: My Levoit is making a rattling noise after cleaning. What’s wrong?
A: This usually means something isn’t seated properly. Check that the pre-filter and front panel are securely in place. Also, make sure no small objects (like cotton swabs or dust clumps) got stuck inside.
Q: How do I know when to replace the filter?
A: Most Levoit models have a filter life indicator light. If yours doesn’t, replace the HEPA filter every 6–8 months. If you notice reduced airflow, increased noise, or lingering odors, it’s probably time.
Q: Can I use cleaning sprays on the exterior?
A: Avoid harsh chemicals. Use a damp cloth with mild soap instead. Never spray liquid directly onto the unit—moisture can seep into internal components.
Q: Is it safe to run my Levoit 24/7?
A: Yes, Levoit purifiers are designed for continuous use. Just make sure to clean and maintain them regularly to prevent overheating or reduced performance.
Q: What if my Levoit smells musty after cleaning?
A: This usually means moisture got trapped inside. Unplug the unit, remove the filters, and let everything air dry for 24–48 hours. Check for mold, especially around the pre-filter.
Final Thoughts
Learning how to clean out Levoit air purifier in 2026 doesn’t have to be complicated. With the right tools, a little patience, and regular maintenance, you can keep your unit running like new for years.
Remember: a clean purifier is an effective purifier. It’s not just about removing dust—it’s about protecting your health, saving energy, and getting the most out of your investment.
Start small. Clean the pre-filter this week, then work your way up to a full cleaning every few months. Before you know it, it’ll become part of your routine—like changing light bulbs or watering plants.
And if you’ve been putting it off, now’s the perfect time. Your lungs (and your Levoit) will thank you.
“`