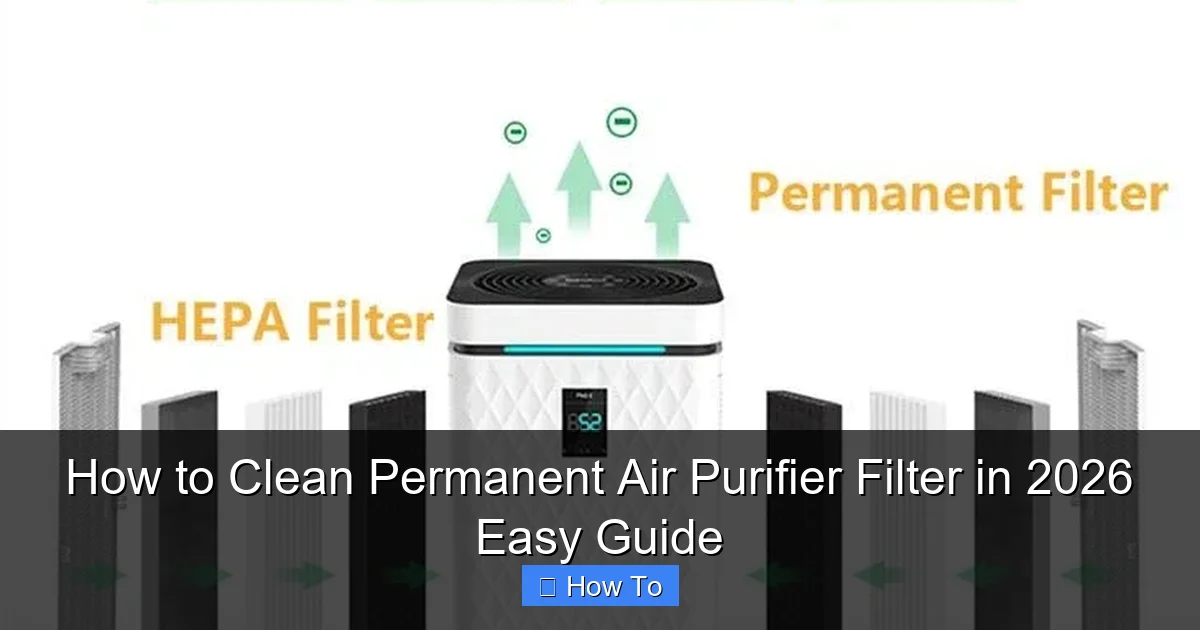
Featured image for how to clean permanent air purifier filter
Image source: backnatureairpurifier.com
Cleaning your permanent air purifier filter is essential for maintaining peak performance and indoor air quality—follow this simple 2026 guide for hassle-free maintenance. Start by turning off and unplugging the unit, then remove the filter and gently vacuum or rinse it with cool water to remove dust and debris. Allow the filter to air-dry completely before reinserting to prevent mold and ensure optimal airflow. Regular cleaning every 1-3 months extends the filter’s lifespan and keeps your air purifier running efficiently year-round.
“`html
How to Clean Permanent Air Purifier Filter in 2026 Easy Guide
Key Takeaways
- Turn off and unplug your air purifier before cleaning for safety.
- Rinse the filter with lukewarm water to remove dust and debris.
- Use mild soap if needed, avoiding harsh chemicals to preserve filter integrity.
- Dry thoroughly before reinstalling to prevent mold and maintain efficiency.
- Clean every 3-6 months to ensure optimal air quality and performance.
- Inspect for damage regularly; replace if tears or wear are visible.
- Follow manufacturer guidelines for model-specific care and maintenance tips.
Why This Matters / Understanding the Problem
Let’s be real—most of us bought an air purifier to breathe easier, not to add another chore to our to-do list. But here’s the thing: even the fanciest, most expensive air purifier won’t do its job if the filter is clogged with dust, pet dander, or smoke residue. I learned this the hard way last winter when my allergies flared up worse than ever, despite running my purifier 24/7. Turns out, I hadn’t cleaned the permanent filter in over six months. Oops.
Permanent filters (also called washable or reusable filters) are designed to last for years—but only if you maintain them properly. Unlike disposable filters that you toss every few months, these need regular cleaning to stay effective. If you skip this step, your air purifier works harder, uses more energy, and actually starts recirculating dirty air instead of cleaning it. Yikes.
That’s why knowing how to clean permanent air purifier filter in 2026 easy guide isn’t just helpful—it’s essential for healthy indoor air. And the good news? It’s way simpler than you think. No special tools, no complicated steps. Just a little time, some basic supplies, and this straightforward walkthrough.
Whether you’re dealing with pet hair, city smog, or just everyday household dust, keeping your permanent filter clean ensures your purifier runs efficiently and your lungs stay happy. Plus, it saves you money in the long run by avoiding unnecessary replacements or repairs.
What You Need
Before we dive into the steps, let’s gather what you’ll need. Don’t worry—this isn’t a hardware store run. Most of these items are probably already in your home:
- Your air purifier’s permanent filter (obviously!)
- Mild dish soap or gentle all-purpose cleaner – avoid harsh chemicals like bleach or ammonia; they can degrade the filter material.
- Lukewarm water – hot water can warp or damage certain filter types.
- A soft-bristled brush (an old toothbrush works great!) – for gently scrubbing away stubborn debris.
- A clean towel or paper towels – for drying.
- A well-ventilated area – preferably outdoors or near an open window, especially if you’re sensitive to dust.
- Optional: compressed air can – helpful for blowing out loose dust before washing.
Pro tip: Always check your air purifier’s manual first. Some manufacturers specify cleaning frequency or have unique care instructions. For example, certain electrostatic filters shouldn’t be soaked—only rinsed lightly. When in doubt, follow the maker’s advice.
Step-by-Step Guide to How to Clean Permanent Air Purifier Filter in 2026 Easy Guide
Cleaning your permanent filter doesn’t have to feel like a science experiment. With this simple routine, you’ll keep your purifier humming along like new—no PhD required.
Step 1: Turn Off and Unplug Your Air Purifier
Safety first! Before you even think about touching the filter, make sure your air purifier is completely powered off and unplugged from the wall. I know it sounds obvious, but I’ve seen folks try to remove filters while the unit’s still running—yikes. Not only is that dangerous, but it can also damage the motor or internal components.
Once it’s off, give it a minute to cool down if it’s been running recently. Some models get warm during operation, and you don’t want to handle a hot filter (or burn your fingers).
Step 2: Remove the Filter Carefully
Now, locate your filter. Most air purifiers have a front or side panel that slides or pops open—check your manual if you’re unsure. Gently pull out the permanent filter. Be mindful of how it’s positioned; take a quick photo with your phone if needed so you remember how to reinstall it later.
Some filters sit snugly in place, while others have clips or frames. Don’t force it! If it’s stuck, double-check for hidden latches or screws. Forcing it could crack the housing or bend the filter frame.
Once removed, inspect it visually. If it’s caked with gray or black gunk, that’s a clear sign it’s time for a deep clean. Even if it looks okay, a quick refresh every 1–2 months is ideal—especially if you have pets, live in a dusty area, or suffer from allergies.
Step 3: Shake Off Loose Debris
Take the filter outside or over a trash can and give it a firm shake. This knocks off loose dust, pet hair, and pollen that’s sitting on the surface. You’ll be surprised how much comes off just from this step alone!
If you have a compressed air can (like the ones used for cleaning keyboards), now’s the time to use it. Hold the can upright and blast air through the filter in short bursts—starting from the clean side (the side that faces inward when installed) and working outward. This helps dislodge embedded particles without damaging the mesh.
Avoid using a vacuum cleaner unless your manual specifically recommends it. Strong suction can tear delicate filter materials or push debris deeper into the fibers.
Step 4: Rinse Under Lukewarm Water
Head to your sink, bathtub, or outdoor hose (if you have one). Hold the filter under a gentle stream of lukewarm water. Start from the clean side and rinse toward the dirty side—this pushes contaminants out instead of deeper in.
Use your hands to lightly rub the surface as you rinse. Think of it like washing a delicate sweater—firm but gentle. Don’t twist, wring, or scrub aggressively. Most permanent filters are made of woven mesh or foam, which can tear if mishandled.
If there’s visible grime that won’t budge with water alone, move to the next step. But for light buildup, a good rinse might be all you need.
Step 5: Wash with Mild Soap (If Needed)
For filters with stubborn buildup—think greasy kitchen air, heavy pet shedding, or smoke residue—a little soap goes a long way.
Add a few drops of mild dish soap to a bowl or sink filled with lukewarm water. Swish the filter gently in the soapy water, then use your soft-bristled brush (that old toothbrush!) to lightly scrub both sides. Focus on areas where dirt is concentrated, but avoid pressing too hard.
Rinse thoroughly afterward to remove all soap residue. Leftover suds can attract more dust when the filter dries, making it dirtier faster. Nobody wants that!
Step 6: Air-Dry Completely
This step is non-negotiable: your filter must be 100% dry before reinstalling. Never put a damp filter back into your purifier—it can promote mold growth, reduce airflow, and even damage the unit.
Place the filter on a clean towel in a well-ventilated area, preferably outdoors or near a fan. Let it air-dry for at least 4–6 hours, or overnight if possible. Avoid direct sunlight or heat sources like radiators, which can warp or weaken the material.
If you’re in a hurry, you can speed things up by gently patting it dry with a towel first—but never use a hair dryer or oven. High heat = bad news for most reusable filters.
Step 7: Reinstall and Test
Once the filter is completely dry, slide it back into your air purifier exactly as it was. Make sure it’s seated properly and the cover is securely closed.
Plug the unit back in and turn it on. Listen for smooth operation—no weird noises or reduced airflow. Run it on a low setting for 10–15 minutes to ensure everything’s working correctly.
Congratulations! You’ve just completed the full how to clean permanent air purifier filter in 2026 easy guide routine. Your purifier is now ready to tackle another round of cleaner, fresher air.
Pro Tips & Common Mistakes to Avoid
Over the years, I’ve made my fair share of filter-cleaning blunders—so you don’t have to. Here’s what I’ve learned the hard way:
Pro Tip: Set a calendar reminder every 4–6 weeks to check your filter. Consistency beats perfection. Even a quick visual inspection helps catch problems early.
Warning: Never soak a permanent filter unless your manual says it’s okay. Some electrostatic models are damaged by prolonged water exposure.
Common Mistake: Using vinegar or baking soda “for extra cleaning power.” While natural, these can leave residues or alter the filter’s electrostatic charge, reducing efficiency.
Pro Insight: If your filter smells musty after cleaning, it might already have mold. In that case, it’s better to replace it—even if it’s labeled “permanent.” No amount of washing fixes microbial growth.
Real Talk: Don’t wait until your purifier sounds like a jet engine. Reduced airflow = dirty filter. Clean it before performance drops.
Also, remember: not all “washable” filters are created equal. Some are pre-filters (designed to catch large particles) and can handle more aggressive cleaning, while others are main HEPA-style permanent filters that need gentler care. Know your model!
FAQs About How to Clean Permanent Air Purifier Filter in 2026 Easy Guide
Q: How often should I clean my permanent air purifier filter?
A: It depends! If you have pets, live in a dusty climate, or run your purifier constantly, aim for every 4–6 weeks. In cleaner homes with light use, every 2–3 months may suffice. When in doubt, check it monthly—if it looks gray or feels heavy, it’s time.
Visual guide about how to clean permanent air purifier filter
Image source: aeroguardians.com
Visual guide about how to clean permanent air purifier filter
Image source: i.ytimg.com
Visual guide about how to clean permanent air purifier filter
Image source: mobileimages.lowes.com
Q: Can I use a vacuum to clean my permanent filter?
A: Only if your manufacturer says it’s safe. Most vacuums are too strong and can damage the filter’s delicate structure. Stick to shaking and rinsing unless otherwise specified.
Q: What if my filter is still dirty after washing?
A: Sometimes, deeply embedded particles won’t budge—and that’s okay. Permanent filters lose efficiency over time, even with perfect care. If cleaning doesn’t restore performance after 6–12 months, consider replacing it.
Q: Is it okay to clean the filter while the purifier is still warm?
A: No! Always let the unit cool completely before handling the filter. Hot components can warp plastic frames or cause burns.
Q: Can I clean my permanent filter with bleach or disinfectant?
A: Absolutely not. Harsh chemicals break down filter materials and can release harmful fumes when the purifier runs. Stick to mild soap and water.
Q: My filter smells bad even after cleaning. What now?
A: That’s likely mold or bacteria growth—common in humid environments. Unfortunately, once microbes take hold, the filter usually needs replacing. To prevent this, always dry it thoroughly and store it in a dry place if removing for long periods.
Q: Do I need to clean other parts of the air purifier too?
A: Yes! While the filter is the star of the show, don’t forget to wipe down the exterior, intake vents, and fan blades every few months with a damp cloth. Dust buildup here reduces overall efficiency.
Final Thoughts
Keeping your permanent air purifier filter clean isn’t just about maintenance—it’s about breathing easier, saving energy, and getting the most out of your investment. The how to clean permanent air purifier filter in 2026 easy guide routine takes less than 30 minutes and pays off big time in air quality and peace of mind.
Remember: consistency beats perfection. You don’t need to deep-clean it every week, but checking it monthly and giving it a proper wash every few months makes a world of difference. And if you’ve been neglecting yours (we’ve all been there), now’s the perfect time to start.
So grab that toothbrush, head to the sink, and give your purifier the TLC it deserves. Your lungs—and your future self—will thank you.
“`