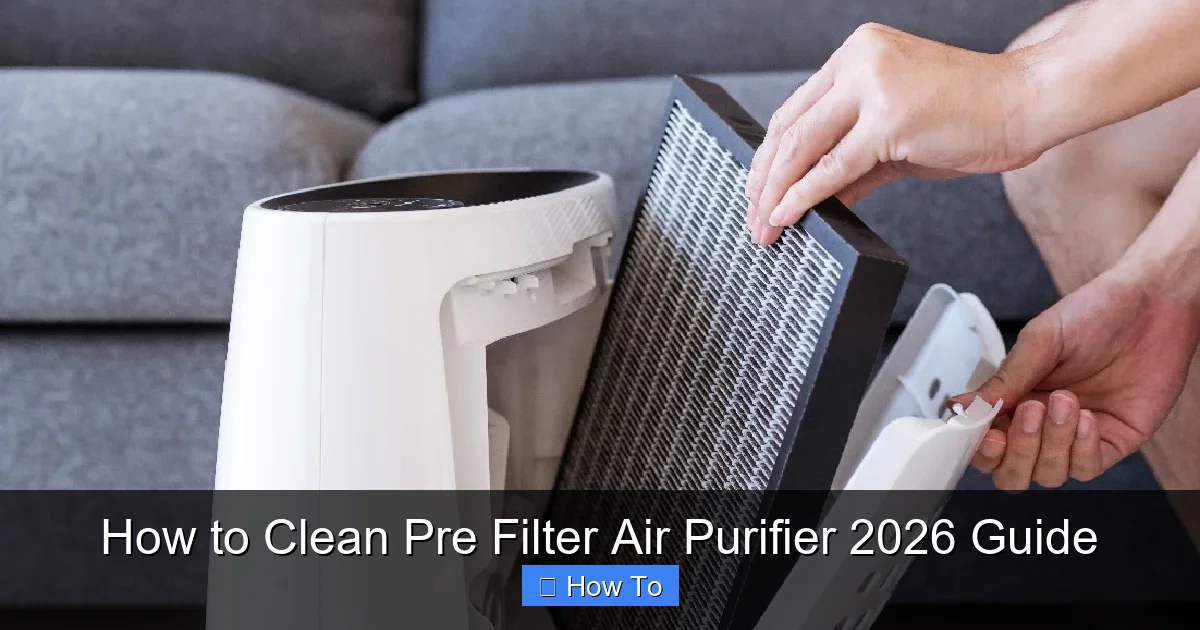
Featured image for how to clean pre filter air purifier
Image source: hvacseer.com
Regularly cleaning your pre-filter every 2–4 weeks is essential to maintain optimal air purifier performance and extend the life of your device. This simple maintenance step removes dust, pet hair, and large particles, preventing clogs and ensuring efficient airflow. Follow manufacturer guidelines—typically involving vacuuming, rinsing with water, or gentle wiping—to safely restore your pre-filter without damage.
“`html
How to Clean Pre Filter Air Purifier 2026 Guide
Key Takeaways
- Turn off and unplug the air purifier before cleaning for safety.
- Remove the pre-filter carefully to avoid damaging surrounding components.
- Rinse with lukewarm water or vacuum to remove dust and debris.
- Air-dry completely before reinserting to prevent mold or electrical issues.
- Clean every 2–4 weeks to maintain optimal airflow and efficiency.
- Inspect for damage regularly and replace if worn or torn.
Why This Matters / Understanding the Problem
Let’s be honest—most of us bought an air purifier to breathe easier, not to add another chore to our list. But here’s the thing: if you’re not cleaning the pre-filter regularly, your purifier might actually be making your air worse, not better.
I learned this the hard way. A few months into using my new air purifier, I noticed a musty smell and my allergies flared up worse than before. Turns out, the pre-filter was clogged with dust, pet hair, and who-knows-what-else. It wasn’t just dirty—it was basically a mold buffet. That’s when I realized: cleaning the pre-filter isn’t optional—it’s essential.
The pre-filter is the first line of defense in most air purifiers. It catches big particles like hair, lint, and dust before they reach the finer filters (like HEPA or carbon). If it’s blocked, airflow drops, efficiency tanks, and your purifier works harder—using more energy and wearing out faster. Worse, trapped moisture and debris can breed bacteria or mold, which then gets blown back into your room.
That’s why following a solid how to clean pre filter air purifier 2026 guide isn’t just about maintenance—it’s about protecting your health, your wallet, and your peace of mind. Whether you’ve got pets, live in a dusty area, or just want cleaner air, this simple routine makes a huge difference.
What You Need
Don’t worry—you probably already have most of these items lying around. Cleaning your pre-filter doesn’t require fancy tools or expensive supplies. Here’s what I keep in my “air purifier cleaning kit”:
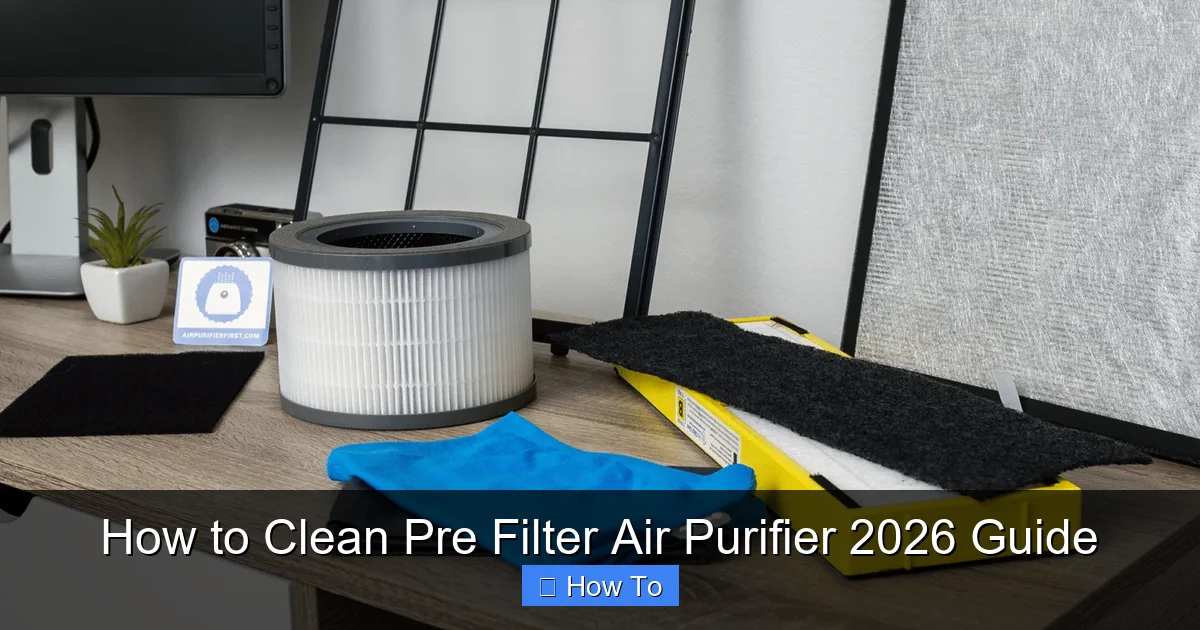
Visual guide about how to clean pre filter air purifier
Image source: airpurifierfirst.com
- Vacuum cleaner with a brush attachment – Ideal for gently removing loose dust and hair without damaging the filter.
- Mild dish soap – A few drops in warm water work wonders for sticky grime.
- Soft-bristle brush or old toothbrush – Perfect for scrubbing tight spots without tearing the mesh.
- Clean towel or paper towels – For drying and wiping down the housing.
- Bucket or sink – To soak and rinse the filter if needed.
- Optional: Compressed air can – Great for blowing out stubborn dust from crevices (use outdoors or over a trash can).
Pro tip: Always check your user manual first. Some pre-filters are washable; others are disposable. Most modern models (especially 2024–2026 designs) use reusable mesh filters, but it’s smart to confirm before you start soaking anything.
Step-by-Step Guide to How to Clean Pre Filter Air Purifier 2026 Guide
Step 1: Turn Off and Unplug Your Air Purifier
Safety first! Before you do anything, make sure your air purifier is completely powered off and unplugged from the wall. I can’t tell you how many times I’ve rushed this step and almost shocked myself (or worse, damaged the unit).
Visual guide about how to clean pre filter air purifier
Image source: i.ytimg.com
Even if your model has a “filter reset” button or indicator light, don’t assume it’s safe to handle while plugged in. Electricity and water don’t mix—ever. Take 10 seconds to unplug it. Your future self will thank you.
Step 2: Locate and Remove the Pre-Filter
Now, find the pre-filter. On most 2024–2026 air purifiers, it’s behind the front or side panel. Look for a latch, clip, or sliding cover—usually marked with a filter icon or labeled “Pre-Filter.”
Gently pull or slide the panel open. The pre-filter should pop out easily. If it’s stuck, don’t force it! Check for hidden clips or screws. Some models (like certain Levoit or Coway units) have magnetic covers that lift straight off.
Once removed, inspect the filter. If it’s caked with fur, dust bunnies, or visible grime, it’s definitely time for a clean. Even if it looks okay, a quick vacuum every 2–4 weeks is smart maintenance.
Step 3: Vacuum the Pre-Filter (Dry Clean First)
Before you think about water, give the filter a dry clean. Use your vacuum’s brush attachment on low suction. Hold the filter over a trash can and gently run the vacuum over both sides.
This removes loose debris without risking damage from water or soap. I do this weekly if I have pets—it keeps the filter breathing easy between deeper cleans.
Avoid high suction settings. Too much power can tear the delicate mesh, especially on newer ultra-fine pre-filters designed for 2026 models. Think “gentle breeze,” not “hurricane mode.”
Step 4: Wash the Pre-Filter (If Washable)
Check your manual again—if your pre-filter is labeled “washable” or “reusable,” proceed. Fill a sink or bucket with lukewarm water and add a few drops of mild dish soap. Never use harsh chemicals, bleach, or abrasive cleaners—they can degrade the filter material.
Submerge the filter and let it soak for 5–10 minutes. This loosens stubborn gunk. Then, use a soft brush (an old toothbrush works great) to gently scrub both sides. Focus on areas with visible buildup, but avoid scrubbing too hard—you’re cleaning, not sanding.
Rinse thoroughly under cool running water until all soap is gone. Soap residue can attract more dust later, making the problem worse.
Step 5: Dry Completely Before Reinstalling
This step is non-negotiable. Never reinstall a damp pre-filter. Moisture trapped inside can lead to mold, mildew, or even electrical issues if it seeps into the motor.
Shake off excess water, then lay the filter flat on a clean towel in a well-ventilated area. Let it air-dry for at least 4–6 hours—or overnight if it’s humid. Don’t use a hair dryer, heater, or direct sunlight. Heat can warp or shrink the filter, ruining its fit.
Patience pays off here. I once reinstalled a slightly damp filter because I was in a hurry. Two days later? That musty smell was back. Lesson learned.
Step 6: Clean the Filter Housing
While the filter dries, wipe down the inside of the air purifier’s filter compartment. Use a dry or slightly damp cloth to remove dust, hair, or debris that may have accumulated.
Be careful not to touch any internal components or wiring. If you see heavy buildup, use a soft brush or compressed air (held upright to avoid spraying moisture). This ensures clean air flows freely once everything’s back in place.
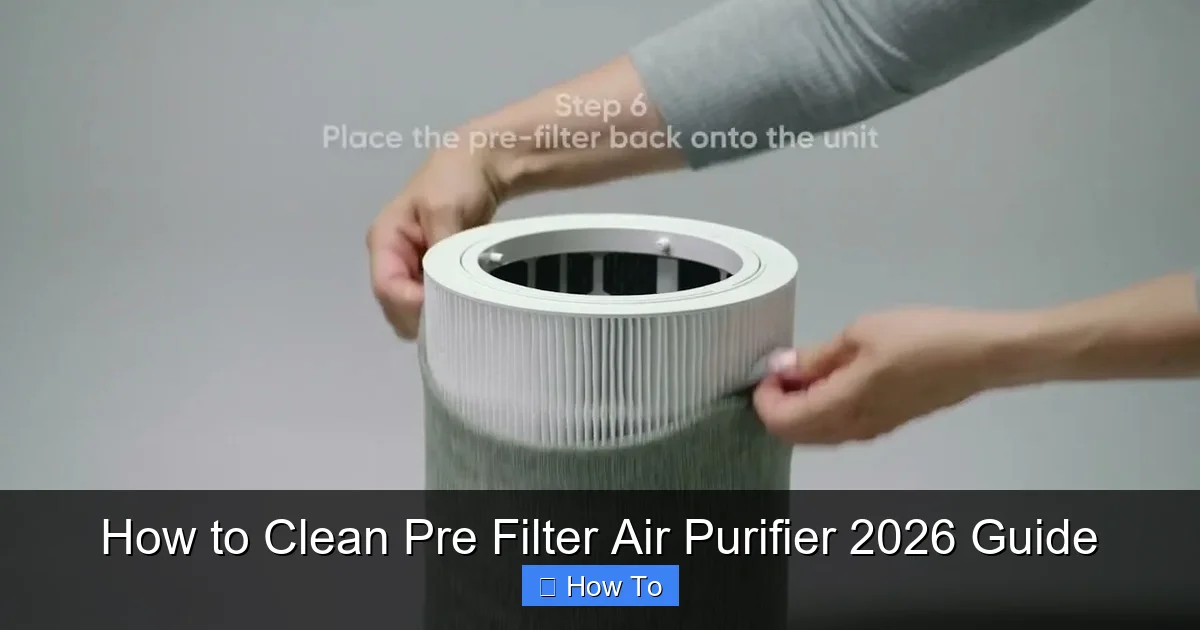
Step 7: Reinstall the Pre-Filter and Reset the System
Once the filter is 100% dry, slide it back into place. Make sure it sits flat and secure—no gaps or bends. Close the panel firmly but gently.
Plug the unit back in and turn it on. Many 2026 models have a filter reset button or indicator light. Press it to reset the filter timer so your purifier knows it’s running with a fresh, clean pre-filter.
Listen for smooth operation. If the fan sounds strained or noisy, double-check that the filter is seated correctly. A poorly installed filter can restrict airflow and strain the motor.
Pro Tips & Common Mistakes to Avoid
Pro Tip: Set a phone reminder to clean your pre-filter every 2–4 weeks. I use a simple calendar alert labeled “Air Purifier TLC.” Consistency beats perfection—regular light cleaning is easier than occasional deep scrubbing.
Warning: Never wash a non-washable pre-filter. Some models use electrostatic fibers that lose effectiveness when wet. If yours isn’t labeled washable, stick to vacuuming only.
One mistake I see often? People skip the drying step and reinstall a damp filter. Big no-no. Mold grows fast in dark, moist environments—and your air purifier is basically a petri dish if you’re not careful.
Visual guide about how to clean pre filter air purifier
Image source: airpurifierfirst.com
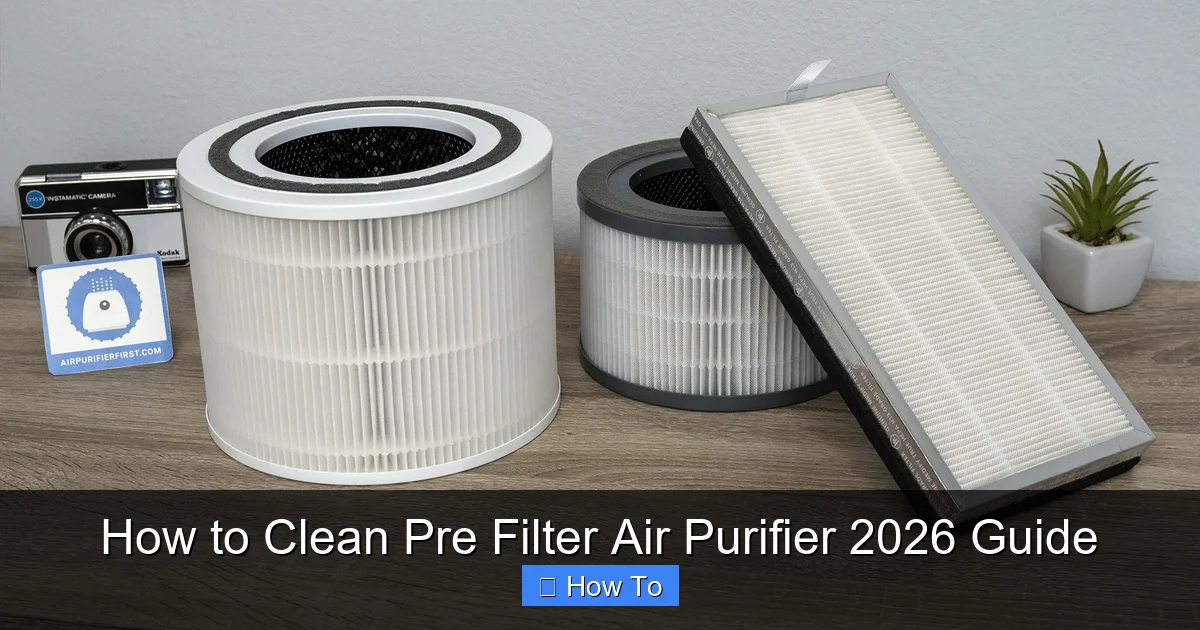
Another common error: using compressed air upside down. The can sprays liquid refrigerant, which can freeze and damage the filter. Always hold it upright and use short bursts.
Also, don’t ignore the other filters! The pre-filter protects the HEPA and carbon filters, but those need replacement too (usually every 6–12 months). Cleaning the pre-filter extends their life—but doesn’t eliminate the need to replace them eventually.
Finally, if your pre-filter looks torn, brittle, or permanently stained after cleaning, it’s time for a replacement. Most manufacturers sell OEM filters online, and third-party options are often cheaper (just check reviews for fit and quality).
FAQs About How to Clean Pre Filter Air Purifier 2026 Guide
Q: How often should I clean my pre-filter?
A: It depends! If you have pets, smoke, or live in a dusty area, clean it every 2 weeks. In cleaner homes, once a month is usually fine. Listen to your purifier—if it sounds louder or airflow feels weaker, it’s time for a clean.
Q: Can I use vinegar to clean my pre-filter?
A: Mild dish soap is best. Vinegar can leave a strong odor and may degrade certain filter materials over time. Stick to gentle, fragrance-free soap unless your manual specifically recommends vinegar.
Q: What if my pre-filter isn’t washable?
A: No problem! Just vacuum it regularly with a brush attachment. Some non-washable filters can also be gently tapped over a trash can to dislodge dust. Replace them as recommended by the manufacturer (usually every 3–6 months).
Q: Will cleaning the pre-filter improve my air quality?
A: Absolutely! A clean pre-filter ensures maximum airflow and efficiency. Your HEPA filter lasts longer, your purifier uses less energy, and you actually get the clean air you paid for.
Q: Can I clean the pre-filter while the air purifier is running?
A: Never! Always turn off and unplug the unit first. Handling filters while the fan is spinning is dangerous and can damage the motor or electronics.
Q: My pre-filter smells bad even after cleaning. What now?
A: That’s a red flag. It could mean mold growth deep in the fibers. Try soaking it in a solution of 1 part white vinegar to 3 parts water for 15 minutes (if washable), then rinse and dry thoroughly. If the smell persists, replace the filter—and check for leaks or moisture buildup in the unit.
Q: Do all 2026 air purifiers have washable pre-filters?
A: Most do, but not all. High-end models often use reusable mesh, while budget units may have disposable foam or paper pre-filters. Always check your user manual or product specs before assuming it’s washable.
Final Thoughts
Cleaning your pre-filter might seem like a small task, but it’s one of the easiest ways to keep your air purifier working like new. Think of it like changing the oil in your car—skip it, and you’ll pay later in performance, cost, or even health issues.
Following this how to clean pre filter air purifier 2026 guide takes less than 15 minutes and saves you money, energy, and headaches down the road. Plus, you’ll actually enjoy the benefits of cleaner air instead of fighting a clogged, inefficient machine.
So grab your vacuum, set a reminder, and give your purifier the love it deserves. Your lungs (and your wallet) will thank you.
“`