Featured image for how to clean rowenta air purifier hepa filter
Image source: mobileimages.lowes.com
Cleaning your Rowenta air purifier HEPA filter in 2026 is essential for maintaining peak performance and indoor air quality. Follow the manufacturer’s guidelines to gently vacuum or rinse the filter, ensuring it’s completely dry before reinstallation to prevent mold and maintain efficiency. Regular maintenance not only extends the filter’s lifespan but also ensures your purifier delivers cleaner, healthier air year after year.
“`html
How to Clean Rowenta Air Purifier HEPA Filter in 2026
Key Takeaways
- Turn off and unplug the purifier before cleaning for safety.
- Vacuum the HEPA filter gently to remove surface dust and debris.
- Never wash the HEPA filter with water—it damages the fibers permanently.
- Inspect for wear regularly and replace if torn or discolored.
- Clean every 3–6 months to maintain peak air purification performance.
- Use manufacturer guidelines to ensure proper handling and filter longevity.
Why This Matters
Let’s be real—your Rowenta air purifier has been quietly doing the heavy lifting in your home, filtering out dust, pet dander, and even that mysterious “what-is-that-smell?” floating around your living room. But here’s the thing: even the most reliable machines need a little TLC to keep performing at their best. If you’ve noticed your air purifier isn’t pulling in air like it used to, or if the “filter change” light is blinking like a persistent ex, it’s probably time to learn how to clean Rowenta air purifier HEPA filter in 2026.
Now, before you panic and rush to buy a new filter (which can cost a pretty penny), take a breath. Many Rowenta models come with washable or reusable HEPA filters—yes, really! And with the right approach, you can extend their life, save money, and keep your indoor air crisp and clean. I learned this the hard way after replacing a filter too early, only to realize later it just needed a good rinse. Don’t make the same mistake.
Cleaning your HEPA filter isn’t just about maintenance—it’s about efficiency. A clogged filter forces your purifier to work harder, which means higher energy bills and reduced performance. Plus, a dirty filter can actually release trapped pollutants back into the air if it’s overloaded. So, whether you’re dealing with seasonal allergies, a new pet, or just want to breathe easier, knowing how to clean Rowenta air purifier HEPA filter in 2026 is a game-changer.
What You Need
Before we dive into the step-by-step process, let’s make sure you’ve got everything on hand. You don’t need a toolkit or a degree in engineering—just a few simple items you probably already have at home.
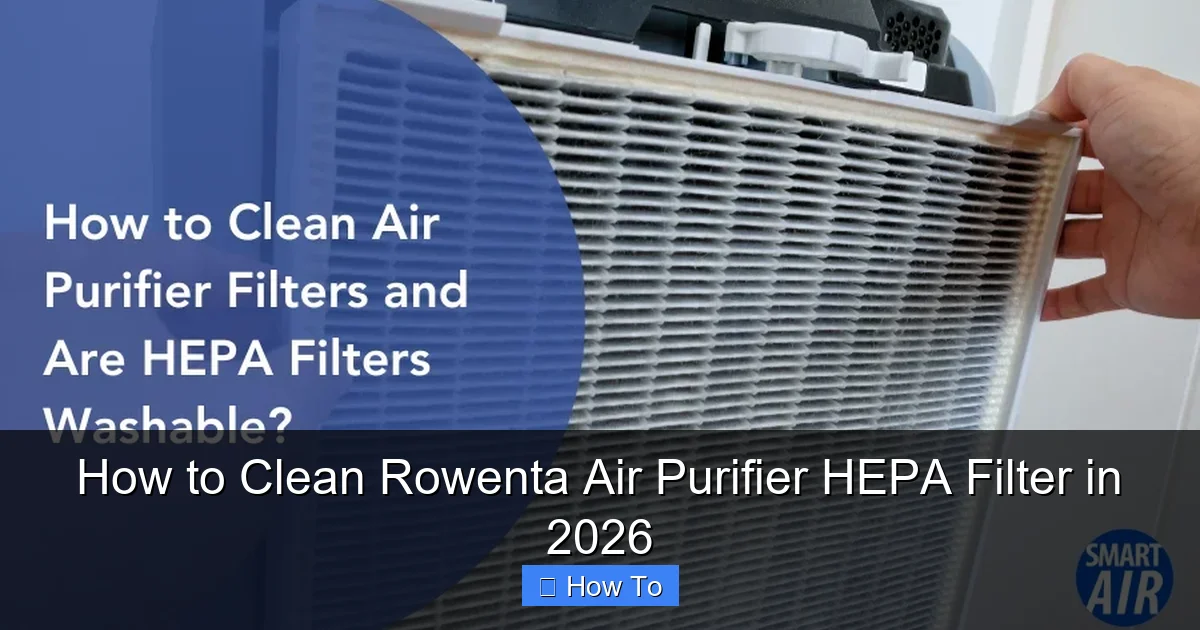
Visual guide about how to clean rowenta air purifier hepa filter
Image source: smartairfilters.com
- Your Rowenta air purifier (obviously!)
- Mild dish soap (nothing harsh or scented)
- Lukewarm water (hot water can damage the filter)
- A soft-bristled brush (an old toothbrush works great)
- A clean, dry towel
- A well-ventilated drying area (like a garage or balcony)
- Optional: Compressed air can (for light dusting between deep cleans)
One thing to note: not all Rowenta HEPA filters are washable. Some models use a combination filter with a non-washable HEPA layer. Always check your user manual or the filter itself for a “washable” label. If it says “replace only,” then cleaning isn’t an option—but you can still vacuum the outer layer gently to extend its life.
Step-by-Step Guide to How to Clean Rowenta Air Purifier HEPA Filter in 2026
Step 1: Turn Off and Unplug Your Air Purifier
First things first—safety. Before you even think about touching the filter, make sure your Rowenta air purifier is completely turned off and unplugged from the wall. I know this seems obvious, but I’ve seen people rush this step and end up with a startled jump when the unit unexpectedly powers on. Trust me, it’s not worth the adrenaline spike.
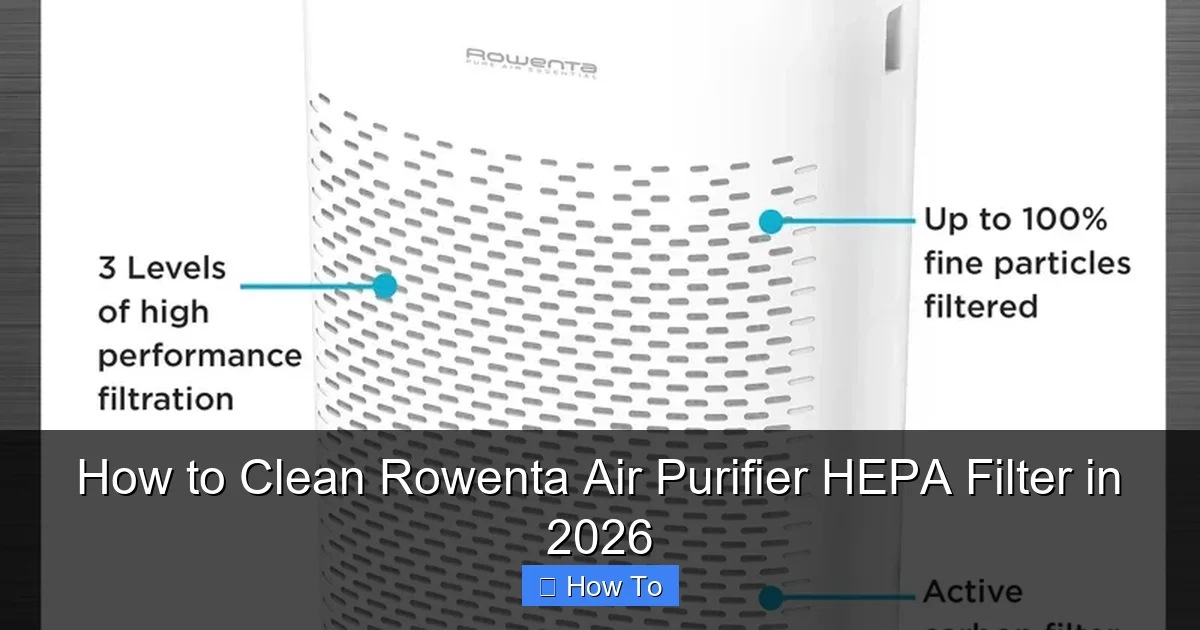
Visual guide about how to clean rowenta air purifier hepa filter
Image source: sfeldmanhousewares.com
Once it’s unplugged, give it a minute to cool down if it’s been running. Filters can get warm during operation, and handling a hot filter increases the risk of burns or damage. Patience pays off here.
Step 2: Locate and Remove the Filter
Now, let’s get that filter out. Most Rowenta models have a front or side panel that swings open or slides off. Look for a latch or release button—usually near the top or bottom edge. On my Rowenta Intense Pure Air model, it’s a simple push-tab on the right side. Once you press it, the front grille pops open like a cabinet door.
Inside, you’ll see the filter housing. Gently pull the filter out by the handle or edges. Be careful not to yank it—some filters are snug, and forcing them can tear the delicate mesh. If it’s stuck, wiggle it slightly while pulling. No need to Hulk out.
Pro tip: Take a quick photo of how the filter sits in the unit before removing it. This helps when you’re putting it back, especially if you have multiple filters (like a pre-filter and HEPA combo).
Step 3: Inspect the Filter for Damage
Before cleaning, give your HEPA filter a thorough visual inspection. Look for tears, holes, or areas where the material looks frayed. If you spot any damage, it’s time to replace the filter—cleaning won’t fix structural issues.
Also, check for excessive buildup. If the filter is caked with thick layers of dust or pet hair, it might be beyond saving. A good rule of thumb: if you can’t see light through the filter when held up to a window, it’s probably time for a new one. But if it’s just lightly soiled, you’re good to go.
Step 4: Vacuum Loose Debris (Optional but Recommended)
Before washing, use a vacuum cleaner with a brush attachment to remove loose dust and hair from the filter surface. This step prevents clogging your sink or shower drain and makes the washing process more effective.
I like to do this over a trash can or outside to avoid making a mess. Gently run the vacuum over both sides of the filter, using light suction. Don’t press too hard—you don’t want to compress the fibers or push debris deeper into the material.
If you have a can of compressed air, you can also use it to blow out stubborn particles. Just hold the can upright and spray in short bursts. Avoid tilting the can, as it can release liquid that damages the filter.
Step 5: Wash the Filter with Mild Soap and Water
Now for the main event: washing. Fill a sink or basin with lukewarm water—never hot. Hot water can warp or melt the filter’s delicate fibers. Add a few drops of mild dish soap. Avoid antibacterial or heavily scented soaps, as they can leave residues that affect airflow.
Submerge the filter completely and let it soak for 5–10 minutes. This helps loosen embedded dirt. After soaking, gently agitate the water by moving the filter up and down a few times. Don’t scrub aggressively—HEPA filters are designed to trap particles, not withstand rough handling.
Use your soft-bristled brush (an old toothbrush is perfect) to lightly scrub the surface, especially in areas with visible buildup. Focus on the pleats—that’s where most of the gunk hides. Be thorough but gentle. Think of it like washing a delicate sweater, not scrubbing a cast-iron pan.
Rinse the filter thoroughly under lukewarm running water until all soap is gone. Hold it up to check for suds. If you see bubbles, keep rinsing. Soap residue can attract more dust and reduce efficiency.
Step 6: Shake Off Excess Water and Air Dry
Once rinsed, gently shake the filter to remove excess water. Don’t wring or twist it—this can damage the internal structure. Instead, hold it by the edges and give it a few firm shakes over the sink.
Next, place the filter on a clean, dry towel in a well-ventilated area. Lay it flat to prevent warping. Avoid direct sunlight or heat sources like radiators, as heat can degrade the filter material. I usually dry mine on my balcony in the shade—takes about 24 hours, depending on humidity.
Never reinstall a damp filter. Moisture can promote mold growth, which defeats the whole purpose of having an air purifier. If you’re in a hurry, you can speed up drying with a fan, but don’t use a hair dryer—it’s too hot and too close.
Step 7: Reinstall the Filter and Test the Unit
Once the filter is completely dry, it’s time to put it back. Refer to the photo you took earlier (if you took one) to ensure it’s oriented correctly. Most Rowenta filters have a directional arrow or label indicating airflow direction—make sure it’s facing the right way.
Slide the filter back into the housing until it clicks or sits flush. Close the front panel securely. Plug the unit back in and turn it on. Listen for smooth operation—no rattling or unusual noises. If everything sounds good, you’re all set!
Run the purifier on a low setting for the first hour to let it “breathe” and ensure airflow is normal. You should notice improved performance almost immediately—especially if the filter was really dirty.
Pro Tips & Common Mistakes to Avoid
Cleaning your Rowenta HEPA filter isn’t rocket science, but there are a few pitfalls that can trip you up if you’re not careful. Here’s what I’ve learned from my own trial and error.
Visual guide about how to clean rowenta air purifier hepa filter
Image source: datacomp.sk
Pro Tip: Clean your filter every 2–3 months, or more often if you have pets, smoke, or live in a dusty area. Waiting too long reduces efficiency and can shorten the filter’s lifespan.
Warning: Never use bleach, alcohol, or harsh chemicals to clean your HEPA filter. These can break down the fibers and ruin the filter’s ability to trap particles.
Common Mistake: Putting a wet filter back in the unit. I made this mistake once and ended up with a musty smell and reduced airflow. Always wait until it’s 100% dry.
Pro Tip: Keep a cleaning log. Note the date you last cleaned the filter so you don’t forget. I use a sticky note on the unit—simple but effective.
Common Mistake: Assuming all HEPA filters are washable. Double-check your model. Some Rowenta purifiers use hybrid filters with non-washable components. Cleaning those can void your warranty.
Another thing: don’t over-clean. Washing too frequently can wear out the filter faster. Stick to the recommended schedule unless you notice a drop in performance.
And if you’re unsure whether your filter is washable, check the model number on the back of the unit or visit Rowenta’s official website. They have a handy filter lookup tool that tells you exactly what type you have.
FAQs About How to Clean Rowenta Air Purifier HEPA Filter in 2026
Q: Can I wash a non-washable HEPA filter?
A: No, and trying to do so can damage it. Non-washable filters should only be vacuumed gently to remove surface dust. If yours isn’t labeled “washable,” stick to dry cleaning methods.
Q: How often should I clean my Rowenta HEPA filter?
A: Every 2–3 months is ideal for most households. But if you have pets, allergies, or live in a high-pollution area, consider cleaning it monthly. Watch for reduced airflow or odors as signs it’s time.
Q: What if my filter smells bad after cleaning?
A: A mild odor is normal, but a strong musty or sour smell could mean mold. Make sure the filter is completely dry before reinstalling. If the smell persists, it’s time to replace it.
Q: Can I use a washing machine to clean the filter?
A: Absolutely not. The agitation and spin cycle can destroy the delicate HEPA fibers. Always hand-wash with care.
Q: Will cleaning the filter improve air quality?
A: Yes! A clean filter captures pollutants more effectively. You’ll notice fewer allergens, less dust, and better overall air circulation.
Q: My filter looks clean—do I still need to wash it?
A: Even if it looks clean, microscopic particles can clog the fibers over time. Regular cleaning ensures optimal performance, regardless of appearance.
Q: Where can I buy a replacement filter if needed?
A: You can purchase genuine Rowenta filters directly from their website, Amazon, or authorized retailers. Always match the model number to ensure compatibility.
Final Thoughts
Learning how to clean Rowenta air purifier HEPA filter in 2026 isn’t just about saving money—it’s about taking control of your indoor air quality. A clean filter means better performance, longer lifespan, and peace of mind knowing your home is truly breathing easy.
It’s a simple process, but one that makes a big difference. I used to ignore my filter until the warning light came on, but now I treat it like any other household chore—routine, manageable, and totally worth it. Plus, there’s something satisfying about pulling out a fresh, clean filter and knowing you did it yourself.
So, the next time your Rowenta starts sounding a little sluggish, don’t panic. Grab your soap, water, and toothbrush, and give that filter the spa day it deserves. Your lungs—and your wallet—will thank you.
And remember: consistency is key. Set a reminder, keep your supplies handy, and make filter care part of your regular home maintenance routine. Your air purifier works hard for you—now it’s your turn to return the favor.
“`