
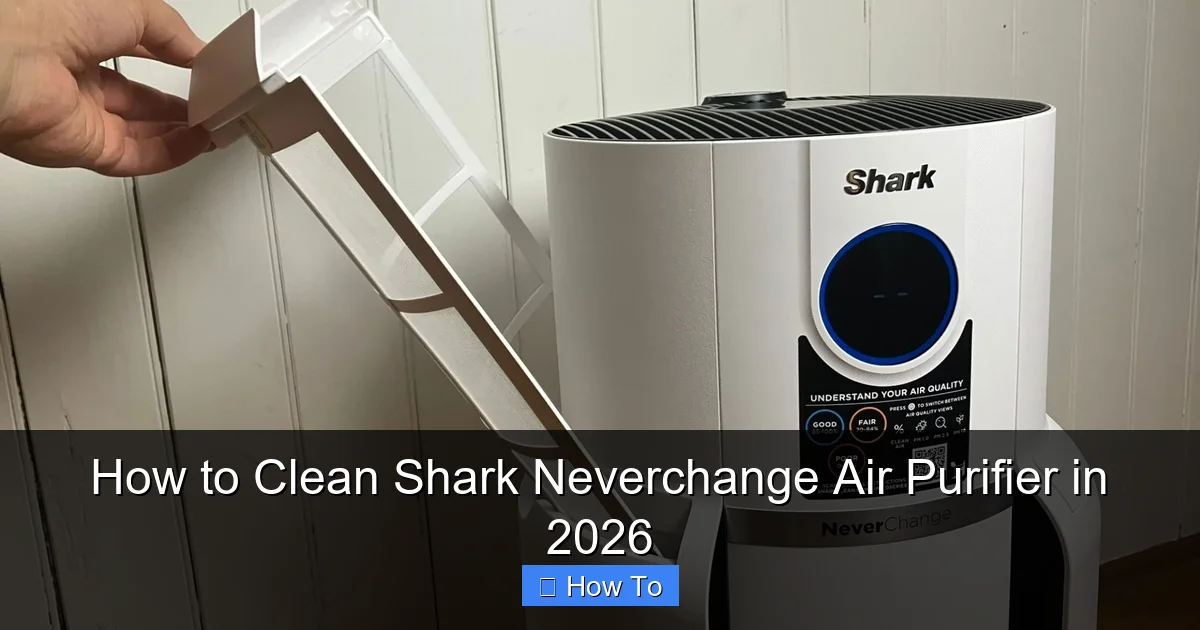
Featured image for how to clean shark neverchange air purifier
Image source: m.media-amazon.com
Regularly cleaning your Shark NeverChange Air Purifier is essential to maintain peak performance and extend its lifespan. To clean it, unplug the unit, remove and rinse the pre-filter monthly, and wipe the sensor and exterior with a dry or slightly damp cloth—never use harsh chemicals. Following the 2026 maintenance guidelines ensures optimal air quality and prevents costly repairs down the line.
“`html
How to Clean Shark Neverchange Air Purifier in 2026
Key Takeaways
- Unplug first: Always disconnect power before cleaning for safety.
- Wipe exterior weekly: Use a damp cloth to remove dust and grime.
- Clean filters monthly: Rinse or vacuum pre-filters to maintain airflow.
- Never submerge unit: Water damage voids warranty; clean only removable parts.
- Inspect seals regularly: Ensure gaskets are debris-free for optimal performance.
- Air-dry completely: Reassemble only after all parts are 100% dry.
Why This Matters / Understanding the Problem
Let’s be honest—air purifiers are the quiet heroes of our homes. They work nonstop to filter dust, pet dander, and even that mysterious “why does my apartment smell like old pizza?” odor. But here’s the thing: even the best purifier, like the Shark Neverchange Air Purifier, can’t work its magic if it’s clogged with grime. I learned this the hard way after my purifier started sounding like a jet engine and my allergies flared up.
Over time, dust, hair, and microscopic particles build up on filters and fans. This isn’t just about noise or efficiency—it’s about air quality. A dirty purifier can actually recirculate pollutants, defeating its entire purpose. That’s why knowing how to clean Shark Neverchange Air Purifier in 2026 isn’t just a maintenance task; it’s essential for your health.
Whether you’ve just unboxed your purifier or have been using it for months, cleaning it properly ensures it lasts longer and works better. And the good news? It’s way simpler than you think—no engineering degree required.
What You Need
Before we dive in, let’s gather your toolkit. Nothing fancy, I promise. You probably already have most of these items lying around.
Visual guide about how to clean shark neverchange air purifier
Image source: cdn.mos.cms.futurecdn.net
- Microfiber cloth (or a soft, lint-free rag)
- Vacuum with a brush attachment (a handheld vacuum works great)
- Mild dish soap (like Dawn or Seventh Generation)
- Warm water (not hot—never hot!)
- Soft-bristled brush (an old toothbrush or makeup brush does the trick)
- Compressed air can (optional, but helpful for tight spots)
- Bucket or bowl (for soaking parts)
- Paper towels or a clean towel (for drying)
Pro Insight: Avoid harsh cleaners, bleach, or abrasive scrubbers. The Shark Neverchange has delicate sensors and coatings—stick to gentle, non-toxic options. I once used a scouring pad on my purifier’s exterior and left permanent scratches. Learn from my oopsie.
Step-by-Step Guide to How to Clean Shark Neverchange Air Purifier in 2026
Step 1: Power Down & Unplug
First things first: safety. Turn off and unplug your purifier. Even if you’re just wiping the outside, you don’t want any surprise jolts. I’ve seen people skip this step and regret it when they accidentally hit the power button mid-clean (true story).
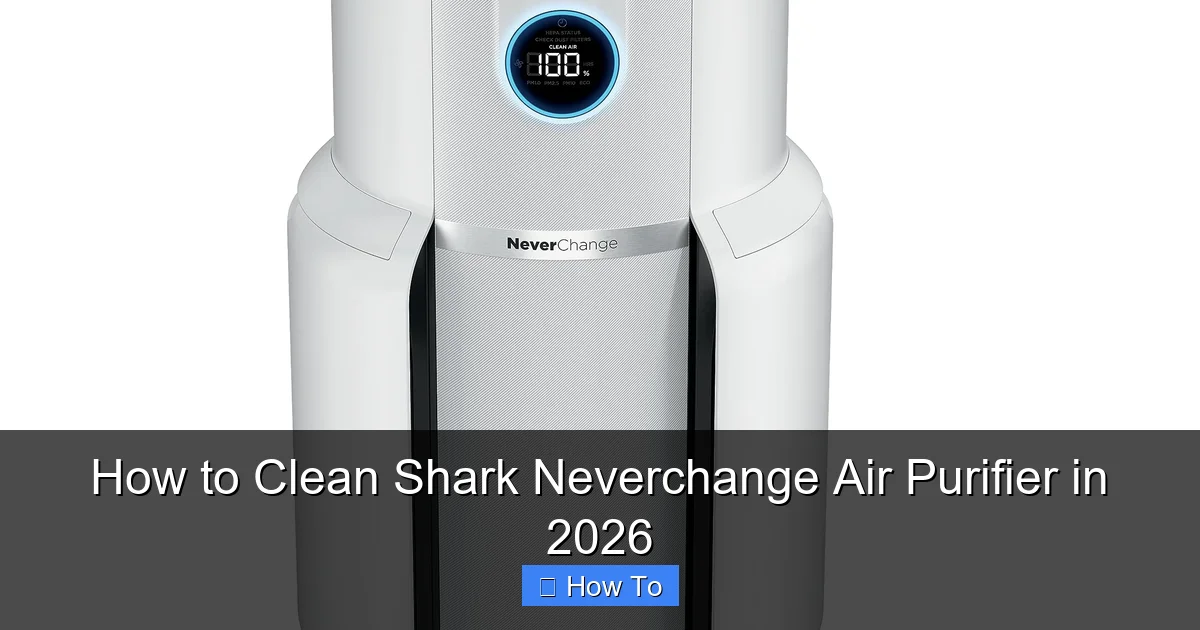
Visual guide about how to clean shark neverchange air purifier
Image source: m.media-amazon.com
Let it sit for a few minutes to cool down if it’s been running. The fan and internal components can get warm, and you don’t want to burn your fingers.
This is the foundation of how to clean Shark Neverchange Air Purifier in 2026—always start with safety.
Step 2: Remove & Inspect the Filters
Now, locate the filter compartment. On most Shark Neverchange models, it’s on the back or side, secured with a latch or sliding cover. Gently open it and pull out the filters.
You’ll typically find two types: the pre-filter (the coarse, mesh-like one) and the HEPA + activated carbon filter (the thick, pleated one). Take a close look. If the pre-filter is caked with dust, hair, or pet fur, it’s time for a clean. The HEPA filter, however, is not washable—more on that later.
Warning: Never rinse or submerge the HEPA filter. I did this once, thinking “how bad could it be?” Spoiler: it ruined the filter’s integrity and cost me $50 to replace. Just vacuum it gently instead.
Step 3: Clean the Pre-Filter
The pre-filter is the first line of defense, catching big particles like hair and lint. Here’s how to clean it:
- Vacuum it first: Use the brush attachment to suck up loose debris. Hold it at an angle to get into the mesh.
- Soak in soapy water: Fill a bowl with warm water and a few drops of dish soap. Let the pre-filter soak for 5–10 minutes. This loosens stubborn grime.
- Scrub gently: Use a soft-bristled brush to wipe away residue. Don’t press hard—the mesh is delicate.
- Rinse & dry: Rinse under cool water until the water runs clear. Shake off excess water, then lay it flat on a towel to air-dry completely. This takes about 2–4 hours.
Pro tip: If your pre-filter looks frayed or has holes, replace it. A damaged pre-filter lets debris sneak into the HEPA filter, reducing its lifespan.
Step 4: Vacuum the HEPA & Carbon Filter
Remember: the HEPA + carbon filter is not washable. But you can still freshen it up. Use your vacuum’s brush attachment to gently vacuum both sides. Focus on the pleats—dust loves to hide there.
If your purifier has a carbon filter (usually a thin, black layer), vacuum it too. Carbon filters absorb odors, so over time, they can get “full.” Vacuuming helps extend their life.
Pro Insight: I vacuum my HEPA filter every 2 weeks. It keeps airflow strong and delays the need for replacement. Just don’t press too hard—those pleats are fragile!
This step is a key part of how to clean Shark Neverchange Air Purifier in 2026—don’t skip it, even if the filter looks clean.
Step 5: Clean the Exterior & Fan Vents
Now, let’s tackle the outside. Use a microfiber cloth dampened with warm, soapy water to wipe down the purifier’s surface. Pay special attention to the fan vents—they’re magnets for dust and pet hair.
For tight spaces (like between vents), use a soft brush or compressed air. Hold the can upright and spray in short bursts. Avoid tilting it, which can release liquid propellant.
For stubborn grime, a slightly damp cotton swab works wonders. I use this for the control panel buttons—just don’t let water seep into the electronics.
Wipe with a dry cloth afterward. Never let the purifier air-dry—it could lead to streaks or water spots.
Step 6: Clean the Interior (Fan & Housing)
This is where things get a little more involved, but still totally doable. Open the purifier’s housing (if your model allows it) or access the fan area. Use a vacuum’s brush attachment to remove dust from the fan blades and housing walls.
If you see a thick layer of gunk, use a dry microfiber cloth to wipe it away. For sticky residue (like cooking oil or pet hair), a lightly damp cloth with soapy water is okay—just don’t soak it.
Never use a vacuum’s bare nozzle on the fan—it can damage the blades. And avoid poking anything into the motor.
Warning: If your model has a sealed fan compartment (check the manual), don’t force it open. Just vacuum the exterior vents. Forcing it could void your warranty.
Step 7: Reassemble & Test
Once everything is dry (especially the pre-filter—no shortcuts!), reassemble your purifier. Slide the pre-filter back in first, then the HEPA/carbon filter. Make sure they’re seated properly—no gaps or misalignment.
Close the compartment and plug the purifier back in. Turn it on and listen. It should sound smooth, not strained. If it’s still noisy, double-check that all parts are correctly installed.
Run it on medium or high for 15 minutes to ensure airflow is strong. You’ll notice the difference in air quality almost immediately.
Pro Tips & Common Mistakes to Avoid
Over the years, I’ve made (and learned from) every cleaning mistake in the book. Here are the ones that matter:
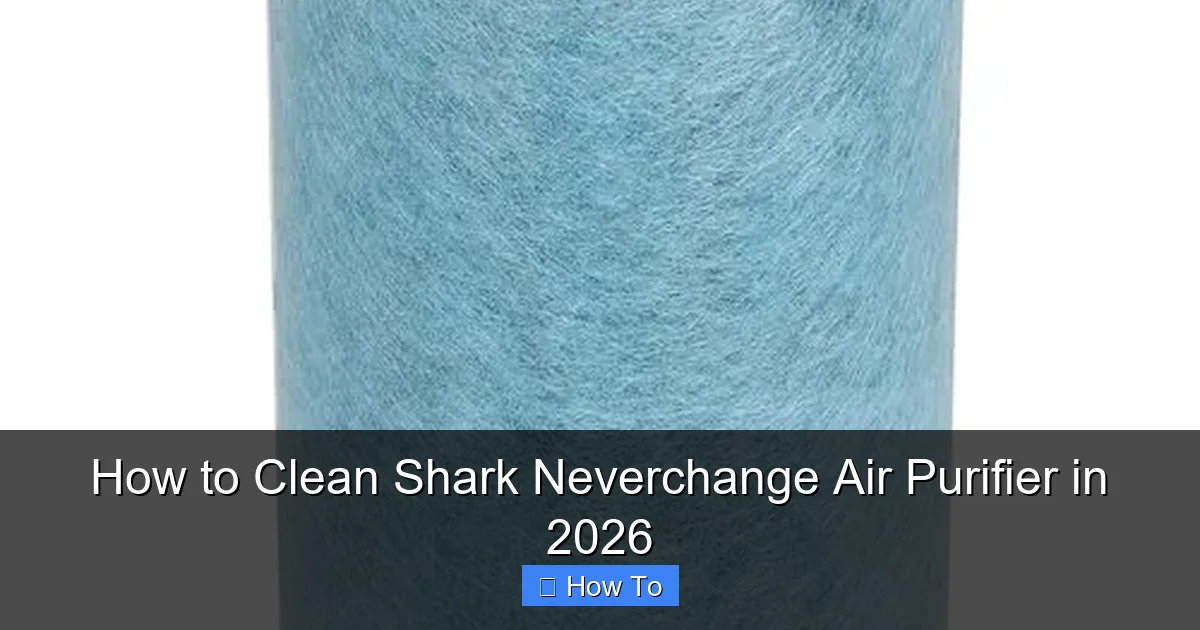
Visual guide about how to clean shark neverchange air purifier
Image source: compressorlab.com
- Don’t clean the HEPA filter with water. I said it before, but it’s worth repeating. Moisture damages the filter’s fibers, reducing its ability to trap particles.
- Replace filters on schedule. Shark recommends replacing the HEPA filter every 6–12 months, depending on use. I set a phone reminder to check mine every 3 months. If it looks gray or smells musty, it’s time.
- Clean the pre-filter monthly. It’s the easiest step, and it makes a huge difference. I keep mine in a ziplock bag with a note: “Wash me!”
- Use a filter cover (if available). Some Shark models have a fabric cover for the pre-filter. It catches hair and lint, making cleaning even easier. I love mine—it’s like a tiny air purifier for my purifier.
- Don’t ignore the carbon filter. If your home smells stale (even with a clean HEPA filter), the carbon layer might be “used up.” Replace it every 6 months.
- Check the manual. Not all Shark Neverchange models are identical. Some have removable fans; others don’t. Always consult your model’s manual before disassembling.
Personal Anecdote: Last winter, my purifier started smelling like wet dog. After panicking and Googling “air purifier mold,” I realized the pre-filter was damp from a rushed dry. Now I leave it overnight. Lesson learned: patience pays off.
These tips are essential for mastering how to clean Shark Neverchange Air Purifier in 2026—and keeping it running like new.
FAQs About How to Clean Shark Neverchange Air Purifier in 2026
Let’s tackle the questions I get most often—straight from my inbox.
Q1: Can I wash the HEPA filter in my Shark Neverchange?
Nope. The HEPA filter is made of delicate glass fibers. Water or soap will ruin its structure, making it useless. Instead, vacuum it gently with a brush attachment. If it’s visibly dirty or smells bad, replace it.
Q2: How often should I clean the pre-filter?
Every 2–4 weeks, depending on your home. If you have pets, kids, or live in a dusty area, clean it monthly. I have two cats, so I do it every 3 weeks. It takes 10 minutes and keeps the purifier humming.
Q3: My purifier still smells bad after cleaning. What’s wrong?
It could be the carbon filter. Carbon absorbs odors, but it gets “full” over time. Replace it every 6 months. Also, check if the pre-filter is fully dry—dampness can cause mildew. And if the smell is musty, mold might be growing inside. In that case, deep-clean the housing (Step 6).
Q4: Can I use a hairdryer to speed up drying?
Don’t. High heat can warp the pre-filter’s mesh or damage internal parts. Air-dry only. I once used a hairdryer on low and melted a corner of the pre-filter. Oops.
Q5: My purifier is noisy after cleaning. What happened?
Double-check that all filters are properly seated. If they’re misaligned, airflow gets blocked, causing strain. Also, ensure the pre-filter is completely dry—moisture can make it stick to the housing. If the noise persists, contact Shark support. It might be a motor issue.
Q6: Are Shark replacement filters worth it, or can I use third-party ones?
Shark’s filters are designed to fit perfectly and maintain performance. Third-party filters might be cheaper, but they often don’t seal properly, letting unfiltered air escape. I’ve tried them—my purifier’s airflow dropped by 30%. Stick with Shark for best results.
Q7: Can I clean the purifier while it’s running?
Absolutely not. It’s dangerous and can damage the motor. Always unplug it first. Safety first, always.
Final Thoughts
Cleaning your Shark Neverchange Air Purifier isn’t just about maintenance—it’s about creating a healthier home. A clean purifier means cleaner air, better performance, and a longer lifespan for your investment.
Remember, the key to how to clean Shark Neverchange Air Purifier in 2026 is consistency. Set a reminder to check your pre-filter monthly, vacuum the HEPA filter regularly, and replace filters on schedule. It’s a small effort for a big payoff.
And don’t stress if you make a mistake. We’ve all been there. Just fix it, learn, and move on. Your purifier will thank you—and so will your lungs.
Now, go grab that microfiber cloth. Your air purifier is waiting.
“`