
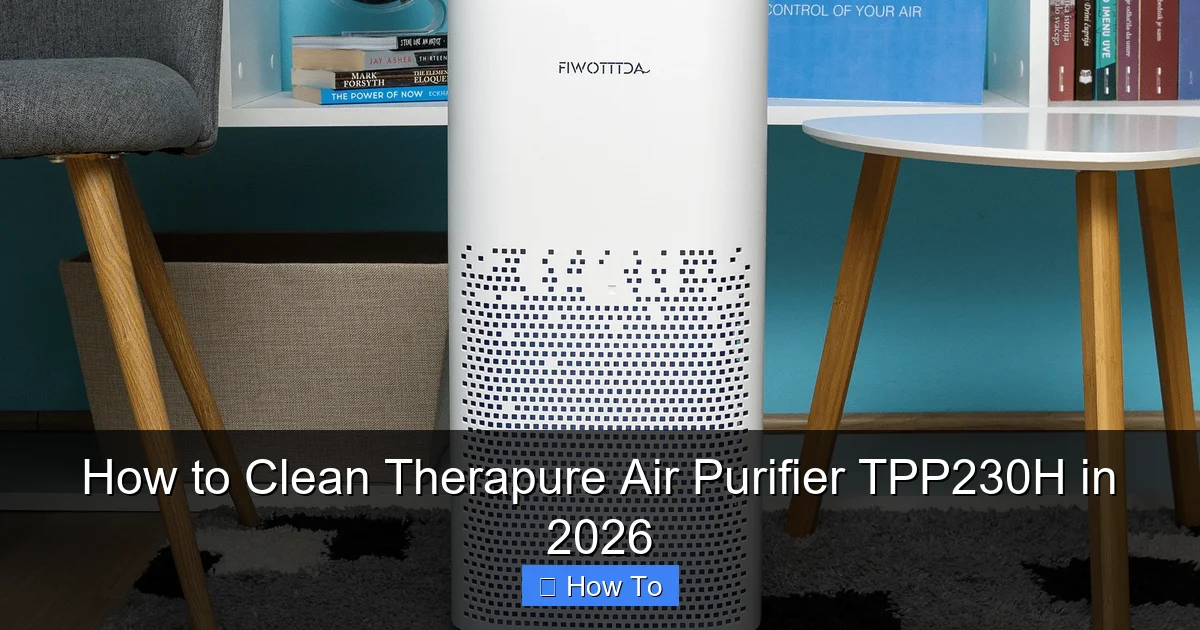
Featured image for how to clean therapure air purifier tpp230h
Image source: s3-assets.sylvane.com
Unplug and disassemble your Therapure TPP230H before cleaning to ensure safety and access all components, including the pre-filter, HEPA filter, and activated carbon filter. Wipe the exterior with a damp cloth, vacuum the pre-filter monthly, and replace the HEPA filter every 12 months to maintain peak air purification performance in 2026. Never use harsh chemicals or submerge filters in water.
“`html
How to Clean Therapure Air Purifier TPP230H in 2026
Key Takeaways
- Unplug the device before cleaning to ensure safety.
- Wipe the exterior with a damp cloth and mild detergent.
- Vacuum the pre-filter monthly to remove dust and debris.
- Replace HEPA filters every 6–12 months for optimal performance.
- Clean ionizer plates with a soft brush to maintain efficiency.
- Check UV-C bulb yearly and replace if flickering or dim.
Why This Matters / Understanding the Problem
You’ve got a Therapure TPP230H air purifier humming quietly in your living room, bedroom, or home office—maybe even for years. It’s been your invisible shield against dust, pet dander, pollen, and the occasional cooking smoke. But lately, the airflow seems weaker. The filter light is flashing. Or worse: it smells a little… funky.
Here’s the thing: cleaning your air purifier isn’t optional. It’s like brushing your teeth—skip it too long, and you’ll regret it. A clogged or dirty purifier doesn’t just lose efficiency; it can actually recirculate pollutants back into your air. And if you’re relying on it for allergies, asthma, or clean indoor air, that’s a big problem.
That’s why knowing how to clean Therapure air purifier TPP230H in 2026 is more relevant than ever. With rising allergens, wildfire smoke, and indoor air quality concerns, your purifier needs to be in top shape. And the good news? Cleaning it is easier than you think—if you do it right.
I learned this the hard way. A few years ago, my TPP230H started making a strange noise. I ignored it, thinking, “It’s just the fan.” Then one night, my allergies flared up worse than ever. Turns out, the pre-filter was caked with dust, and the HEPA filter had mold spots. Not fun. Not safe.
Since then, I’ve made cleaning part of my monthly routine. And today, I’m walking you through the exact steps I use—so you can keep your air pure, your machine happy, and your lungs grateful.
Pro Insight: The TPP230H uses a 3-stage filtration system (pre-filter, HEPA, and optional carbon). All three need attention—but not all need replacing every time. Cleaning smart saves money and extends filter life.
What You Need
Before we dive into how to clean Therapure air purifier TPP230H in 2026, let’s gather what you’ll need. Nothing fancy—most of this is probably in your cleaning drawer already.
Visual guide about how to clean therapure air purifier tpp230h
Image source: airpurifierfirst.com
- Vacuum cleaner (with brush or upholstery attachment)
- Soft microfiber cloth (lint-free is best)
- Mild dish soap (unscented, non-bleach)
- Warm water (not hot—never hot)
- Small bowl or sink (for pre-filter soak)
- Soft-bristled brush (like an old toothbrush or paintbrush)
- Compressed air can (optional, for tight spots)
- Replacement filters (HEPA and carbon, if due—check your manual or usage)
- Paper towel or clean towel (for drying)
Warning: Avoid bleach, ammonia, or strong solvents. These can damage filter materials and leave harmful residues. Also, never run water through the HEPA filter—this is a big no-no.
Now, unplug your purifier. Safety first. And find a clean, flat workspace—maybe your kitchen table or a cleared countertop. You don’t want to be juggling parts on the floor.
Step-by-Step Guide to How to Clean Therapure Air Purifier TPP230H in 2026
Step 1: Unplug and Remove the Front Cover
Start by turning off and unplugging the unit. This isn’t just about safety—it prevents accidental activation while you’re handling internal parts.
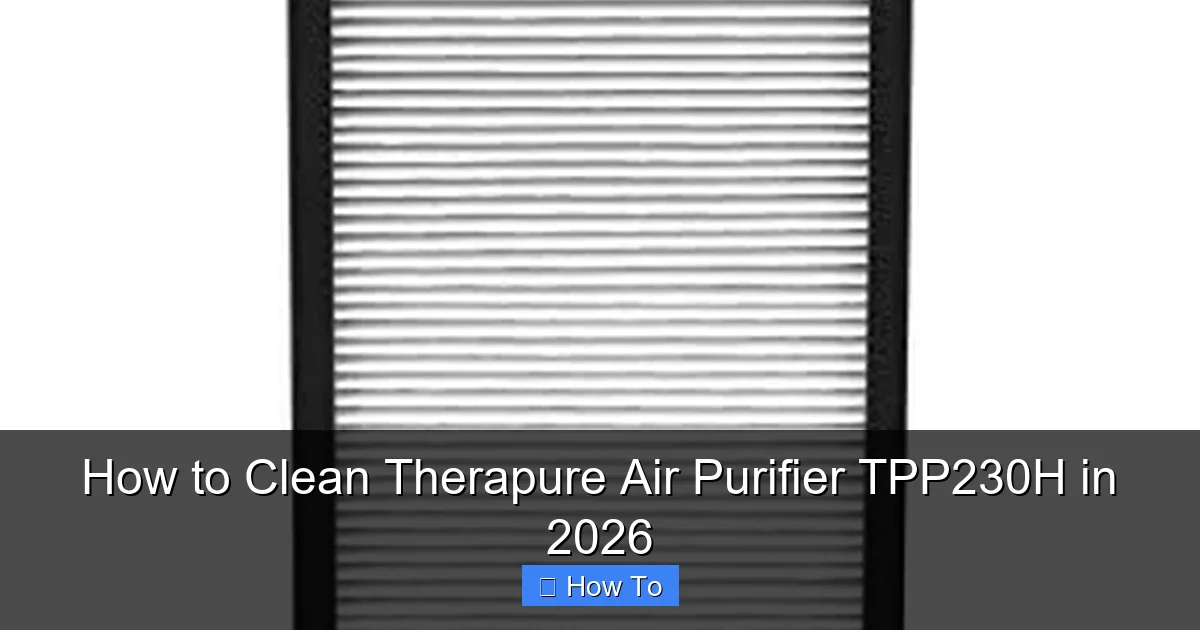
Visual guide about how to clean therapure air purifier tpp230h
Image source: m.media-amazon.com
Next, locate the front cover. On the TPP230H, it’s the large panel with the air intake grille. You’ll see two small tabs at the bottom. Gently press them inward and lift the cover upward. It should pop off easily—no tools needed.
Tip: If it feels stuck, don’t force it. Check for dust buildup in the latch area. A quick blast of compressed air can free it up.
Set the cover aside. You’ll clean it later.
Step 2: Remove and Clean the Pre-Filter
The pre-filter is the first line of defense. It catches large particles—lint, pet hair, dust bunnies—so the HEPA doesn’t get overloaded.
Grab the pre-filter (it’s the mesh screen behind the front cover) and pull it out. It slides out like a drawer.
Now, inspect it. If it’s gray, furry, or smells dusty, it’s time for a clean.
Here’s how I do it:
- Vacuum both sides with the brush attachment. This removes loose debris.
- If still dirty, fill a bowl with warm water and a drop of mild dish soap.
- Soak the pre-filter for 5–10 minutes. Gently agitate it with your fingers.
- Use the soft brush to scrub any stubborn spots—especially along the edges.
- Rinse thoroughly under cool water.
- Shake off excess water and lay it flat on a towel to air dry completely.
Pro Insight: Never put a damp pre-filter back in. Moisture breeds mold, and that’s the opposite of clean air. Let it dry for at least 1–2 hours. Overnight if you’re unsure.
This step alone can restore up to 30% of airflow. I noticed a huge difference after my first deep clean.
Step 3: Vacuum the HEPA Filter (Do Not Wash!)
Now, pull out the HEPA filter. It’s the large, pleated paper filter behind the pre-filter. Never wash or wet this filter. Water ruins the delicate fibers and can promote mold growth.
Instead, use your vacuum’s brush attachment to gently vacuum both sides. Focus on the pleats—dust loves to hide there.
Move slowly. Don’t press hard—you could tear the paper. I use a back-and-forth motion, like dusting shelves.
Warning: If you see visible mold, tears, or dark discoloration (especially brown or black spots), replace it immediately. A damaged HEPA filter can’t trap particles and may release contaminants.
After vacuuming, inspect the frame. If it’s cracked or warped, it’s time for a new one. The HEPA filter should last 6–12 months, depending on use. I replace mine every 9 months in a dusty home with two cats.
Set the HEPA aside in a clean, dry place while you move on.
Step 4: Check and Clean the Carbon Filter (If Installed)
The TPP230H has an optional carbon filter slot behind the HEPA. Not all units come with it, but if yours does, don’t skip it.
Carbon filters absorb odors, VOCs, and gases—like cooking smells, pet odors, or smoke. But they can’t be cleaned with water. Once saturated, they’re done.
To check:
- Remove the carbon filter (it’s usually a flat, black pad).
- Smell it. If it’s lost its “fresh” scent or smells musty, it’s time to replace.
- Tap it lightly. If it releases a lot of black dust, it’s breaking down.
If it’s still usable, vacuum the surface to remove dust. But don’t scrub or wash it. Carbon granules can break loose and clog other parts.
Pro Tip: Carbon filters last 3–6 months. I keep a spare and replace it every 4 months, especially in winter when windows stay closed.
If it’s due for replacement, order a genuine Therapure TPP230H carbon filter. Off-brand ones don’t fit well and can reduce performance.
Step 5: Clean the Front Cover and Air Intake Grille
Now, go back to the front cover. This part takes a beating—it’s where dust, hair, and even pet fur get trapped in the grille.
Use the vacuum’s brush attachment to clean the grille. Then, wipe the outer surface with a microfiber cloth dampened with warm, soapy water. Rinse the cloth and wipe again with clean water to remove soap residue.
For stubborn gunk in the grille slots, use the soft brush or compressed air. I keep an old toothbrush just for this—it’s perfect for tight spaces.
Let the cover dry completely before reassembling.
Step 6: Clean the Interior and Fan Area (Optional but Recommended)
This step is often skipped, but it’s a game-changer. Dust builds up behind the filters—on the walls, near the fan, and on the sensor.
Use the vacuum’s crevice tool to suck out dust from the interior walls. Pay special attention to corners and the fan blades (if accessible).
If you see dust on the fan, use compressed air. Hold the can upright and spray in short bursts. Don’t let the fan spin freely—this can damage the motor.
Warning: Never stick your fingers or tools into the fan housing. The motor is powerful, and even when off, it’s not worth the risk.
Also, locate the air quality sensor (usually a small hole near the back). Use compressed air to blow out any dust. A clogged sensor gives false readings—like showing “clean” air when it’s not.
This step takes 5 extra minutes but keeps your purifier running accurately.
Step 7: Reassemble and Test
Now, put everything back in reverse order:
- Insert the carbon filter (if used).
- Slide in the HEPA filter. Make sure it’s seated properly and the gasket is flush.
- Insert the pre-filter. It should slide in smoothly—no forcing.
- Snap the front cover back into place. You’ll hear a click when it’s secure.
Plug the unit back in and turn it on. Run it on high for 10 minutes to check airflow. Listen for unusual noises. If it’s quiet and pulling air well, you’re golden.
I like to do this during the day when I’m home. If something’s wrong, I’ll notice it fast.
Step 8: Reset the Filter Indicator (If Applicable)
The TPP230H has a filter replacement light that turns on after ~1,500 hours of use. If it’s on, you’ll need to reset it.
To reset:
- With the unit on, press and hold the “Filter Reset” button (usually on the control panel).
- Hold for 3–5 seconds until the light turns off.
- That’s it! The timer starts fresh.
Note: This only resets the timer—it doesn’t replace the filter. Use your judgment. If the filter looks bad, replace it even if the light isn’t on.
Pro Tips & Common Mistakes to Avoid
Over the years, I’ve made (and fixed) every mistake in the book. Here’s what I wish I knew earlier:
Visual guide about how to clean therapure air purifier tpp230h
Image source: m.media-amazon.com
Pro Tip #1: Clean the pre-filter monthly. I do it every 4 weeks on a Sunday morning—part of my “air purifier ritual.” It takes 10 minutes and prevents bigger issues.
Pro Tip #2: Use a filter replacement calendar. I set a phone reminder every 9 months for the HEPA and every 4 months for the carbon. No more guessing.
Pro Tip #3: Label your filters. I write the install date with a Sharpie. It helps track lifespan and avoid overuse.
Now, the mistakes:
- Washing the HEPA filter: I did this once—used a hose in the backyard. Ruined it. Water expands the fibers and weakens the seal. Never again.
- Forgetting to dry the pre-filter: I rushed once and put it back damp. Two days later, the unit smelled musty. Took a week to clear.
- Ignoring the fan area: Dust buildup makes the motor work harder, reducing lifespan. A clean fan = longer life.
- Using off-brand filters: They’re cheaper, but they don’t seal properly. I tried one and got air leaks. Stick with genuine Therapure filters.
- Not cleaning in a clean space: Once, I cleaned it on my carpet. Dog hair flew everywhere. Now I do it on a table with a towel.
Pro Insight: Your purifier’s performance depends on maintenance. A well-cleaned TPP230H can last 5–7 years. A neglected one? 2 years max.
FAQs About How to Clean Therapure Air Purifier TPP230H in 2026
Here are the questions I get most—answered honestly, from real use.
Can I wash the HEPA filter in the Therapure TPP230H?
No. Never wash the HEPA filter. Water damages the paper fibers and can cause mold. Vacuum it gently instead. If it’s visibly dirty, torn, or smells bad, replace it. That’s the only safe fix.
How often should I clean the pre-filter?
Every 2–4 weeks, depending on use. In a dusty home, pet house, or high-pollution area, clean it monthly. In a clean, low-traffic room, every 6 weeks may be enough. I check mine monthly and clean it if it looks gray or furry.
What if my filter light is on but the filter looks fine?
The light is based on runtime (1,500 hours), not condition. If the filter looks clean and airflow is good, you can reset the light. But if it’s been over 12 months, consider replacing it anyway—even if it looks okay. Filters degrade over time.
Can I use a different brand of HEPA filter?
Technically, yes—but I don’t recommend it. Off-brand filters may not seal properly, letting unfiltered air bypass. I tried a third-party one once. The unit ran louder, and my allergies got worse. Stick with genuine Therapure filters for best performance.
How do I know when to replace the carbon filter?
Smell it. If it no longer has a fresh, clean scent—or if it smells musty—it’s done. Also, if you notice odors returning (like cooking or pet smells), it’s time. Carbon can’t be cleaned, so replacement is the only option.
Is it safe to clean the purifier while it’s running?
No. Always unplug it first. Not only is it a shock risk, but the fan can suck in cloth, hair, or tools. I learned this when a loose sock got caught—scary noise, but no damage. Still, not worth it.
Can I clean the purifier with a damp cloth inside?
Only on non-filter surfaces, and very lightly. Use a barely damp microfiber cloth on plastic parts. Never let water drip into the fan or motor area. I wipe the exterior weekly, but only vacuum the inside.
Final Thoughts
Cleaning your Therapure TPP230H isn’t just about keeping it running—it’s about protecting your health. Every time you clean it, you’re ensuring it’s actually doing its job: giving you clean, safe air.
Knowing how to clean Therapure air purifier TPP230H in 2026 is a small habit with big returns. It takes 15–20 minutes once a month. That’s less time than scrolling social media. And the payoff? Better airflow, fewer allergies, and peace of mind.
My advice? Start today. Unplug your unit, grab your vacuum, and follow the steps above. You don’t need to do it all at once—tackle one step per day if you want. But do it.
And remember: your purifier is only as good as its maintenance. Treat it well, and it’ll treat you to years of fresh air.
Got questions? Leave a comment. I’ve been there, done that, and cleaned it. Let’s keep the air clean—together.
“`