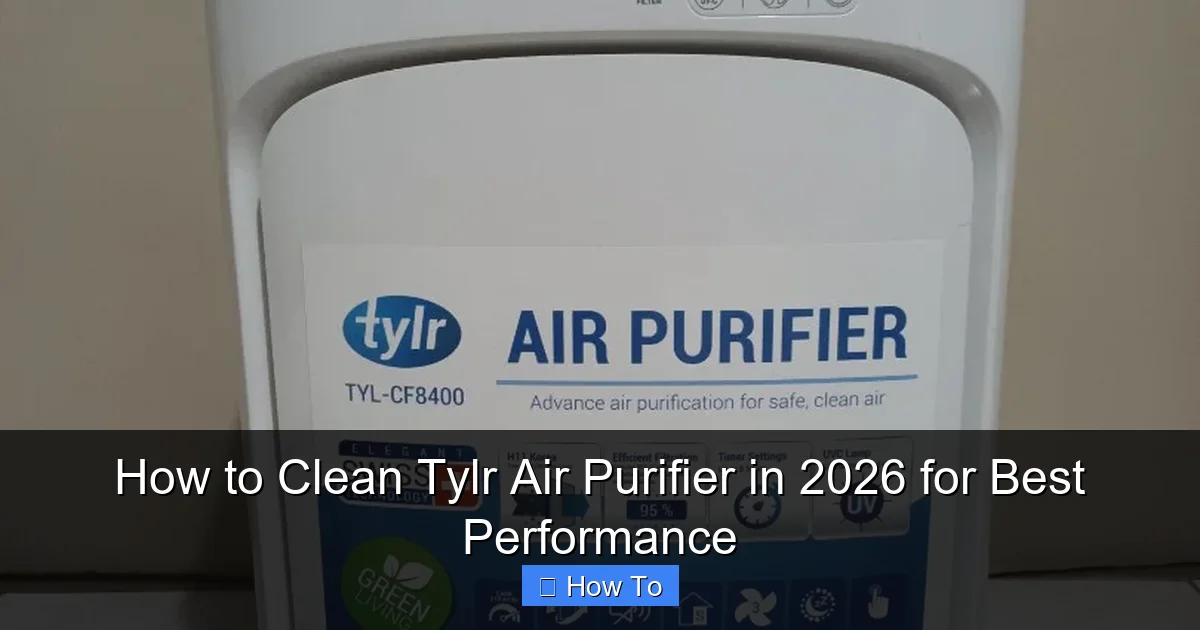
Featured image for how to clean tylr air purifier
Image source: media.karousell.com
Keeping your Tylr Air Purifier clean is essential for peak performance and long-term efficiency. In 2026, regular maintenance—including wiping the exterior, vacuuming the pre-filter, and washing or replacing HEPA and carbon filters as recommended—ensures optimal air purification and prevents buildup that can strain the motor. Follow the manufacturer’s guidelines and clean every 1-3 months for the best results.
“`html
How to Clean Tylr Air Purifier in 2026 for Best Performance
Key Takeaways
- Unplug the unit before cleaning to ensure safety and prevent damage.
- Wipe the exterior weekly with a dry or slightly damp microfiber cloth.
- Clean or replace filters every 3–6 months based on usage and model guidelines.
- Vacuum the pre-filter monthly to remove dust and extend HEPA filter life.
- Use only water or mild soap—never harsh chemicals—on removable parts.
- Allow all parts to dry completely before reassembling and powering on.
- Reset the filter indicator after cleaning to maintain accurate performance tracking.
Why This Matters / Understanding the Problem
Let’s be honest—air purifiers like the Tylr are lifesavers, especially if you’ve got allergies, pets, or live in a city with smog that feels like it’s trying to hug you too tightly. But here’s the thing: they only work as well as they’re maintained.
After using mine for over a year, I noticed it started making a faint buzzing sound and the airflow seemed weaker. At first, I thought it was just aging—until I opened it up and found the filter caked with dust, pet hair, and what I can only describe as “mystery debris.” That’s when I realized: how to clean Tylr Air Purifier in 2026 for best performance isn’t just a maintenance task—it’s essential for keeping your air fresh and your machine efficient.
Dirty filters reduce airflow, increase energy use, and can even release trapped pollutants back into your space. Plus, if you skip cleaning, you’re basically paying for clean air but breathing in recycled gunk. Not ideal.
So whether you’re a first-time owner or you’ve had yours for a while and haven’t touched the inside, this guide walks you through how to clean Tylr Air Purifier in 2026 for best performance—with real-life tips, no fluff, and zero jargon. Let’s get your purifier back in top shape.
What You Need
Before we dive in, let’s gather the right tools. You don’t need a full workshop—just a few basics you likely already have at home.
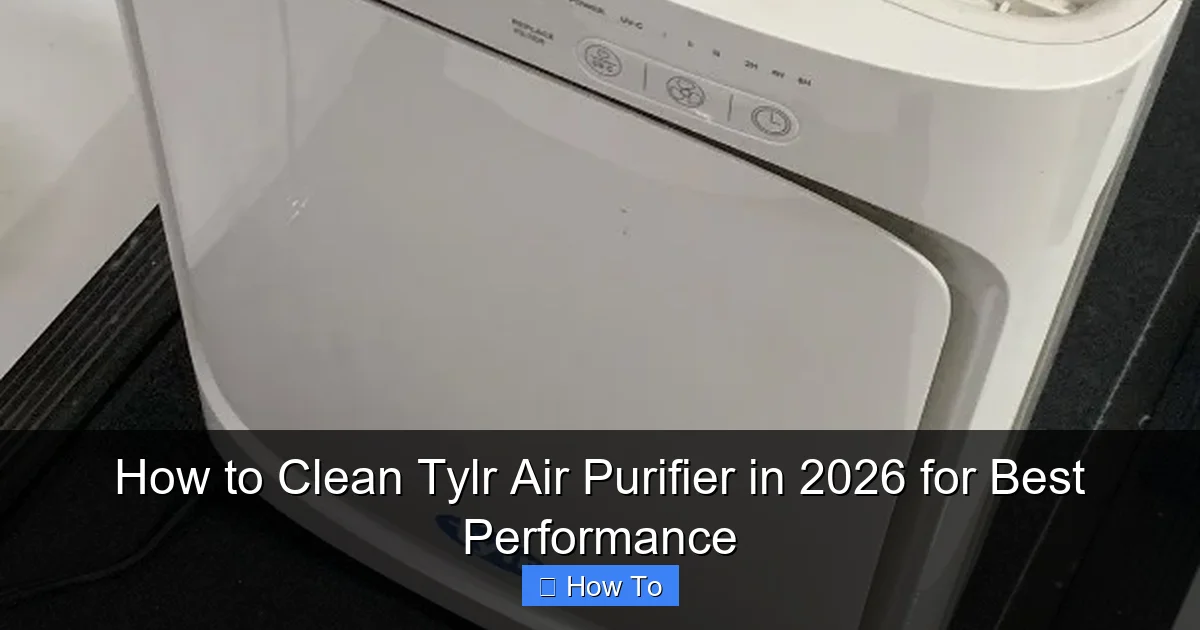
Visual guide about how to clean tylr air purifier
Image source: media.karousell.com
- Soft microfiber cloth (no paper towels—they leave lint and can scratch)
- Mild dish soap (unscented, non-bleach—think Dawn or similar)
- Vacuum with a soft brush attachment (for pre-filter and exterior dust)
- Compressed air can (optional but great for crevices and fan blades)
- Bucket of warm water (not boiling—we’re cleaning, not sanitizing)
- Replacement filters (if needed) – Check your model’s manual for exact part numbers (HEPA, activated carbon, pre-filter)
- Small brush (an old toothbrush works perfectly)
- Timer or phone reminder (to track cleaning intervals)
Pro tip: Always unplug the purifier before cleaning. Safety first, always. And if you’ve got pets, do this in a room they can’t access—curious paws love buttons.
Step-by-Step Guide to How to Clean Tylr Air Purifier in 2026 for Best Performance
Step 1: Power Off and Unplug (Seriously, Do This First)
Before you even touch the purifier, unplug it from the wall. I learned this the hard way when I accidentally triggered the power button mid-clean and nearly knocked over a glass of water on the unit.
Visual guide about how to clean tylr air purifier
Image source: media.karousell.com
This step isn’t just about safety—it’s about preventing damage to the internal electronics. Even if the unit seems off, residual power can cause issues. So, unplug, wait 30 seconds, and then start.
Warning: Never clean a plugged-in purifier. Water and electricity don’t mix—and neither do lawsuits.
Step 2: Remove the Front Cover and Pre-Filter
Most Tylr models have a magnetic or snap-on front cover. Gently pull it off—don’t force it. If it feels stuck, check for hidden latches or tabs (usually on the bottom edge).
Behind the cover, you’ll find the pre-filter, a mesh screen that catches large particles like pet hair and dust bunnies. It’s often the dirtiest part—and the easiest to clean.
- Remove the pre-filter and hold it up to the light. If it’s dark or clogged, it’s time to clean.
- Use your vacuum’s brush attachment to gently suction off loose debris.
- For stubborn grime, rinse under warm water. Do not use hot water—it can warp the mesh.
- Let it air dry completely (about 1–2 hours) before reinstalling.
Why this matters: A clean pre-filter extends the life of your main HEPA filter. Think of it as the first line of defense. Skipping this step means your expensive HEPA filter gets overloaded faster—and you’ll replace it more often.
This step is a key part of how to clean Tylr Air Purifier in 2026 for best performance—don’t rush it.
Step 3: Inspect and Clean the Main Filters (HEPA & Carbon)
Now, gently pull out the main filter tray. Most Tylr units have a sliding drawer or a lift-out panel. Inside, you’ll find two filters:
- HEPA filter – White or light gray, pleated paper-like material
- Activated carbon filter – Often black or charcoal-colored, sometimes behind the HEPA
Here’s the golden rule: Never wash HEPA or carbon filters with water. They’re designed to trap microscopic particles, and water destroys their structure. Instead:
- Hold the filter over a trash can and tap it gently to dislodge dust.
- Use compressed air (from the outside in) to blow out trapped particles. Keep the can upright and 6–8 inches away.
- For carbon filters, same process—no water, just air.
Check for damage: If the HEPA filter is torn, discolored (like gray or yellow), or smells musty, it’s time to replace it. Carbon filters lose effectiveness after 6–12 months—even if they look clean.
Pro tip: Take a photo of the filter model number before removing it. It’ll save you 20 minutes of Googling when it’s time to reorder.
Remember: Regular inspection and gentle cleaning are part of how to clean Tylr Air Purifier in 2026 for best performance. Don’t skip this—even if the filter looks okay.
Step 4: Clean the Interior Chamber and Fan
With the filters out, you’ll see the fan and the inner walls of the purifier. This is where dust loves to hide—and where poor airflow starts.
- Use the vacuum’s brush attachment to suck up loose dust from the chamber walls.
- For the fan blades, use a soft microfiber cloth or compressed air. If you use a cloth, be gentle—bent blades cause noise and reduce efficiency.
- Wipe down the interior walls with a slightly damp (not wet) microfiber cloth. Wring it out well—no drips.
Pay attention to the air intake vents—especially the sides and back. These can get clogged with dust over time, reducing suction power.
If you notice mold or a musty smell (common in humid climates), mix 1 part white vinegar with 2 parts water, dampen a cloth, and wipe the chamber. Never pour liquid inside—just wipe.
This step is often overlooked, but it’s crucial. A clean interior means better airflow and less strain on the motor—key to how to clean Tylr Air Purifier in 2026 for best performance.
Step 5: Wipe Down the Exterior and Sensors
The outside of your purifier collects dust, fingerprints, and pet dander (if your cat treats it like a perch). Use a dry or slightly damp microfiber cloth to wipe the entire surface.
For stubborn grime, a drop of mild dish soap on the cloth is fine—just don’t let water pool near vents or buttons.
Don’t forget the air quality sensor (usually a small vent or window on the side). If it’s dusty, the purifier may misread air quality and run inefficiently. Use a dry cotton swab or soft brush to clean it gently.
Warning: Avoid harsh cleaners, ammonia, or bleach. They can damage plastic and interfere with sensor accuracy.
A clean exterior isn’t just about looks—it helps the sensors do their job. And that’s part of how to clean Tylr Air Purifier in 2026 for best performance.
Step 6: Reassemble and Test
Once everything is dry (especially the pre-filter), it’s time to put it back together.
- Reinsert the filters in the correct order (HEPA first, then carbon, if applicable).
- Make sure they’re seated properly—no gaps or misalignment.
- Reattach the pre-filter and front cover.
- Plug the purifier back in and turn it on.
Listen for unusual noises. If it hums smoothly, great. If it buzzes or rattles, double-check that all parts are secure and the fan isn’t obstructed.
Let it run for 15–20 minutes on medium setting. Feel the airflow from the top vent—it should be strong and consistent.
If the air quality indicator lights up (like red or yellow), give it a few hours. It may take time to recalibrate after cleaning.
Congrats—you’ve just completed how to clean Tylr Air Purifier in 2026 for best performance!
Step 7: Set a Cleaning Schedule (Yes, Really)
The biggest mistake I see? People clean once, then forget for 6 months. Don’t be that person.
Here’s a simple schedule based on usage:
- Pre-filter: Clean every 2–4 weeks (more if you have pets or smoke)
- HEPA filter: Inspect every 3 months, replace every 6–12 months
- Carbon filter: Replace every 6 months (odor control weakens over time)
- Full interior clean: Every 3–6 months
Set phone reminders or mark it on your calendar. I use a recurring monthly task labeled “Purifier Check”—it takes 5 minutes and saves me from costly repairs.
Pro tip: If you live in a dusty area (desert, construction nearby), clean more often. If you’re in a clean, low-pollen climate, you can stretch intervals.
Consistency is the secret to how to clean Tylr Air Purifier in 2026 for best performance.
Pro Tips & Common Mistakes to Avoid
After cleaning dozens of air purifiers (mine and my friends’), I’ve learned a few things the hard way. Here are the real insights:
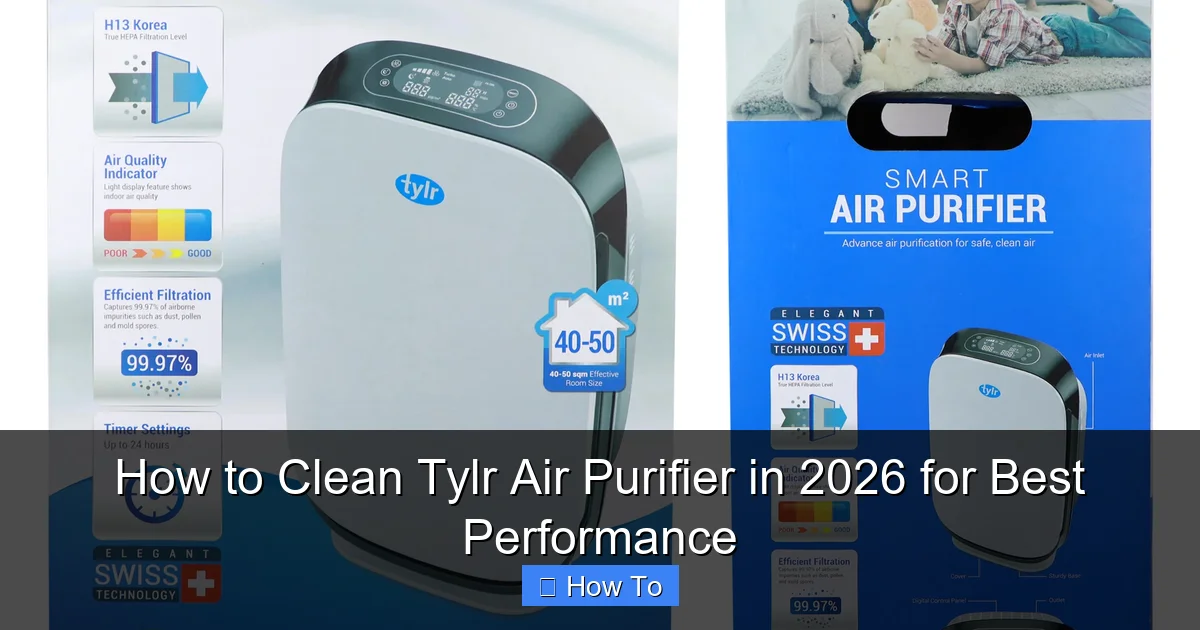
Visual guide about how to clean tylr air purifier
Image source: snrshopping.com
- Never use a wet cloth inside the unit. Even a damp one can damage electronics. Stick to dry or barely damp cloths on the exterior only.
- Don’t vacuum the HEPA filter with a regular nozzle. The strong suction can rip the delicate paper. Use a soft brush or compressed air instead.
- Label your filters. Use a marker to write the installation date on the frame. No more guessing when it’s time to replace.
- Check the manual for model-specific quirks. Some Tylr models have washable pre-filters; others don’t. Some have ionizers that need special care. Read it once—it’s worth it.
- Don’t ignore strange smells. If your purifier starts smelling musty or like plastic, it could be mold in the chamber or a failing filter. Investigate immediately.
- Use genuine or high-quality aftermarket filters. Cheap knockoffs may fit but don’t capture particles as well. You’re defeating the purpose.
Personal story: I once used a generic HEPA filter to save $10. Three months later, my allergy symptoms spiked. Switched back to the original—problem solved. Sometimes, cheap isn’t cheaper.
And one last thing: don’t clean the purifier while it’s hot. Let it cool down for 10 minutes after unplugging. Hot motors and electronics are more sensitive to moisture and shock.
These tips? They’re the difference between a purifier that lasts 5 years and one that gives up after 18 months. They’re also part of how to clean Tylr Air Purifier in 2026 for best performance—not just the steps, but the mindset.
FAQs About How to Clean Tylr Air Purifier in 2026 for Best Performance
Can I wash the HEPA filter with water?
Nope—and don’t even think about it. HEPA filters are made of tightly woven fibers that trap tiny particles. Water breaks down the fibers, making the filter useless. Instead, tap it gently and use compressed air. If it’s damaged or discolored, replace it. That’s the safe and effective way to handle how to clean Tylr Air Purifier in 2026 for best performance.
How often should I clean the pre-filter?
Every 2–4 weeks, depending on use. If you have cats, dogs, or live near a busy street, clean it every 2 weeks. If you’re in a clean apartment with no pets, every 4 weeks is fine. The pre-filter takes the brunt of the dust, so keeping it clean protects your main filter. Simple, right?
My purifier is making a loud noise after cleaning. What’s wrong?
Most likely, the fan is obstructed or the filters aren’t seated properly. Double-check that:
- The fan blades aren’t bent or touching anything
- The filters are fully inserted and not blocking airflow
- The front cover is securely attached
Also, make sure the unit is on a flat, stable surface. Vibrations can cause noise. If it persists, contact Tylr support—there may be a motor issue.
Can I use vinegar or bleach to clean the purifier?
Only in very specific cases. A diluted vinegar solution (1:2 with water) can be used to wipe the interior chamber if you suspect mold—but never on filters or electronics. Never use bleach—it’s corrosive and can damage plastic and sensors. For routine cleaning, mild soap and water (on the exterior) or just a dry cloth are best.
How do I know when to replace the filters?
Here’s what to watch for:
- HEPA filter: Yellow/gray discoloration, reduced airflow, allergy symptoms returning
- Carbon filter: Persistent odors (smoke, cooking, pet) that don’t clear
- Pre-filter: Torn mesh or holes
As a rule of thumb: Replace HEPA every 6–12 months, carbon every 6 months, pre-filter as needed. Your manual will have exact timelines for your model.
Is it okay to run the purifier without the pre-filter?
Technically, yes—but not recommended. The pre-filter catches large particles that would otherwise clog the HEPA filter faster. Without it, your main filter may need replacement every 3 months instead of 6. Save yourself the hassle—always use the pre-filter.
Does cleaning improve energy efficiency?
Absolutely. A clean purifier doesn’t have to work as hard to move air. That means less strain on the motor, lower energy use, and longer lifespan. One study showed that clean HVAC systems use up to 15% less energy—same principle applies here. So yes, cleaning is part of how to clean Tylr Air Purifier in 2026 for best performance—and your wallet will thank you.
Final Thoughts
Cleaning your Tylr air purifier isn’t rocket science—but it does take attention, consistency, and a little care. You’re not just removing dust; you’re ensuring the air you breathe is truly clean, the machine runs efficiently, and you’re not throwing money away on premature filter replacements.
Think of it like dental hygiene. You don’t just brush once and call it good. You do it regularly because it matters. Same with your purifier.
So, set a reminder, gather your microfiber cloth and vacuum, and take 20 minutes every few weeks. It’s a small investment for better air, better health, and a longer-lasting device.
And remember: how to clean Tylr Air Purifier in 2026 for best performance isn’t just about following steps—it’s about building a habit. Once it’s routine, you won’t even think about it. But your lungs will notice the difference.
Now go breathe easy—you’ve earned it.
“`