Featured image for how to clean zen living air purifier
Image source: i.pinimg.com
Keeping your Zen Living Air Purifier clean is essential for maintaining peak performance and ensuring fresh, healthy air in 2026. Regularly cleaning the filters, wiping down the exterior, and following the manufacturer’s guidelines prevents buildup and extends the unit’s lifespan. A well-maintained purifier delivers cleaner air, reduces allergens, and operates more efficiently—making simple cleaning steps a powerful investment in your indoor air quality.
“`html
How to Clean Zen Living Air Purifier in 2026 for Fresh Air
Key Takeaways
- Unplug the unit before cleaning to ensure safety and prevent damage.
- Wipe the exterior weekly with a dry or slightly damp microfiber cloth.
- Clean or replace filters every 3–6 months for optimal performance.
- Vacuum pre-filters monthly to remove dust and extend filter life.
- Use mild soap for stubborn grime; avoid harsh chemicals or abrasives.
- Reassemble carefully after cleaning to maintain air purifier efficiency.
- Check indicator lights for filter replacement alerts and follow promptly.
Why This Matters / Understanding the Problem
Let’s be honest—your Zen Living air purifier has been working hard. It’s quietly humming away, pulling dust, pet dander, and even that mysterious “what-is-that-smell?” out of your home. But here’s the thing: even the best air purifiers need a little TLC to keep doing their job well.
If you’ve noticed your unit isn’t pulling air as strongly as it used to, or if it’s making a weird noise (like it’s trying to sing opera), it might be time for a deep clean. Over time, filters get clogged, fans collect grime, and internal parts can get dusty—all of which reduce efficiency and, honestly, your indoor air quality.
Cleaning your Zen Living air purifier isn’t just about maintenance—it’s about breathing easier. In 2026, with more of us spending time indoors and air quality concerns on the rise, keeping your purifier in top shape is more important than ever. And the good news? It’s easier than you think. Whether you’re a first-time owner or just need a refresher, this guide will walk you through how to clean Zen Living Air Purifier in 2026 for fresh air—step by step, no stress.
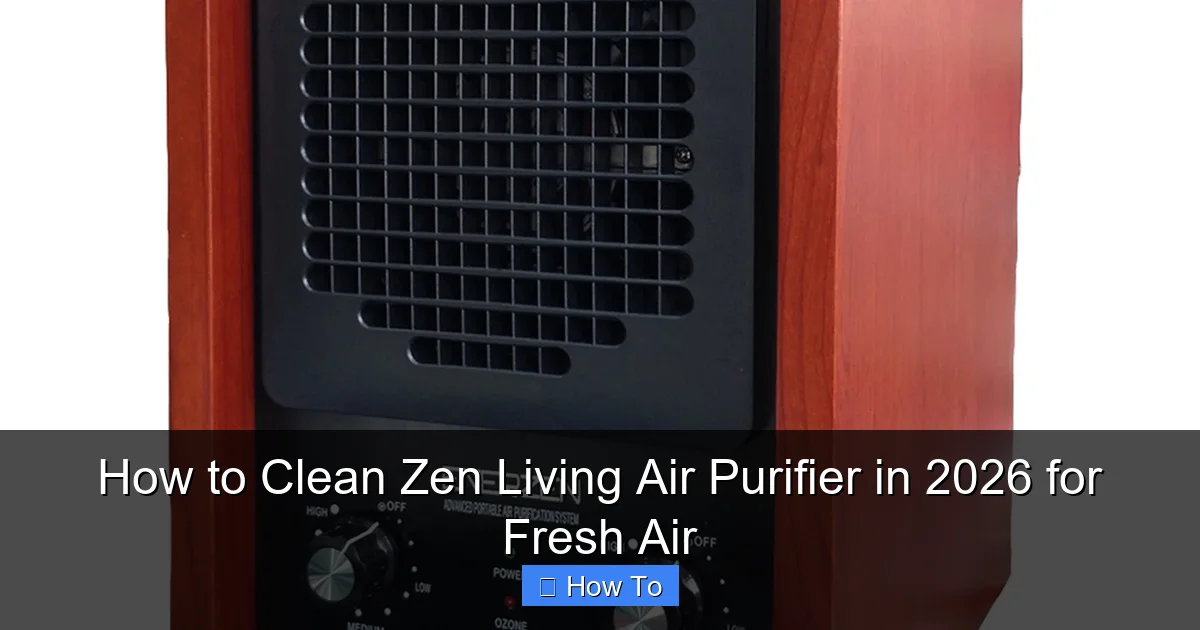
What You Need
Before we dive in, let’s gather the essentials. You don’t need a full toolbox or fancy equipment—just a few household items and a little time.
Visual guide about how to clean zen living air purifier
Image source: zenlivingairpurifiers.com
- Soft microfiber cloths (lint-free is best)
- Mild dish soap (nothing harsh or scented)
- White vinegar (great for breaking down grime)
- Distilled water (prevents mineral buildup)
- Soft-bristled brush (an old toothbrush works perfectly)
- Vacuum with a brush attachment (optional but helpful)
- Replacement HEPA filter (if it’s time—usually every 6–12 months)
- Compressed air can (for tight spots)
Most of these are probably already in your cleaning cabinet. If not, they’re easy to find at any grocery or hardware store. And don’t worry—you won’t need all of them for every cleaning. We’ll tell you exactly when to use what.
Step-by-Step Guide to How to Clean Zen Living Air Purifier in 2026 for Fresh Air
Step 1: Turn Off and Unplug the Unit
First things first—safety first! Always turn off your Zen Living air purifier and unplug it from the wall before you start cleaning. This isn’t just about avoiding electric shocks (though that’s important). It also prevents the fan from accidentally turning on while you’re working on it.
Visual guide about how to clean zen living air purifier
Image source: zenlivingairpurifiers.com
I learned this the hard way once—reached in to wipe a filter and the fan kicked on. Not fun. So, unplug it, give it a minute to cool down if it’s been running, and then move to the next step.
Step 2: Remove the Front Panel and Pre-Filter
Most Zen Living models have a front panel that snaps off easily. Look for small tabs or clips along the sides or bottom. Gently press or pull to release it. If you’re not sure, check your user manual—but honestly, they’re designed to be user-friendly.
Behind the panel, you’ll usually find a washable pre-filter. This is the first line of defense, catching larger particles like hair and dust. It’s often made of foam or mesh and can get pretty grimy over time.
Carefully remove the pre-filter. If it’s visibly dirty—gray, fuzzy, or clogged—it’s definitely time for a clean. Even if it looks okay, give it a once-over every month or so.
Step 3: Clean the Pre-Filter
Now, let’s get that pre-filter sparkling. Rinse it under lukewarm water. Use your hands to gently rub away dust and debris. If it’s really dirty, add a drop of mild dish soap to your hands and work it in.
Avoid hot water—it can warp the material. And never use bleach or harsh chemicals. They can break down the filter and release fumes when the purifier runs.
After rinsing, shake off excess water and let it air dry completely. This is crucial. Never reinstall a damp filter—it can trap moisture, grow mold, and ruin your purifier’s performance. I usually lay it on a clean towel overnight.
Step 4: Vacuum the Interior
While the pre-filter dries, use your vacuum’s brush attachment to gently clean the inside of the unit. Focus on the fan blades, vents, and any crevices where dust likes to hide.
Don’t press too hard—those fan blades are delicate. And avoid using the vacuum’s suction directly on the motor or electrical parts. Just a light pass to remove loose dust.
If you don’t have a vacuum, a can of compressed air works too. Hold it upright and spray in short bursts. This is especially helpful for tight corners or behind the fan.
Step 5: Wipe Down the Exterior
Your purifier might look clean on the outside, but dust loves to settle on surfaces—even when you can’t see it. Use a microfiber cloth dampened with a mix of water and a splash of white vinegar to wipe down the front, sides, and top.
Vinegar is a natural disinfectant and cuts through grease without leaving residue. Just make sure the cloth isn’t dripping—excess moisture can seep into the unit.
For stubborn spots, like fingerprints or sticky residue, add a tiny bit of dish soap to the cloth. Wipe gently, then follow with a dry cloth to prevent streaks.
Step 6: Check and Clean the HEPA Filter (If Washable)
Here’s where things get a little tricky. Most Zen Living models use a non-washable HEPA filter, which means you can’t rinse it. But some newer versions include a washable or reusable HEPA filter—check your model number to be sure.
If yours is washable, follow the same steps as the pre-filter: rinse gently with lukewarm water, no soap, and air dry completely.
If it’s non-washable, don’t try to clean it. Instead, use a vacuum with a soft brush to remove surface dust. This helps extend its life, but remember—HEPA filters eventually need replacing. Most last 6–12 months, depending on usage and air quality.
Pro tip: Mark your calendar when you install a new filter. That way, you’ll know exactly when it’s time for a swap.
Step 7: Clean the Carbon Filter (If Applicable)
Some Zen Living models include a carbon filter for odor control. Like HEPA filters, these are usually not washable. But you can gently vacuum the surface to remove dust.
Carbon filters absorb odors over time, so they do wear out. If your home still smells like last night’s curry or your dog’s wet fur, even with the purifier running, it might be time for a new carbon filter.
Don’t try to “refresh” it by baking it in the oven—that can release trapped chemicals and damage the material. Replacement is the only safe option.
Step 8: Clean the Fan and Motor Area
This is the part many people skip—but it’s important. Dust buildup on the fan blades can throw off balance, cause noise, and reduce airflow.
Use a soft-bristled brush (an old toothbrush is perfect) to gently scrub the fan blades. Be careful not to bend or damage them. If there’s sticky residue, dip the brush in a mix of water and vinegar.
For the motor housing, use a dry cloth or compressed air. Never spray liquid near the motor—it’s not sealed and can cause damage.
If you’re not comfortable reaching inside, that’s okay. Just do your best with what you can access. Even a little cleaning helps.
Step 9: Reassemble the Unit
Once everything is dry and clean, it’s time to put your Zen Living air purifier back together. Start by placing the pre-filter back into position. Make sure it’s seated properly—no gaps or folds.
Then, snap the front panel back on. You should hear a soft click when it’s secure. Give it a gentle tug to make sure it’s locked in.
Double-check that all parts are in place before plugging it back in. Missing a filter or misaligning a panel can reduce efficiency or even damage the unit.
Step 10: Run a Test Cycle
Plug the purifier back in and turn it on. Set it to the lowest speed and listen. Does it sound smooth? Is air flowing steadily?
If you hear grinding, rattling, or weak airflow, turn it off immediately. Something might be loose or misaligned. Recheck the assembly.
Let it run for about 30 minutes. You should notice fresher air almost right away—especially if it’s been a while since the last clean.
Pro Tips & Common Mistakes to Avoid
Pro Tip: Clean your pre-filter every 2–4 weeks, depending on usage. If you have pets or live in a dusty area, you might need to do it weekly. A clean pre-filter protects the HEPA filter and extends its life.
Warning: Never soak or submerge any part of the purifier—especially the motor or electrical components. Water and electronics don’t mix. Even a little moisture can cause corrosion or short circuits.
Common Mistake: Forgetting to let filters dry completely. I once reinstalled a damp pre-filter and woke up to a musty smell. Mold had started growing overnight. Let everything air dry for at least 6–8 hours.
Pro Tip: Use a timer or app reminder to track cleaning and filter changes. I set a monthly calendar alert for pre-filter cleaning and a yearly one for HEPA replacement. It’s saved me from forgetting more than once.
Common Mistake: Using scented cleaners or wipes. These can leave behind chemical residues that get blown into your home. Stick to mild soap, water, and vinegar—your lungs will thank you.
FAQs About How to Clean Zen Living Air Purifier in 2026 for Fresh Air
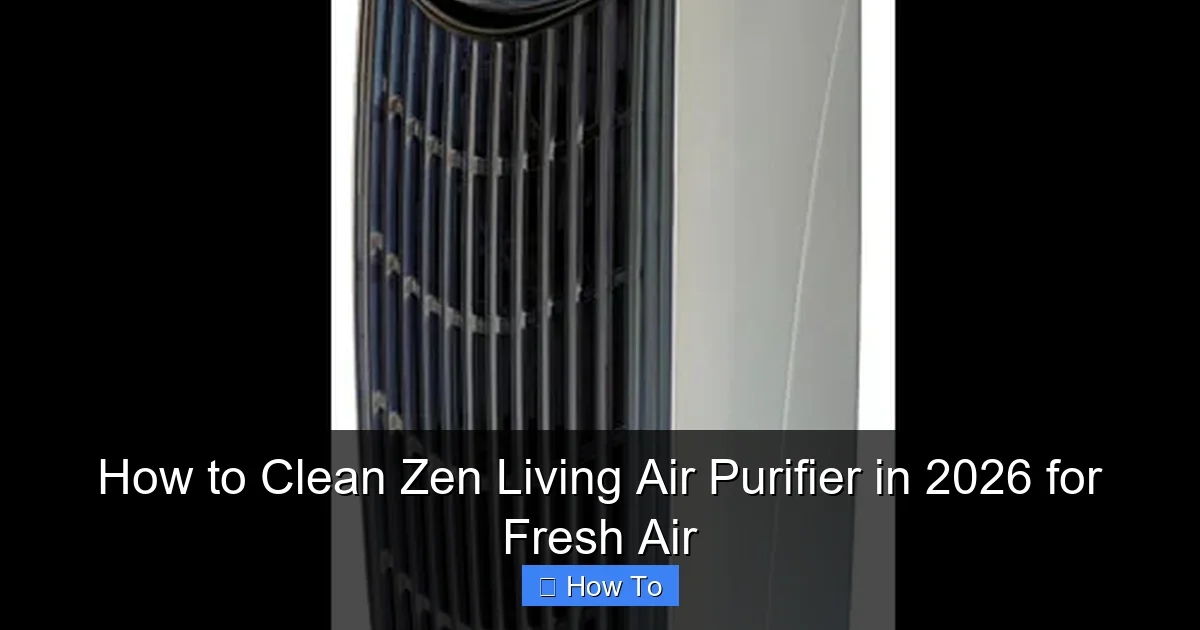
Q: How often should I clean my Zen Living air purifier?
A: It depends! Clean the pre-filter every 2–4 weeks. Wipe the exterior monthly. Deep clean the interior every 3–6 months. And replace the HEPA filter every 6–12 months, or sooner if you notice reduced airflow or odors.
Visual guide about how to clean zen living air purifier
Image source: zenlivingairpurifiers.com
Q: Can I wash the HEPA filter?
A: Only if your model specifically says it’s washable. Most Zen Living HEPA filters are not. Check your user manual or look for a “washable” label. If in doubt, don’t rinse it—just vacuum the surface.
Q: My purifier is still noisy after cleaning. What’s wrong?
A: Noise can come from loose parts, a misaligned fan, or a dirty motor. Double-check that everything is securely reassembled. If the noise persists, the fan bearings might be worn—consider contacting customer support.
Q: Can I use bleach to clean the filters?
A: No! Bleach is too harsh and can damage filter materials. It can also release toxic fumes when the purifier runs. Stick to mild soap, water, and vinegar for safe, effective cleaning.
Q: How do I know when to replace the HEPA filter?
A: Look for reduced airflow, lingering odors, or a “filter change” indicator light (if your model has one). You can also check the filter—if it’s dark gray or clogged, it’s time for a new one.
Q: Is it safe to clean the purifier while it’s plugged in?
A: Absolutely not. Always unplug the unit before cleaning. Even on the lowest setting, the fan can turn on unexpectedly and cause injury or damage.
Q: Can I use a wet cloth to clean the inside?
A: Only if it’s barely damp. Excess moisture can seep into electrical components. Use a dry cloth or compressed air for interior cleaning, and save the damp cloth for the exterior.
Final Thoughts
Cleaning your Zen Living air purifier might not be the most exciting chore, but it’s one of the best things you can do for your home’s air quality. A well-maintained purifier works harder, lasts longer, and gives you that fresh, clean feeling you deserve.
By following this guide on how to clean Zen Living Air Purifier in 2026 for fresh air, you’re not just maintaining a machine—you’re investing in your health and comfort. And honestly, it takes less time than scrolling through your phone for an hour.
So grab your microfiber cloth, unplug that unit, and give it the love it’s been giving you. Your lungs (and your nose) will notice the difference. And the next time someone walks into your home and says, “Wow, the air in here feels so clean,” you’ll know exactly why.
“`