Featured image for how to disassemble levoit air purifier
Image source: levoit.com
Disassembling your Levoit air purifier in 2026 is quick and tool-free—just press the release button, remove the front cover, and slide out the filter housing. Follow the step-by-step guide to safely detach internal components for cleaning or replacement without damaging sensitive parts. Keep your purifier running efficiently with minimal effort and zero guesswork.
“`html
How to Disassemble Levoit Air Purifier in 2026 Easy Steps
Key Takeaways
- Unplug the purifier before starting to ensure safety.
- Remove the front panel by gently pulling it away from the base.
- Take out the filter carefully to avoid spreading dust.
- Detach the pre-filter for separate cleaning or replacement.
- Clean internal components with a soft, dry cloth only.
- Reassemble in reverse order to maintain proper function.
- Check for wear on seals and filters during disassembly.
Why This Matters / Understanding the Problem
Let’s be real—your Levoit air purifier has been quietly doing its job for months, maybe even years. It’s filtering dust, pet dander, and that mysterious “kitchen smoke” smell from last Tuesday’s burnt toast. But over time, even the best machines need a little TLC. Maybe you’ve noticed it’s not pulling air as strongly as before, or the filter light is blinking like it’s trying to send an SOS.
That’s when you realize: it’s time to open it up. Not to fix it (unless something’s actually broken), but to clean it properly. Dust builds up in places you can’t see—inside the fan housing, around the pre-filter, even behind the control panel. And if you don’t clean those hidden spots, your purifier works harder, uses more energy, and eventually loses efficiency.
This is where knowing how to disassemble Levoit air purifier in 2026 easy steps becomes a game-changer. It’s not about being a tech wizard—it’s about giving your machine the care it deserves so it keeps protecting your air (and your lungs) for years to come.
I learned this the hard way. Last winter, my Levoit Core 300 started making a weird grinding noise. I panicked, thinking I’d need a replacement. But after carefully taking it apart (and yes, Googling frantically), I found a tiny piece of lint stuck in the fan blades. A quick clean, reassemble, and boom—back to silent, powerful purification. No repair bill. No new purchase. Just a little patience and the right know-how.
So whether you’re dealing with reduced airflow, strange noises, or just want to do a deep clean, this guide will walk you through the process safely and simply. No jargon. No guesswork. Just real, practical steps that actually work.
What You Need
Before we dive in, let’s gather the essentials. You don’t need a toolbox full of gadgets—just a few basics that are probably already in your kitchen drawer or junk bin.
Visual guide about how to disassemble levoit air purifier
Image source: levoit.com.au
- Phillips-head screwdriver (size #1 or #2 works for most Levoit models)
- Soft microfiber cloth (for wiping down surfaces without scratching)
- Compressed air can (optional, but great for blowing dust out of tight spots)
- Small bowl or tray (to hold screws so you don’t lose them)
- Vacuum with brush attachment (helps remove loose dust before disassembly)
- Isopropyl alcohol (70% or higher) and cotton swabs (for cleaning stubborn grime)
And of course, your Levoit air purifier—powered off and unplugged. Safety first, always.
Pro tip: Take a photo of your purifier from all angles before you start. It’ll help you remember how everything fits back together, especially if you’re working on a model with multiple panels or filters.
Step-by-Step Guide to How to Disassemble Levoit Air Purifier in 2026 Easy Steps
Step 1: Power Down and Unplug
First things first—turn off your air purifier and unplug it from the wall. I can’t stress this enough. Even if the unit seems completely off, there could still be residual power in the circuit board. Unplugging eliminates any risk of electric shock or accidental activation while you’re working.
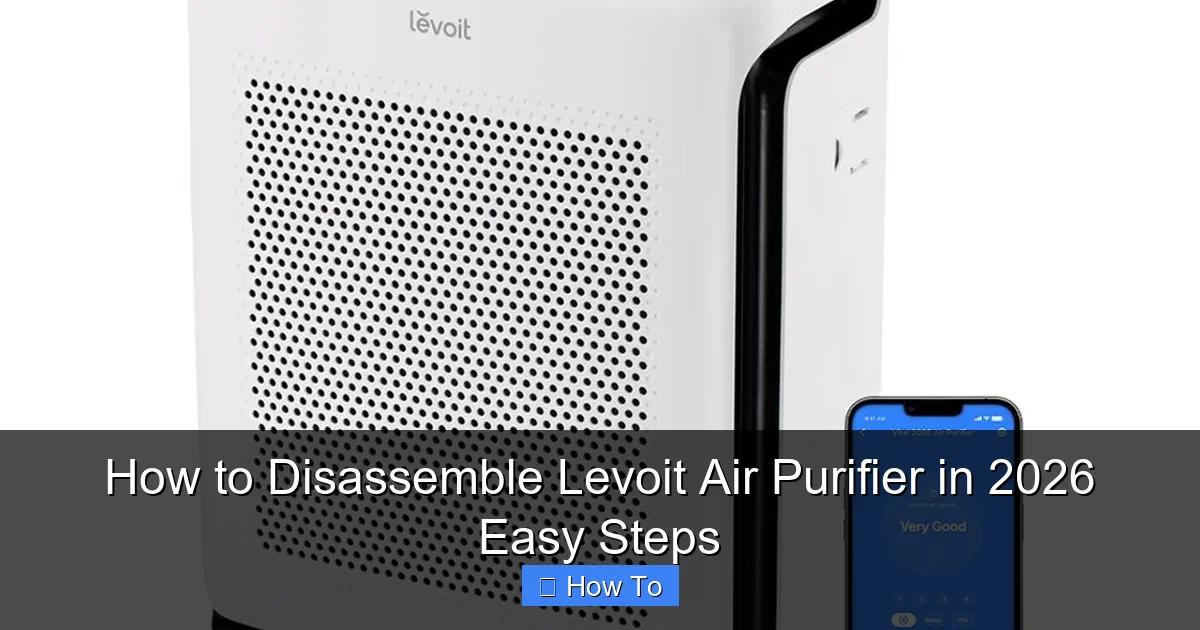
Visual guide about how to disassemble levoit air purifier
Image source: levoit.com
While you’re at it, move your purifier to a clean, flat workspace—like a table or countertop. You’ll need room to lay out parts as you remove them. A kitchen counter or desk works great.
Step 2: Remove the Front or Side Panel
Most Levoit models, like the Core 300, Core 400S, or Vital 100, have a front or side panel that snaps or screws into place. This panel usually houses the pre-filter and gives access to the main filter chamber.
For snap-on panels: Gently press the release tabs (usually at the bottom or sides) and pull the panel away from the unit. It should come off easily—no brute force needed. If it feels stuck, double-check for hidden clips or screws.
For screw-secured panels: Use your Phillips-head screwdriver to remove the screws (usually 2–4) along the edge. Place them in your bowl so they don’t roll away. Once the screws are out, lift the panel straight off.
Once the panel is off, you’ll see the pre-filter. Pull it out and set it aside. This is the first line of defense against large particles, so it’s often the dirtiest part.
Step 3: Take Out the Main Filter
Behind the pre-filter is the main HEPA filter—the heart of your purifier. This is what captures fine particles like pollen, mold spores, and smoke.
Gently pull the filter straight out. Most Levoit filters have a handle or lip to make this easier. Don’t yank it—filters can be delicate, especially if they’re old or clogged.
Inspect the filter. If it’s dark gray or black, it’s likely time to replace it. Levoit recommends replacing HEPA filters every 6–12 months, depending on usage. If it’s still light in color but dusty, you can vacuum the surface lightly, but don’t wash it—water ruins HEPA material.
Step 4: Access the Fan and Motor Housing
Now we’re getting into the deeper clean. To reach the fan and internal components, you’ll need to remove the back panel or inner casing.
On most Levoit models, this involves removing 4–6 screws from the back. Again, use your screwdriver and keep the screws organized. Some models may have a combination of screws and clips—take your time and work slowly.
Once the back panel is off, you’ll see the fan assembly. This is where dust loves to hide. Use your vacuum’s brush attachment to gently remove loose debris from the fan blades and surrounding area.
If there’s stubborn buildup, use compressed air to blow it out. Hold the can upright and spray in short bursts. Avoid spinning the fan with the air—it can generate back-voltage and damage the motor.
Step 5: Clean the Interior Surfaces
With the fan exposed, take your microfiber cloth and wipe down the interior walls of the housing. Dust and grease can accumulate here, reducing airflow and efficiency.
For sticky residue or grime, dampen a corner of the cloth with isopropyl alcohol. Never spray liquid directly into the unit—always apply it to the cloth first. Wipe gently, especially around electrical components.
Use cotton swabs dipped in alcohol to clean tight corners or around the motor housing. This is where tiny particles love to hide and cause noise or reduced performance.
Step 6: Reassemble in Reverse Order
Now that everything is clean, it’s time to put your purifier back together. Start by reattaching the back panel and securing it with screws. Make sure all screws are tight but don’t over-tighten—you could strip the plastic threads.
Next, reinstall the main HEPA filter. Make sure it’s seated properly and facing the right direction (check the arrows on the filter frame). Then replace the pre-filter.
Finally, snap or screw the front panel back into place. Give it a gentle press to ensure all clips are secure. If you took a photo earlier, use it as a reference to confirm everything is aligned.
Plug the unit back in and turn it on. Listen for any unusual noises. If it runs smoothly and the airflow feels strong, you’ve successfully completed the disassembly and reassembly.
Pro Tips & Common Mistakes to Avoid
Even with the best intentions, things can go sideways. Here’s what I’ve learned from my own mishaps—and how to avoid them.
Visual guide about how to disassemble levoit air purifier
Image source: levoit.com
Pro Tip: Label your screws with tape or a marker if they’re different sizes. It saves time and frustration when reassembling.
Warning: Never disassemble your purifier while it’s plugged in. I made this mistake once as a kid with a fan—let’s just say the sparks were not worth the lesson.
Common Mistake: Forcing parts that don’t come off easily. If a panel or filter won’t budge, double-check for hidden screws or clips. Levoit designs are usually user-friendly, but some models have subtle latches.
Pro Tip: Clean your pre-filter monthly and do a full disassembly every 3–6 months. Regular maintenance prevents major buildup and extends the life of your purifier.
Common Mistake: Using water or harsh cleaners on internal components. Stick to dry or slightly damp cloths and isopropyl alcohol. Water can damage electronics and void your warranty.
Pro Tip: Keep a maintenance log. Note the date you cleaned or replaced filters. It helps you stay on schedule and track performance over time.
FAQs About How to Disassemble Levoit Air Purifier in 2026 Easy Steps
Q: Can I wash the HEPA filter?
A: No—never wash a HEPA filter. Water destroys the delicate fibers that trap particles. If it’s dirty, replace it. Some models have washable pre-filters, but always check your manual first.
Q: How often should I disassemble my Levoit purifier?
A: For most homes, every 3–6 months is ideal. If you have pets, smoke, or live in a dusty area, consider doing it every 2–3 months. Listen to your machine—if airflow drops or it gets noisy, it’s time for a clean.
Q: What if I lose a screw or break a clip?
A: Don’t panic. Levoit sells replacement parts online, and many hardware stores carry generic clips and screws. Take a photo of the missing piece and search for “Levoit [model] replacement parts.”
Q: Will disassembling void my warranty?
A: Generally, no—as long as you don’t damage the unit. Levoit encourages maintenance, and normal disassembly for cleaning is covered. Just avoid modifying or tampering with internal electronics.
Q: My purifier still smells after cleaning. What now?
A: Odors can linger in the filter or housing. Try placing a bowl of baking soda near the intake for 24 hours to absorb smells. If the odor persists, the filter may need replacing, or there could be mold inside—consider a professional inspection.
Q: Can I use a different brand’s filter?
A: Technically yes, but I don’t recommend it. Third-party filters may not fit perfectly or meet the same efficiency standards. Stick with genuine Levoit filters for best performance and warranty protection.
Q: What if my purifier doesn’t turn on after reassembly?
A: First, check that it’s plugged in and the power outlet works. Then, double-check that all panels are securely closed—many Levoit models have safety switches that prevent operation if a panel is loose. If it still won’t start, contact Levoit support.
Final Thoughts
Learning how to disassemble Levoit air purifier in 2026 easy steps isn’t just about fixing a problem—it’s about taking control of your air quality. A clean purifier works better, lasts longer, and gives you peace of mind knowing your home’s air is truly clean.
You don’t need to be an expert. With the right tools, a little patience, and this guide, you can keep your Levoit running like new for years. And the best part? It only takes about 20–30 minutes once you get the hang of it.
So next time your purifier starts acting up, don’t rush to replace it. Open it up. Clean it. Reassemble it. You might just save yourself hundreds of dollars—and breathe easier in the process.
Now go give your air purifier the love it deserves. Your lungs will thank you.
“`