
Featured image for how to fix honeywell air purifier
Image source: m.media-amazon.com
Quickly restore your Honeywell air purifier’s performance in 2026 with simple, proven troubleshooting steps—starting with checking and replacing a clogged or dirty filter, the #1 cause of malfunctions. Power cycle the unit, inspect the air intake for blockages, and ensure the control panel is responsive; most issues resolve in minutes without tools or expert help. Regular maintenance and genuine Honeywell filters prevent 90% of problems, keeping your air clean and device running smoothly.
“`html
How to Fix Honeywell Air Purifier in 2026 Fast
Key Takeaways
- Check the filter: Replace or clean it regularly for optimal performance.
- Reset the unit: Unplug for 60 seconds to resolve minor glitches.
- Clean the sensors: Wipe dust from sensors to ensure accurate air quality readings.
- Inspect for blockages: Clear vents and internal pathways of dust buildup.
- Update firmware: Use the app to install the latest software fixes.
- Use genuine parts: Avoid third-party filters to prevent damage and errors.
- Contact support: Reach Honeywell if issues persist after troubleshooting.
Why This Matters / Understanding the Problem
You just walked into your living room, expecting that fresh, clean air your Honeywell air purifier usually delivers—but instead, you’re met with silence. Or worse, a weird grinding noise. Your unit’s light is blinking red, or it won’t turn on at all. Frustrating, right?
I’ve been there. Last winter, my Honeywell HPA300 suddenly stopped working during a nasty pollen surge. I panicked—my allergies were acting up, and I didn’t have time to wait for a technician. After some trial, error, and a few deep breaths, I figured out how to fix Honeywell air purifier in 2026 fast—without spending a dime on repairs.
The truth is, most Honeywell air purifier issues aren’t hardware failures. They’re often simple fixes: a clogged filter, a loose power connection, or a sensor glitch. Knowing how to troubleshoot these common problems can save you time, money, and sleepless nights worrying about indoor air quality.
In this guide, I’ll walk you through exactly what I did—step by step—so you can get your purifier back up and running in under 15 minutes. Whether you’ve got an older model or one of the newer smart units, these tips work across the Honeywell lineup.
What You Need
Before we dive in, let’s make sure you’ve got everything handy. Most fixes require minimal tools—or none at all. Here’s your quick checklist:
Visual guide about how to fix honeywell air purifier
Image source: cleantheair.org
- Your Honeywell air purifier (obviously!)
- A clean, dry cloth or microfiber towel
- A vacuum cleaner with a brush attachment (optional but helpful)
- Replacement HEPA filter (if yours is overdue—check the manual for your model)
- A small Phillips-head screwdriver (only if you need to access internal components)
- Access to a power outlet (test it first—sometimes the issue isn’t the purifier!)
Don’t worry if you don’t have a replacement filter yet. We’ll cover how to tell if yours needs replacing—and how to clean it temporarily if you’re in a pinch.
Step-by-Step Guide to How to Fix Honeywell Air Purifier in 2026 Fast
Step 1: Check the Power Source
It sounds obvious, but I can’t tell you how many times I’ve blamed the machine—only to realize the outlet was dead. Start here. Plug your purifier into a different outlet, preferably one you know works (like the one your lamp uses).
Visual guide about how to fix honeywell air purifier
Image source: m.media-amazon.com
If the unit still doesn’t power on, inspect the power cord. Look for fraying, kinks, or damage near the plug. If it looks worn, stop using it—electrical safety first. But if the cord looks fine and the outlet works, move to the next step.
Pro tip: Some newer Honeywell models have a reset button on the back or bottom. Press and hold it for 5–10 seconds to reboot the system. This often resolves temporary glitches.
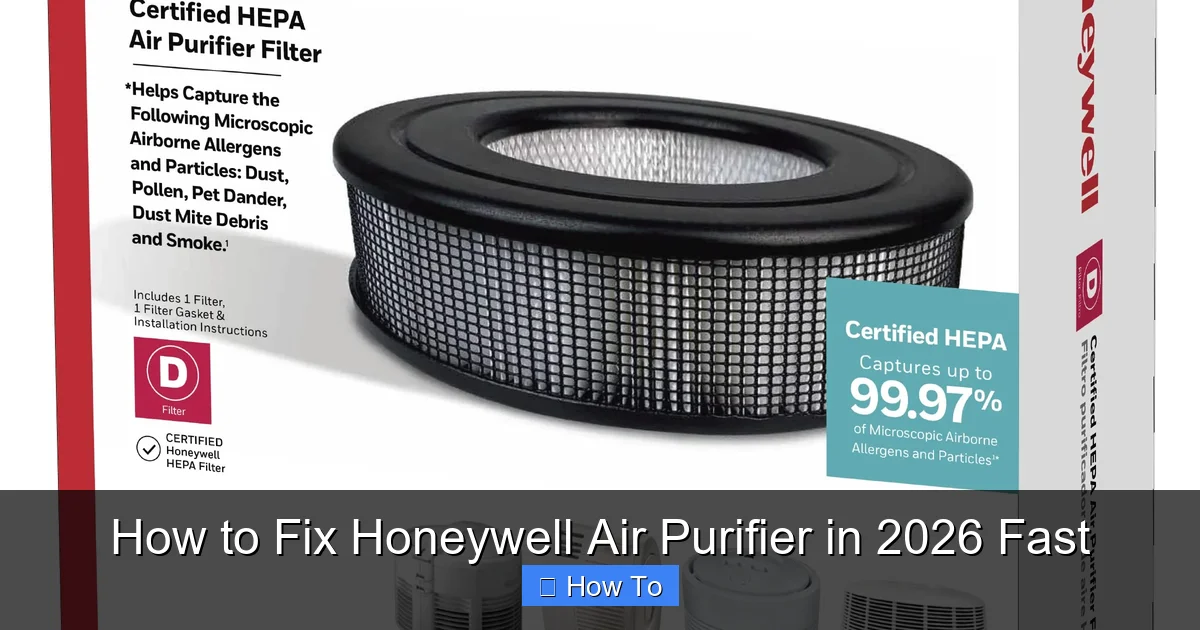
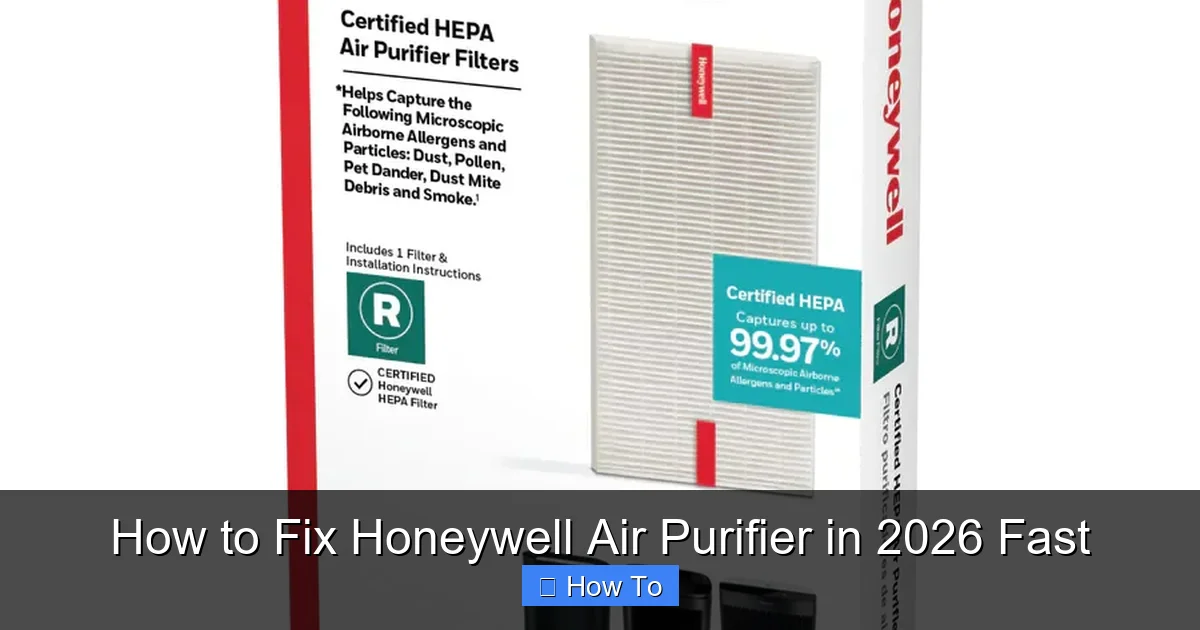
Step 2: Inspect and Clean the Filters
Your Honeywell air purifier relies on clean filters to function properly. A clogged or dirty filter is the #1 reason units underperform—or shut down entirely.
First, unplug the unit and remove the front grille (usually snaps off easily). Pull out the pre-filter and HEPA filter. Hold them up to the light—if you can’t see through them, they’re too dirty.
For the pre-filter (the washable foam layer): Rinse it under cool water, gently squeeze out excess water, and let it air dry completely before reinstalling. Never use soap—it can leave residues that reduce airflow.
For the HEPA filter: Unfortunately, these aren’t washable. If it’s blackened or smells musty, it’s time for a replacement. But if it’s only lightly dusty, you can gently vacuum the surface with a soft brush attachment to extend its life a bit.
Reinstall both filters snugly—don’t force them. Misaligned filters can trigger error lights or prevent the unit from starting.
Step 3: Clear Obstructions from Vents and Fan
Over time, dust, pet hair, and even small debris can build up around the intake and exhaust vents. This blocks airflow and strains the motor.
Use your vacuum’s brush attachment to gently clean around the vents. Then, wipe the exterior with a dry cloth. If you notice dust inside the unit (visible when you remove the grille), carefully vacuum those areas too—but avoid touching the fan blades directly.
If your model has a removable fan cover (check your manual), take it off and inspect the fan. Sometimes a single strand of hair wrapped around the motor shaft can cause it to jam. Use tweezers or a toothpick to carefully remove any debris.
⚠️ Warning: Never run the purifier with the grille off—it’s a safety hazard and can damage the motor.
Step 4: Reset the Filter Life Indicator
Many Honeywell models have a filter change light that stays on even after you’ve replaced the filter. This doesn’t mean the unit is broken—it just needs a manual reset.
Here’s how to do it (varies slightly by model):
- For HPA100/HPA200/HPA300 series: Press and hold the “Filter Reset” button (usually near the control panel) for 3–5 seconds until the light turns green or goes off.
- For True HEPA models with digital displays: Navigate to the settings menu using the touch buttons and select “Reset Filter Timer.”
- For smart models (like the Honeywell Insight): Use the app to reset the filter status under “Device Settings.”
If there’s no dedicated button, try unplugging the unit for 60 seconds, then plugging it back in. This often resets the internal timer.
Step 5: Test the Fan Speeds and Modes
After cleaning and resetting, plug the unit back in and turn it on. Start on the lowest speed setting. Listen for smooth operation—no rattling, grinding, or intermittent spinning.
Gradually increase the speed. If the fan stutters or stops at higher speeds, it could indicate a motor issue—but don’t panic yet. Sometimes, dust buildup inside the motor housing causes temporary resistance. A thorough cleaning (Step 3) often resolves this.
Also test any special modes (like “Auto” or “Sleep”). If they don’t respond, the control panel might need a reset. Try holding the power button for 10 seconds to force a full reboot.
Step 6: Check for Error Codes (Smart Models Only)
If you own a newer Honeywell air purifier with Wi-Fi or a digital display (like the Honeywell Insight or HPA5350), it may show error codes when something’s wrong.
Common codes include:
- E1 or F1: Filter needs replacement or isn’t seated properly.
- E2: Sensor malfunction (often due to dust on the air quality sensor).
- E3: Motor issue or overheating.
For sensor errors, locate the air quality sensor (usually a small window on the front or side). Clean it gently with a cotton swab dipped in rubbing alcohol. Let it dry completely before testing again.
If you see E3 and the unit feels hot, let it cool for 30 minutes before restarting. Continuous high-speed use can overheat the motor—give it a break.
Pro Tips & Common Mistakes to Avoid
💡 Pro Tip: Set a calendar reminder every 3 months to check your filters—even if the light hasn’t come on. Honeywell recommends replacing HEPA filters every 12 months, but high-pollen seasons or pet owners may need to swap them sooner.
One mistake I made early on? Using compressed air to clean the HEPA filter. Big no-no. The force can tear the delicate fibers, ruining the filter instantly. Stick to vacuuming or replacing.
Visual guide about how to fix honeywell air purifier
Image source: mobileimages.lowes.com
Another common error: ignoring the pre-filter. It’s easy to focus only on the HEPA filter, but a clogged pre-filter restricts airflow just as much. Clean it monthly—it takes 2 minutes and makes a huge difference.
Also, avoid placing your purifier near curtains, furniture, or walls. It needs at least 6–12 inches of clearance on all sides for proper airflow. Blocked vents = reduced efficiency and potential overheating.
Finally, don’t assume a blinking red light always means “replace filter.” Sometimes it’s a loose connection or a software glitch. Always try the reset steps before buying a new filter.
FAQs About How to Fix Honeywell Air Purifier in 2026 Fast
Q: My Honeywell air purifier won’t turn on at all. What should I do?
A: Start with the basics: check the outlet, inspect the power cord, and try a different plug. If it still doesn’t respond, look for a reset button or unplug it for a full minute. If none of that works, the internal fuse or power board might be faulty—consider contacting Honeywell support.
Q: Can I wash the HEPA filter?
A: No. HEPA filters are made of tightly woven glass fibers that break down when wet. Washing them destroys their ability to trap particles. Only the pre-filter is washable.
Q: How often should I clean my Honeywell air purifier?
A: Wipe the exterior weekly with a dry cloth. Clean the pre-filter every 1–2 months (or monthly if you have pets). Deep-clean vents and fans every 3–6 months. Replace the HEPA filter annually—or sooner if you notice reduced airflow or odors.
Q: Why is my air purifier making a loud noise?
A: Usually due to debris in the fan, loose parts, or a dirty filter causing strain. Turn it off, clean the vents and fan (as described in Step 3), and ensure all components are securely snapped in. If the noise persists, the motor bearings may be worn—time for professional help.
Q: My filter change light is still on after replacing the filter. Why?
A: You likely forgot to reset the filter timer! Most models require a manual reset via a button or menu option. Check your user manual for the exact steps—it’s a common oversight.
Q: Can I run my Honeywell air purifier 24/7?
A: Absolutely! These units are designed for continuous use. In fact, running it constantly (on auto mode) maintains better air quality than cycling it on and off. Just remember to maintain it regularly.
Q: Is it safe to use a third-party filter?
A: While cheaper alternatives exist, I recommend sticking with genuine Honeywell filters. Third-party filters may not fit perfectly or meet the same efficiency standards, which can strain your unit and reduce performance.
Final Thoughts
Fixing your Honeywell air purifier doesn’t require a degree in engineering—just a little patience and the right approach. Most issues boil down to maintenance oversights: dirty filters, blocked vents, or forgotten resets. By following these steps, you’ll not only restore your unit’s performance but also extend its lifespan.
Remember, knowing how to fix Honeywell air purifier in 2026 fast isn’t about becoming a repair expert. It’s about taking control of your indoor air quality without waiting for help. Keep this guide bookmarked, set those filter reminders, and breathe easy—your home deserves clean air, and so do you.
If all else fails and your unit is still under warranty, reach out to Honeywell’s customer service. They’re surprisingly helpful and may even send a replacement part for free. But honestly? Nine times out of ten, the fix is simpler than you think.
“`