
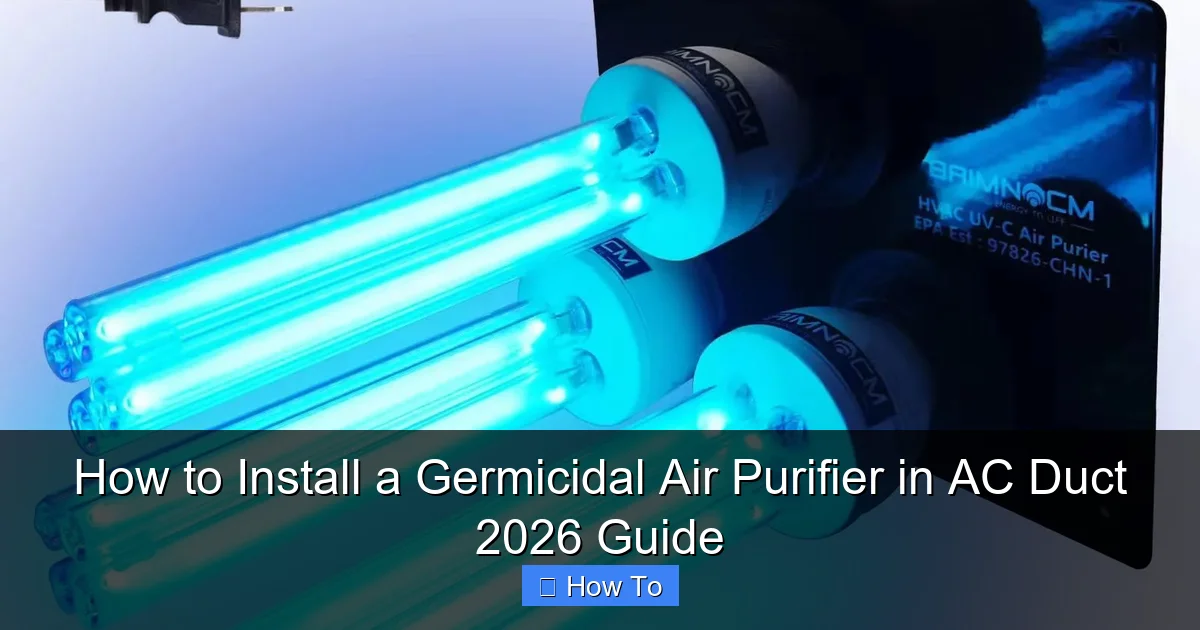
Featured image for how to install a germicidal air purifier in ac duct
Image source: filter-airpurifier.com
Installing a germicidal air purifier in your AC duct is a powerful way to eliminate airborne pathogens and improve indoor air quality with minimal maintenance. Follow precise steps—power off the HVAC system, locate the air handler, cut the duct, mount the UV-C lamp securely, and ensure proper electrical wiring—to guarantee safe, effective operation and long-term germicidal performance. This 2026 guide ensures a seamless, professional-grade installation that keeps your air clean year-round.
“`html
How to Install a Germicidal Air Purifier in AC Duct 2026 Guide
Key Takeaways
- Turn off power: Always disconnect HVAC power before starting installation for safety.
- Measure duct size: Confirm dimensions to select the right purifier model.
- Follow manufacturer instructions: Adhere strictly to wiring and mounting guidelines.
- Seal connections tightly: Prevent air leaks by securing all joints and seams.
- Test UV-C output: Use a meter to verify germicidal effectiveness post-install.
- Schedule maintenance: Clean bulbs and replace filters every 6–12 months.
- Consult a pro: Hire HVAC expert if unsure about electrical or ductwork steps.
Why This Matters / Understanding the Problem
Ever walked into your home after a long day and taken a deep breath—only to feel like you’re inhaling dust, pet dander, or even that musty basement smell? You’re not alone. Indoor air can be worse than outdoor air, especially with modern homes built so airtight. And if you’ve got allergies, asthma, or just care about clean air, you’ve probably considered a germicidal air purifier. But here’s the catch: most people don’t realize that the most effective way to purify your entire home’s air is by installing a germicidal air purifier directly into your AC duct system.
This isn’t just about fresher air—it’s about healthier living. A germicidal air purifier uses UV-C light to neutralize mold, bacteria, viruses, and volatile organic compounds (VOCs) as they pass through your HVAC system. Think of it like giving your home’s lungs a daily deep clean. And the best part? You don’t need to be an HVAC expert to install one. With the right tools and a little patience, this is a DIY job most homeowners can handle.
The How to Install a Germicidal Air Purifier in AC Duct 2026 Guide is your roadmap to cleaner air—without breaking the bank or calling in a pro. Whether you’re battling seasonal allergies, have a baby on the way, or just want peace of mind, this guide walks you through every step, from picking the right unit to testing it post-install.
Quick insight: I installed my first germicidal air purifier after my toddler started getting frequent colds. Within a month, the difference was noticeable—less coughing, fewer sick days. That’s when I realized: clean air starts at the source, not in the room.
What You Need
Before we dive in, let’s gather everything you’ll need. The good news? Most of these tools are already in your garage. And if not, they’re easy to borrow or buy. Here’s your checklist for the How to Install a Germicidal Air Purifier in AC Duct 2026 Guide:
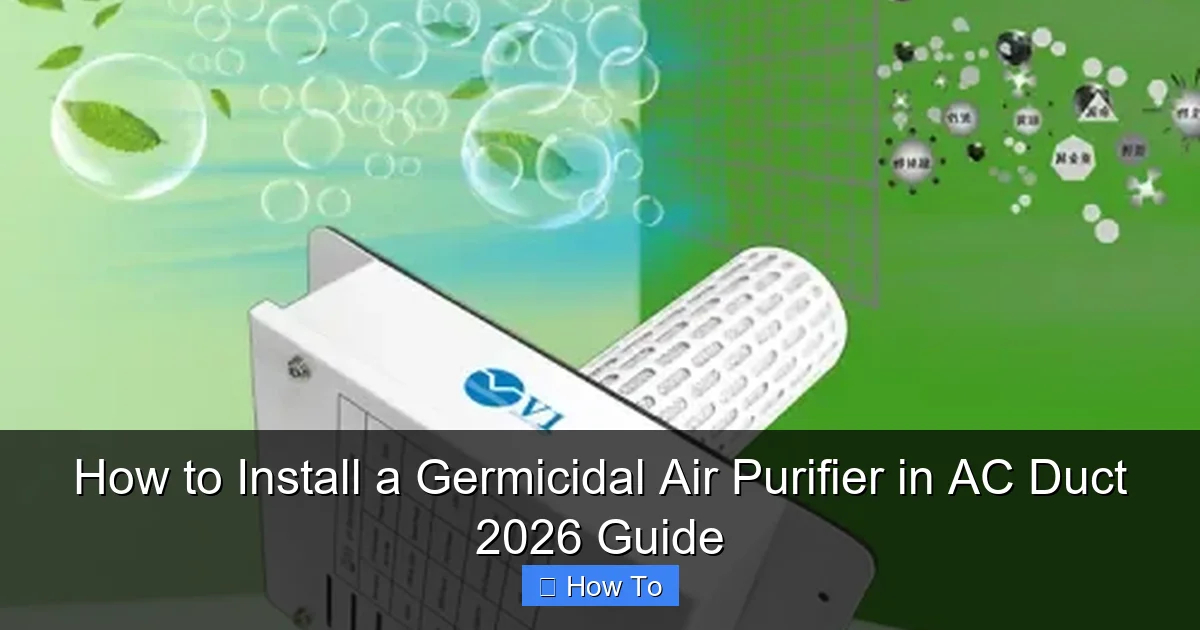
Visual guide about how to install a germicidal air purifier in ac duct
Image source: m.media-amazon.com
- Germicidal air purifier kit (UV-C lamp + control module, usually 110–240V)
- Measuring tape (to locate the right spot in the duct)
- Drill with hole saw bit (typically 1.5″–2″ diameter)
- Jigsaw or tin snips (for cutting metal duct if needed)
- Stud finder or flashlight (to avoid hitting structural elements)
- HVAC foil tape or mastic sealant (for airtight sealing)
- Screwdriver and wire strippers (for electrical connections)
- Voltage tester (safety first!)
- Work gloves and safety goggles (UV-C light is invisible but harmful)
- Optional: Duct insulation wrap (to reduce condensation near UV lamp)
Pro tip: Not all germicidal purifiers are the same. Look for models with dual-lamp designs (one for coil sterilization, one for air disinfection) and automatic shutoff if the lamp fails. Brands like RGF, Fresh-Aire, and Honeywell offer reliable options, but always check your HVAC compatibility first.
Watch out: Never buy a UV-C lamp without a lamp life indicator. Most last 9,000–12,000 hours (about 1–1.5 years). Without a reminder, you might forget to replace it—and it stops working silently.
Step-by-Step Guide to How to Install a Germicidal Air Purifier in AC Duct 2026 Guide
Step 1: Turn Off Power and Locate Your HVAC Air Handler
The first rule of HVAC work: turn off the power. Go to your electrical panel and switch off the breaker for your HVAC system. Then, use a voltage tester at the air handler (usually in the attic, basement, or utility closet) to confirm no live wires.
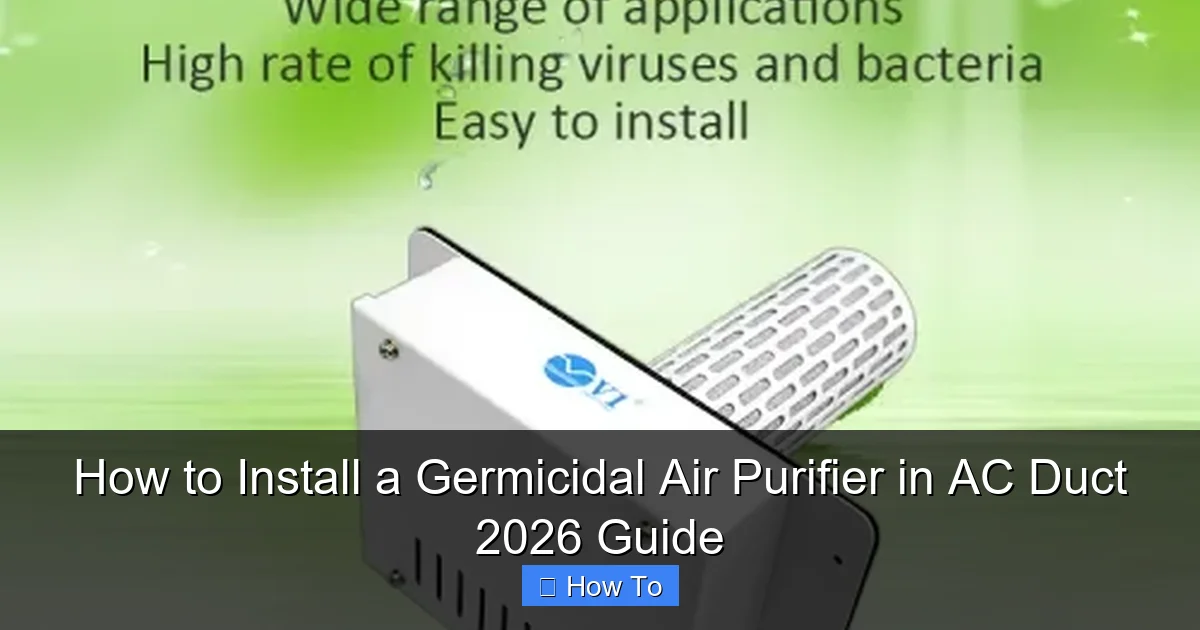
Visual guide about how to install a germicidal air purifier in ac duct
Image source: bsg-i.nbxc.com
Now, open the air handler cabinet. You’re looking for the evaporator coil—the part where air passes through and cools down. This is the ideal spot for your germicidal air purifier because it’s where moisture and mold love to grow. The UV-C lamp will sterilize the coil and disinfect the air as it moves through.
Measure the space around the coil. You need at least 12 inches of straight duct (or air handler wall) for the UV lamp to fit without bending. If your system is tight, some purifiers come with flexible mounting brackets—just make sure airflow isn’t obstructed.
Personal note: I once tried installing a purifier too close to a bend in the duct. Airflow dropped, and the lamp overheated. Lesson learned: straight sections only!
Step 2: Mark and Cut the Mounting Hole
Most germicidal air purifiers come with a template. Tape it to the duct or air handler wall where you plan to install. Use a marker to trace the hole for the UV lamp and the mounting screws.
Drill a pilot hole first, then use a hole saw to cut the main opening. If you’re working with sheet metal, go slow—metal shavings can damage the coil or blow into your home. Wear gloves and goggles, and vacuum up debris afterward.
For larger purifiers (like dual-lamp models), you may need to cut a rectangular access panel with a jigsaw. Seal all edges with HVAC foil tape or mastic to prevent air leaks. Even a small gap reduces efficiency and lets unfiltered air bypass the UV light.
Common mistake: Cutting the hole too big. The lamp needs a snug fit to stay secure. If it wobbles, vibration can crack the quartz sleeve—and that’s a costly fix.
Step 3: Mount the Germicidal Air Purifier
Now, attach the UV lamp housing to the duct using the included screws or brackets. Most models have a gasket or rubber seal—make sure it’s flush against the metal to block light leaks. UV-C is invisible but extremely harmful to eyes and skin, so no gaps allowed.
Insert the UV lamp into the housing. Some lamps twist in; others slide and lock. Double-check the manual. You’ll hear a click or feel a firm seat. Never touch the quartz sleeve with bare hands—oils from your skin can cause hot spots and shorten lamp life. Use a clean cloth or gloves.
For dual-lamp units, install the second lamp downstream (further along the duct) to maximize air exposure time. The goal is to bathe the air in UV-C for at least 0.25 seconds—long enough to disrupt pathogens’ DNA.
Step 4: Wire the Control Module
This is where many DIYers get nervous—but don’t worry. Most germicidal air purifiers run on standard household voltage (120V). The control module (a small box) usually mounts nearby, either on the air handler or a nearby wall.
Route the lamp’s power cable to the module, securing it with zip ties or conduit. Connect the wires: black to black (hot), white to white (neutral), green or bare to ground. Use wire nuts and electrical tape for a secure connection.
Plug the module into a nearby outlet—or wire it directly to the HVAC circuit if you’re comfortable with basic electrical work. Some systems have a 24V transformer you can tap into for a cleaner install. Either way, use the voltage tester again to confirm no live wires before touching anything.
Pro tip: Label the breaker “UV Purifier” so you (or future you) know what it controls. I once spent 20 minutes troubleshooting a dead lamp—only to realize I’d flipped the wrong breaker.
Step 5: Seal and Insulate (Optional but Recommended)
Even the smallest air leak reduces your purifier’s effectiveness. Apply HVAC mastic or foil tape around all seams, screws, and wire entry points. Press it down firmly—no air should escape.
If your ducts run through an unconditioned space (like an attic), wrap the area near the UV lamp with insulation. UV-C works best at 70–100°F. If the duct gets too cold, condensation can form on the lamp sleeve, reducing UV output. Insulation keeps temps stable and protects the unit.
Step 6: Test the System
Now the fun part: turning it back on. Restore power to the HVAC system and wait for the control module to boot up. Most have an LED indicator—green means “all systems go,” red means “trouble.”
Run your AC or furnace for 10–15 minutes. Feel the airflow at vents—it should be strong and consistent. If you notice reduced airflow, check for kinks or blockages in the duct near the purifier.
For extra peace of mind, use a UV-C dosimeter card (available online) to verify the lamp is emitting enough light. Place it near the coil for 30 minutes. If the color changes, you’re good. If not, the lamp might be faulty or misaligned.
Step 7: Set Up Maintenance Reminders
Here’s the thing about germicidal air purifiers: they’re silent workers. You won’t see or smell them working. That’s why maintenance is key. Set a calendar reminder to:
- Replace the UV lamp every 12–18 months (or as specified by the manufacturer)
- Clean the quartz sleeve with isopropyl alcohol if it looks cloudy
- Check wiring and seals annually
Some smart models (like the RGF REME-Halo) have Wi-Fi alerts. Others use simple countdown timers. Pick one that fits your lifestyle. In my house, I set a phone reminder every January—right after the holidays, when dust and germs peak.
Pro Tips & Common Mistakes to Avoid
After installing three germicidal air purifiers (and fixing one botched job), here’s what I wish I knew from the start:
Visual guide about how to install a germicidal air purifier in ac duct
Image source: bsg-i.nbxc.com
- Don’t install near filters. UV light degrades pleated filters over time. Keep the purifier at least 6 inches downstream.
- Check your refrigerant lines. If they’re too close, UV can damage insulation. Reposition them if needed.
- Use a surge protector. HVAC systems can have power spikes. A $20 protector saves a $150 lamp.
- Label the lamp. Write the install date and wattage on the housing with a permanent marker. No more guessing.
- Test in winter and summer. Airflow changes with temperature. Make sure the purifier works in both seasons.
Real talk: I once skipped the insulation step in my attic. Two weeks later, the lamp failed. The HVAC tech said condensation had shorted the sleeve. A $3 roll of insulation would’ve saved me $120.
Another mistake? Overestimating your HVAC knowledge. If you’re unsure about wiring, call an electrician. A miswired UV purifier won’t just fail—it could trip breakers or damage your system.
FAQs About How to Install a Germicidal Air Purifier in AC Duct 2026 Guide
Q: Can I install a germicidal air purifier in a mini-split or window AC unit?
Nope—and here’s why. These units don’t have ductwork, and UV-C needs time to work. Without a long duct run, pathogens zip past too fast to be neutralized. For mini-splits, consider a portable UV air purifier instead.
Q: How long does the installation take?
About 2–3 hours for a first-timer. If you’re comfortable with basic tools and wiring, you can cut it to 1.5 hours. Rushing leads to mistakes—take your time.
Q: Will a germicidal air purifier make my home smell better?
It depends. UV-C kills odor-causing microbes (like mold and bacteria), but it won’t remove strong smells from cooking, pets, or chemicals. Pair it with a carbon filter for best results.
Q: Is UV-C safe for pets and kids?
Absolutely—as long as the lamp is properly enclosed. The UV-C is trapped inside the duct. Just avoid staring at the lamp housing (even if it glows slightly). If a seal breaks, turn it off immediately.
Q: How do I know if my purifier is working?
Look for the LED indicator on the control module. For deeper checks, use a UV dosimeter card or a spectral radiometer (if you’re techy). Also, notice if allergy symptoms improve or HVAC coils stay cleaner.
Q: Can I install it myself, or should I hire a pro?
If you’ve done basic home repairs (like replacing outlets or light fixtures), you can DIY. But if your HVAC is complex (e.g., variable-speed blowers, multi-zone systems), hire a pro. A bad install can void your warranty.
Q: What’s the average cost?
Kits range from $150–$400. Labor (if hiring) adds $100–$300. But compare that to a hospital bill—or even a week of allergy meds. It’s an investment in health.
Final Thoughts
Installing a germicidal air purifier in your AC duct isn’t just a home upgrade—it’s a health upgrade. The How to Install a Germicidal Air Purifier in AC Duct 2026 Guide gives you everything you need to do it right: the right tools, clear steps, and real-world tips.
Start with a compatible unit. Turn off the power. Take your time cutting, mounting, and wiring. Seal every gap. And don’t forget maintenance. A little effort now means cleaner air for years.
Remember: you’re not just fighting dust. You’re fighting invisible threats—mold spores, flu viruses, even VOCs from furniture. And every time your HVAC kicks on, your purifier is on guard.
So grab your toolkit, set a reminder, and breathe easy. Your home’s air will thank you.
Last word: I installed my first purifier in 2020. Today, my toddler’s colds are shorter, and my husband’s allergies are manageable. That’s the power of clean air. And now, it’s your turn.
“`