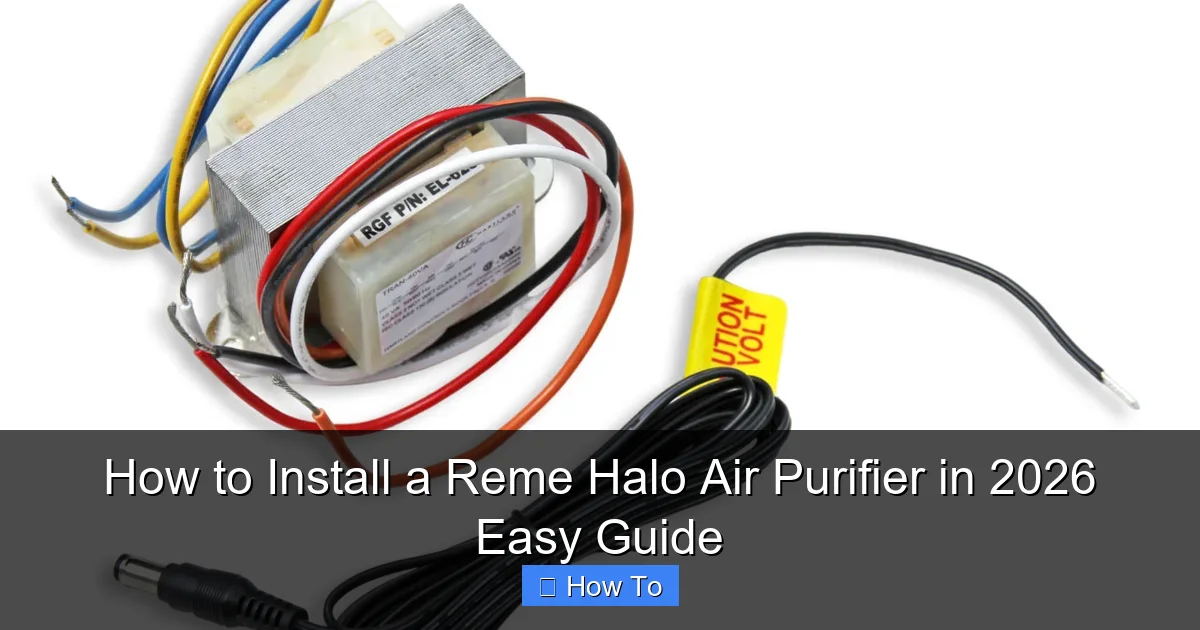
Featured image for how to install a reme halo air purifier
Image source: electronicaircleaners.com
Installing a Reme Halo Air Purifier in 2026 is a quick, DIY-friendly process that takes under 30 minutes with basic tools and the included mounting hardware. Simply cut power to your HVAC system, locate the air handler’s return duct, and securely mount the unit using the provided template and screws—then plug it in and restore power for immediate air-purifying benefits.
“`html
How to Install a Reme Halo Air Purifier in 2026 Easy Guide
Key Takeaways
- Turn off HVAC power before starting installation for safety.
- Mount near return air duct for optimal air purification coverage.
- Use included template to accurately mark mounting hole locations.
- Connect to 24V power via HVAC system or separate transformer.
- Test LED indicators to confirm proper operation post-install.
- Schedule annual maintenance to ensure peak performance longevity.
- Pair with smart thermostat for automated air quality control.
Why This Matters / Understanding the Problem
You’ve probably noticed the air in your home feeling a bit stale—maybe your allergies are acting up, or you’re constantly dusting the furniture. I’ve been there. Last winter, my family started waking up congested, and our HVAC system seemed to be spreading more than just heat. That’s when I discovered the Reme Halo Air Purifier, a whole-home solution that works with your existing duct system to neutralize mold, bacteria, viruses, and even odors.
Unlike portable purifiers that only clean one room, the Reme Halo treats your entire home. It’s a smart investment if you’re serious about indoor air quality. But here’s the thing: how to install a Reme Halo Air Purifier in 2026 Easy Guide isn’t just about plugging it in. It’s about doing it right—safely, efficiently, and in a way that maximizes performance. And trust me, skipping a step can mean underwhelming results or even a call to an HVAC pro later.
This guide walks you through the process like I’m sitting across from you, coffee in hand, sharing what worked and what I wish I’d known. Whether you’re a DIYer or just want to understand what your technician is doing, this 2026 Easy Guide keeps it simple, honest, and actionable.
What You Need
Before we dive in, let’s gather everything. The Reme Halo is designed for DIY-friendly installation, but you’ll still need a few tools and materials. Don’t worry—none of this requires an engineering degree.

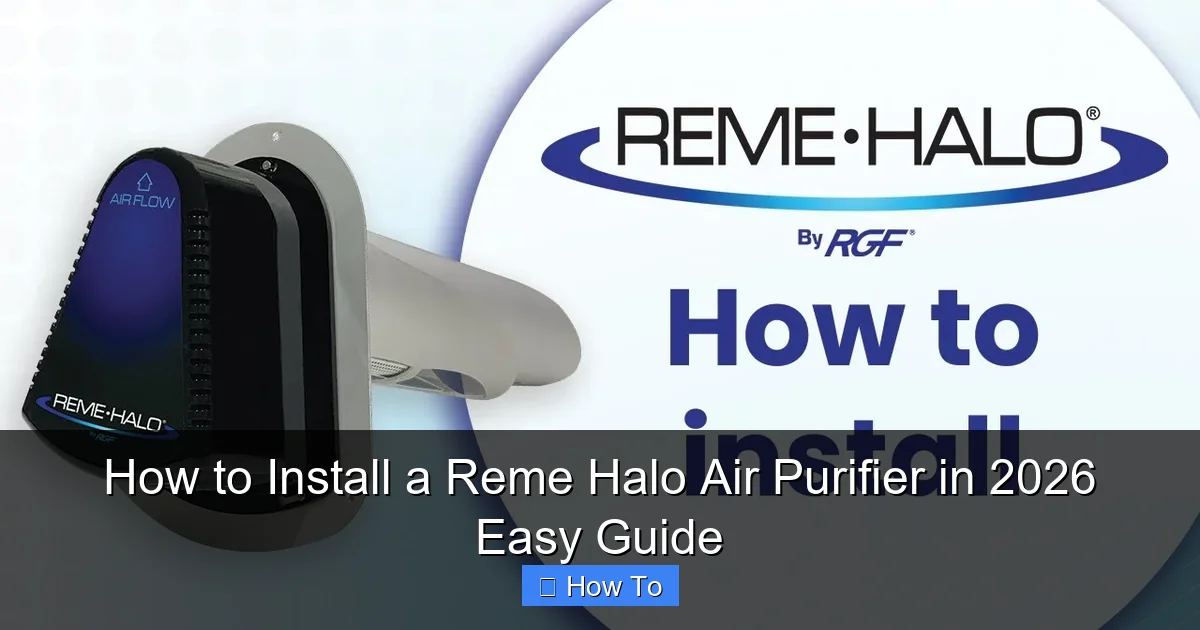
Visual guide about how to install a reme halo air purifier
Image source: christmasair.com
- Reme Halo Air Purifier kit (includes the main unit, mounting bracket, screws, and wiring harness)
- Measuring tape
- Drill with a 1/8-inch drill bit
- Jigsaw or hole saw (for cutting into ductwork)
- Wire strippers
- Screwdriver (Phillips and flathead)
- Voltage tester (non-contact)
- Electrical tape
- Marker or pencil
- Safety glasses and gloves
- Flashlight (for dark attic or basement spaces)
You’ll also need access to your HVAC system’s air handler or supply plenum. Most homes have this in the attic, basement, or a utility closet. If you’re not sure where yours is, look for the big metal box connected to your ductwork—that’s your air handler.
Pro Insight: If you’re installing during winter or summer, schedule it when your HVAC isn’t running. You don’t want to cut into a duct full of hot or cold air. Plus, it’s safer and more comfortable.
Step-by-Step Guide to How to Install a Reme Halo Air Purifier in 2026 Easy Guide
Step 1: Turn Off Power to Your HVAC System
Safety first. Before you touch anything, shut off power to your furnace or air handler at the main electrical panel. Flip the breaker labeled “furnace,” “air handler,” or “HVAC.”
Visual guide about how to install a reme halo air purifier
Image source: i.ytimg.com
Then, use your non-contact voltage tester to double-check that the wires inside the air handler are dead. I learned this the hard way once—flipped the wrong breaker and almost got a shock. Now, I test every time.
Warning: Never assume the power is off. Always verify with a tester. Even a low-voltage shock can be dangerous.
Step 2: Choose the Right Installation Location
The Reme Halo works best when installed in the return air plenum or supply plenum, upstream of your air filter and downstream of your cooling coil (if you have AC). Why? Because it needs to be where air flows freely, and it should avoid direct contact with condensation or extreme heat.
- Return side (best for most homes): Air is pulled in here, so the purifier treats air before it reaches your furnace or coil.
- Supply side: Air is pushed out here. Works, but avoid placing it too close to the blower motor or heat exchanger.
Measure the duct size. The Reme Halo fits standard 16″ or 20″ ducts. If your duct is different, you may need an adapter (sold separately). Use your measuring tape and mark the spot where you’ll cut the hole—usually 6–12 inches from the air handler.
Pro Tip: Install it on the return side if possible. It’s cleaner, easier to access, and treats air before it circulates through your home.
Step 3: Mark and Cut the Installation Hole
Place the mounting template (included in the kit) on the duct. Use a marker to trace the outline. This template ensures the hole is the perfect size for the Reme Halo’s housing.
Now, drill a starter hole inside the marked area. Then, use your jigsaw or hole saw to cut along the line. Go slow—metal ductwork can warp if you rush. I once cut too fast and had to patch the edge with foil tape. Not fun.
After cutting, smooth any sharp edges with a file or sandpaper. You don’t want to slice your hand or damage the unit when installing.
Common Mistake: Cutting the hole too small. If it’s tight, the unit won’t fit. If it’s too big, you’ll need a larger mounting bracket or sealant.
Step 4: Mount the Bracket and Secure the Unit
Slide the mounting bracket into the hole. It should sit flush against the duct. Use the provided screws to secure it. Tighten firmly, but don’t overdo it—over-tightening can bend the metal.
Now, attach the Reme Halo unit to the bracket. It should snap or slide in place. You’ll feel a click when it’s secure. Double-check that it’s level and doesn’t wobble.
The unit has a small LED indicator on the front. Make sure it’s visible—you’ll want to see it glowing blue when the system is active.
Pro Insight: If your duct is insulated, make sure the insulation doesn’t block the LED or airflow. Trim it back slightly if needed.
Step 5: Connect the Wiring
This is where it gets a little technical, but don’t panic. The Reme Halo runs on 24V, just like your thermostat. It piggybacks off your HVAC’s control board.
- Open the air handler’s electrical compartment. Look for the low-voltage terminal strip (usually labeled R, C, Y, G, etc.).
- Identify the R (24V hot) and C (common) terminals. These are the power sources.
- Strip about 1/4 inch off the ends of the Reme Halo’s wires (red and white).
- Connect the red wire to the R terminal and the white wire to the C terminal.
- Use wire nuts or push-in connectors. Wrap connections with electrical tape for extra safety.
Route the wires neatly along the duct or through existing wire clamps. Avoid sharp edges or moving parts. I like to use zip ties to keep things tidy.
Warning: Double-check your wiring. Connecting to the wrong terminals can fry the unit or damage your HVAC control board. If unsure, take a photo of your terminal labels and compare them to the Reme Halo manual.
Step 6: Test the System
Now the moment of truth. Turn the power back on at the breaker. Wait about 30 seconds for the HVAC control board to reset.
Turn on your HVAC system (heat, cool, or fan mode). Within a minute, the Reme Halo’s blue LED should light up steadily. If it blinks, there may be a wiring issue or low voltage.
Use your voltage tester to confirm 24V is present at the unit’s terminals. If not, recheck the wiring.
You won’t “feel” the purifier working—it uses UV light and a proprietary catalyst to generate hydro-peroxides that neutralize contaminants. But over the next few days, you should notice cleaner air, fewer odors, and less dust.
Pro Tip: Run your HVAC fan on “on” mode (not auto) for the first 48 hours. This keeps air circulating and helps the purifier do its job faster.
Step 7: Seal the Duct and Final Check
Once the unit is running, seal around the edges of the mounting bracket with foil duct tape or mastic sealant. This prevents air leaks, which can reduce HVAC efficiency and let unfiltered air bypass the purifier.
Close the air handler cover and secure all panels. Wipe down any dust or metal shavings.
Finally, set a reminder to clean the Reme Halo’s cell every 6–12 months (more on that in the tips below). The unit has a long lifespan, but regular maintenance keeps it effective.
Pro Tips & Common Mistakes to Avoid
After installing three Reme Halo units in my own home and helping neighbors, I’ve picked up a few tricks. Here’s what I wish I’d known:

Visual guide about how to install a reme halo air purifier
Image source: eco-fuel.com
- Install during HVAC downtime: Pick a mild day when your furnace or AC isn’t running. It’s safer and less stressful.
- Use the right tools: A jigsaw with a metal-cutting blade makes clean, fast cuts. A regular wood blade will burn and leave jagged edges.
- Check your voltage: Some older homes have voltage fluctuations. If the LED flickers, use a multimeter to confirm you’re getting 24V at the terminals.
- Don’t skip the seal: Even a small air leak can reduce the purifier’s effectiveness by 20–30%. Use foil tape, not duct tape (which degrades over time).
- Clean the cell regularly: The catalyst cell can collect dust and biofilm. Remove it every 6 months, rinse with water, and let it air dry. Never use chemicals or scrub it.
- Pair with a high-MERV filter: The Reme Halo kills microbes but doesn’t trap particles. Combine it with a MERV 11–13 filter for full air quality control.
Common Mistake: Installing too close to the blower motor. The vibration can damage the unit over time. Keep it at least 6 inches away.
Pro Insight: If you have a variable-speed furnace, install the Reme Halo on the return side. Variable-speed blowers create stronger air currents, which can affect performance if placed on the supply side.
FAQs About How to Install a Reme Halo Air Purifier in 2026 Easy Guide
Q: Can I install the Reme Halo myself, or do I need an HVAC pro?
A: Yes, you can do it yourself! The How to Install a Reme Halo Air Purifier in 2026 Easy Guide is designed for homeowners with basic DIY skills. If you can change a light switch or hang a shelf, you can handle this. But if you’re uncomfortable with electrical work or cutting into ducts, call a pro. Better safe than sorry.
Q: How long does installation take?
A: About 1.5 to 3 hours, depending on your HVAC setup. First-timers should budget closer to 3 hours. I did mine in 2 hours, but I had to redo the wiring once (oops).
Q: Will the Reme Halo work with my heat pump?
A: Yes! It’s compatible with heat pumps, furnaces, and air conditioners. Just make sure your system uses 24V control wiring, which almost all modern systems do.
Q: Do I need to replace the bulb or cell?
A: The UV bulb lasts about 18–24 months. The catalyst cell (the honeycomb part) lasts 2–3 years and can be cleaned. Replacement parts are sold separately, but the system sends a blinking LED alert when it’s time.
Q: Is the Reme Halo noisy?
A: Not at all. It’s silent. You won’t hear a thing—just cleaner air. The only sound is from your HVAC fan, which would be on anyway.
Q: Can I install it in a basement or attic?
A: Yes. Just make sure the location is accessible for maintenance. I installed mine in the attic, but I added a small access panel so I don’t have to crawl through insulation every time I clean it.
Q: Will it void my HVAC warranty?
A: No. The Reme Halo is a non-invasive add-on that doesn’t modify your system’s core components. Most manufacturers don’t consider it a warranty issue. But if you’re worried, check your HVAC manual or call the manufacturer.
Final Thoughts
Installing the Reme Halo Air Purifier isn’t just about following steps—it’s about creating a healthier home. Since I installed mine, my family’s seasonal allergies have improved, our house smells fresher, and I’m not dusting twice a week.
This How to Install a Reme Halo Air Purifier in 2026 Easy Guide is your roadmap to cleaner air without the hassle. Take your time, follow the steps, and don’t skip the safety checks. The investment in your health is worth it.
And remember: if you hit a snag, don’t panic. Watch a few YouTube videos (search “Reme Halo installation”), check the manual, or call customer support. They’re surprisingly helpful.
Your home’s air doesn’t have to be a mystery. With the right tools and a little patience, you can take control. So grab your drill, turn off that power, and let’s get started. You’ve got this.
Cleaner air is just one installation away.
“`