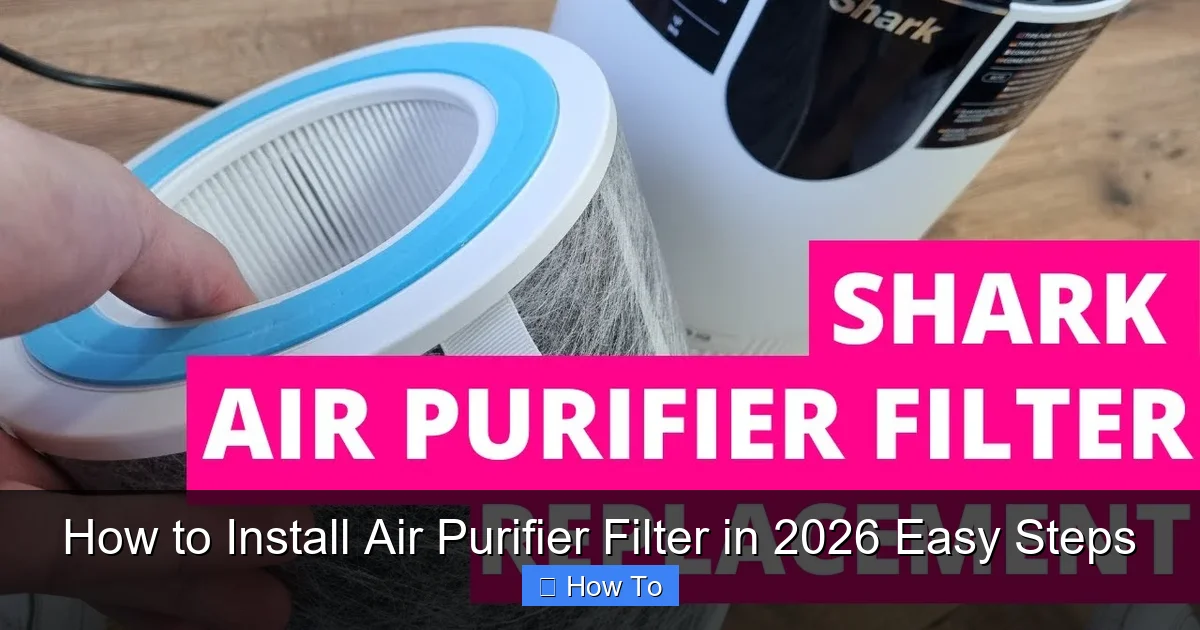
Featured image for how to install air purifier filter
Image source: i.ytimg.com
Installing an air purifier filter in 2026 is faster and easier than ever—just power off the unit, remove the old filter, and slide in the new one with the airflow arrow pointing inward. Always check compatibility with your model and reset the filter indicator light to ensure peak performance. With these simple steps, you’ll breathe cleaner air in under 5 minutes.
“`html
How to Install Air Purifier Filter in 2026 Easy Steps
Key Takeaways
- Turn off the air purifier before starting any filter installation or replacement.
- Identify the correct filter type by checking your model’s manual or label.
- Remove the old filter carefully to avoid spreading dust or contaminants.
- Align the new filter properly with airflow direction arrows facing inward.
- Secure the filter compartment tightly to prevent air leaks and ensure efficiency.
- Reset the filter indicator if your model has one to track usage accurately.
- Run a test cycle to confirm proper installation and airflow.
Why This Matters / Understanding the Problem
You know that dusty smell that creeps in after a few weeks? That’s not just “normal.” It’s your air purifier silently begging for a filter change.
Air purifiers are only as good as their filters. And if you’ve been putting off how to install air purifier filter in 2026 easy steps, you’re not alone. I’ve been there—too busy, too confused by the manual, or just unsure if I’m doing it right. But here’s the truth: a clogged filter doesn’t just reduce performance. It can actually recycle pollutants back into your room.
Think of it like changing a vacuum bag. You wouldn’t run a vacuum for months with a full bag, right? Same idea. In 2026, with rising air quality concerns—wildfire smoke, pollen, and indoor allergens—keeping your purifier in top shape isn’t a luxury. It’s essential.
But here’s the good news: replacing your air purifier filter is easier than you think. With the right guide, it takes under 10 minutes. And once you do it once, you’ll realize it’s not a chore—it’s a quick win for cleaner air.
So whether you’re a first-time owner or just need a refresher, this guide walks you through how to install air purifier filter in 2026 easy steps—no tech skills, no guesswork. Just clear, real-world advice from someone who’s done it (and messed up) more times than I’d like to admit.
What You Need
Before we dive in, let’s make sure you’re ready. You don’t need a toolkit. Just a few simple things.

Visual guide about how to install air purifier filter
Image source: everythingbaby.org.uk
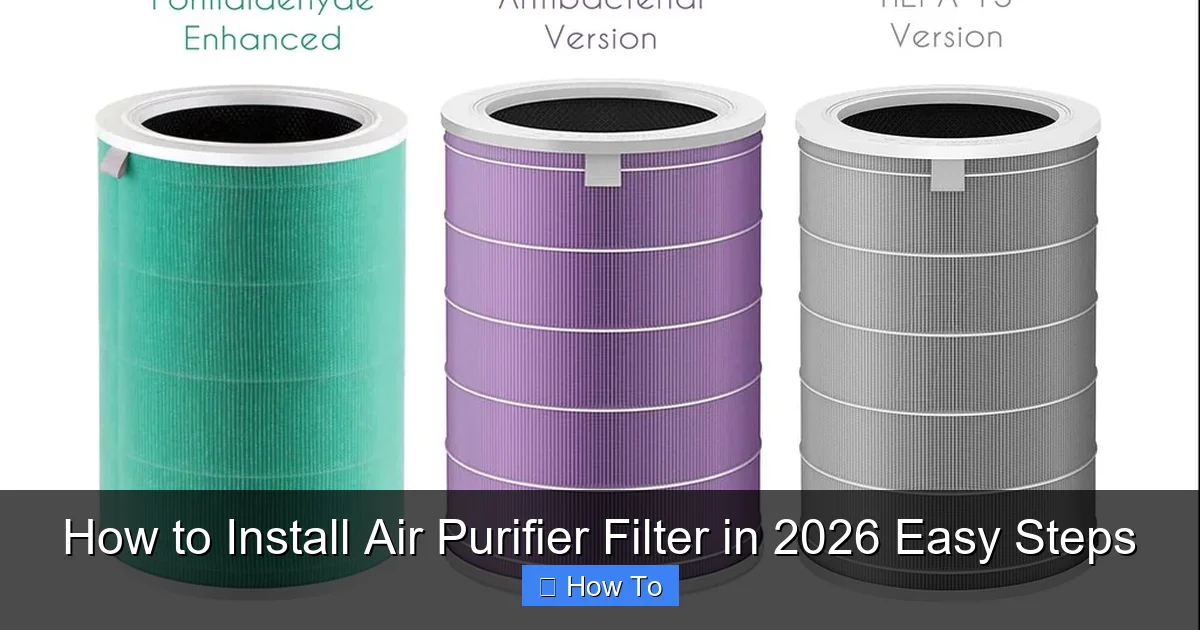
- The right replacement filter – Check your model number (usually on the back or bottom of the purifier). Brands like Honeywell, Levoit, Coway, and Winix have model-specific filters. Don’t guess—get the exact match.
- Clean hands or gloves – Oils from your skin can damage HEPA filters. Washing your hands works fine. Or use disposable gloves if you have them.
- A clean workspace – A table or countertop with good lighting. Avoid doing this on your carpet—dust and debris can fall in and get stuck.
- Your air purifier manual (optional) – Most modern purifiers have intuitive designs, but if you’re unsure, the manual is your backup. You can usually find it online if you’ve misplaced it.
- A soft cloth or microfiber duster – For cleaning the inside of the purifier before installing the new filter.
Pro tip: Set a phone reminder every 3–6 months. Most HEPA filters last 6–12 months, but if you live in a dusty area or have pets, you might need to change it every 3 months. I learned this the hard way when my cat started sneezing more—turned out, the filter was packed with dander.
Step-by-Step Guide to How to Install Air Purifier Filter in 2026 Easy Steps
Alright, let’s do this. I’ll walk you through how to install air purifier filter in 2026 easy steps, based on real-world models and common setups. The process is similar across most brands, but I’ll point out differences where they matter.

Visual guide about how to install air purifier filter
Image source: airpurifierfirst.com
Step 1: Turn Off and Unplug the Purifier
Safety first. Always power down and unplug your air purifier before opening it. Even if it seems harmless, you don’t want to risk a short circuit or accidental power-on while your hands are inside.
Some models have internal fans or sensors that can spin or trigger when you open the door. Unplugging eliminates that risk.
⚠️ Warning: Never skip this step. I once forgot and nearly got my sleeve caught in a spinning intake fan. Not fun.
Step 2: Locate and Open the Filter Access Panel
This is where things get model-specific, but most purifiers use one of three designs:
- Front panel (common on Levoit, Coway): Look for a latch or button on the front. Press or slide it to release the cover.
- Top cover (Honeywell, Blueair): Lift the top section straight up. It usually detaches completely.
- Side or rear hatch (Winix, Dyson): A small door on the side or back. Often secured with a clip or screw.
Take your time. Don’t force anything. If it’s stuck, double-check the manual. Some models have hidden latches or require a gentle twist.
Once open, you’ll see the old filter—usually gray, brown, or black from trapped particles. It’s a visual reminder of why this matters.
Step 3: Remove the Old Filter Carefully
Grab the old filter by its frame (not the mesh or paper). Pull it straight out. If it’s stuck, gently wiggle it side to side.
Here’s a common mistake: people try to “shake off” the filter. Don’t. That just spreads dust into your room. Instead, place the old filter directly into a trash bag or sealed container.
While the compartment is open, take a moment to inspect it. Look for:
- Visible dust buildup
- Hair or debris stuck in the fan or vents
- Water damage or mold (rare, but possible in humid areas)
Use a microfiber cloth or soft duster to wipe down the inside. Avoid water or cleaning sprays—moisture can damage electronics.
💡 Pro tip: Take a photo of the old filter’s orientation before removing it. Some filters have arrows or labels showing airflow direction. This helps when installing the new one.
Step 4: Check the New Filter’s Packaging and Labels
Unbox the new filter carefully. Look for:
- Airflow direction arrow – Most filters have an arrow showing which way air should flow (usually toward the fan or motor).
- Sealed packaging – Never install a filter that’s been opened or exposed. If the plastic is torn, return it.
- Model number match – Double-check it matches your purifier. I once ordered a “universal” filter that didn’t fit—wasted a week.
Remove any plastic wrap or protective covers. Some filters come with a pre-filter (usually a mesh sheet) that needs to be installed separately. Don’t skip this—it protects the main filter.
Bonus: Pre-Filter Installation (If Applicable)
If your purifier has a pre-filter (common in models like Levoit Core 300 or Coway Mighty), install it first. It usually clips into a frame or slides into a track. Make sure it’s snug and flat—no wrinkles or gaps.
Step 5: Install the New Filter with Proper Alignment
Now, place the new filter into the compartment. Here’s how to get it right:
- Align the airflow arrow in the same direction as the old filter (or follow the manual).
- Slide or press it into the frame until it’s flush. You shouldn’t see gaps or bulges.
- For models with a filter tray (e.g., Honeywell), make sure it clicks into place.
Don’t force it. If it doesn’t fit, stop. Check the model number again. Some filters look similar but have slight size differences.
Once in, gently press around the edges to ensure a tight seal. This prevents air from bypassing the filter—a common issue that reduces efficiency.
🔍 Common mistake: Installing the filter backward. I did this once on a Honeywell. The purifier ran, but the airflow was weak. I didn’t realize for weeks. Always check the arrow!
Step 6: Reassemble the Purifier
Now, put the cover back on. Whether it’s a front panel, top lid, or side hatch, make sure it’s fully closed and secure.
- For latches: Press until you hear a “click.”
- For clips: Slide or snap into place.
- For screws: Tighten gently—don’t over-torque.
Double-check that the panel is flush with the unit. A misaligned cover can cause noise or reduce airflow.
Step 7: Reset the Filter Indicator (If Your Model Has One)
Many 2026 air purifiers have a filter replacement light or app notification. After installing the new filter, you need to reset it.
- Manual reset: Hold the “Filter” or “Reset” button for 5–10 seconds until the light turns green or off.
- App reset: Open the brand’s app (e.g., Levoit Smart, Winix Smart), go to settings, and select “Reset Filter Timer.”
No reset? No problem. Just mark the date on your calendar or phone. I use a sticky note on the purifier with the month and year.
Step 8: Power On and Test
Plug the purifier back in and turn it on. Start at a low speed to listen for unusual noises.
Check for:
- Smooth fan operation
- No rattling or grinding
- Airflow from the top or front vents
If it runs smoothly, increase to medium or high. You should feel a steady stream of clean air within a minute.
Pro tip: Run it for 24 hours to “settle in.” Some new filters have a slight off-gassing smell (like fresh paper or plastic). It’s normal and fades quickly.
Pro Tips & Common Mistakes to Avoid
After installing filters in my own home and helping friends, I’ve picked up a few golden rules. These aren’t in the manual, but they make a big difference.
Visual guide about how to install air purifier filter
Image source: cf.shopee.ph
Pro Tip 1: Buy Filters in Bulk (But Not Too Many)
I keep 2–3 spare filters on hand. Buying in bulk saves money (up to 20% off), but don’t stockpile more than 3 years’ worth. Filters degrade over time, even in sealed packaging.
Pro Tip 2: Use a Filter Calendar
Set a recurring reminder on your phone or smart home device. Say, “Remind me to check the air purifier filter every 4 months.” I use Google Calendar with a custom alert. It’s saved me from running a clogged filter twice.
Pro Tip 3: Clean the Pre-Filter Monthly
If your purifier has a washable pre-filter (like Levoit or Winix), rinse it under cool water every month. Let it air dry completely before reinstalling. This extends the life of your main HEPA filter by 20–30%.
Common Mistake 1: Ignoring the Filter’s “Use By” Date
Yes, filters have expiration dates. Check the packaging. A filter past its prime won’t capture particles as effectively—even if it looks clean.
Common Mistake 2: Using Third-Party “Universal” Filters
They’re cheaper, but often don’t fit perfectly or have lower filtration ratings. I tried a generic filter once. It leaked air around the edges and my allergies got worse. Stick to OEM or trusted aftermarket brands (like Airx or Filtrete).
Common Mistake 3: Skipping the Reset
Not resetting the timer means the light will keep flashing—even with a fresh filter. It’s annoying and can lead to unnecessary replacements. Always reset.
Common Mistake 4: Forgetting to Check the Fan and Vents
While the cover is off, give the fan and intake vents a quick wipe. Dust buildup here reduces airflow and strains the motor. A clean fan = longer purifier life.
FAQs About How to Install Air Purifier Filter in 2026 Easy Steps
Let’s tackle the questions I get all the time—straight answers, no fluff.
1. How often should I replace my air purifier filter?
Most HEPA filters last 6–12 months. But it depends. If you have pets, live in a city, or use the purifier 24/7, change it every 3–6 months. I have a dog and a dusty garage, so I do it every 4 months. Look for signs: reduced airflow, musty smell, or allergy flare-ups.
2. Can I clean and reuse a HEPA filter?
No. HEPA filters trap particles deep in the fibers. Vacuuming or washing won’t restore them—it just damages the mesh. Some pre-filters are washable, but the main HEPA filter is a one-and-done deal.
3. What if I install the filter backward?
Your purifier will still run, but airflow will be weaker. The filter won’t capture particles effectively. Check the arrow on the filter frame—it should point toward the fan or motor. If unsure, take a photo before removing the old one.
4. Are air purifier filters recyclable?
Most aren’t. HEPA filters contain plastic, metal, and paper—hard to separate. But some brands (like Blueair) offer recycling programs. Check their website. Otherwise, wrap the old filter in a bag before trashing to contain dust.
5. Why is there a smell when I first install a new filter?
It’s usually off-gassing from the adhesive or paper. Run the purifier on high for 12–24 hours. The smell should fade. If it persists, the filter might be defective—contact the seller.
6. Can I use a higher-grade filter (like H13 instead of H11)?
Only if your purifier is rated for it. Higher-grade filters are denser and can restrict airflow, straining the motor. Stick to the manufacturer’s recommendation. I tried it once—my purifier overheated. Not worth the risk.
7. My purifier is loud after filter change. What’s wrong?
Check three things: (1) Is the filter fully seated? (2) Is the cover closed properly? (3) Is the filter the right size? A loose or misaligned filter causes vibration. Reinstall it carefully.
Final Thoughts
Installing an air purifier filter doesn’t have to be intimidating. With how to install air purifier filter in 2026 easy steps, you now have a clear, stress-free process—one that takes less time than making coffee.
The key is consistency. Set a reminder, keep spare filters handy, and don’t wait for the light to turn red. A clean filter means cleaner air, better sleep, and fewer allergy symptoms.
And remember: your purifier is only as good as the filter inside. Treat it right, and it’ll protect you for years.
So go ahead—open that panel, pop in the new filter, and hit reset. In under 10 minutes, you’ve just upgraded your home’s air quality. And that’s a win worth celebrating.
Now, breathe easy. You’ve got this.
“`