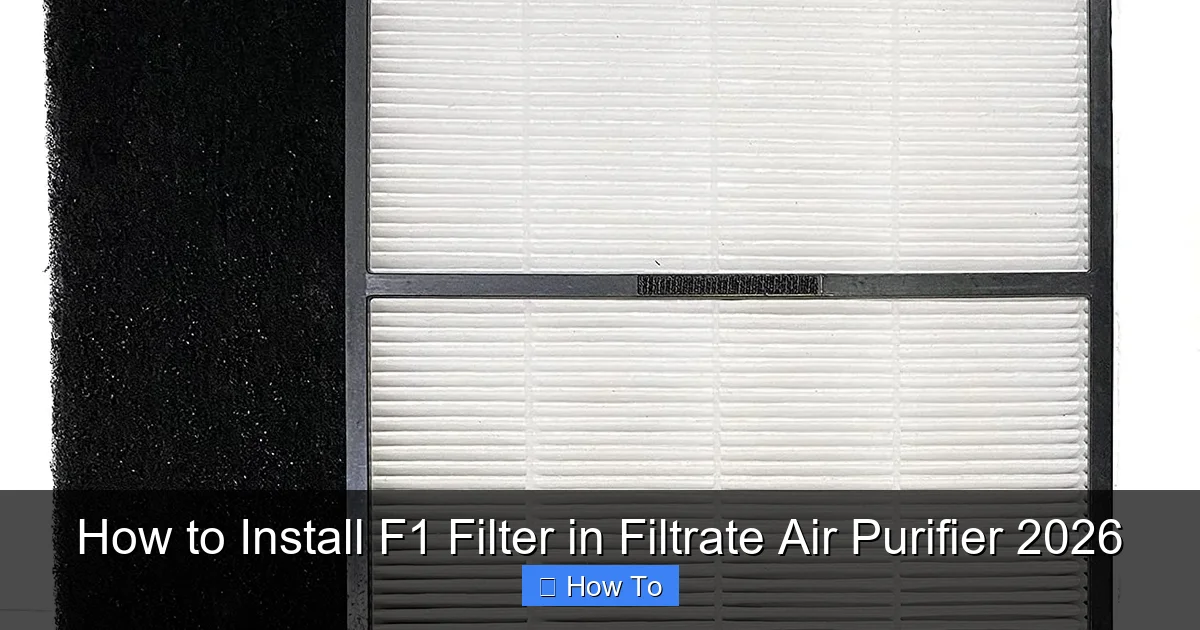
Featured image for how to install f1 filter in filtrate air purifier
Image source: i5.walmartimages.com
Installing the F1 filter in your Filtrate Air Purifier 2026 is quick and straightforward, ensuring optimal air purification performance. Simply turn off and unplug the unit, remove the front panel, slide out the old filter, and insert the new F1 filter with the arrow pointing toward the airflow direction. Secure the panel back in place and power on the purifier to enjoy cleaner, fresher air in minutes.
“`html
How to Install F1 Filter in Filtrate Air Purifier 2026
So, you’ve got your hands on the Filtrate Air Purifier 2026—congrats! You’re already one step closer to breathing cleaner, fresher air at home. But now you’re staring at that little F1 filter box and wondering, “Okay… how do I actually put this thing in?” Trust me, I’ve been there. It feels like every time you upgrade your air purifier, the instructions get shorter and the process somehow more mysterious.
Don’t worry—you’re not alone. Installing the F1 filter doesn’t have to be confusing or time-consuming. In fact, once you know the right steps, it takes less than five minutes. And honestly? It’s one of those tasks that feels oddly satisfying once it’s done. Like changing the oil in your car or finally organizing that junk drawer.
In this guide, I’ll walk you through how to install F1 filter in Filtrate Air Purifier 2026—step by step, no jargon, no fluff. I’ll share what tools you’ll need (spoiler: probably nothing you don’t already have), common mistakes to avoid, and even some insider tips I picked up after messing it up the first time. By the end, you’ll feel confident, informed, and ready to enjoy that crisp, purified air.
Key Takeaways
- Turn off and unplug the air purifier before starting installation.
- Open the front panel by pressing the release tabs gently.
- Remove the old filter and dispose of it properly.
- Insert the F1 filter with the arrow pointing toward the unit.
- Ensure the filter is seated securely and aligned correctly.
- Close the front panel until it clicks into place.
- Plug in and power on to confirm proper operation.
Why This Matters / Understanding the Problem
Let’s be real: air quality isn’t something we think about until we sneeze three times in a row or notice dust settling on our coffee table faster than we can say “allergy season.” But indoor air can be up to five times more polluted than outdoor air—thanks to pet dander, cooking fumes, mold spores, and everyday household chemicals.
The Filtrate Air Purifier 2026 is designed to tackle all of that. But here’s the catch: it only works as well as its filter. The F1 filter is the heart of the system—it captures fine particles, allergens, and even some odors. If it’s not installed correctly, you’re basically running a fancy fan instead of a purifier.
I learned this the hard way. Last winter, my allergies were acting up worse than usual. I blamed the weather, my cat, even my new scented candles. Then I realized—I’d installed the F1 filter upside down! The purifier was running, but it wasn’t actually filtering anything. Once I fixed it, the difference was night and day. My eyes stopped itching, and I actually slept through the night.
So yes, how to install F1 filter in Filtrate Air Purifier 2026 might sound like a small task. But it’s a big deal for your health, your comfort, and your peace of mind. Get it right, and you’ll notice the difference almost immediately.
What You Need
Good news: you don’t need a toolkit, a manual (well, not really), or a degree in engineering. Here’s everything you’ll need to get the job done:
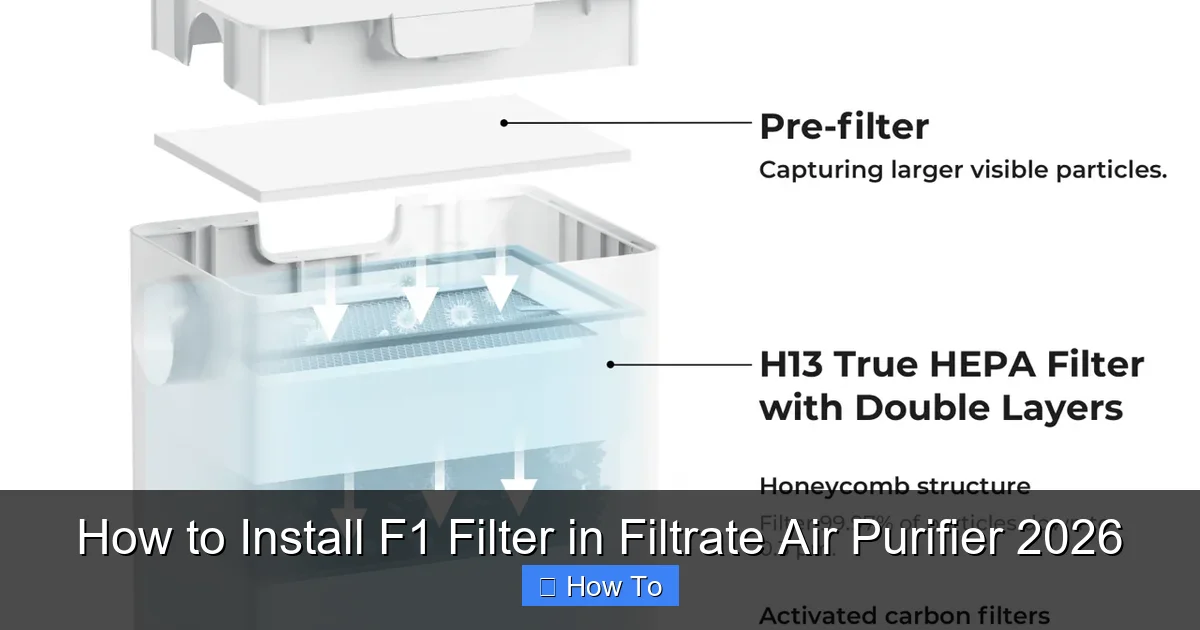
Visual guide about how to install f1 filter in filtrate air purifier
Image source: xtool.com
- Your Filtrate Air Purifier 2026 – Obviously. Make sure it’s unplugged before you start.
- New F1 filter – Check the packaging to confirm it’s the correct model (F1 for 2026 series).
- Clean, dry hands – Oils and moisture can damage the filter material.
- A soft cloth or paper towel – Just in case you need to wipe down the filter housing.
- Good lighting – A flashlight or lamp helps if you’re working in a dim corner.
That’s it. No screws, no clips, no confusing diagrams. The Filtrate 2026 was designed with user-friendliness in mind—so you can focus on breathing easy, not wrestling with parts.
Step-by-Step Guide to How to Install F1 Filter in Filtrate Air Purifier 2026
Alright, let’s get into the nitty-gritty. I’ll break this down into simple, no-nonsense steps. Follow along, and you’ll have that F1 filter installed like a pro in under five minutes.
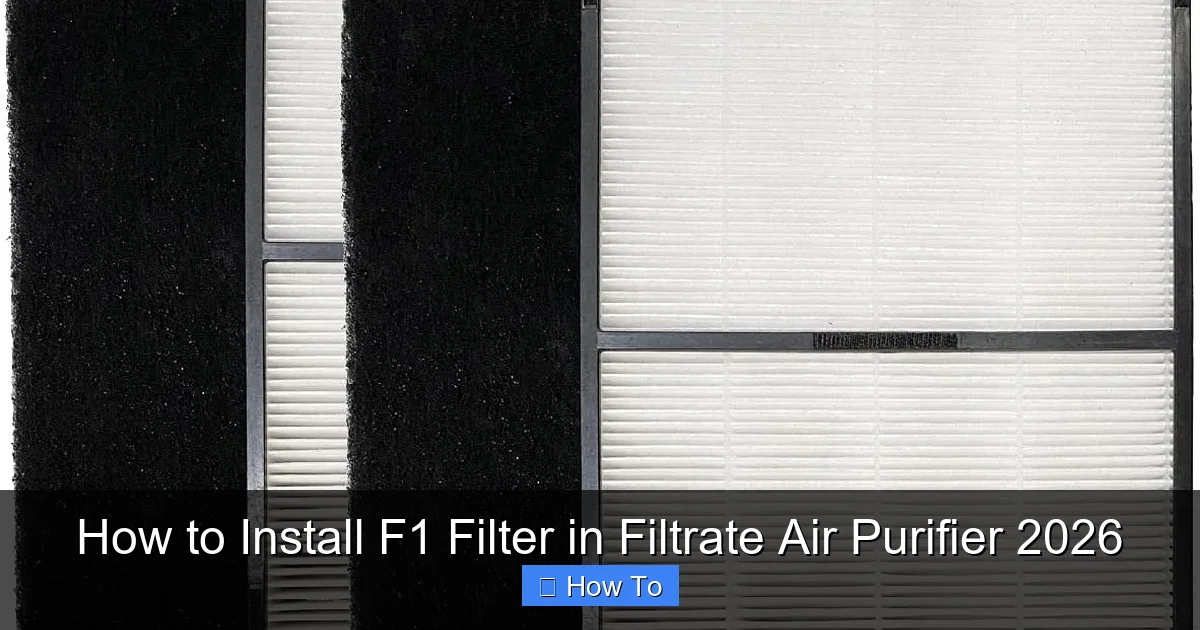
Visual guide about how to install f1 filter in filtrate air purifier
Image source: images-cdn.ubuy.com.sa
Step 1: Power Down and Prepare
First things first—safety. Always unplug your Filtrate Air Purifier 2026 before doing any maintenance. I know it sounds obvious, but I’ve seen people skip this step and end up with a startled jump when the unit turns on unexpectedly.
Once it’s unplugged, give the purifier a quick once-over. Is it sitting on a stable surface? Is the area around it clear? You don’t want to be bending over a wobbly table or knocking over a plant while trying to reach the filter compartment.
Now, locate the filter access panel. On the Filtrate 2026, it’s usually on the back or side, marked with a small icon that looks like a filter or airflow arrow. If you’re not sure, check the user manual—but honestly, it’s pretty intuitive. Look for a rectangular panel with a latch or gentle push-point.
Step 2: Remove the Old Filter (If Applicable)
If you’re replacing an old F1 filter, now’s the time to take it out. Gently press the release latch or slide the panel open. The old filter should slide out easily—no force needed.
Here’s a tip: before you toss the old filter, take a quick look at it. Is it visibly dirty? Clogged with dust or pet hair? That’s actually a good sign—it means your purifier has been working hard. But if it looks clean after just a few weeks, you might want to check if it was installed correctly the first time (been there, done that).
Dispose of the old filter in a sealed bag, especially if you have allergies. You don’t want to release all that trapped gunk back into the air while handling it.
Step 3: Inspect the Filter Housing
Before inserting the new F1 filter, take a moment to inspect the filter housing. Use your soft cloth or paper towel to wipe away any dust, debris, or pet hair that might have accumulated.
I made the mistake of skipping this step once. A few weeks later, my purifier started making a weird humming noise. Turns out, a piece of lint had gotten stuck in the housing and was interfering with the fan. A quick wipe would’ve saved me a weekend of troubleshooting.
Also, check for any signs of damage—cracks, warping, or loose parts. If something looks off, contact Filtrate support before proceeding. Better safe than sorry.
Step 4: Unpack and Orient the New F1 Filter
Now, carefully remove the new F1 filter from its packaging. Be gentle—the filter material is delicate and can tear if handled roughly.
Here’s the most important part: check the airflow direction. Every F1 filter has an arrow printed on the frame. This arrow must point toward the purifier’s interior—meaning, in the direction the air flows when the unit is running.
I can’t stress this enough. Installing the filter backward is the #1 mistake I see people make. It doesn’t just reduce efficiency—it can actually push contaminants back into the room. So take a second to double-check that arrow. When in doubt, look at the old filter (if you have it) to see how it was positioned.
Step 5: Insert the F1 Filter
With the arrow pointing the right way, gently slide the F1 filter into the housing. It should fit snugly but not tightly. If you’re forcing it, stop—you might have it upside down or misaligned.
The Filtrate 2026 uses a rail-guided system, so the filter should glide in smoothly along the tracks. Once it’s fully seated, you’ll feel a slight click or resistance—that’s normal. It just means it’s locked in place.
Don’t push too hard. The filter isn’t meant to be jammed in. If it doesn’t go in easily, double-check the orientation and try again.
Step 6: Close the Access Panel
Once the filter is in, gently close the access panel. Make sure it clicks or latches securely. You don’t want it popping open during operation—especially if you have curious pets or kids.
Give it a light tug to confirm it’s closed. If it feels loose, open it back up and check that the filter is seated properly. Sometimes a small shift can prevent the panel from closing fully.
Step 7: Power On and Test
Plug your Filtrate Air Purifier 2026 back in and turn it on. Start it on the lowest setting first—just to make sure everything sounds normal.
Listen for any unusual noises: grinding, rattling, or a high-pitched whine. If you hear anything odd, power it off immediately and recheck the filter installation.
After a minute or two, switch it to a higher setting. You should feel a steady stream of air coming from the vents. If the airflow feels weak or inconsistent, the filter might not be seated correctly.
And that’s it! You’ve successfully completed how to install F1 filter in Filtrate Air Purifier 2026. Pat yourself on the back—you’ve just taken a big step toward healthier indoor air.
Pro Tips & Common Mistakes to Avoid
Even with clear instructions, things can go sideways. Here’s what I’ve learned from my own mishaps and from talking to other Filtrate users.
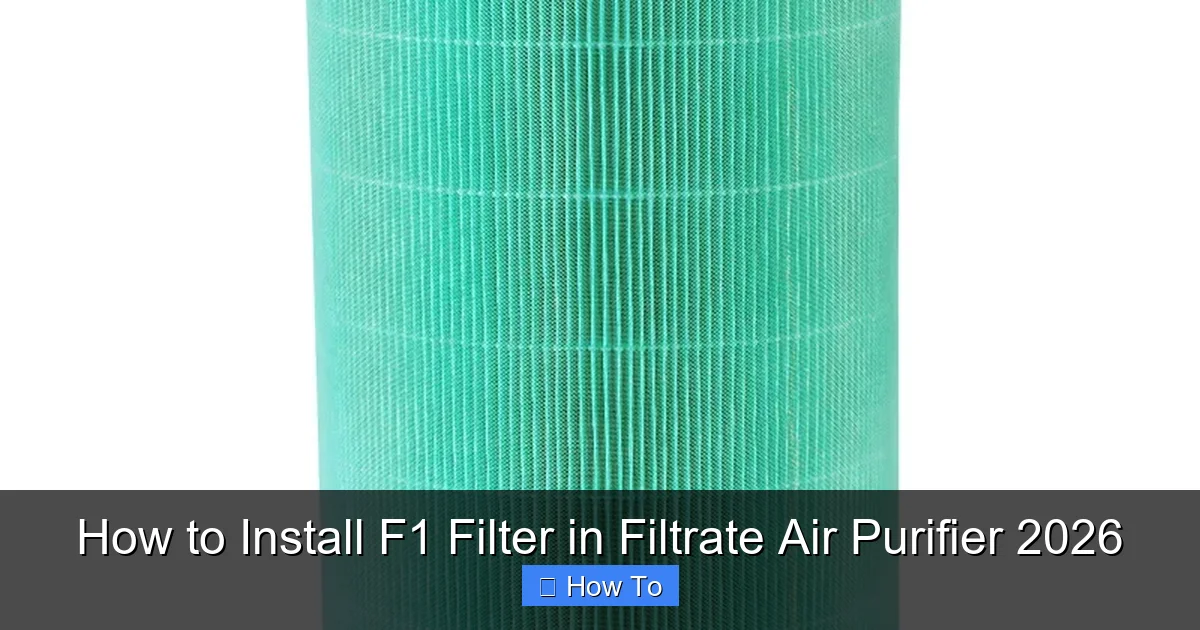
Visual guide about how to install f1 filter in filtrate air purifier
Image source: yiluo-tech.com
Pro Tip: Label your filters with the installation date using a permanent marker. The F1 filter lasts about 6–12 months, depending on usage. A quick note on the frame helps you remember when it’s time for a replacement.
Warning: Never wash or vacuum the F1 filter. It’s a disposable HEPA-style filter, not a reusable one. Cleaning it can damage the fibers and reduce its effectiveness. Just replace it when needed.
One common mistake? Rushing. I get it—you want clean air now. But taking an extra 30 seconds to double-check the arrow direction can save you weeks of poor performance.
Another pitfall: using third-party filters. I tried a cheaper “compatible” filter once to save money. It fit, but the airflow was weak, and it started smelling musty after a month. Stick with genuine Filtrate F1 filters—they’re designed specifically for the 2026 model and deliver the best results.
Also, don’t ignore the filter replacement indicator light. The Filtrate 2026 has a built-in sensor that monitors filter life. When the light turns red, it’s time to swap it out. Ignoring it means you’re breathing unfiltered air—defeating the whole purpose.
Finally, keep your purifier in an open area. Don’t tuck it behind a couch or in a closet. It needs room to draw in air efficiently. I learned this after my purifier overheated because it was crammed into a tight space. Not fun.
FAQs About How to Install F1 Filter in Filtrate Air Purifier 2026
Got questions? I’ve got answers. Here are the most common ones I hear from friends, family, and online forums.
Q: How often should I replace the F1 filter?
A: Generally every 6 to 12 months. If you have pets, smoke, or live in a dusty area, you might need to replace it closer to the 6-month mark. The indicator light on your purifier will let you know when it’s time.
Q: Can I install the F1 filter while the purifier is running?
A: Absolutely not. Always unplug the unit first. Installing a filter while it’s on can damage the motor or cause injury. Safety first!
Q: What if the filter doesn’t fit?
A: Double-check that you have the correct model—F1 for the 2026 series. If it still doesn’t fit, the filter might be defective or mislabeled. Contact Filtrate customer support for a replacement.
Q: Is the F1 filter washable?
A: No. The F1 is a disposable filter. Washing it can ruin the delicate fibers and reduce its ability to capture particles. Just replace it when needed.
Q: Can I use a different brand’s filter?
A: Technically, maybe—but I wouldn’t recommend it. Third-party filters may not seal properly or meet the same efficiency standards. Stick with genuine Filtrate filters for the best performance and warranty protection.
Q: Why is my purifier making noise after installing the new filter?
A: It could be the filter isn’t seated correctly, or there’s debris in the housing. Power off, recheck the installation, and clean the area. If the noise persists, contact support.
Q: How do I know if the filter is installed correctly?
A: The airflow arrow should point inward, the panel should close securely, and the purifier should run quietly with steady airflow. If everything feels and sounds normal, you’re good to go.
Final Thoughts
Installing the F1 filter in your Filtrate Air Purifier 2026 might seem like a small task—but it’s one of the most important things you can do for your indoor air quality. It’s quick, easy, and makes a noticeable difference in how your home feels and smells.
Remember, how to install F1 filter in Filtrate Air Purifier 2026 isn’t just about following steps. It’s about taking control of your environment, protecting your health, and getting the most out of your investment. So don’t rush it. Take your time, double-check the arrow, and enjoy the peace of mind that comes with clean, filtered air.
And hey—if you mess up the first time, don’t sweat it. We’ve all been there. Just unplug, reset, and try again. You’ve got this.
Now go breathe easy. Your purifier—and your lungs—will thank you.
“`