Featured image for how to install iwave air purifier
Image source: fiorepilatesonline.com
Installing the iWave air purifier in 2026 is a quick, hassle-free process that can be completed in minutes without professional help. Simply locate your HVAC system’s air handler, mount the device securely, and connect it to power—no ductwork modifications required. This advanced air purification system integrates seamlessly to deliver cleaner, healthier indoor air with minimal effort.
“`html
How to Install iWave Air Purifier in 2026 Easy Guide
Key Takeaways
- Turn off power before installation for safety.
- Choose a central location for optimal air circulation.
- Follow wiring instructions precisely to avoid damage.
- Secure the unit properly to prevent vibrations or noise.
- Test the system after installation to ensure functionality.
- Schedule regular maintenance to maintain peak performance.
Why This Matters
Let me tell you something—I used to think air purifiers were just fancy fans with filters. Then I moved into an older apartment with musty smells, dust bunnies under the couch, and a cat who shed like it was his full-time job. Within a week, my allergies were acting up, and I was sneezing more than I was breathing.
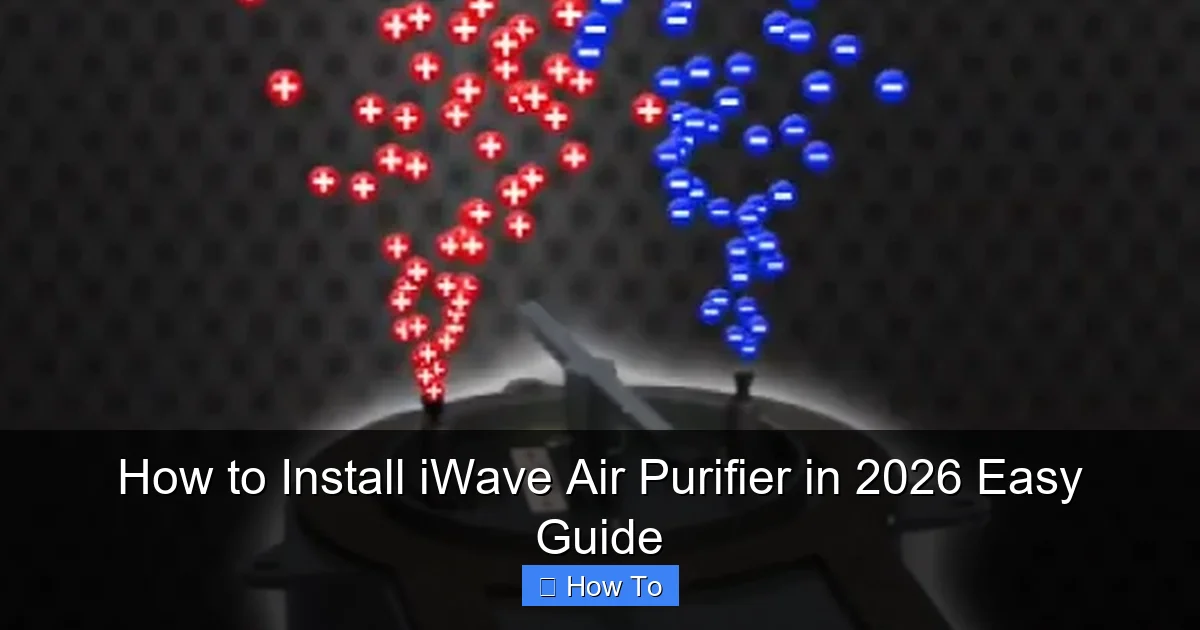
That’s when I discovered the iWave air purifier. Unlike traditional HEPA systems that just trap particles, the iWave uses active air purification—it actually releases ions into your home’s airflow to neutralize allergens, mold, bacteria, and even odors. No filter replacements. No constant maintenance. Just cleaner air circulating through your HVAC system.
But here’s the catch: installing it isn’t as simple as plugging it into a wall outlet. It needs to be integrated directly into your ductwork. And if you’ve never touched your HVAC system before? Yeah, it can feel intimidating. That’s why I put together this how to install iWave air purifier in 2026 easy guide—to walk you through it step by step, just like I wish someone had done for me.
Whether you’re tackling indoor air quality for health reasons, pet dander, or just want to breathe easier at night, getting this installation right makes all the difference. Done correctly, the iWave works silently behind the scenes, improving air quality 24/7 without you even noticing it’s there.
What You Need
Before we dive in, let’s make sure you have everything on hand. The last thing you want is to be halfway through the install and realize you’re missing a key tool.
Visual guide about how to install iwave air purifier
Image source: jewellmechanical.com
- iWave air purifier unit (make sure it’s the right model for your system—residential vs. commercial)
- Wire strippers
- Electrical tape or wire nuts
- Screwdriver (Phillips and flathead)
- Drill with a 3/4-inch hole saw bit
- Measuring tape
- Pencil or marker
- Safety glasses and gloves
- HVAC-compatible mounting screws (usually included)
- Optional: multimeter (to test voltage)
Also, double-check that your HVAC system is turned off at the breaker before you start. Safety first—always.
Step-by-Step Guide to How to Install iWave Air Purifier in 2026 Easy Guide
Step 1: Choose the Right Location in Your Ductwork
The placement of your iWave matters—a lot. You want it installed in a section of ductwork where airflow is strong and consistent, but also accessible for future checks (even though it’s maintenance-free, you’ll still want to peek occasionally).
Visual guide about how to install iwave air purifier
Image source: jewellmechanical.com
Most professionals recommend installing it in the return air duct, usually near the air handler or furnace. Why? Because that’s where air is pulled in from your home, so the iWave can treat the air before it gets recirculated.
Avoid placing it too close to bends, dampers, or filters—these can disrupt airflow and reduce effectiveness. Also, keep it at least 18 inches away from any metal obstructions to prevent interference with the ionizing process.
Pro tip: If you’re unsure about your duct layout, snap a photo of your HVAC setup and compare it to the iWave installation manual. Or better yet, call your HVAC technician for a quick consult—they’ll know exactly where to put it.
Step 2: Turn Off Power and Prepare the Area
This might seem obvious, but I’ve seen people skip this step—and it’s not worth the risk. Head to your electrical panel and flip the breaker that controls your furnace or air handler. Use a non-contact voltage tester if you have one to confirm the power is off.
Next, clear the area around your chosen duct section. Move any boxes, tools, or clutter so you have room to work comfortably. Lay down a drop cloth if needed—ductwork can get dusty, and you don’t want debris falling into your system.
Put on your safety glasses and gloves. Even though you’re not cutting metal, small pieces of insulation or sharp edges can be sneaky.
Step 3: Mark and Drill the Mounting Hole
Now it’s time to make the hole for the iWave’s mounting bracket. Grab your measuring tape and locate the center of your chosen duct section. Use a pencil to mark the spot.
Double-check the iWave manual for the exact hole size—most models require a 3/4-inch hole. Use your drill and hole saw bit to carefully cut through the duct. Go slow to avoid tearing the metal or creating jagged edges.
Once the hole is made, clean up any metal shavings with a vacuum or damp cloth. You don’t want loose debris floating into your HVAC system.
Step 4: Install the Mounting Bracket
The iWave comes with a sturdy mounting bracket that slides into the hole you just drilled. Insert it so the flange sits flush against the outside of the duct.
Secure it with the provided screws. Don’t overtighten—you don’t want to warp the duct or strip the screws. A snug fit is all you need.
If your duct is flexible (like insulated flex duct), you may need to reinforce the area with a piece of rigid metal or wood behind the bracket. Flex duct can sag over time, which could loosen the unit.
Step 5: Connect the Wiring
This is where things get a little technical—but don’t panic. The iWave is designed for DIYers, and the wiring is straightforward.
First, locate the low-voltage wires from your HVAC system. These usually connect to the thermostat and control board. The iWave taps into these wires to power on when your furnace or AC runs.
Strip about 1/2 inch of insulation from the wires (typically red and white). Match them to the corresponding wires on the iWave unit—red to red, white to white. Twist them together and secure with wire nuts. Wrap the connections with electrical tape for extra safety.
If you’re not comfortable working with electrical connections, or if your system uses high voltage, call a licensed electrician or HVAC technician. It’s not worth risking a shock or damaging your system.
Step 6: Mount the iWave Unit
With the wiring done, it’s time to attach the iWave itself. Slide the unit into the mounting bracket until it clicks into place. Most models have a locking mechanism—give it a gentle tug to make sure it’s secure.
Check that the ionizing pins (the small metal probes inside) are pointing into the airflow. They should be parallel to the duct and not obstructed by anything.
If your iWave has an LED indicator, make sure it’s visible so you can monitor its status later.
Step 7: Restore Power and Test the System
Head back to your breaker panel and turn the power back on. Wait a minute for the system to boot up.
Turn on your thermostat and set it to “fan” mode. You should hear the blower kick on. Within a few seconds, the iWave’s LED should light up, indicating it’s active.
Listen for any unusual noises—buzzing, rattling, or clicking. If you hear something off, turn the system off immediately and double-check your wiring and mounting.
Let it run for 15–20 minutes. You might notice a slight ozone smell at first—this is normal and should fade quickly. The iWave produces minimal ozone (well below safety standards), but if the smell persists or feels strong, contact iWave support.
Pro Tips & Common Mistakes to Avoid
After installing three iWave units in different homes (yes, I’m that guy now), I’ve learned a few things the hard way. Here’s what to keep in mind:
Visual guide about how to install iwave air purifier
Image source: jewellmechanical.com
Pro Tip: Install the iWave during mild weather. If it’s freezing outside and your furnace is running nonstop, you’ll be sweating under layers while trying to work in a cramped attic or basement. Spring or fall is ideal.
Warning: Don’t install the iWave in a humid environment like a bathroom duct or near a condensate drain. Moisture can damage the electronics and reduce lifespan.
A common mistake? Installing it too close to the air filter. The iWave works best when air has already been filtered—otherwise, it’s trying to clean already dirty air, which reduces efficiency. Aim for a spot after the filter in the return duct.
Another rookie error: skipping the manual. I know, I know—who reads manuals? But the iWave has specific guidelines for different HVAC setups (heat pumps, electric furnaces, etc.). Glancing at it could save you hours of troubleshooting.
And please—don’t try to “test” the ion output by sticking your hand in the duct. I’ve seen people do this. Just trust the LED light. It’s there for a reason.
FAQs About How to Install iWave Air Purifier in 2026 Easy Guide
Q: Can I install the iWave myself, or do I need a professional?
A: Absolutely, you can do it yourself—if you’re comfortable with basic tools and wiring. The how to install iWave air purifier in 2026 easy guide walks you through every step. But if your HVAC system is complex or you’re unsure about electrical work, hiring a pro is smart. Most charge $100–$200, which is cheaper than fixing a botched install.
Q: Will the iWave work with my heat pump?
A: Yes! The iWave is compatible with most HVAC systems, including heat pumps, gas furnaces, and electric air handlers. Just make sure you get the correct model (iWave-R for residential systems).
Q: How long does the installation take?
A: If you’re prepared and everything goes smoothly, about 45 minutes to an hour. First-timers might need 90 minutes. Rushing leads to mistakes—take your time.
Q: Does the iWave produce ozone?
A: It produces a very small amount—less than 0.05 ppm, which is well below the FDA and UL safety limits. It’s comparable to what you’d find in nature after a thunderstorm. If you’re highly sensitive to ozone, consult your doctor before installing.
Q: Can I install it in a rental property?
A: Technically yes, but check with your landlord first. Since it involves modifying ductwork and wiring, most landlords will want a licensed technician to do the work—and possibly remove it when you move out.
Q: What if my ductwork is too small?
A: The iWave requires at least a 6-inch diameter duct. If yours is smaller, you may need to install it in a larger section or consider a different air purifier model designed for smaller spaces.
Q: How do I know if it’s working?
A: The LED light is your best indicator. You should also notice fewer dust particles on surfaces, reduced odors, and improved breathing over time. Some users report fewer allergy symptoms within a week.
Final Thoughts
Installing the iWave air purifier isn’t just about cleaner air—it’s about peace of mind. Knowing that every breath your family takes is being actively purified makes a real difference, especially if you’ve struggled with allergies, pets, or stale indoor air.
This how to install iWave air purifier in 2026 easy guide gives you everything you need to get it done safely and correctly. Take your time, follow the steps, and don’t hesitate to call a pro if you hit a snag.
Once it’s running, you’ll forget it’s even there—until you notice how much better your home feels. And that? That’s worth every minute of the install.
“`