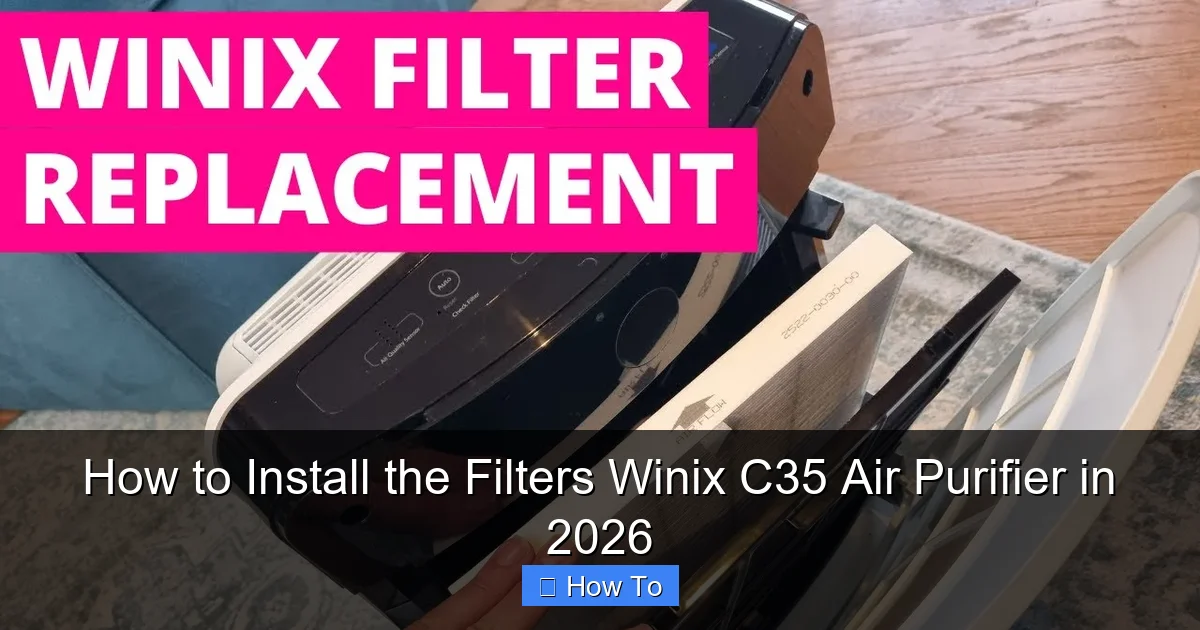
Featured image for how to install the filters winix c35 air purifier
Image source: i.ytimg.com
Installing the filters in your Winix C35 Air Purifier is a quick, tool-free process that ensures peak performance in 2026. Simply open the front panel, remove the old filters, and insert the new pre-filter, HEPA, and carbon filters in their marked slots—aligning arrows for a secure fit. Power on the unit to reset the filter indicator and enjoy cleaner air in minutes.
“`html
How to Install the Filters Winix C35 Air Purifier in 2026
Key Takeaways
- Power off first: Always unplug the unit before filter installation.
- Open the front panel: Press the release button to access the filter compartment.
- Remove old filters: Slide out used filters carefully to avoid debris spill.
- Insert new filters: Align arrows on filters with the unit’s guides for proper fit.
- Reset filter timer: Hold the reset button for 5 seconds after installation.
- Check seals: Ensure gaskets are intact to prevent air bypass.
Why This Matters / Understanding the Problem
Let’s be honest—nobody loves doing maintenance. But when it comes to your Winix C35 air purifier, swapping out the filters isn’t just a chore. It’s one of the most important things you can do to keep your indoor air clean and your machine running smoothly.
I learned this the hard way. A few months ago, I noticed my allergies were acting up even though I’d been running my Winix C35 religiously. Turns out, I’d forgotten to change the filters for over six months. The unit was still humming along, but it wasn’t actually cleaning the air anymore—it was just circulating dust and allergens right back into my living room.
That’s when I realized: how to install the filters Winix C35 air purifier in 2026 isn’t just a technical question. It’s about health, efficiency, and getting the most out of your investment. The Winix C35 uses a multi-stage filtration system, including a True HEPA filter, a washable pre-filter, and an advanced odor-control carbon filter. If any of these aren’t installed correctly, the whole system underperforms.
Plus, with air quality becoming more unpredictable—thanks to wildfires, seasonal pollen, and urban pollution—keeping your purifier in top shape matters more than ever. Whether you’re a first-time owner or you’ve had your C35 for years, knowing the right way to install those filters ensures you’re breathing cleaner air every single day.
What You Need
Before we dive into the steps, let’s make sure you have everything ready. You don’t want to be halfway through and realize you’re missing a key part.
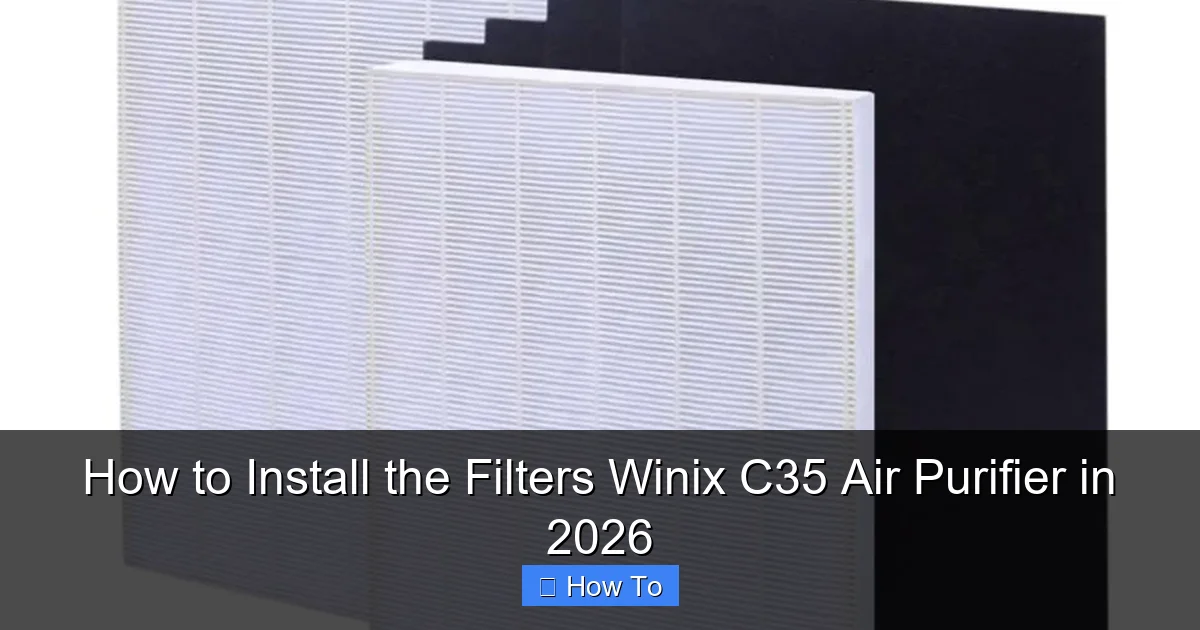
Visual guide about how to install the filters winix c35 air purifier
Image source: cleancrispair.com
- Replacement filters compatible with the Winix C35 – Look for the True HEPA filter (usually labeled “H”) and the carbon filter (“C”). Always check the model number to ensure compatibility.
- Your Winix C35 air purifier – Obviously!
- A clean, flat workspace – A table or countertop near the purifier works best.
- A soft cloth or microfiber towel – For wiping down the interior.
- Optional: Gloves – If you’re sensitive to dust or allergens, wearing gloves can help.
Pro tip: I always keep a spare set of filters on hand. That way, when the filter indicator light comes on (usually after about 6 months), I’m not scrambling to order replacements. Amazon Subscribe & Save has been a lifesaver for this.
Step-by-Step Guide to How to Install the Filters Winix C35 Air Purifier in 2026
Step 1: Turn Off and Unplug the Unit
Safety first! Before you touch anything inside the purifier, make sure it’s completely powered down. Press the power button to turn it off, then unplug it from the wall outlet.
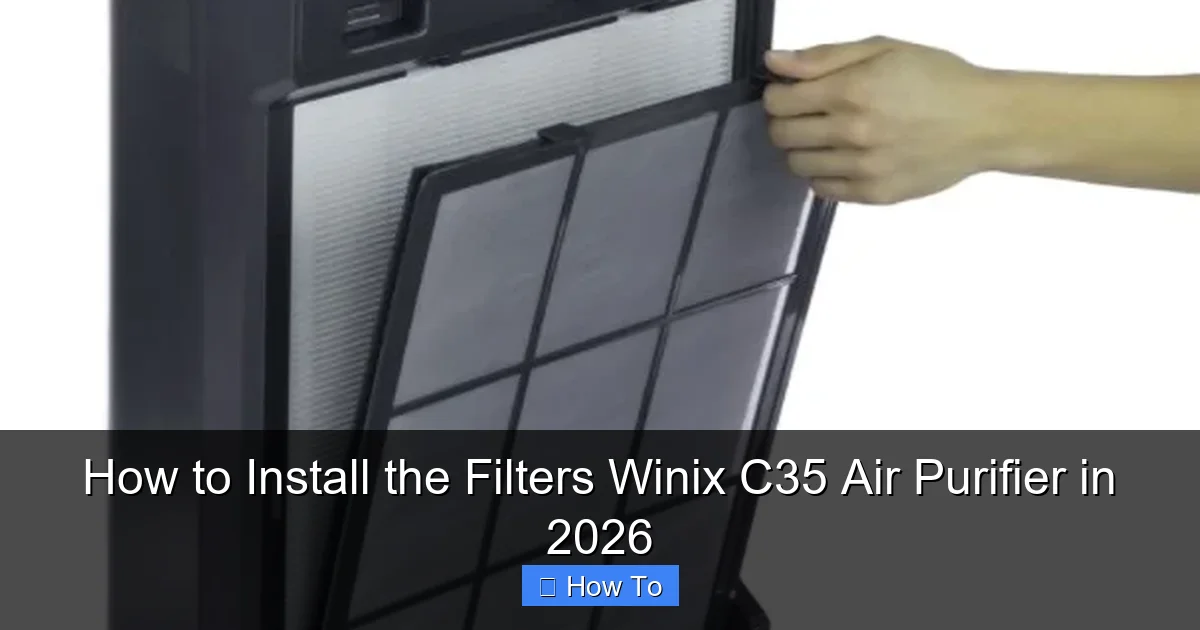
Visual guide about how to install the filters winix c35 air purifier
Image source: cleancrispair.com
I can’t stress this enough—even though the Winix C35 has a child lock feature, there’s no reason to take chances when you’re handling internal components. Plus, unplugging it gives you peace of mind while you work.
While you’re at it, take a quick look at the exterior. If there’s dust buildup on the vents or front panel, now’s a good time to wipe it down with a dry cloth. A clean machine works better, and it makes the whole process feel more satisfying.
Step 2: Remove the Front Panel
Now it’s time to access the filter chamber. The Winix C35 has a front-loading design, which makes filter changes super convenient.
Locate the latch on the right side of the front panel. It’s a small, recessed button—press it gently and pull the panel toward you. It should swing open smoothly, like a cabinet door.
Once it’s open, you’ll see the filter housing. There are usually three compartments: one for the washable pre-filter (front), one for the carbon filter (middle), and one for the True HEPA filter (back).
If this is your first time, don’t worry—the filters are labeled and color-coded. The pre-filter is usually gray or white and feels like a mesh. The carbon filter is darker, often black or charcoal-colored, and may have a slightly rough texture. The HEPA filter is the thickest and has a pleated design.
Step 3: Remove the Old Filters
Start with the pre-filter. It’s the first one you’ll see when you open the panel. Simply lift it out by the handle or edges. This filter is washable, so if it’s not too dirty, you can rinse it under cool water, let it dry completely, and reuse it.
Next, remove the carbon filter. It slides out from the middle slot. Be gentle—carbon filters can be a bit fragile, and you don’t want to tear them. If it’s been in there for a while, you might notice it’s lost some of its odor-fighting power. That’s normal.
Finally, take out the True HEPA filter. This is the most important one—it captures 99.97% of particles as small as 0.3 microns, including pollen, pet dander, and smoke. Pull it straight out from the back compartment.
As you remove each filter, take a moment to inspect them. If the HEPA filter looks gray or clogged, it’s definitely time for a replacement. Even if it still looks white, if it’s been 6 months or more, it’s best to swap it out.
Step 4: Clean the Interior (Optional but Recommended)
With the old filters out, you’ll have a clear view of the inside of the purifier. This is a great opportunity to do a quick clean.
Use a dry or slightly damp microfiber cloth to wipe down the interior walls and the fan area. Avoid using water directly on the motor or electrical components. If there’s stubborn dust, a soft brush (like a clean makeup brush) can help loosen it.
I like to do this every time I change the filters. It keeps the machine running efficiently and prevents dust from getting recirculated. Plus, it just feels good to give your purifier a little TLC.
Step 5: Install the New Filters
Now for the main event: installing the new filters. The order matters, so pay attention.
Start with the pre-filter. Place it back into the front slot, making sure it sits flat and secure. It should fit snugly—no gaps or bends. This filter catches larger particles like hair and dust, so it protects the more expensive HEPA filter downstream.
Next, insert the carbon filter. Slide it into the middle compartment. It should align with the grooves on the sides. Don’t force it—if it doesn’t go in easily, double-check the orientation. Some carbon filters have a specific front and back side, so look for any arrows or labels.
Finally, install the True HEPA filter. This goes in the back compartment. Again, make sure it’s seated properly. The pleats should be vertical, and the filter should sit flush against the back wall. If it’s crooked or loose, the purifier won’t seal correctly, and air will bypass the filter.
Once all three filters are in place, give each one a gentle press to ensure they’re secure. You don’t want any rattling or shifting when the unit turns on.
Step 6: Reattach the Front Panel
With the new filters installed, it’s time to close things up. Swing the front panel back into position until it clicks shut. You should hear a satisfying snap—that means it’s locked in place.
Give it a light tug to make sure it’s secure. If it feels loose, open it again and check that the filters aren’t blocking the latch. Sometimes a filter that’s slightly too thick or misaligned can prevent the panel from closing properly.
Step 7: Plug In and Reset the Filter Indicator
Now that everything is back together, plug the purifier back into the wall outlet. Press the power button to turn it on.
Here’s a crucial step many people skip: reset the filter indicator light. The Winix C35 has a built-in timer that tracks filter usage. If you don’t reset it, the light will keep blinking, even though you’ve installed fresh filters.
To reset it, press and hold the “Filter” button for about 3–5 seconds until the light turns off or changes color (depending on your model). This tells the system that new filters are in place and starts the countdown for the next replacement.
Once the light is reset, let the purifier run for a few minutes. Listen for any unusual noises—like rattling or grinding. If everything sounds normal, you’re good to go!
Pro Tips & Common Mistakes to Avoid
After changing filters on my Winix C35 more times than I can count, I’ve picked up a few tricks—and learned from some mistakes.
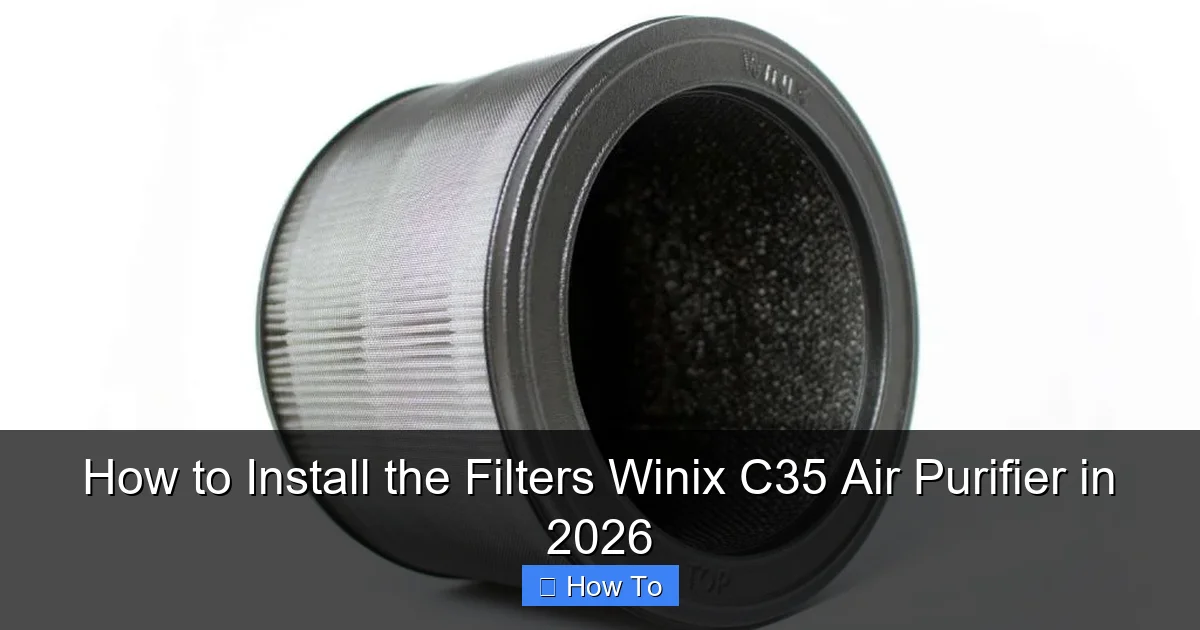
Visual guide about how to install the filters winix c35 air purifier
Image source: winix.ch
Pro Tip: Always check the filter packaging before installing. Some third-party filters claim to be compatible but don’t fit perfectly. I once bought a cheaper HEPA filter that was slightly too tall and bent when I closed the panel. It worked, but it reduced airflow and made the motor work harder. Stick to reputable brands or genuine Winix replacements.
Warning: Don’t skip the pre-filter cleaning. Even if you’re replacing the HEPA and carbon filters, the pre-filter should be rinsed every 2–4 weeks. A clogged pre-filter forces the other filters to work overtime, shortening their lifespan.
Another common mistake? Installing the filters in the wrong order. I did this once—put the HEPA filter in front of the carbon filter. The purifier still ran, but it didn’t clean the air as effectively. The carbon filter needs to come before the HEPA to remove odors and gases first.
Also, don’t ignore the filter indicator light. It’s easy to think, “It’s still working, so why change it?” But remember: a dirty filter doesn’t just reduce performance—it can also cause the motor to overheat over time.
Finally, keep a filter change log. I use a simple note on my phone: “Filters changed – March 2026.” That way, I know exactly when to check again. Some people even set calendar reminders—whatever works for you!
FAQs About How to Install the Filters Winix C35 Air Purifier in 2026
Q: How often should I change the filters in my Winix C35?
A: It depends on usage, but generally every 6 months for the HEPA and carbon filters. The pre-filter should be washed every 2–4 weeks. If you have pets, live in a dusty area, or use the purifier 24/7, you may need to replace them sooner.
Q: Can I use third-party filters instead of Winix brand?
A: Technically, yes—but I’d recommend sticking with genuine Winix filters or highly rated third-party options that specify C35 compatibility. Cheap knockoffs might save you a few bucks upfront but can damage your unit or reduce air quality.
Q: What if the front panel won’t close after installing new filters?
A: This usually means a filter is too thick or not seated properly. Double-check the order: pre-filter (front), carbon (middle), HEPA (back). Also, make sure none of the filters are bent or folded.
Q: Do I really need to reset the filter indicator?
A: Yes! If you don’t reset it, the light will keep blinking, and you won’t get an accurate reminder for the next change. It only takes a few seconds and ensures your purifier tracks usage correctly.
Q: Can I vacuum the HEPA filter instead of replacing it?
A: No. True HEPA filters are designed for single use. Vacuuming might remove surface dust, but it won’t restore the filter’s ability to capture microscopic particles. Plus, you risk damaging the delicate fibers.
Q: My purifier is making a rattling noise after filter installation. What’s wrong?
A: This usually means a filter isn’t seated properly or the front panel isn’t fully closed. Turn off the unit, reopen the panel, and recheck each filter. Make sure everything is snug and aligned.
Q: Is it safe to run the Winix C35 without filters?
A: Absolutely not. Running the purifier without filters defeats the entire purpose and can allow dust and debris to enter the motor. Always install all three filters before use.
Final Thoughts
Learning how to install the filters Winix C35 air purifier in 2026 might seem like a small task, but it’s one of the most impactful things you can do for your home’s air quality. It’s quick, easy, and takes less than 10 minutes—yet it makes a huge difference in how well your purifier performs.
Think of it like changing the oil in your car. You could skip it, but eventually, things start to go wrong. Your purifier is no different. Regular filter changes keep it efficient, extend its lifespan, and ensure you’re breathing the cleanest air possible.
So the next time that filter light starts blinking, don’t ignore it. Grab your new filters, follow these steps, and give your Winix C35 the refresh it deserves. Your lungs—and your peace of mind—will thank you.
And hey, if you’ve made it this far, you’re already ahead of most people. Now go enjoy that crisp, clean air!
“`