Featured image for how to install winix air purifier
Image source: airpurifierfirst.com
Installing your Winix air purifier in 2026 is quick and hassle-free—just unbox, place it 6 inches from walls, and plug it in for instant air cleaning. Ensure the pre-filter and True HEPA filter are properly seated, then power on and select your desired mode via the intuitive control panel or app. For optimal performance, avoid obstructions and run the unit continuously in occupied spaces.
“`html
How to Install Winix Air Purifier in 2026 Simple Guide
Key Takeaways
- Unbox carefully: Remove all packaging and protective films before setup.
- Choose optimal placement: Position 3+ feet from walls for best airflow.
- Install filters correctly: Match arrows on filters to unit’s airflow direction.
- Power on safely: Plug directly into outlet—avoid extension cords.
- Run initial cycle: Operate on high for 1 hour to eliminate odors.
- Enable smart features: Sync with Winix app for real-time air quality tracking.
Why This Matters / Understanding the Problem
Let’s be honest—air quality isn’t something we think about until we’re sneezing, coughing, or staring at a hazy skyline. I remember moving into my new apartment last spring and waking up with itchy eyes and a stuffy nose every morning. At first, I blamed allergies. Then I noticed the dust piling up on my nightstand within hours of cleaning. That’s when I realized: my indoor air was just as polluted as the city smog outside.
That’s when I decided to invest in a Winix air purifier. I’d heard great things—especially about their True HEPA filters and plasma wave technology. But when the box arrived, I stared at it like it was a puzzle from another dimension. The manual looked more like a technical schematic than a user guide. And honestly? I didn’t want to mess it up. What if I installed it wrong and it didn’t work? Or worse—what if I damaged the unit?
That’s why I’m writing this how to install Winix air purifier in 2026 simple guide. Because no one should feel intimidated by a device meant to make life easier. Whether you’re dealing with pet dander, seasonal allergies, or just want cleaner air while you sleep, setting up your Winix purifier correctly is the first step toward breathing easier. And trust me—it’s way simpler than you think.
What You Need
Before we dive into the steps, let’s make sure you have everything ready. You don’t need a toolbox or a degree in engineering—just a few basics and about 10 minutes of your time.
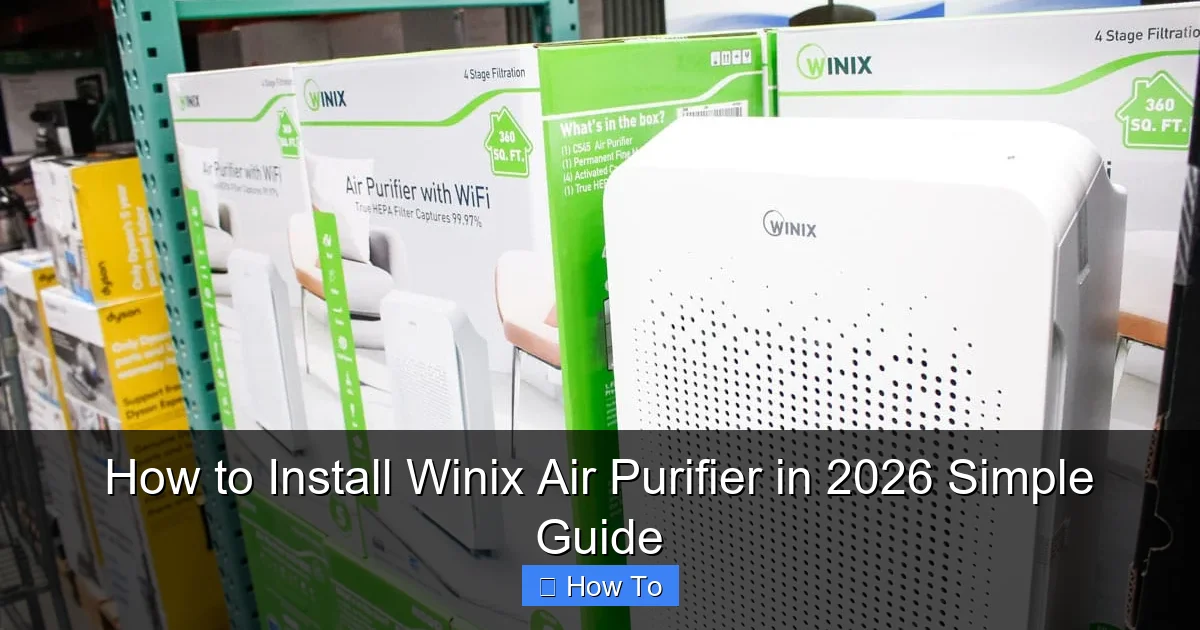
Visual guide about how to install winix air purifier
Image source: hvacseer.com
- Your Winix air purifier (obviously!)—models like the Winix 5500-2, 6300-2, or A330 are popular choices
- The original packaging or a clean, flat surface to unbox and set it up
- A power outlet nearby—preferably not blocked by furniture or curtains
- Your user manual (yes, even if you’re using this guide—it has model-specific tips)
- A soft cloth (microfiber works best) for wiping down the unit
- Optional: A vacuum with a brush attachment if your filter looks dusty out of the box
Pro tip: Don’t throw away the original box and foam inserts right away. If you ever need to move or store the purifier, those pieces protect it from damage. I learned that the hard way after my first move—scratched casing, bent grille, and a sad-looking purifier.
Step-by-Step Guide to How to Install Winix Air Purifier in 2026 Simple Guide
Step 1: Unbox and Inspect Your Winix Air Purifier
Start by carefully removing the purifier from its box. I like to do this on a soft surface—like a carpet or a towel—to avoid scratching the base. Take out all the components: the main unit, the filter(s), any included remote, and the power cord.
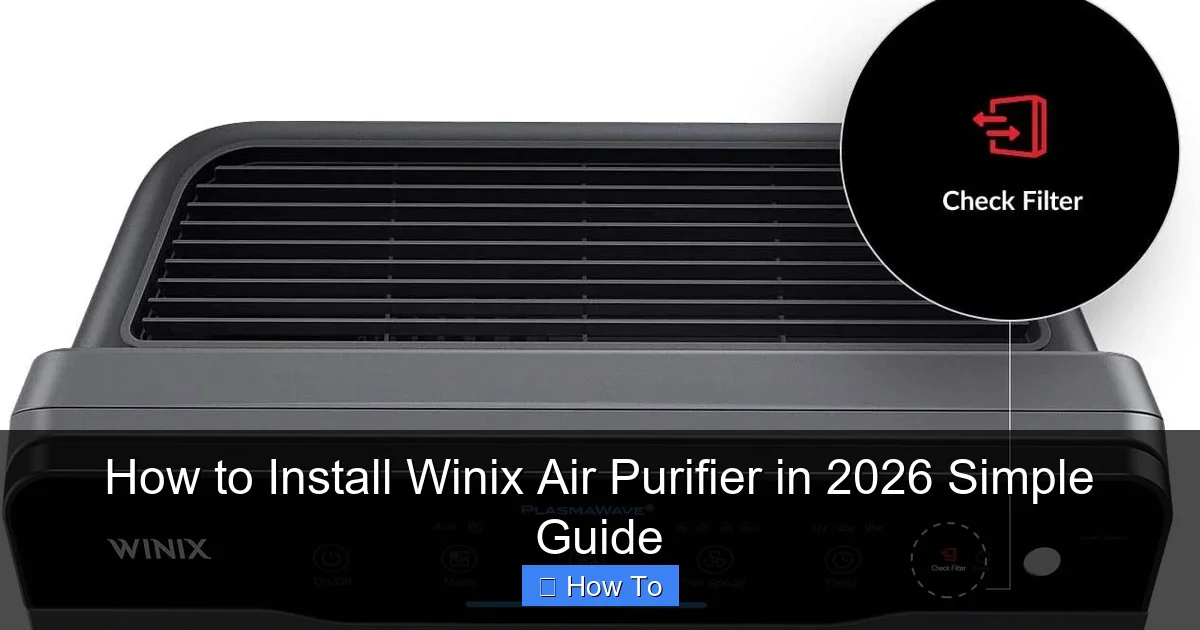
Visual guide about how to install winix air purifier
Image source: cleantheair.org
Now, inspect everything. Look for cracks, loose parts, or signs of damage. If something looks off, contact Winix customer support before proceeding. Better safe than sorry.
Next, locate the filter compartment. On most Winix models, it’s on the back or side of the unit. You’ll usually see a latch or a removable panel. Gently open it and check that the filters are properly sealed and undamaged. Some models come with a plastic wrap around the filter—don’t forget to remove it! I’ve heard horror stories of people running their purifier for weeks only to realize the filter was still wrapped. No wonder the air didn’t feel any cleaner.
Step 2: Install or Reinstall the Filters
This is the most important part of the how to install Winix air purifier in 2026 simple guide—because if the filters aren’t in correctly, nothing else matters.
Most Winix purifiers use a 3-stage filtration system:
- Pre-filter: Catches large particles like pet hair and dust
- True HEPA filter: Traps 99.97% of particles as small as 0.3 microns (think pollen, mold spores, bacteria)
- Carbon filter: Reduces odors and volatile organic compounds (VOCs) from cooking, pets, or cleaning products
Here’s how to install them:
- Open the filter door and remove any protective plastic from the filters.
- Place the pre-filter first—it usually has a mesh-like texture and fits snugly against the back panel.
- Next, insert the True HEPA filter. Make sure the arrow on the filter points toward the unit (this indicates airflow direction).
- Finally, add the carbon filter. It’s often thinner and may have a charcoal scent—that’s normal.
- Close the filter door firmly until it clicks. Don’t force it—if it doesn’t close easily, double-check the filter alignment.
💡 Personal note: I once installed the HEPA filter upside down because I didn’t notice the arrow. The purifier ran, but the airflow was weak. It took me two days to figure out why. Lesson learned: always check the arrow!
Step 3: Choose the Right Location
Where you place your Winix air purifier makes a huge difference in performance. I made the mistake of putting mine in a corner behind a bookshelf—big no-no.
Here’s where to place it for maximum efficiency:
- At least 3–5 feet away from walls, furniture, or curtains—this ensures proper air intake and circulation
- In the room where you spend the most time—bedroom, living room, or home office
- Avoid direct sunlight and heat sources like radiators or stoves—heat can warp plastic parts over time
- Keep it off the floor if possible—dust and pet hair rise, so placing it on a table or stand improves air capture
I now keep mine on a small stand in the corner of my bedroom, about 4 feet from the bed. It’s quiet enough for sleep and powerful enough to cycle the air every 20 minutes.
Step 4: Plug It In and Power On
Now for the easy part—plug the power cord into a grounded outlet. Avoid using extension cords or power strips if possible. They can cause voltage drops or overheating, especially on higher fan speeds.
Press the power button. Most Winix models will beep or light up to confirm they’re on. You should hear a gentle hum as the fan starts. If nothing happens, check the outlet with another device to make sure it’s working.
On some models, you’ll see indicator lights for filter life, air quality, or mode settings. Don’t panic if they’re blinking—this is normal during startup.
Step 5: Set Your Preferred Mode and Fan Speed
Winix purifiers come with several modes to suit your needs. Here’s a quick rundown:
- Auto Mode: The unit uses a built-in sensor to detect air quality and adjust fan speed automatically. Great for hands-off operation.
- Sleep Mode: Runs quietly with dimmed lights—perfect for nighttime use.
- Manual Fan Speeds: Choose from low, medium, or high depending on how polluted the air feels.
- Turbo/Max Mode: For quick cleanups after cooking, cleaning, or when guests visit.
I usually start on Auto and let the purifier do its thing. If I’m cooking something smelly (hello, garlic shrimp), I’ll switch to Turbo for 30 minutes, then back to Auto.
💡 Bonus tip: Use the remote (if your model has one) to adjust settings without getting up. I keep mine on my nightstand—total game-changer.
Step 6: Run a Test Cycle and Monitor Performance
Let your Winix purifier run for at least 1–2 hours to see how it performs. Walk around the room and notice:
- Is the air feeling fresher?
- Are odors (like cooking or pet smells) fading?
- Is the fan noise comfortable for your space?
If everything feels good, you’re all set! If not, double-check the filter installation and placement. Sometimes a small adjustment makes a big difference.
I recommend running the purifier continuously during the first week—especially if you’ve just moved in or done deep cleaning. It helps “reset” the air quality in your space.
Pro Tips & Common Mistakes to Avoid
After using my Winix purifier for over a year, I’ve learned a few things the hard way. Here are my top tips to help you avoid rookie errors.
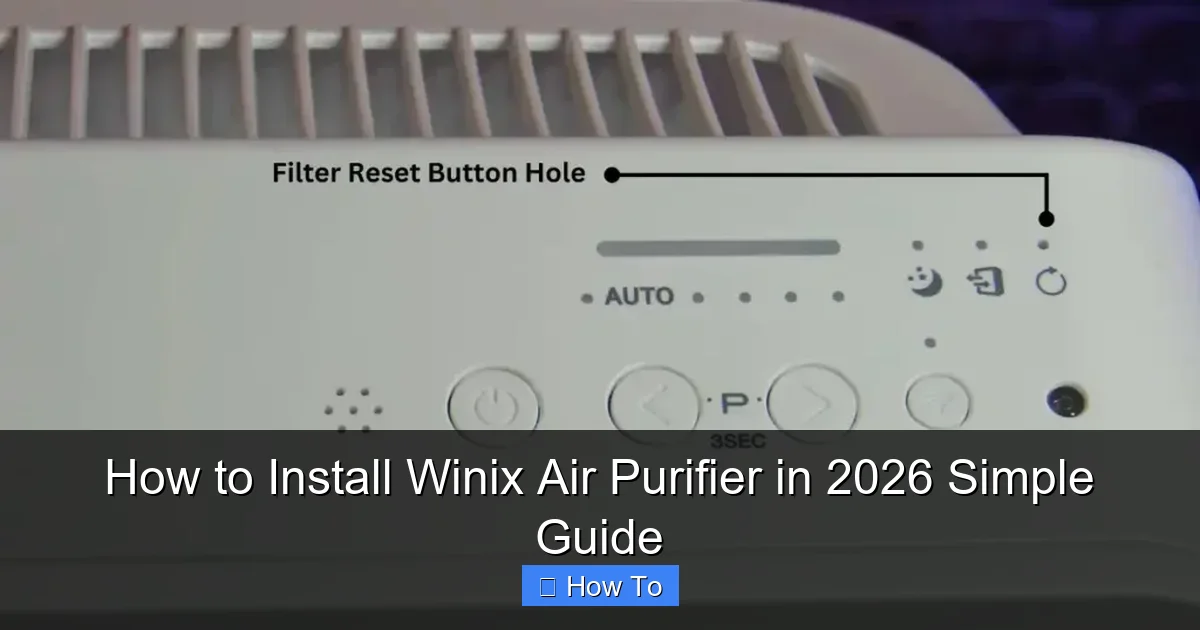
Visual guide about how to install winix air purifier
Image source: airpurifyzone.com
Pro Tip #1: Don’t Skip the Pre-Filter Cleaning
The pre-filter catches the big stuff, but it gets dirty fast—especially if you have pets. I clean mine every 2 weeks with a vacuum brush or a damp cloth. If you ignore it, the HEPA filter clogs faster, and your purifier works harder. Winix recommends cleaning it monthly, but I say: clean it when you see dust buildup.
Pro Tip #2: Replace Filters on Schedule—Not When You Remember
Most Winix models have a filter replacement indicator, but don’t wait for it to flash red. I set a calendar reminder every 6–12 months (depending on usage). A clogged filter reduces efficiency and can even damage the motor over time.
Warning: Don’t Use Water on the HEPA or Carbon Filters
I made this mistake once—thought a quick rinse would freshen them up. Big mistake. These filters are not washable. Water ruins the delicate fibers and reduces their effectiveness. Always replace them when needed.
Common Mistake: Placing It in a Closed Closet or Small Enclosed Space
Air purifiers need airflow to work. Putting yours in a tiny room with no circulation is like trying to dry clothes in a sealed box. Give it room to breathe—literally.
Pro Tip #3: Use It Year-Round, Not Just During Allergy Season
I used to turn mine off in winter, thinking “indoor air is cleaner.” Nope. Heaters and closed windows trap pollutants. I now run it daily—even in January. My winter colds dropped significantly.
FAQs About How to Install Winix Air Purifier in 2026 Simple Guide
Q: Do I need to remove the plastic wrap from the filters before using the Winix air purifier?
A: Absolutely! I can’t stress this enough. The filters come sealed in plastic to protect them during shipping. If you don’t remove it, air can’t pass through, and your purifier won’t clean the air. It’s the #1 mistake I see people make.
Q: Can I install the Winix air purifier myself, or do I need a professional?
A: You 100% can do this yourself. No tools, no wiring, no expertise needed. Just follow the steps in this how to install Winix air purifier in 2026 simple guide, and you’ll be up and running in under 15 minutes.
Q: How often should I clean or replace the filters?
A: It depends on usage and air quality. In general:
- Pre-filter: Clean every 2–4 weeks
- True HEPA and carbon filters: Replace every 6–12 months
If you have pets, smoke, or live in a high-pollution area, you may need to replace them sooner. Watch for reduced airflow or a musty smell—that’s a sign it’s time.
Q: Will the Winix air purifier eliminate all allergens and odors?
A: It will significantly reduce them—especially with its True HEPA and carbon filters. But no purifier can remove 100% of pollutants, especially if new contaminants are constantly introduced (like opening windows or bringing in dirty shoes). Think of it as a powerful helper, not a magic wand.
Q: Can I move the purifier from room to room?
A: Yes! Just make sure it’s unplugged and the filters are secure. I move mine between the bedroom and living room depending on where I am. Just avoid dragging it—lift it to protect the wheels (if your model has them).
Q: Is it safe to run the Winix air purifier 24/7?
A: Yes, and I recommend it. These units are designed for continuous use. In fact, running it constantly helps maintain consistent air quality. Just remember to clean and replace filters on schedule.
Q: What if my Winix purifier makes a strange noise after installation?
A: First, check that the filters are installed correctly and the unit is on a flat surface. Rattling or grinding noises could mean something is loose. If the noise persists, contact Winix support—they’re surprisingly helpful and often send replacement parts for free under warranty.
Final Thoughts
Installing your Winix air purifier doesn’t have to be stressful. With the right steps—and a little patience—you’ll have cleaner, fresher air in no time. I know I felt overwhelmed at first, but now it’s one of the easiest parts of my home routine.
Remember: the key to success is proper filter installation, smart placement, and regular maintenance. Follow this how to install Winix air purifier in 2026 simple guide, and you’ll avoid the common pitfalls that trip up so many new users.
And don’t forget—your purifier is an investment in your health. Whether you’re fighting allergies, pet dander, or just want to breathe easier at night, a well-installed Winix can make a real difference. So go ahead, plug it in, and take a deep breath. Your lungs will thank you.
Now, if you’ll excuse me, I’m off to check my filter reminder light. Again. 😉
“`