
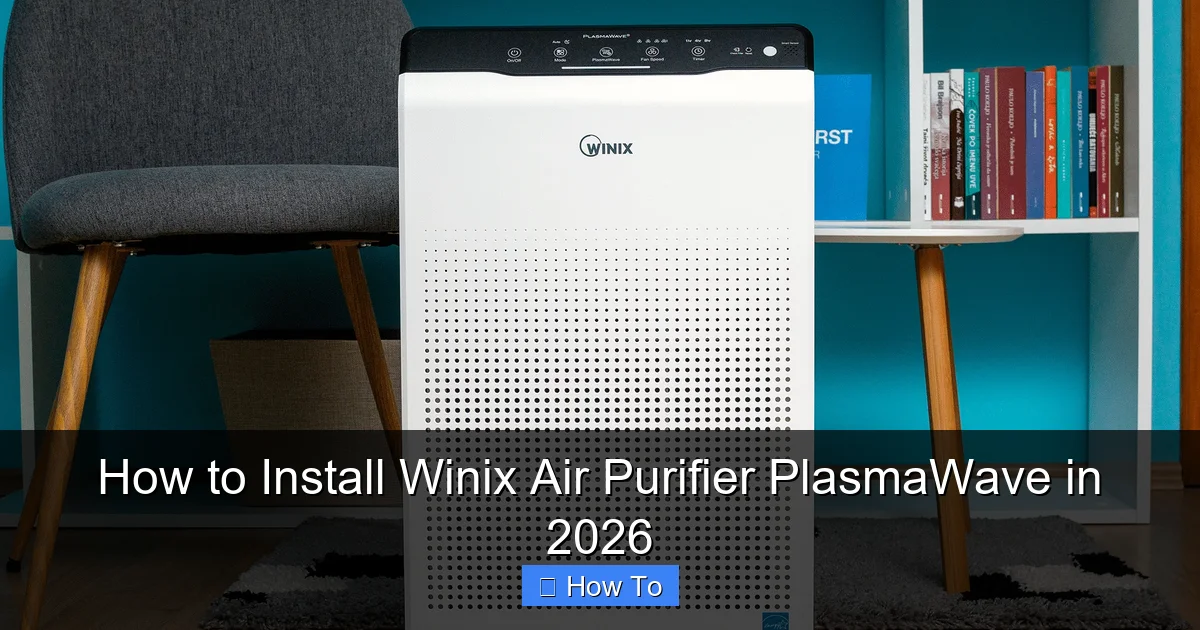
Featured image for how to install winix air purifier plasmawave
Image source: housefresh.com
Installing your Winix Air Purifier with PlasmaWave in 2026 is a quick, tool-free process—just unbox, plug in, and power on for instant clean air. Ensure the unit is placed at least 12 inches from walls and obstacles to maximize airflow and PlasmaWave efficiency. Follow the intuitive LED-guided setup to activate smart sensors and enjoy real-time air quality monitoring straight out of the box.
“`html
How to Install Winix Air Purifier PlasmaWave in 2026
Key Takeaways
- Unbox and inspect all parts before installation to ensure nothing is damaged or missing.
- Choose a central location with good airflow, away from walls and obstructions for optimal performance.
- Install the filter correctly by following the directional arrows and securing it in place.
- Plug into a grounded outlet and avoid using extension cords to prevent electrical issues.
- Turn on PlasmaWave mode only in occupied spaces to safely reduce airborne pollutants.
- Run the purifier continuously for best air quality, adjusting fan speed as needed.
Why This Matters / Understanding the Problem
Let’s be honest—air quality isn’t something we think about until we’re sneezing, coughing, or staring at that dusty layer on the windowsill. I remember moving into my first apartment and waking up with a scratchy throat every morning. After a few sleepless nights, I finally caved and bought an air purifier. The Winix Air Purifier PlasmaWave caught my eye because it promised to tackle allergens, odors, and even airborne viruses—without sounding like a jet engine.
But here’s the thing: even the best tech is useless if you don’t set it up right. I’ll never forget unboxing my Winix, feeling excited, only to realize I had no idea where to start. Was I supposed to remove a filter? Plug it in first? Did it need Wi-Fi? Spoiler: it doesn’t. But those first five minutes of confusion made me wish someone had walked me through it step by step.
That’s exactly why I’m writing this guide. Whether you’re dealing with pet dander, seasonal allergies, or just want cleaner air while you sleep, knowing how to install Winix Air Purifier PlasmaWave in 2026 the right way can make all the difference. It’s not complicated—but skipping a step or two can leave you wondering why your purifier isn’t working as well as it should.
In this guide, I’ll walk you through everything from unboxing to first use, sharing real-life tips and mistakes I’ve made along the way. By the end, you’ll have your Winix running smoothly and your air feeling noticeably fresher—no guesswork, no frustration.
What You Need
Before we dive in, let’s make sure you have everything ready. The good news? You probably already do. The Winix Air Purifier PlasmaWave is designed to be user-friendly, so you won’t need any special tools or technical know-how.
Visual guide about how to install winix air purifier plasmawave
Image source: discounttoday.net
- Your Winix Air Purifier PlasmaWave unit – Obviously! Make sure it’s the model you intended to buy (like the Winix 5500-2 or 6300-2).
- Power cord – It comes attached, but double-check it’s not damaged.
- Owner’s manual – Keep it handy, even if you’re following this guide. It has model-specific details.
- A flat, stable surface – Think nightstand, desk, or shelf. Avoid placing it on carpet or near curtains.
- At least 18 inches of clearance – On all sides, especially the back and top, for proper airflow.
- A clean, dry cloth – For wiping down the unit before setup.
Optional but helpful:
- A vacuum with a brush attachment – To clean the pre-filter if it’s dusty out of the box.
- A timer or smart plug – If you want to automate usage (great for nighttime).
That’s it! No screws, no apps, no Wi-Fi login. The Winix PlasmaWave series is refreshingly simple—perfect for anyone who just wants clean air without the tech hassle.
Step-by-Step Guide to How to Install Winix Air Purifier PlasmaWave in 2026
Step 1: Unbox and Inspect Your Unit
First things first—let’s get your purifier out of the box. I know it’s tempting to rip it open, but take a moment to do this carefully. Lay the box on its side and slide the unit out. You’ll see the purifier wrapped in a protective plastic sleeve, with the power cord coiled neatly beside it.

Visual guide about how to install winix air purifier plasmawave
Image source: images-na.ssl-images-amazon.com
Remove all plastic wrap and tape. I made the mistake of leaving a small strip on the front panel once—it looked fine, but it blocked the air intake and reduced performance. Check the front, sides, and bottom for any packaging remnants.
Now, give the unit a quick visual inspection. Look for cracks, dents, or loose parts. If anything seems off, contact Winix support before plugging it in. Better safe than sorry.
Finally, wipe down the exterior with a dry cloth. Dust from shipping or storage can accumulate, and you don’t want that getting pulled into the system.
Pro Tip: Keep the box and packaging for at least 30 days. If something goes wrong, you’ll need it for returns or exchanges.
Step 2: Remove the Filters and Check Their Condition
This is where a lot of people get stuck—and for good reason. The filters are sealed in plastic, and it’s not always obvious how to remove them. But don’t worry, it’s easier than it looks.
Start by locating the front panel. On most Winix PlasmaWave models, it’s the grille-covered section at the front. Gently pull it toward you. It should come off with a little resistance—no tools needed. If it doesn’t budge, check for a small latch or button near the top or bottom.
Once the panel is off, you’ll see the filters inside. There are typically three layers:
- Pre-filter – The outermost layer, usually washable. It catches large particles like pet hair and dust.
- True HEPA filter – The middle layer. This is the workhorse that traps 99.97% of particles as small as 0.3 microns.
- Carbon filter – The innermost layer. It absorbs odors, smoke, and VOCs (volatile organic compounds).
Each filter is wrapped in plastic. Carefully remove the plastic wrap from all three. I recommend doing this over a trash can—those plastic bits love to fly everywhere.
Once unwrapped, inspect the filters. They should be clean, flat, and free of damage. If the HEPA filter looks compressed or torn, contact customer service. Never use a damaged filter—it won’t work properly and could strain the motor.
Now, reinsert the filters in the correct order: pre-filter first, then HEPA, then carbon. Make sure they sit flat and snug. If they’re crooked, the front panel won’t close properly.
Finally, snap the front panel back into place. You should hear a soft click. Give it a gentle tug to confirm it’s secure.
Warning: Never run the purifier without the filters installed. Doing so can damage the internal components and void your warranty.
Step 3: Choose the Right Location
Where you place your Winix Air Purifier PlasmaWave matters—more than you might think. I learned this the hard way when I put mine in a corner behind a couch. The airflow was blocked, and it barely made a dent in the room’s air quality.
For optimal performance, follow these placement tips:
- Keep it at least 18 inches away from walls, furniture, and curtains. This ensures air can flow freely in and out.
- Place it in the room where you spend the most time. Bedroom? Living room? Home office? That’s where it should go.
- Avoid direct sunlight and heat sources. Don’t put it next to a radiator, fireplace, or sunny window. Heat can warp the plastic and affect sensor accuracy.
- Elevate it slightly if possible. A nightstand or small table works better than the floor, especially if you have pets or kids.
I personally keep mine on my nightstand, about two feet from my bed. It’s quiet enough for sleep, and I wake up feeling less congested. If you’re using it in a larger room, consider placing it near the center for even coverage.
One more thing: avoid placing it near strong odors or chemicals during setup. The carbon filter is powerful, but it needs time to “activate.” Strong smells from paint, cleaning products, or cooking can overwhelm it at first.
Step 4: Plug It In and Power On
Now for the fun part—turning it on! Find a nearby outlet and plug in the power cord. The Winix Air Purifier PlasmaWave doesn’t have a separate power switch on the unit itself. Instead, it turns on when you press the power button on the control panel.
Press the power button once. You should hear a soft beep, and the lights on the control panel will illuminate. The fan will start at the lowest speed (usually labeled “Low” or “Sleep”).
Take a moment to familiarize yourself with the buttons:
- Power – Turns the unit on/off.
- Fan Speed – Cycles through Low, Medium, High, and Turbo.
- Auto Mode – Lets the built-in sensor adjust fan speed based on air quality.
- PlasmaWave – Toggles the PlasmaWave technology on or off (more on that below).
- Timer – Sets the unit to run for 1, 4, or 8 hours before turning off.
Start by running it on Auto Mode for the first few hours. This lets the sensor “learn” your room’s air quality and adjust accordingly. I usually do this during the day while I’m working or cleaning.
If you’re sensitive to noise, try the Sleep mode at night. It’s whisper-quiet—perfect for light sleepers like me.
Step 5: Activate PlasmaWave (Optional but Recommended)
Here’s where the Winix Air Purifier PlasmaWave really shines. The PlasmaWave technology is a built-in feature that generates positive and negative ions to break down pollutants like mold, bacteria, and odors at the molecular level.
It’s completely safe for humans and pets—Winix has tested it extensively—and it’s one of the reasons this purifier stands out from the crowd.
To activate it, simply press the PlasmaWave button. A blue light will turn on, indicating it’s active. You can leave it on all the time, or turn it off if you prefer. I keep mine on 24/7, especially during allergy season.
One note: you might notice a faint ozone smell when you first turn it on. This is normal and usually disappears within a few hours. If it persists or smells strong, turn off PlasmaWave and ventilate the room. While the ozone output is well below safety limits, some people are more sensitive than others.
If you have asthma or respiratory concerns, consult your doctor before using PlasmaWave. Most people tolerate it fine, but it’s always better to be cautious.
Step 6: Let It Run and Monitor Performance
Your Winix Air Purifier PlasmaWave is now installed and running! But the job isn’t quite done. For the first 24–48 hours, let it run continuously on Auto or Medium speed. This helps the filters “bed in” and start capturing pollutants effectively.
During this time, pay attention to a few things:
- Noise level – It should be quiet on Low and Sleep modes. If it’s loud or rattling, check that the filters are seated properly.
- Airflow – Feel the air coming out the top. It should be steady and strong on higher settings.
- Odor reduction – If you have pets or cook often, you should notice a difference in smell within a day or two.
I also recommend downloading the Winix app (if your model supports it) to track filter life and air quality trends. It’s not required, but it’s a nice bonus for tech-savvy users.
After the first few days, you can adjust settings based on your needs. I run mine on Auto during the day and Sleep mode at night. On high-pollen days, I switch to Turbo for an hour or two.
Pro Tips & Common Mistakes to Avoid
Even with a simple setup, there are a few pitfalls I’ve seen—and experienced—myself. Here’s what to watch out for:
Visual guide about how to install winix air purifier plasmawave
Image source: airpurifierfirst.com
Common Mistake #1: Forgetting to Remove Filter Wrap
I’ve heard from friends who thought their purifier was broken because it wasn’t cleaning the air. Turns out, they never removed the plastic from the HEPA filter. Always double-check!
Common Mistake #2: Placing It in a Corner
Air purifiers need space to breathe. Blocking the intake or outlet reduces efficiency by up to 50%. Give it room to work.
Common Mistake #3: Ignoring the Pre-Filter
The pre-filter catches big stuff like pet hair. If you don’t clean it every 2–4 weeks, it clogs up and forces the motor to work harder. Just rinse it under water and let it dry completely before reinserting.
Pro Tip: Use a Timer
Running your purifier 24/7 uses energy. I set mine to run for 2 hours after I cook or vacuum, then switch to Sleep mode at night. It saves power and keeps the air clean when it matters most.
Pro Tip: Replace Filters on Schedule
The HEPA filter typically lasts 12 months, but check the indicator light. If it turns red, it’s time to replace. Don’t wait—dirty filters can’t trap pollutants effectively.
FAQs About How to Install Winix Air Purifier PlasmaWave in 2026
Q: Do I need Wi-Fi or an app to install the Winix Air Purifier PlasmaWave?
A: Nope! Unlike some smart purifiers, the Winix PlasmaWave series works right out of the box with no app or internet connection. Just plug it in and press the power button. Simple!
Q: Can I install it myself, or do I need a professional?
A: Absolutely DIY-friendly. No tools, no wiring, no expertise needed. If you can unbox a toaster, you can install this.
Q: How long does it take to notice a difference in air quality?
A: Most people notice less dust, fewer odors, and easier breathing within 24–48 hours. Allergy sufferers often see improvement in symptoms within a week.
Q: Is PlasmaWave safe for pets and children?
A: Yes. Winix designs PlasmaWave to be safe for homes with kids and pets. The ion output is well within international safety standards. However, if you have a bird, consult your vet—some birds are more sensitive to airborne particles.
Q: What if my purifier makes a weird noise after installation?
A: First, check that the filters are properly seated and the front panel is secure. If it still rattles, turn it off and contact Winix support. Don’t keep running it—it could damage the motor.
Q: Can I use it in a basement or garage?
A: It’s best suited for living spaces with moderate humidity. Basements with high moisture or garages with chemical fumes can shorten filter life. If you must use it there, monitor performance closely.
Q: Do I need to clean the unit itself?
A: Yes, but lightly. Wipe the exterior with a dry or slightly damp cloth every few weeks. Never use harsh chemicals. The internal components don’t need cleaning unless specified in the manual.
Final Thoughts
Installing your Winix Air Purifier PlasmaWave in 2026 doesn’t have to be stressful—or confusing. With just a few simple steps, you can have cleaner, fresher air in your home in under 10 minutes. From unboxing to first use, this guide walks you through everything you need to know, based on real experience and practical tips.
Remember: the key to success is attention to detail. Remove that plastic wrap, give it space to breathe, and let it run long enough to make a difference. And don’t forget to clean the pre-filter regularly—it’s the unsung hero of your purifier’s performance.
If you follow these steps, you’ll not only install your Winix correctly—you’ll get the most out of it for years to come. So go ahead, plug it in, take a deep breath, and enjoy the peace of mind that comes with knowing your air is truly clean.
And if you found this guide helpful? Share it with a friend who’s thinking about buying an air purifier. They’ll thank you later.
“`