Featured image for how to maintain austin air purifiers
Image source: buffaloholisticcenter.com
Regular filter replacement every 6–12 months is essential to maintain peak performance and air quality in your Austin Air Purifier. Clean the exterior and pre-filter monthly, and ensure proper airflow by placing the unit away from walls or obstructions. Following the 2026 maintenance guidelines helps extend lifespan, reduce energy use, and ensure medical-grade filtration efficiency year-round.
“`html
How to Maintain Austin Air Purifiers in 2026 for Optimal Performance
Key Takeaways
- Replace filters every 6–12 months to ensure peak air purification efficiency.
- Clean pre-filters monthly with a vacuum or soft brush to extend filter life.
- Keep vents unobstructed for optimal airflow and performance.
- Use only genuine Austin Air filters to maintain warranty and effectiveness.
- Run purifiers continuously for best air quality and system longevity.
- Check for unusual noises as early signs of mechanical issues.
Why This Matters
Let’s be real—your Austin Air purifier has been a quiet hero in your home. It’s filtering out dust, pet dander, smoke, and even those invisible allergens you can’t see but definitely feel. But here’s the thing: even the best machines need a little TLC to keep doing their job well.
I learned this the hard way last winter. My allergies were worse than usual, and I couldn’t figure out why—until I opened up my Austin Air HealthMate and saw the filter looked like it had survived a sandstorm. That’s when I realized: regular maintenance isn’t optional—it’s essential.
If you’re wondering how to maintain Austin Air purifiers in 2026 for optimal performance, you’re in the right place. Whether you’ve owned yours for years or just unboxed a new one, keeping it clean and running smoothly ensures you’re breathing the cleanest air possible—without wasting energy or money on replacements too soon.
In this guide, I’ll walk you through everything you need to know, step by step, based on my own experience and what the experts recommend. No fluff, no jargon—just practical, real-world advice that actually works.
What You Need
Before we dive in, let’s gather the essentials. Don’t worry—you probably already have most of these at home.
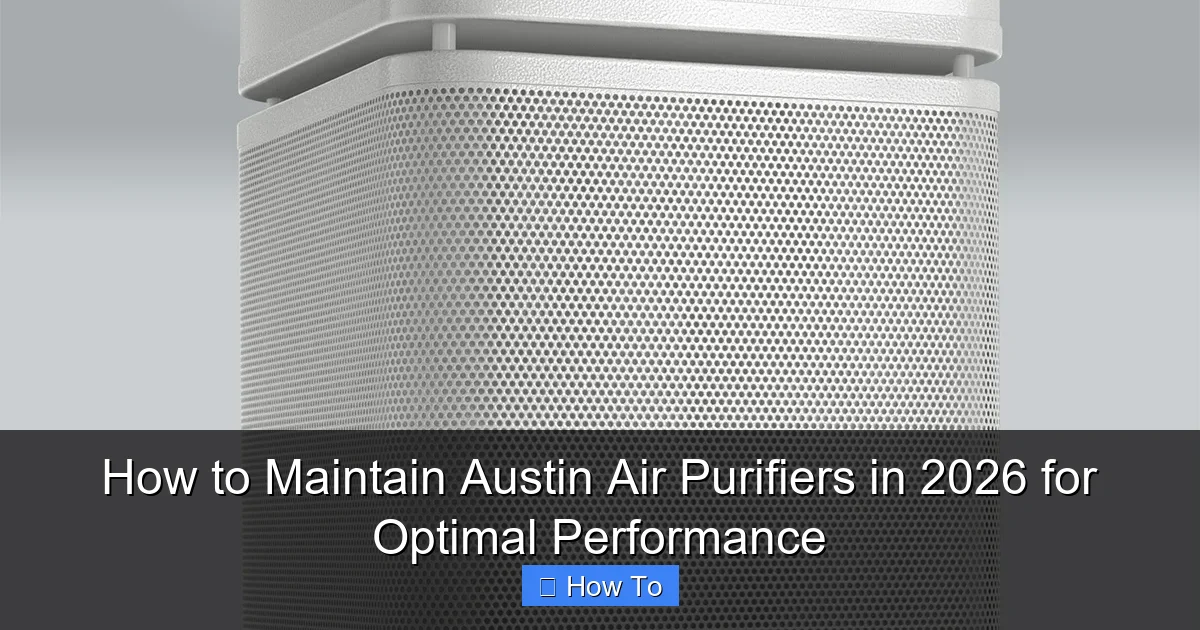
Visual guide about how to maintain austin air purifiers
Image source: buffaloholisticcenter.com
- Soft microfiber cloth – For wiping down the exterior without scratching.
- Mild dish soap – Gentle enough not to damage surfaces.
- Vacuum with brush attachment – Ideal for cleaning pre-filters and vents.
- Compressed air (optional) – Great for hard-to-reach crevices.
- Replacement filters (when needed) – Check your model’s specs; Austin Air uses proprietary filters.
- Timer or calendar reminder – Because life gets busy, and it’s easy to forget.
Pro tip: Keep your owner’s manual handy—or download a digital copy from the Austin Air website. It’ll tell you exactly which filter type your model uses and how often to replace it.
Step-by-Step Guide to How to Maintain Austin Air Purifiers in 2026 for Optimal Performance
Step 1: Turn Off and Unplug Your Unit
Always start here. Safety first! Even though Austin Air purifiers are built tough, you never want to risk electrical shock or damage to internal components.
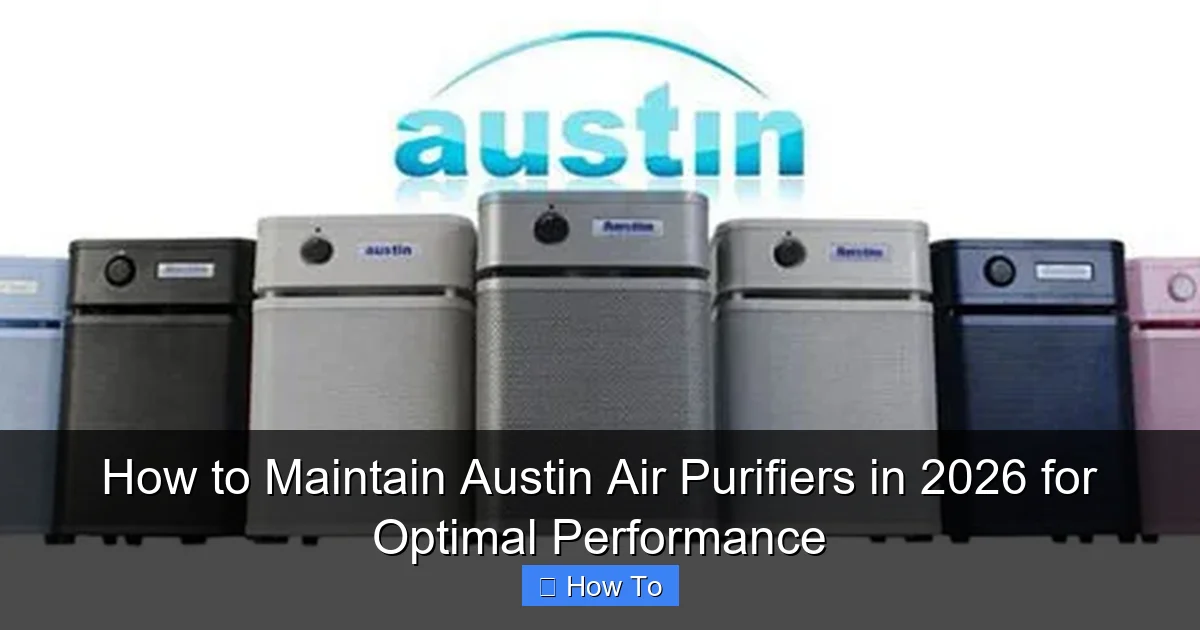
Visual guide about how to maintain austin air purifiers
Image source: bendwellnessdoctor.com
Unplug the unit from the wall outlet and give it a minute to fully power down. This also gives any internal fans time to stop spinning completely.
Personal note: I once tried cleaning while the unit was still plugged in (don’t ask why). Let’s just say the sudden restart startled me—and taught me a valuable lesson.
Step 2: Clean the Exterior Regularly
Your purifier sits in your living room, bedroom, or office—constantly exposed to dust, fingerprints, and maybe even a rogue coffee splash.
Use a dry microfiber cloth to wipe down the outer casing weekly. If there’s grime buildup, lightly dampen the cloth with water and a drop of mild dish soap. Never spray liquid directly onto the unit—wipe the cloth instead.
Pay extra attention to the air intake and output vents. Dust loves to cling there, and over time, it can restrict airflow.
This simple habit takes less than two minutes but makes a huge difference in both appearance and function.
Step 3: Vacuum the Pre-Filter Every 2–4 Weeks
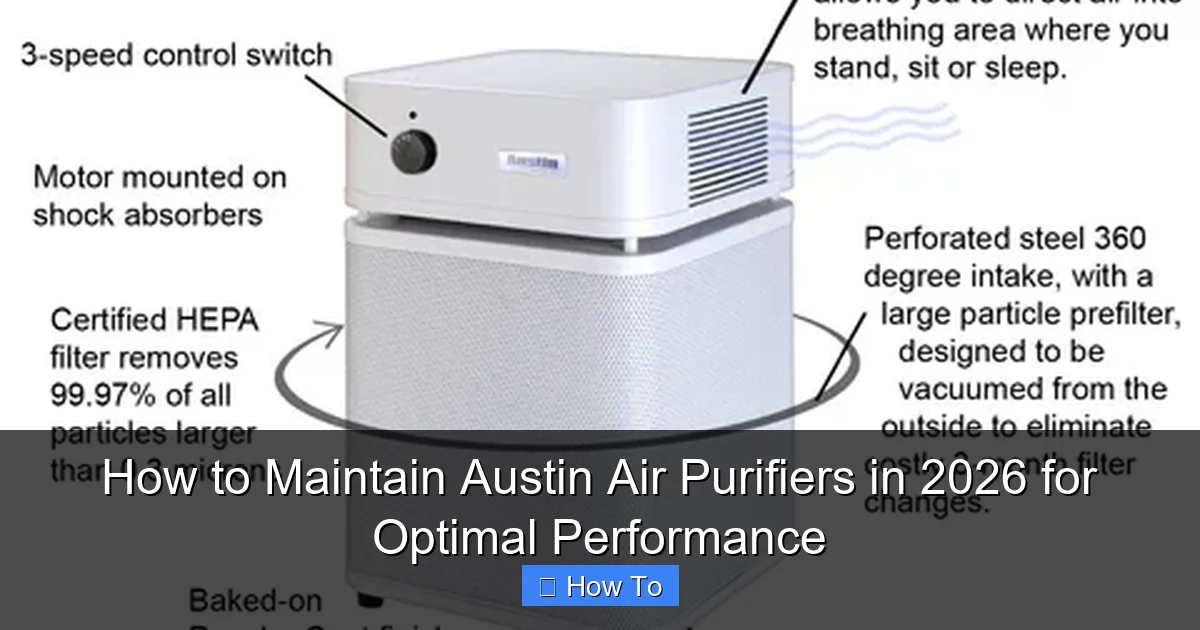
The pre-filter is your first line of defense—it catches large particles like hair, lint, and pet fur before they reach the main filters.
Most Austin Air models have a removable foam or mesh pre-filter wrapped around the inner cylinder. Gently pull it off (no tools needed!) and use your vacuum’s brush attachment to remove debris.
If it’s really grimy, rinse it under lukewarm water—but only if your model allows it (check the manual!). Let it air-dry completely before reinserting. Never put a wet pre-filter back in—it can trap moisture and promote mold.
I do this every three weeks, especially during shedding season with my golden retriever, Max. It’s amazing how much fur accumulates!
Step 4: Inspect the Main Filters Monthly
Here’s where things get serious. The main filter system in Austin Air purifiers typically includes a combination of:
- True medical-grade HEPA filter (captures 99.97% of particles as small as 0.3 microns)
- Activated carbon/zeolite blend (absorbs odors, gases, and chemicals)
You can’t wash or vacuum these—they’re sealed units. But you should inspect them monthly for visible damage, excessive dust buildup, or unusual smells.
Look through the outer casing (some models have a viewing window). If the HEPA layer looks dark gray or clogged, or if you notice a musty odor when the unit runs, it’s likely time for a replacement.
Most Austin Air filters last 3–5 years under normal use, but high-pollution environments or heavy pet ownership may shorten that.
Step 5: Replace Filters According to Schedule (Not Guesswork)
This is critical: don’t wait until your air quality noticeably declines. By then, your purifier is already working overtime—and your health may have been compromised.
Austin Air recommends replacing filters every 3–5 years, but your environment matters. If you live near traffic, have smokers in the home, or suffer from severe allergies, consider replacing closer to the 3-year mark.
When replacing, always use genuine Austin Air filters. Third-party knockoffs might fit, but they won’t deliver the same performance or longevity.
After installing new filters, reset the unit and run it on high for 24 hours to “burn off” any initial off-gassing from the carbon layer.
Step 6: Clean Air Vents and Internal Grilles Quarterly
Even with a clean pre-filter, dust can sneak into the internal grilles and fan housing over time.
Use your vacuum’s brush attachment to gently clean around the intake and exhaust vents. For tighter spots, a can of compressed air works wonders—just hold the can upright and use short bursts.
Avoid using water or cleaning sprays inside the unit. Austin Air designs are sealed for a reason; moisture can ruin the electronics or compromise filter integrity.
I do this every three months during my seasonal deep-clean routine. It keeps airflow strong and prevents that “stuffy” sound some older units develop.
Step 7: Monitor Performance and Adjust Settings
Your purifier isn’t a “set it and forget it” appliance. Pay attention to how it sounds and feels.
If the fan seems louder than usual, or if airflow feels weaker, it could signal a clogged filter or obstructed vent. Likewise, if you notice lingering odors or increased allergy symptoms, it’s time to check the filters.
Use the fan speed settings wisely. Run it on high during peak pollution times (like wildfire season or after cleaning), then switch to medium or low for maintenance. This extends filter life and saves energy.
And hey—consider placing it in the room where you spend the most time. For me, that’s the bedroom. Cleaner air at night means better sleep and fewer morning sniffles.
Pro Tips & Common Mistakes to Avoid
Over the years, I’ve made my share of mistakes—and learned some golden rules along the way.
Visual guide about how to maintain austin air purifiers
Image source: cdn.shopify.com
Don’t ignore the pre-filter. It’s easy to focus only on the main filters, but a dirty pre-filter forces the HEPA to work harder, shortening its lifespan.
Never use bleach or harsh chemicals. They can degrade filter materials and leave harmful residues in your air.
Don’t store used filters in sealed bags. If there’s any moisture trapped inside, mold can grow—and you definitely don’t want that smell released when you reinstall.
One thing I wish I’d known earlier: you can extend filter life by running the purifier consistently. Contrary to popular belief, frequent use actually helps keep filters “active” and prevents stagnation.
Also, avoid placing your unit in direct sunlight or near heat sources. Excessive heat can warp plastic parts and degrade filter media faster.
Finally—set a reminder! I use my phone calendar to alert me every 3 months for pre-filter cleaning and annually for a full inspection. It’s saved me from forgetting more times than I’d like to admit.
FAQs About How to Maintain Austin Air Purifiers in 2026 for Optimal Performance
Q: How often should I clean my Austin Air purifier?
A: Wipe the exterior weekly, vacuum the pre-filter every 2–4 weeks, and do a full inspection monthly. Deep cleaning (vents, grilles) every 3 months keeps everything running smoothly.
Q: Can I wash the HEPA filter?
A: No—and please don’t try! The HEPA filter is delicate and water will ruin it. Only the pre-filter (if removable and washable) can be rinsed. Always check your manual first.
Q: My purifier smells weird after I cleaned it. What’s wrong?
A: If you used soap or moisture near the main filters, residual odor might linger. Run the unit on high for 24–48 hours in a well-ventilated room. If the smell persists, the filter may be compromised—consider replacement.
Q: Do I really need to replace filters every 3–5 years if it still looks clean?
A: Yes. Even if it looks okay, the carbon layer loses its odor-absorbing power over time, and HEPA efficiency drops. Think of it like a toothbrush—it might look fine, but it’s not doing its job optimally.
Q: Can I use my Austin Air purifier 24/7?
A: Absolutely! In fact, continuous operation is recommended for best air quality. These units are built for constant use and are energy-efficient on lower settings.
Q: What’s the difference between the HealthMate and Allergy Machine models?
A: Both are excellent, but the Allergy Machine includes an additional HEGA (High-Efficiency Gas Adsorber) cloth layer for enhanced chemical and odor removal. Maintenance steps are nearly identical—just confirm your filter type before replacing.
Q: My unit is making a rattling noise. Is that normal?
A: Not usually. Check that the pre-filter is seated properly and nothing is loose inside. If the noise continues, contact Austin Air customer service—they’re known for outstanding support and may offer troubleshooting or warranty help.
Final Thoughts
Maintaining your Austin Air purifier doesn’t have to be complicated—or time-consuming. With just a few minutes each month, you can ensure it delivers clean, fresh air for years to come.
Remember: how to maintain Austin Air purifiers in 2026 for optimal performance comes down to consistency, awareness, and using the right tools. It’s not about perfection—it’s about care.
Start today. Unplug your unit, grab that microfiber cloth, and give it the attention it deserves. Your lungs (and your peace of mind) will thank you.
And if you’ve got a tip or story about your own purifier journey? I’d love to hear it. Share it in the comments—we’re all in this together, breathing a little easier, one filtered breath at a time.
“`