
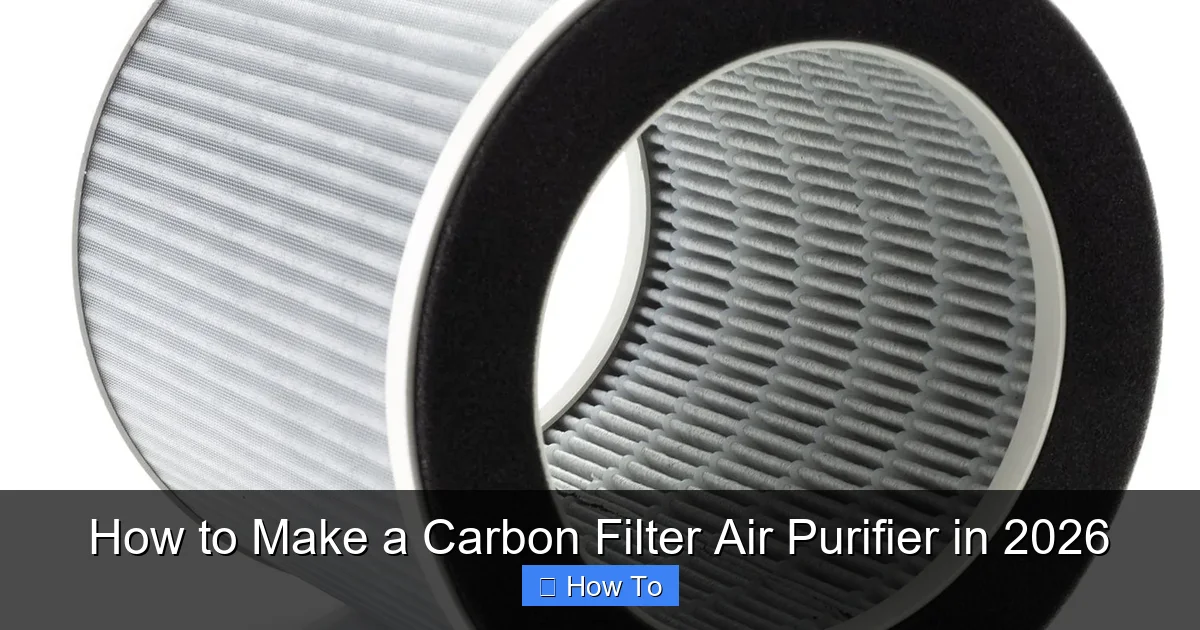
Featured image for how to make a carbon filter air purifier
Image source: i.pinimg.com
Building a carbon filter air purifier in 2026 is simpler and more affordable than you think, using everyday materials like a box fan, activated carbon, and a mesh screen. This DIY solution effectively traps odors, VOCs, and airborne chemicals, offering a budget-friendly alternative to commercial purifiers while promoting clean, breathable air at home.
“`html
How to Make a Carbon Filter Air Purifier in 2026
Key Takeaways
- Use activated carbon: It effectively traps odors, gases, and volatile organic compounds.
- Choose a sturdy container: A sealed plastic or metal box ensures proper airflow and safety.
- Layer carbon evenly: Uniform distribution maximizes filtration efficiency and longevity.
- Add a pre-filter: Captures dust and large particles before air reaches the carbon.
- Install a quiet fan: Pulls air through the filter for consistent purification.
- Replace carbon regularly: Recharge or swap every 3–6 months for peak performance.
- Seal all gaps: Prevents unfiltered air from bypassing the carbon layer.
Why This Matters / Understanding the Problem
Ever walk into your kitchen after frying fish and feel like the smell is never leaving? Or maybe you’ve got a basement that always feels musty, no matter how often you open the windows. That’s where a carbon filter air purifier comes in—and learning how to make a carbon filter air purifier in 2026 can be a total game-changer.
Activated carbon is like a sponge for odors, chemicals, and volatile organic compounds (VOCs). Unlike HEPA filters that trap particles like dust and pollen, carbon targets gases and smells—think cigarette smoke, cooking fumes, pet odors, and even off-gassing from new furniture. In 2026, with rising indoor air quality concerns and eco-conscious living on the rise, a DIY carbon filter air purifier isn’t just a hack—it’s a smart, affordable, and sustainable solution.
And the best part? You don’t need to be an engineer or spend hundreds on a commercial unit. With a few simple tools and materials, you can build one that’s just as effective. Whether you’re dealing with a small room, a garage, or even a camper van, this guide will walk you through how to make a carbon filter air purifier in 2026—step by step, with zero jargon and real talk about what works (and what doesn’t).
Personal note: I built my first carbon filter after my dog decided to “mark” my new couch. I was desperate. Commercial purifiers were pricey, and I didn’t want to mask the smell—I wanted to eliminate it. That DIY project not only saved my furniture but also taught me how powerful activated carbon can be. Now, I keep one in every room.
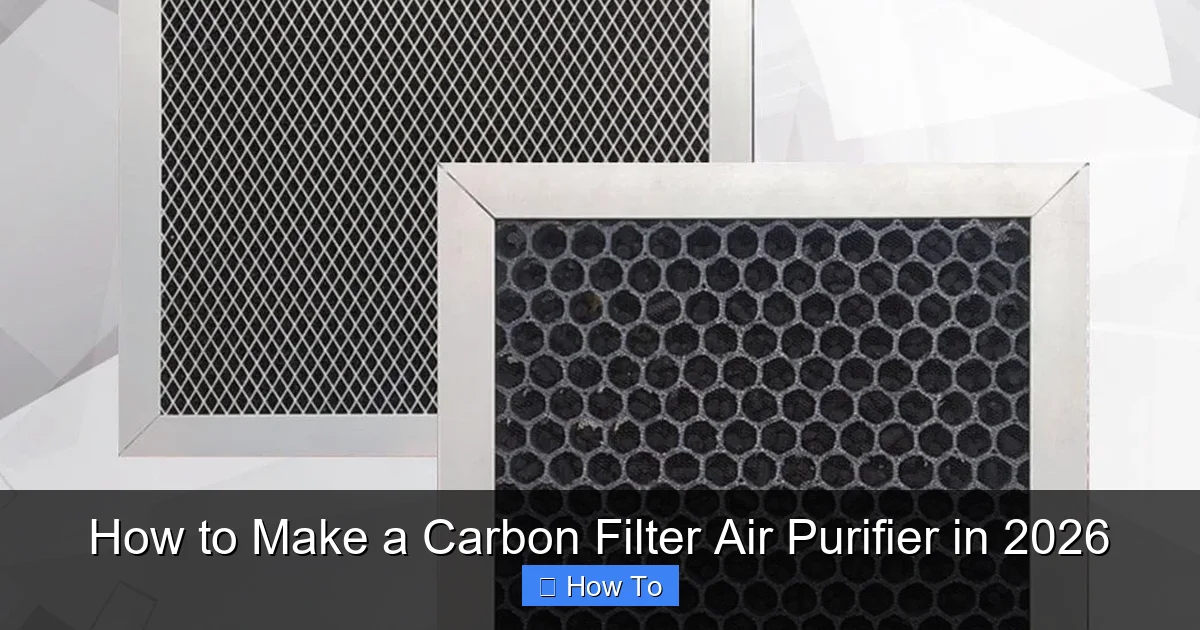
What You Need
Before we dive in, let’s talk about what you’ll need. The beauty of this project is that most of these materials are easy to find, affordable, and reusable. You can even upcycle some parts. Here’s your checklist:
Visual guide about how to make a carbon filter air purifier
Image source: medictherapeutics.com
- Box fan (8″ or 20 cm minimum): The heart of your purifier. Look for a quiet, high-CFM model. A used one from Craigslist or Facebook Marketplace works fine—just clean it first.
- Activated carbon (granular, 4-8 mesh): This is non-negotiable. Get food-grade or air filtration-grade carbon. Avoid powdered carbon—it clogs and doesn’t flow well. I buy mine in 5-pound bags from Amazon or a hydroponics store. One bag lasts for multiple filters.
- Two (2) mesh grates or metal screens: These keep the carbon in place. I use 1/4-inch hardware cloth (galvanized steel) cut to size. Plastic mesh works too, but metal lasts longer.
- Two (2) cardboard or plastic frames (optional but recommended): These act as carbon chambers. I use old cereal boxes or cut plastic storage bins. They’re easy to shape and replace.
- Duct tape or strong packing tape: For sealing edges and attaching the frames. Avoid regular scotch tape—it won’t hold up to airflow.
- Scissors or utility knife: For cutting mesh and frames.
- Measuring tape or ruler: To size your frames and mesh correctly.
- Optional: HEPA filter panel (cut to fan size): If you want to tackle both particles and odors, add a pre-filter. A $10 furnace filter from Home Depot works great.
- Optional: Fan speed controller: Lets you adjust airflow. Handy if you’re using it in a bedroom.
Pro insight: I once tried using sand instead of carbon—big mistake. It didn’t absorb anything. Stick with activated carbon—it’s the secret sauce. And always buy extra. You’ll want to refill your filter every few months, depending on use.
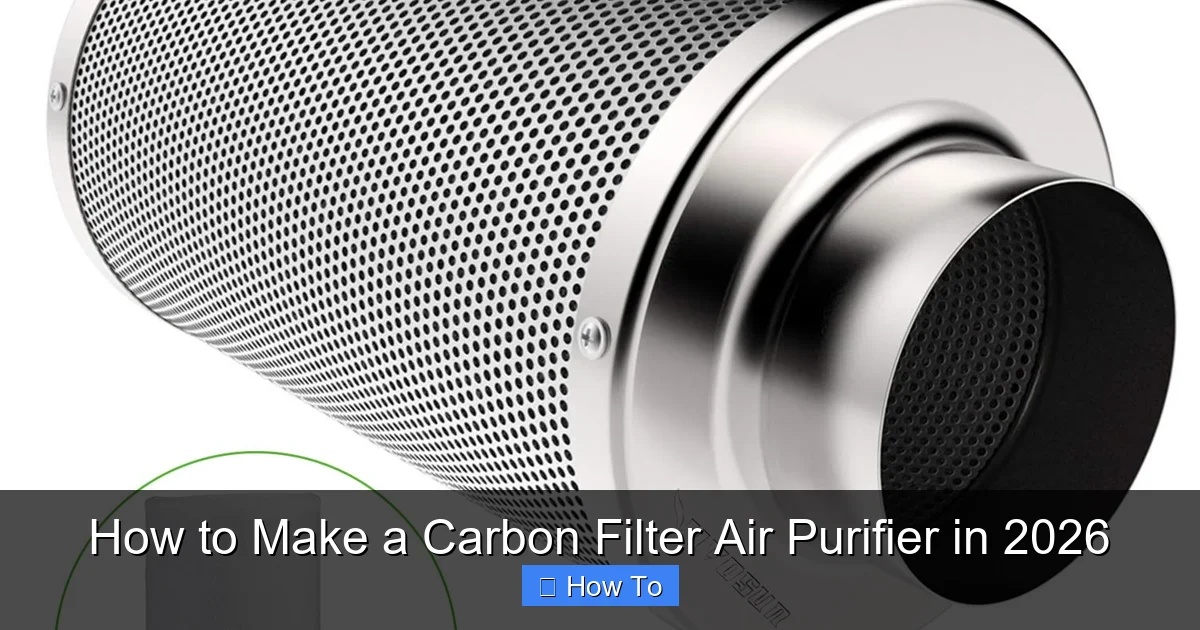
Step-by-Step Guide to How to Make a Carbon Filter Air Purifier in 2026
Step 1: Choose and Prep Your Fan
Start with a clean, working box fan. If it’s dusty or noisy, wipe it down and check the bearings. A smooth-running fan means better airflow and less strain on the motor.
Visual guide about how to make a carbon filter air purifier
Image source: fltr.com.au
Measure the fan’s front and back faces. You’ll be building two carbon chambers—one for intake (air going into the fan) and one for exhaust (air coming out). I prefer placing the carbon on the exhaust side to avoid pulling in large particles that could clog the carbon bed. But either works—just be consistent.
Pro tip: If your fan has a grill, leave it on. It adds structural support and keeps the mesh from warping.
Step 2: Build the Carbon Chambers (Frames)
Now, make two frames that fit snugly over the fan. I use cardboard from cereal boxes because it’s rigid, easy to cut, and holds tape well. Cut two rectangles that match your fan’s dimensions—slightly larger than the mesh so it overlaps the edges.
Make the frames about 1.5 to 2 inches deep. This gives you enough space for 1–1.5 inches of carbon (we’ll add the mesh later). If you’re using plastic bins, cut the bottoms off and tape them together to get the right depth.
Why this depth? Less than 1 inch, and the carbon doesn’t have enough contact time with the air. More than 2 inches, and the fan struggles to pull air through. It’s a sweet spot.
Step 3: Cut and Attach the Mesh
Cut two pieces of mesh to match your fan’s size. Use scissors or a utility knife. Make sure the mesh is tight and flat—no wrinkles or sagging.
Now, tape one mesh piece to the inside of each frame. This creates a pocket that holds the carbon. Use duct tape all around the edges—don’t skimp. I do two layers to be safe. The mesh must be secure; loose carbon will fly into your fan and ruin it.
Flip the frame over. The mesh should now face inward, creating a “basket” for the carbon. Repeat for both frames.
Warning: I once taped the mesh on the outside. Big mistake. Carbon spilled into the fan motor and made a grinding noise. Tape the mesh inside the frame—this keeps the carbon contained.
Step 4: Fill the Frames with Activated Carbon
Time to add the magic ingredient. Pour your activated carbon into each frame. Fill it to about 1–1.5 inches deep. Don’t pack it down—loose carbon allows better airflow and more surface exposure.
Use a funnel if you have one. I use a cut soda bottle—it’s free and works great. Pour slowly to avoid spilling.
Once filled, tap the frame lightly on the table to settle the carbon. Then, add a second mesh layer on top and tape it securely. This “sandwich” method (mesh-carbon-mesh) keeps everything in place, even when the fan is on high.
Step 5: Attach the Frames to the Fan
Now, attach one frame to the front of the fan (intake side) and one to the back (exhaust side). Use duct tape around the entire perimeter. Make sure there are no gaps—air should only flow through the carbon, not around it.
I tape in a crisscross pattern for extra strength. If you’re using a HEPA pre-filter, attach it to the intake side first, then the carbon frame over it. This way, large particles are caught before they hit the carbon.
Double-check that the frames don’t wobble. A secure fit means no carbon leaks and consistent performance.
Step 6: Test and Adjust
Plug in the fan and turn it on low. Listen for unusual noises. If you hear rattling or grinding, unplug it immediately—carbon might be loose.
Feel the airflow. It should be strong but not strained. If the fan seems sluggish, the carbon bed might be too thick or the mesh too fine. Adjust by removing a little carbon or using a larger mesh (e.g., 1/2-inch instead of 1/4-inch).
Let it run for 10–15 minutes in a smelly room. You should notice a difference within an hour. For best results, run it for several hours or overnight.
Step 7: Maintain and Reuse
Your carbon filter won’t last forever. Over time, the carbon gets “used up” as it absorbs pollutants. Signs it’s time to refill:
- Odors start returning
- Airflow feels weaker
- Carbon looks dusty or clumped
Most carbon lasts 3–6 months with daily use. To refresh it, simply open the frame (carefully), pour out the old carbon, and refill with fresh. I store my used carbon in a sealed bag—it can sometimes be reactivated by baking at 200°F for 30 minutes (not recommended for beginners).
Replace the frames every 6–12 months, depending on wear. And always clean the fan blades monthly to maintain airflow.
Pro Tips & Common Mistakes to Avoid
After building over a dozen carbon filters (yes, I’m a bit obsessed), I’ve learned a few things the hard way. Here’s what I wish someone told me earlier:
Visual guide about how to make a carbon filter air purifier
Image source: homecomfyguide.com
- Don’t skimp on carbon quality. Cheap, non-activated charcoal won’t work. Look for “activated” and “granular” on the label. I once bought “grill charcoal”—it did nothing.
- Seal all edges. Even a small gap lets unfiltered air bypass the carbon. Tape every seam like your air quality depends on it—because it does.
- Use a pre-filter. Dust and pet hair can coat the carbon, reducing its effectiveness. A $5 furnace filter as a pre-filter extends carbon life by months.
- Size matters. A small fan with a thick carbon bed will struggle. Match your fan’s CFM to the carbon depth. For an 8-inch fan, 1–1.5 inches is ideal.
- Don’t run it in high-humidity areas. Moisture clogs carbon pores. Avoid bathrooms or damp basements unless you add a dehumidifier.
- Label your filter. I write the build date on the fan with a marker. This helps me track when to refill.
- Think about noise. Some fans get louder with added resistance. Test on low first. If it’s too loud, try a larger fan or thinner carbon layer.
Real talk: I once built a filter with a 2-inch carbon bed on a cheap $10 fan. It barely moved air. Lesson learned: invest in a decent fan. A $25 fan with 500+ CFM is worth every penny for how to make a carbon filter air purifier in 2026.
FAQs About How to Make a Carbon Filter Air Purifier in 2026
1. How much carbon do I need?
For an 8-inch fan, 1–1.5 pounds per side works well. I use about 2.5 pounds total. Buy a 5-pound bag—it’s cheaper per pound and gives you spares.
2. Can I use this in my car or RV?
Absolutely. I built a mini version for my camper van using a 6-inch fan and a small plastic frame. Just make sure the fan fits and you have a power source (like a USB adapter). It works wonders on campfire smoke and pet odors.
3. Is this safe? Can carbon catch fire?
No, activated carbon is non-flammable. It won’t catch fire, even if the fan overheats (though that’s unlikely). Just avoid placing the fan near flammable materials, like curtains.
4. How do I know if it’s working?
The best test? Your nose. Run it in a smelly room for 2–3 hours. If the odor fades, it’s working. You can also use an air quality monitor (like the Temtop or Airthings) to measure VOC levels.
5. Can I add essential oils to the carbon?
Don’t. Essential oils can degrade the carbon and create a sticky mess. Carbon works by absorption—adding oils just wastes its capacity. Let it do its job naturally.
6. What if I have allergies or asthma?
This filter excels at odors and VOCs, but it doesn’t replace a HEPA filter for dust, pollen, or mold spores. For allergies, combine it with a HEPA pre-filter. Many commercial purifiers do this—and you can too.
7. How often should I replace the carbon?
It depends on use. In a smoky or high-pollution room, replace every 3 months. In a clean bedroom, every 6 months. If you’re unsure, trust your nose. If odors return, it’s time to refill.
Final Thoughts
Learning how to make a carbon filter air purifier in 2026 isn’t just about saving money—it’s about taking control of your indoor air. In a world where we spend 90% of our time indoors, clean air isn’t a luxury; it’s a necessity.
This DIY project is simple, effective, and customizable. Whether you’re fighting cooking smells, pet odors, or chemical off-gassing, a homemade carbon filter can make a noticeable difference. And with the rising cost of commercial purifiers, it’s a sustainable choice that pays off in both health and savings.
My advice? Start small. Build one for your kitchen or bedroom. Test it for a week. See how you feel. Once you experience the difference, you’ll want one in every room.
And remember: this isn’t a one-and-done project. Maintain it, refill it, and tweak it as needed. Air quality changes with the seasons, your habits, and your environment. A good carbon filter adapts with you.
So grab a fan, some carbon, and get building. Your nose—and your lungs—will thank you. And hey, if you’re like me, you might even enjoy the process. There’s something satisfying about building your own solution, one that actually works.
Now go breathe easy. You’ve earned it.
“`