Featured image for how to make a charcoal air purifier
Image source: m.media-amazon.com
Transform everyday materials into a powerful air purifier using activated charcoal and a simple fan—ideal for cleaner indoor air in 2026. This easy DIY guide walks you through building a cost-effective, eco-friendly charcoal air purifier in under an hour, perfect for reducing odors, allergens, and VOCs. No special tools or expertise required—just repurpose a container, add activated charcoal, and let airflow do the rest.
“`html
How to Make a Charcoal Air Purifier in 2026 Easy DIY Guide
Key Takeaways
- Use activated charcoal for maximum air-purifying effectiveness and odor removal.
- Choose a breathable container like a mesh bag or perforated plastic bottle.
- Ensure proper airflow by placing near vents or using a small fan.
- Replace charcoal every 2–3 months to maintain optimal filtration performance.
- Combine with houseplants for enhanced natural air purification.
- DIY purifiers are cost-effective and eco-friendly compared to commercial units.
Why This Matters / Understanding the Problem
Let’s be real—air quality isn’t what it used to be. Between wildfire smoke, urban pollution, and indoor allergens, our lungs are working overtime. I remember one summer when my allergies went haywire. My doctor said, “You might want to look into air purification.” That’s when I discovered the power of charcoal—yes, charcoal—as a natural air filter.
Activated charcoal (also called activated carbon) is a game-changer. It traps pollutants, absorbs odors, and removes volatile organic compounds (VOCs) without needing electricity. And the best part? You can build your own charcoal air purifier at home. No fancy tech, no monthly filter replacements—just science, simplicity, and a little DIY spirit.
If you’ve been searching for a sustainable, low-cost way to breathe easier, learning how to make a charcoal air purifier in 2026 easy DIY guide might be your best move yet. This isn’t just a trend—it’s a practical solution that works in homes, offices, and even small apartments.
Unlike bulky HEPA systems, a charcoal purifier is quiet, energy-free, and eco-friendly. Plus, it’s customizable. Want to add essential oils? Go for it. Need a compact version for your car? Done. The flexibility makes this a top choice for anyone looking to improve indoor air quality without breaking the bank.
What You Need
Before we dive in, let’s gather everything you’ll need. Don’t worry—most of these items are easy to find or already in your home.
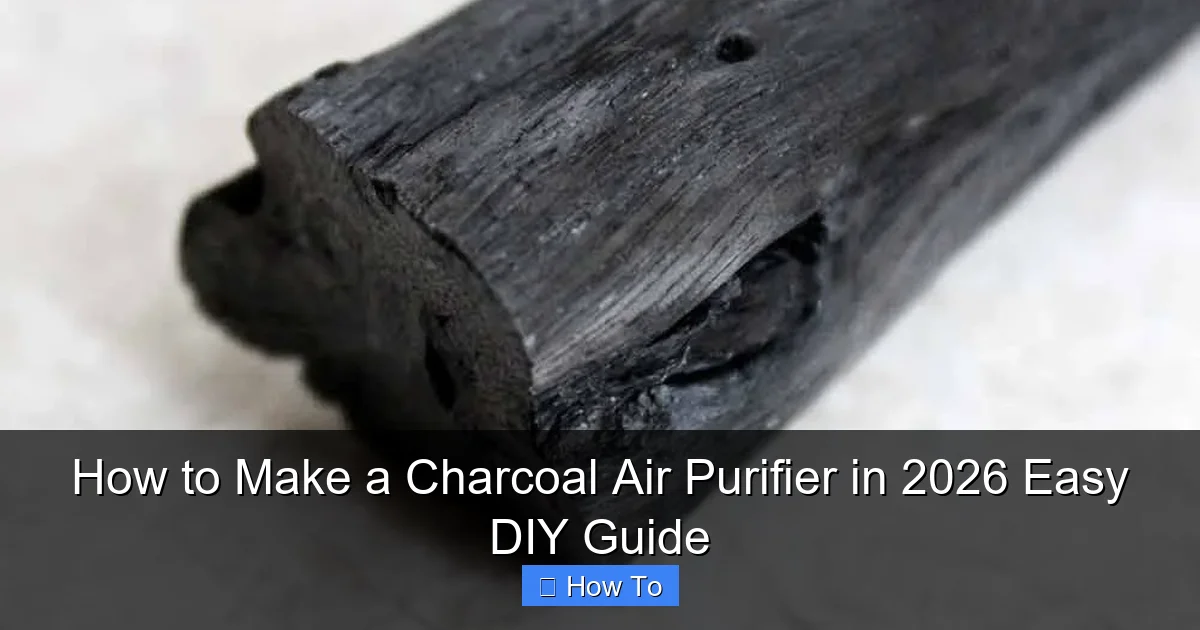
Visual guide about how to make a charcoal air purifier
Image source: cdn.shopify.com
- Activated charcoal (food-grade, 1–2 cups) – not regular barbecue charcoal. Look for “activated carbon pellets” or “coconut shell activated charcoal” online or at pet stores.
- Plastic or metal container – A clean, empty soda bottle, mason jar, or food container with a lid. Size depends on where you plan to use it (small for a bedroom, larger for a living room).
- Drill or sharp nail – To make holes in the lid and base.
- Fan (optional but recommended) – A small USB desk fan or computer fan helps push air through the charcoal faster. This boosts efficiency.
- Mesh or cheesecloth – To keep charcoal from spilling out.
- Rubber bands or tape – For securing the mesh.
- Scissors or box cutter – For cutting plastic if needed.
- Measuring cup or spoon – For portioning charcoal.
Pro Tip: Skip the barbecue charcoal. It often contains additives like lighter fluid or chemicals that can pollute your air instead of purifying it. Activated charcoal is processed at high heat to create millions of tiny pores—perfect for trapping contaminants.
Optional extras:
– Essential oils (like tea tree or eucalyptus) for a fresh scent
– A small cardboard box (for larger units)
– Glue or hot glue gun (for sealing edges)
Now that you’ve got your supplies, let’s build your how to make a charcoal air purifier in 2026 easy DIY guide step by step.
Step-by-Step Guide to How to Make a Charcoal Air Purifier in 2026 Easy DIY Guide
Step 1: Choose Your Container & Prep the Base
Start by picking the right container. I used a 20-oz plastic water bottle for my first one—it worked great in my bedroom. For a living room, go bigger (a 1-gallon container or even a shoebox with plastic lining).
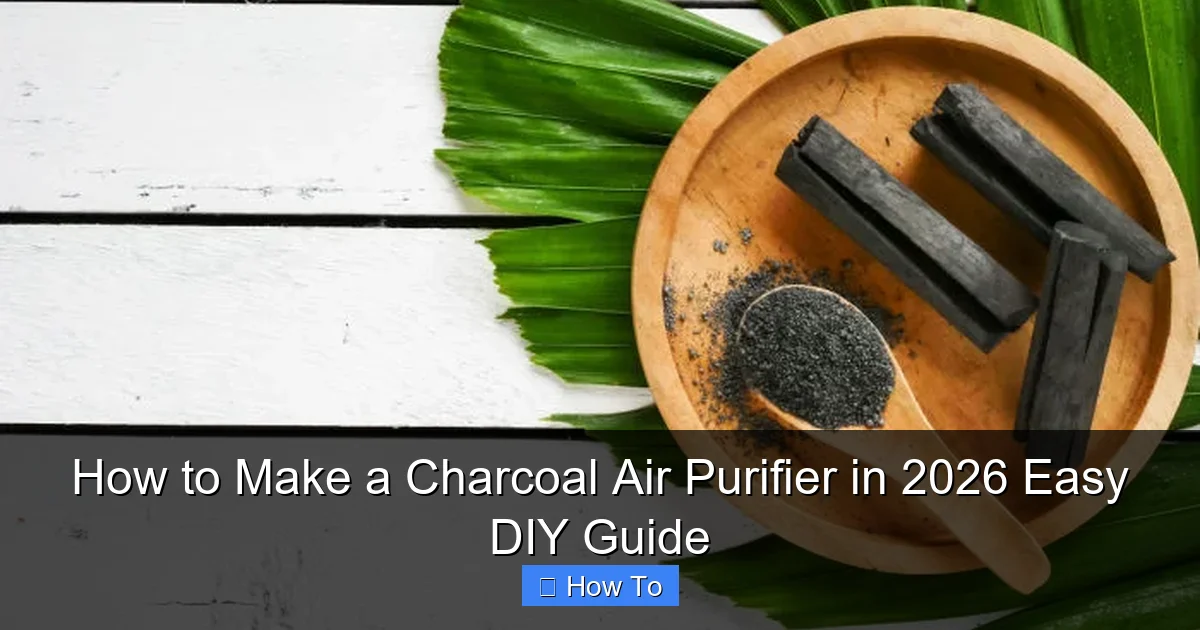
Visual guide about how to make a charcoal air purifier
Image source: cleantheair.org
Cut the container in half if it’s a bottle. Use scissors or a box cutter to slice it cleanly about 2/3 of the way up. You’ll use the bottom part as the base and the top as the lid.
If you’re using a jar or box, skip the cutting. Just make sure it’s clean and dry.
Warning: If using a plastic bottle, don’t cut too close to the base—you want at least 2 inches for charcoal to sit in. A wobbly base = charcoal spill = messy cleanup.
Step 2: Drill Holes for Airflow
This step is crucial. Without holes, air won’t flow through the charcoal. Use a drill, heated nail, or sharp awl to make small holes in the base and lid.
- On the base, make 8–10 small holes (about 1/8 inch) near the bottom. These are your inlet holes—air enters here.
- On the lid, make 6–8 holes on top. These are your outlet holes—air exits after being filtered.
For plastic bottles, I heat a nail with a lighter and gently poke it through. It seals the edges nicely. For metal, a drill is best.
Pro tip: Make sure the holes aren’t too big. You don’t want charcoal falling out. If they are, cover them with mesh later.
Step 3: Line the Base with Mesh
Now, cut a piece of mesh or cheesecloth large enough to cover the inside of the base and extend slightly over the rim. This keeps charcoal in while letting air pass through.
Secure it with rubber bands or tape. I use two rubber bands—one on the inside edge, one on the outside—to create a snug fit. If you’re using a jar, just stretch the mesh over the opening and clamp the lid down.
Test it: Pour a little water in. If it leaks through, add another layer of mesh. But make sure air still moves—don’t pack it too tight.
Step 4: Fill with Activated Charcoal
Time to add the magic ingredient. Pour 1–2 cups of activated charcoal into the lined base. The amount depends on your container size:
- Small (16–20 oz): 1 cup
- Medium (1 quart): 1.5 cups
- Large (1 gallon+): 2–3 cups
Don’t overfill. Leave about 1 inch of space at the top so the lid fits without crushing the charcoal.
Optional: Add a few drops of essential oil (1–2 drops only) to the charcoal for a fresh scent. I like tea tree for its antibacterial properties, or eucalyptus for a clean, crisp smell.
Pro Tip: Shake the container gently after filling. This helps the charcoal settle and removes fine dust. You’ll see a little cloud—that’s normal. Just do it outside or in the sink.
Step 5: Attach the Lid (or Top Section)
If you’re using a bottle, slide the top half (funnel-shaped) upside down into the base. The neck should point downward, creating a chimney effect. Secure it with tape or a rubber band if it wobbles.
For jars or boxes, just screw on the lid or tape it shut. Make sure the outlet holes are clear and facing upward.
Now, cover the outlet holes with another layer of mesh. This prevents dust from settling on the charcoal and keeps things tidy.
Step 6: Add a Fan (For Faster Filtration)
This step is optional, but it makes a huge difference. A small USB fan placed on top (blowing upward) or near the inlet (pulling air in) speeds up the process.
I use a $12 USB fan from Amazon. Plug it into a power bank or laptop. The fan pulls air through the inlet holes, through the charcoal, and out the top.
Without a fan, the purifier relies on natural air movement—fine for small rooms, but slow. With a fan, you’ll notice cleaner air in 1–2 hours.
For a no-fan version: Place the purifier near a window or air vent to catch natural airflow.
Step 7: Place It Strategically
Where you put your purifier matters. Here’s where I’ve had the best results:
- Bedroom: On a nightstand, near your head. Helps with allergies and night breathing.
- Living room: On a side table or shelf, away from direct sunlight.
- Kitchen: Near the stove to absorb cooking odors.
- Office: On your desk, especially if you have electronics or printers (they release VOCs).
Avoid placing it on the floor—dust and moisture can shorten the charcoal’s life.
Step 8: Maintain & Recharge
Charcoal doesn’t last forever. Over time, its pores fill up. Here’s how to keep it effective:
- Sunlight recharge: Once a month, place the purifier in direct sunlight for 2–3 hours. UV rays help “burn off” trapped pollutants.
- Replace every 3–6 months: Depending on air quality. If it stops absorbing odors or feels dusty, it’s time to swap the charcoal.
- Clean the container: Rinse with water and let it dry before refilling.
I keep a log on my phone: “Charcoal recharge: every 4 weeks.” It’s easy to forget, but a quick reminder keeps the system running.
Pro Tips & Common Mistakes to Avoid
After building over a dozen of these for myself and friends, I’ve learned a few things the hard way. Here’s what you need to know:
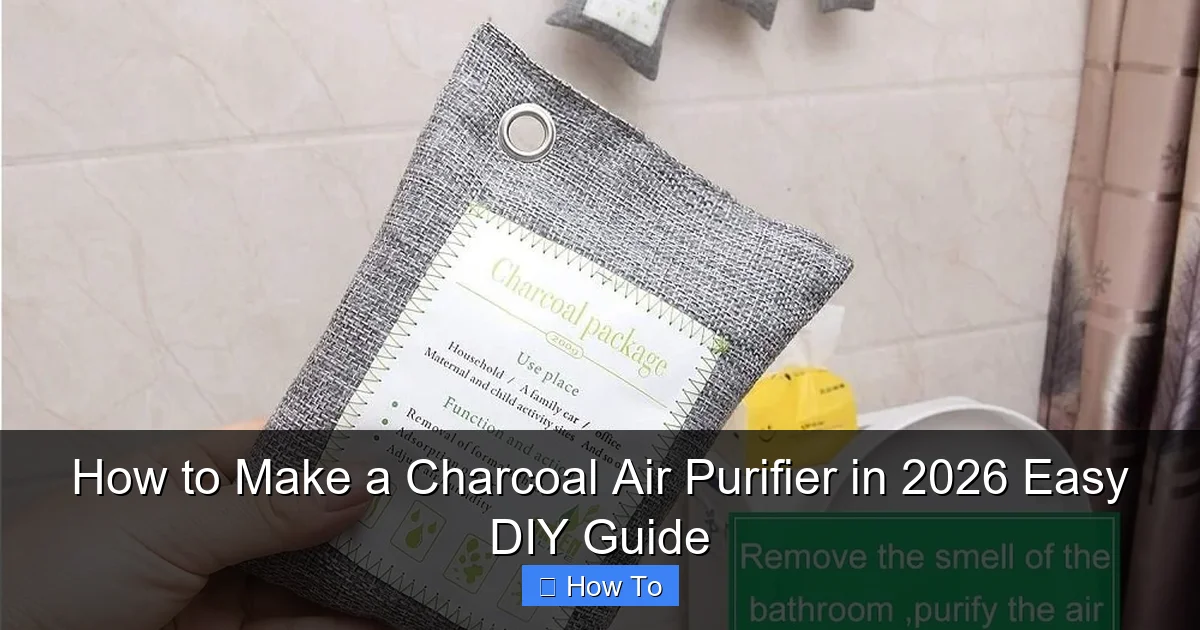
Visual guide about how to make a charcoal air purifier
Image source: householdme.com
Tip #1: Don’t Use Regular Charcoal – I once tried BBQ charcoal to save money. Big mistake. It released a chemical smell and made my room smell like a campfire. Always use activated charcoal.
Tip #2: Size Matters – A tiny purifier in a large room? It’s like using a teacup to bail out a sinking boat. For rooms over 300 sq ft, use a larger container or multiple units.
Tip #3: Fan Direction is Key – If you add a fan, make sure it’s pulling air through the charcoal, not blowing into it. Blowing can push unfiltered air around the sides.
Tip #4: Avoid Moisture – Humidity clogs charcoal pores. Don’t use it in a bathroom or near a humidifier. If you live in a humid climate, recharge more often.
Tip #5: Test Before You Trust – Light a match, blow it out, and place the purifier nearby. If the smoke smell fades in 10–15 minutes, it’s working. If not, check for gaps in the mesh or poor airflow.
Common Mistakes:
- Skipping the mesh: Without it, charcoal spills out. I learned this when my cat knocked it over. Lesson learned.
- Too many holes: Big holes let charcoal escape. Small, evenly spaced holes are better.
- Ignoring airflow: A purifier with no fan or poor placement won’t do much. Think of it like a straw—air needs to move.
- Using old charcoal: If it’s been sitting in a damp garage for months, it’s probably spent. Always buy fresh.
One friend told me, “Mine didn’t work.” Turns out, she used charcoal from a fish tank filter that was 3 years old. Fresh charcoal makes all the difference.
Remember: This isn’t a HEPA replacement for severe allergies or mold. But for everyday odors, VOCs, and light pollution? It’s a fantastic, affordable tool.
FAQs About How to Make a Charcoal Air Purifier in 2026 Easy DIY Guide
Q: How long does activated charcoal last in a DIY purifier?
A: With monthly sunlight recharging, it lasts 3–6 months. In high-pollution areas (like near traffic), replace it every 2–3 months. If you notice lingering odors, it’s time for a fresh batch.
Q: Can I use this in my car?
A: Yes! I made a mini version in a 16-oz bottle. I keep it under the passenger seat and recharge it weekly. It handles food smells, pet odors, and exhaust fumes surprisingly well. Just don’t leave it in direct sun for too long—plastic can warp.
Q: Is it safe around kids and pets?
A: Totally safe—as long as the charcoal stays in the container. Keep it out of reach if you have a curious toddler or cat. The charcoal itself is non-toxic (used in medicine!), but you don’t want it scattered.
Q: Does it remove viruses or bacteria?
A: Not directly. Charcoal filters chemicals, odors, and particles, but not microbes. For viruses, you’d need a HEPA filter or UV light. But by reducing VOCs and allergens, it helps your immune system work better.
Q: Can I make it smell like something specific?
A: Yes! Add 1–2 drops of essential oil to the charcoal. I love lavender for bedrooms, citrus for kitchens, and peppermint for offices. Avoid overdoing it—too much oil can clog the pores.
Q: What if I don’t have a fan?
A: It still works! Natural air movement will slowly pass through. It’s less effective, but better than nothing. I use a no-fan version in my closet to keep clothes fresh.
Q: Where should I buy activated charcoal?
A: I get mine on Amazon or at pet stores (sold for fish tanks). Look for “coconut shell activated charcoal” or “food-grade activated carbon.” Avoid “carbon black” or “industrial carbon”—they’re not for air purification.
Final Thoughts
Building a charcoal air purifier isn’t just a fun weekend project—it’s a smart, sustainable way to take control of your air quality. I’ve used mine for over two years now, and I can’t imagine my home without it. Whether you’re dealing with cooking smells, pet dander, or urban pollution, this DIY solution delivers real results.
The how to make a charcoal air purifier in 2026 easy DIY guide isn’t about perfection. It’s about progress. You don’t need a lab or a degree. Just a few simple tools, some activated charcoal, and a willingness to try.
Start small. Make one for your bedroom. Test it. Tweak it. Once you see how well it works, you’ll want to build more. And that’s the beauty of it—you’re not locked into expensive filters or energy-hungry machines. You’re in control.
So grab that water bottle, head to the hardware store, and give it a shot. Your lungs (and your guests) will thank you. And hey—if you mess up the first time? No worries. I did. But now I’ve got purifiers in every room, and I breathe easier every day.
Here’s to cleaner air, one charcoal pellet at a time.
“`