Transform your home into a fresher, healthier space with DIY air purifying candles made simple in 2026. Using natural ingredients like beeswax, essential oils, and activated charcoal, these candles not only emit a soothing glow but also help neutralize pollutants and odors. Follow our easy, step-by-step guide to craft eco-friendly candles that purify the air while enhancing your ambiance—effortlessly and affordably.
“`html
How to Make Air Purifying Candles in 2026: Simple Guide
Key Takeaways
- Use natural soy wax for cleaner, longer-lasting burns and better air quality.
- Add essential oils like tea tree or eucalyptus to naturally purify the air.
- Choose cotton wicks to avoid toxins released by metal-core alternatives.
- Infuse activated charcoal into wax to trap airborne pollutants effectively.
- Let candles cure 24–48 hours for optimal fragrance and purification performance.
- Burn in well-ventilated areas to enhance air-cleansing benefits safely.
Why This Matters / Understanding the Problem
Let’s be honest—our homes aren’t always as fresh as we’d like them to be. Whether it’s lingering cooking smells, pet odors, or just that “stale indoor air” vibe, it can feel like no amount of cleaning fixes the root issue. I remember one winter evening, after a hearty stew simmered all day, my living room smelled amazing… for about an hour. Then came the funk. I lit a store-bought candle, but instead of purifying the air, it just masked the scent with synthetic lavender that made my eyes water.
That’s when I started wondering: What if candles could actually clean the air instead of just covering up smells? Turns out, they can—especially when made with natural, plant-based ingredients that neutralize odors and pollutants. In 2026, more people are turning to DIY air purifying candles not just for cleaner air, but for a calming, chemical-free ritual that fits into mindful living.
This guide walks you through how to make air purifying candles in 2026—a simple, science-backed method using safe, sustainable materials. No fancy lab equipment, no toxic fragrances, just real ingredients that work with nature, not against it.
What You Need
Before we dive in, let’s gather our supplies. The beauty of this project is that most items are easy to find online or at your local craft store. You don’t need a chemistry degree—just a little patience and a willingness to experiment.
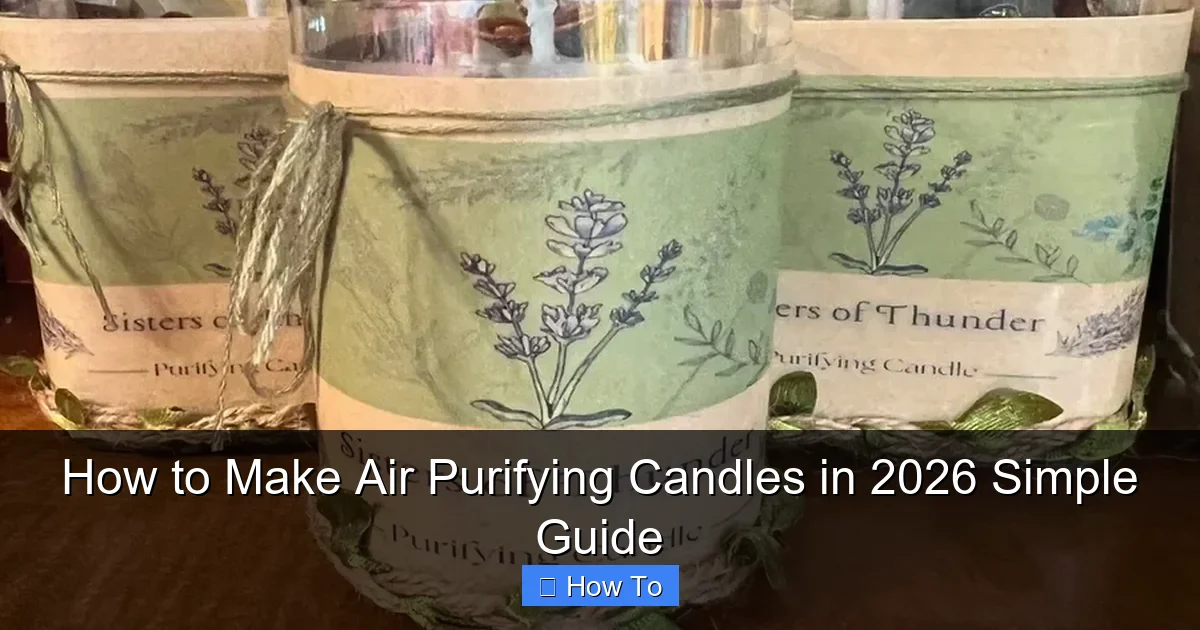
Visual guide about how to make air purifying candles
Image source: bharathoney.com
- Natural wax: Soy wax flakes or coconut wax are ideal. They burn cleaner than paraffin and are renewable resources.
- Essential oils with purifying properties: Think tea tree, eucalyptus, lemon, or lavender. These aren’t just for scent—they have antimicrobial and deodorizing qualities.
- Cotton or wood wicks: Avoid lead-core wicks. Cotton wicks are affordable and eco-friendly; wood wicks give a soft crackle but require slightly more attention.
- Heat-resistant containers: Mason jars, ceramic ramekins, or recycled glass bottles work great. Make sure they’re clean and dry.
- Double boiler or microwave-safe bowl: For melting wax safely.
- Thermometer: A candy or candle thermometer helps monitor wax temperature—key for avoiding soot or poor scent throw.
- Wick holder or chopsticks/pencils: To keep the wick centered while the wax sets.
- Optional but helpful: Dried herbs (like rosemary or lavender buds) for visual appeal and extra aroma.
Pro tip: Buy in bulk if you plan to make multiple candles. It’s cheaper and reduces packaging waste—something I learned after my third trip to the craft store in one week!
Step-by-Step Guide to How to Make Air Purifying Candles in 2026 Simple Guide
Step 1: Prepare Your Workspace and Containers
Start by clearing a clean, flat surface—your kitchen counter or a dedicated crafting table works perfectly. Lay down parchment paper or an old towel to catch any wax drips. Trust me, wax stains are stubborn, and I’ve learned that the hard way.

Visual guide about how to make air purifying candles
Image source: bharathoney.com
Next, wash your containers thoroughly with soap and water, then dry them completely. Any moisture can cause the wax to bubble or separate. While they’re drying, place your wick in the center of each container. Use a wick sticker or a dab of hot glue to secure the base. Then, use a pencil or chopstick laid across the top of the jar to hold the wick upright and centered. This simple trick saved me from crooked wicks on more than one occasion.
Step 2: Melt the Wax Safely
Now it’s time to melt your wax. I prefer using a double boiler—it’s gentler and reduces the risk of overheating. Fill the bottom pot with a couple inches of water, bring it to a simmer, and place your wax flakes in the top bowl. Stir occasionally with a wooden spoon.
If you don’t have a double boiler, a microwave works too. Use a microwave-safe glass bowl and heat in 30-second intervals, stirring between each round. Soy wax usually melts between 120°F and 180°F (49°C–82°C), but check your packaging for specifics.
⚠️ Warning: Never leave melting wax unattended. Wax is flammable, and overheating can cause it to smoke or ignite. I once got distracted by a phone call and returned to a smoky kitchen—lesson learned!
Step 3: Add Essential Oils at the Right Temperature
Here’s where the magic happens. Once your wax reaches around 170°F (77°C), remove it from heat. Let it cool slightly—down to about 135°F to 145°F (57°C–63°C)—before adding essential oils. Why? High heat can destroy the therapeutic compounds in oils, reducing their air-purifying power.
For a standard 8-ounce candle, use about 10–15 drops of essential oil. I like blending tea tree (antibacterial) with lemon (deodorizing) and a hint of lavender (calming). Stir gently for 30 seconds to ensure even distribution. Avoid vigorous stirring—it can create air bubbles that affect the finish.
💡 Personal note: I once added too much eucalyptus and ended up with a candle that smelled like a dentist’s office. Start small, test as you go, and remember—you can always add more, but you can’t take it out!
Step 4: Pour the Wax and Set the Wick
Slowly pour the scented wax into your prepared container, leaving about ½ inch of space at the top. Pouring too fast can trap air or displace the wick. I aim for a steady, thin stream—like pouring maple syrup.
As the wax begins to set (usually within 5–10 minutes), check that your wick is still centered. If it’s leaning, gently nudge it back with tweezers or a toothpick. Don’t panic if it shifts slightly—it’s fixable.
Let the candle cool at room temperature for at least 2–4 hours. Avoid moving it during this time. Drafts or vibrations can cause uneven surfaces or sinkholes. I learned this after placing a candle near a window—wind caused the top to crack!
Step 5: Trim the Wick and Cure (Optional but Recommended)
Once fully hardened, trim the wick to about ¼ inch. This ensures a clean, even burn and prevents excessive smoke. Use scissors or a wick trimmer—anything sharp and precise.
For best results, let your candle “cure” for 24–48 hours before lighting. This allows the fragrance to bind with the wax, improving scent throw. I know it’s tempting to light it right away (I’ve done it!), but patience pays off. Cured candles burn longer and smell richer.
Pro Tips & Common Mistoes to Avoid
Making air purifying candles is forgiving, but a few missteps can lead to disappointment. Here’s what I’ve learned from my own trials—and errors.

Visual guide about how to make air purifying candles
Image source: i.pinimg.com
Pro Tip #1: Use a thermometer. Guessing wax temperature is like baking without measuring flour—it might work, but consistency is key. I bought a $10 candy thermometer and it’s been worth every penny.
Pro Tip #2: Test small batches first. Before making a dozen candles, try one with your chosen oil blend. Burn it for an hour and see how the scent disperses and how the air feels. Adjust ratios as needed.
Common Mistake: Overloading with fragrance. More isn’t always better. Too much essential oil can cause tunneling, poor burn, or even flare-ups. Stick to recommended ratios—your lungs (and nose) will thank you.
Common Mistake: Ignoring wick size. A wick too small won’t melt the wax evenly; too large creates soot and smoke. Match wick size to your container diameter. Most suppliers have sizing charts—use them!
Pro Tip #3: Label your candles. Include the date, oil blend, and any notes (“strong lemon—great for kitchens!”). This helps you replicate successes and avoid repeats of the “dentist office” incident.
FAQs About How to Make Air Purifying Candles in 2026 Simple Guide
Q: Do these candles actually purify the air, or just smell nice?
A: Great question! Unlike synthetic air fresheners that just mask odors, candles made with essential oils like tea tree, eucalyptus, and lemon contain natural compounds that can neutralize bacteria, mold spores, and odors. While they won’t replace an air purifier, they do contribute to a fresher, cleaner-smelling environment—especially in small spaces like bathrooms or entryways.
Q: Can I use fragrance oils instead of essential oils?
A: Technically, yes—but I wouldn’t recommend it for “air purifying” claims. Most fragrance oils are synthetic and don’t offer the same antimicrobial benefits. Plus, they can release harmful volatile organic compounds (VOCs) when burned. Stick with 100% pure, therapeutic-grade essential oils for a truly clean burn.
Q: How long do homemade air purifying candles last?
A: It depends on the size and burn time, but an 8-ounce candle typically lasts 30–40 hours. To maximize lifespan, always trim the wick, burn for no more than 4 hours at a time, and keep away from drafts. I’ve found that burning in 1–2 hour sessions helps the wax pool evenly and prevents tunneling.
Q: Are these safe for pets or kids?
A: Generally, yes—if made properly. However, some essential oils (like tea tree or eucalyptus) can be toxic to pets if inhaled in large amounts. Use caution around cats and small dogs. Opt for pet-safe blends like lavender or chamomile, and never leave a burning candle unattended. When in doubt, place candles in rooms pets don’t frequent.
Q: Can I reuse old candle jars?
A: Absolutely! Just melt out the old wax (double boiler method works best), clean the jar with hot soapy water, and remove any wick residue. I’ve upcycled everything from jam jars to wine bottles—it’s eco-friendly and adds character.
Q: Why is my candle tunneling?
A: Tunneling happens when the wax doesn’t melt all the way to the edges on the first burn. To fix it, always allow the wax to form a full melt pool (usually 1–2 hours) before blowing it out. If it’s already tunneled, wrap the top in aluminum foil to trap heat and encourage even melting on the next burn.
Q: Where can I buy supplies for making air purifying candles?
A: Check out online retailers like Amazon, Bramble Berry, or Bulk Apothecary for wax, wicks, and oils. Local craft stores (Michaels, Joann) often carry basics too. I’ve had great luck with small-batch suppliers on Etsy for unique containers and organic wax blends.
Final Thoughts
Making your own air purifying candles isn’t just a fun weekend project—it’s a small act of self-care and environmental responsibility. In 2026, as we become more aware of indoor air quality and the hidden toxins in everyday products, DIY solutions like this offer a refreshing alternative.
You don’t need perfection to get started. My first candle had a lopsided wick and a faint scent, but it still made my kitchen feel cozier. With each batch, I learned something new—and so will you.
So grab your wax, pick your favorite essential oils, and give it a try. Not only will you enjoy cleaner, fresher air, but you’ll also have a handmade treasure that reflects your style and values. And who knows? You might just inspire a friend to start their own candle-making journey.
Ready to breathe easier? Start small, stay curious, and remember: the best air purifying candle is the one you actually use.
“`