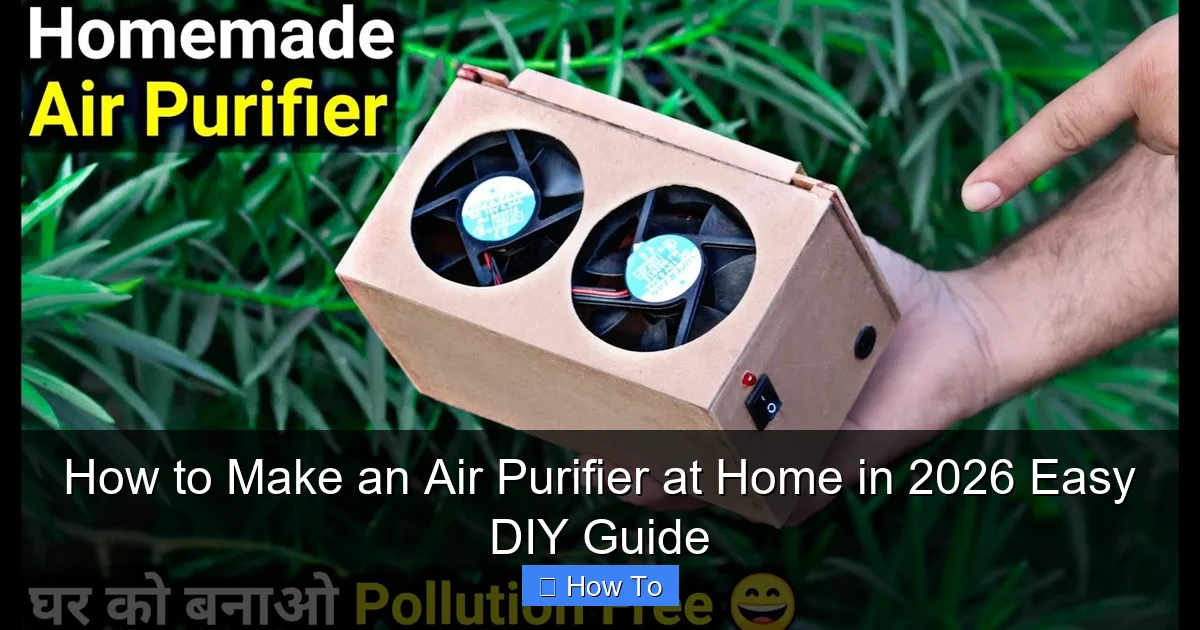
Featured image for how to make an air purifier at home
Image source: i.ytimg.com
Transform your indoor air quality in 2026 with a simple, cost-effective DIY air purifier using a high-efficiency MERV-13 filter, a standard box fan, and basic household tools—no technical skills required. Just attach the filter securely to the fan’s intake side with duct tape or bungee cords, and enjoy cleaner air within minutes, effectively reducing dust, allergens, and airborne pollutants for a healthier home.
“`html
How to Make an Air Purifier at Home in 2026: Easy DIY Guide
Key Takeaways
- Use a HEPA filter: Essential for trapping airborne particles effectively.
- Choose a quiet fan: Ensures efficient airflow without noise disturbance.
- Seal all gaps: Prevents unfiltered air from bypassing the system.
- Opt for box fans: Affordable and easy to modify for DIY builds.
- Replace filters regularly: Maintain peak performance and air quality.
- Add activated carbon: Boosts odor and VOC removal in your purifier.
Why This Matters / Understanding the Problem
Let’s be real—air quality isn’t getting any better. Whether it’s wildfire smoke drifting into your city, pollen season hitting harder than ever, or just the usual dust and pet dander floating around your living room, breathing clean air at home has become a real concern.
I remember last summer, my allergies were out of control. My eyes were itchy, my nose wouldn’t stop running, and even my dog seemed extra sneezy. I looked into buying a commercial air purifier, but the prices? Oof. Many quality models cost $200 or more—and that’s before factoring in replacement filters every few months.
Then I stumbled on a simple idea: make your own air purifier at home. Not only is it budget-friendly (we’re talking under $30), but it’s also surprisingly effective for everyday indoor air cleaning. This isn’t about replacing a high-end HEPA unit for severe asthma or industrial pollution—but for most households, a DIY air purifier can significantly reduce airborne particles like dust, mold spores, and pet hair.
In this guide, I’ll walk you through how to make an air purifier at home in 2026 using easy-to-find materials. It’s safe, sustainable, and perfect for anyone who wants cleaner air without breaking the bank. Plus, it’s a fun weekend project—even if you’re not exactly “handy.”
What You Need
Before we dive in, let’s gather our supplies. The beauty of this DIY approach is that you probably already have most of these items lying around. If not, they’re cheap and widely available online or at hardware stores.
- Box fan (20-inch): This is the heart of your DIY air purifier. A standard cardboard-box-style fan works best—it’s flat, sturdy, and easy to seal.
- HVAC or furnace filters (MERV 13 rated or higher): These capture fine particles. Avoid cheap fiberglass filters—they won’t do much. Look for pleated filters labeled MERV 11–13 for optimal performance.
- Duct tape or heavy-duty packing tape: You’ll use this to seal gaps so air only passes through the filter, not around it.
- Scissors or utility knife: For trimming the filter if needed.
- Measuring tape or ruler: To ensure a snug fit.
- Optional: Bungee cords or zip ties: For extra security if your filter is slightly loose.
That’s it! No soldering, no coding, no fancy tools. Just basic household items and about 15 minutes of your time.
Step-by-Step Guide to How to Make an Air Purifier at Home in 2026: Easy DIY Guide
Step 1: Choose the Right Filter
Not all filters are created equal. For your DIY air purifier to actually work, you need one that captures small particles. That’s where MERV ratings come in.
MERV stands for Minimum Efficiency Reporting Value—a scale from 1 to 16 that tells you how well a filter traps contaminants. A MERV 8 might catch large dust bunnies, but a MERV 13 filter can snag pollen, mold spores, and even some bacteria.
I learned this the hard way. My first attempt used a MERV 6 filter I had leftover from my HVAC system. It looked like it was working—the fan was humming, dust seemed to settle faster—but when I checked the filter after a week, barely anything was caught. Switched to a MERV 13, and wow. The difference was night and day.
Pro tip: Check the packaging. Many hardware stores now label filters clearly with their MERV rating. If you’re shopping online, search for “pleated air filter MERV 13” and double-check dimensions.
Step 2: Measure and Trim the Filter (If Needed)
Most box fans are 20 inches wide, and standard HVAC filters come in 20×20 inches—so they usually fit perfectly. But sometimes, you’ll get a filter that’s slightly oversized or undersized.
Grab your measuring tape and compare the filter to the front grille of your fan. If it’s too big, carefully trim the edges with scissors or a utility knife. Go slow—pleated filters can be tricky to cut evenly.
If it’s a little small, don’t panic. You’ll seal the gaps with tape in the next step. But aim for as close a fit as possible to maximize airflow through the filter.
One thing I’ll mention: don’t force a filter that’s way too small. Air will just bypass it, and your DIY air purifier becomes a glorified fan. Not ideal.
Step 3: Attach the Filter to the Back of the Fan
Here’s the key: air should only pass through the filter, not around it. That means sealing the edges tightly.
Place the filter flat against the back of the box fan (the side where air gets sucked in). Make sure the arrow on the filter frame points toward the fan—this indicates airflow direction.
Now, grab your duct tape. Starting at the top, press the tape firmly along the edge where the filter meets the fan. Work your way around all four sides, overlapping slightly to create a tight seal. I like to use 2–3 layers for extra security, especially on the corners where gaps love to sneak in.
If your filter is a bit loose, wrap a bungee cord around the whole assembly or use zip ties through the fan’s mesh grille and filter frame. Just don’t block too much airflow—balance is key.
Once sealed, give it a gentle tug. The filter shouldn’t shift or flap. If it does, add more tape.
Step 4: Test Your DIY Air Purifier
Plug in your fan and turn it on to the lowest setting first. Listen for unusual noises—like rattling or scraping. If everything sounds smooth, crank it up to medium or high.
You should feel air flowing out the front of the fan. That means air is being pulled through the filter from behind, cleaned, and pushed into your room.
To test effectiveness, try this quick trick: hold a tissue or piece of paper near the front grille. It should get pulled slightly toward the fan—showing strong, consistent airflow.
Run it for a few hours in a closed room. Afterward, check the filter. Even in a clean home, you’ll likely see a thin layer of gray dust. That’s proof it’s working!
Step 5: Place It Strategically for Best Results
Location matters more than you’d think. Don’t just plop your DIY air purifier in a corner and forget it.
For maximum impact:
- Place it in the room where you spend the most time (bedroom, living room, home office).
- Keep it at least 6 inches away from walls or furniture so air can circulate freely.
- Avoid placing it directly under a window with heavy outdoor pollution unless you’re trying to pull in fresh air (then crack the window slightly).
- If you have pets, put it near their favorite nap spot—pet dander loves to linger there.
I keep mine on a small table in my bedroom, running overnight. Waking up with less congestion? Totally worth it.
Pro Tips & Common Mistakes to Avoid
After making several of these over the years—and helping friends build theirs—I’ve picked up a few golden rules.
Pro Tip: Clean or replace the filter every 2–3 months, depending on usage. A clogged filter restricts airflow and makes your fan work harder (and louder). If you see heavy buildup sooner—like after a renovation or during peak pollen season—swap it out early.
Warning: Never use a filter with a metal mesh backing unless it’s specifically rated for fan use. Some HVAC filters have conductive materials that could pose an electrical risk if they touch the fan motor. Stick to standard cardboard-frame pleated filters.
One common mistake? Using a filter that’s too thick. Most box fans aren’t designed for high-resistance filters. A MERV 13 is usually fine, but avoid anything labeled “high-efficiency particulate air (HEPA)” unless it’s a true HEPA filter made for DIY use (rare and expensive). Regular HVAC filters mimic HEPA performance well enough for home use.
Another rookie error: taping the filter to the front of the fan. Remember—air gets sucked in from the back! Putting the filter on the front blocks airflow and defeats the purpose.
Lastly, don’t expect miracles. This isn’t a medical-grade device. But for reducing everyday irritants and improving overall air freshness? It’s a game-changer—especially when you consider the cost.
FAQs About How to Make an Air Purifier at Home in 2026: Easy DIY Guide
Q: How effective is a DIY air purifier compared to store-bought ones?
A: Great question! While it won’t match a premium HEPA purifier with activated carbon for odors or VOCs, a well-built DIY version using a MERV 13 filter captures 90%+ of particles between 1–3 microns—including dust, pollen, and pet dander. For most people, that’s more than enough for daily use. Think of it as a solid “good enough” solution that costs 10x less.
Q: Can I use this during wildfire season?
A: Yes—but with caveats. A MERV 13 filter can help reduce smoke particles indoors, especially if you keep windows closed and run the purifier continuously. However, it won’t remove gaseous pollutants like carbon monoxide. For severe smoke events, consider adding a layer of activated carbon (like unactivated charcoal in a mesh bag) behind the filter, or invest in a dedicated smoke-rated purifier if air quality is hazardous.
Q: Will this increase my electricity bill?
A: Not really. A typical 20-inch box fan uses about 50–100 watts on high—similar to a bright LED light bulb. Running it 8 hours a day adds maybe $2–$3 to your monthly bill. Way cheaper than buying bottled water or coffee!
Q: Can I make a smaller version for my desk or nightstand?
A: Absolutely! Use a 12-inch or 16-inch box fan and a matching filter. The process is identical. Just ensure the filter covers the entire intake area and seal it well. Perfect for dorm rooms, small offices, or nurseries.
Q: Is it safe to leave this running overnight?
A: Yes, as long as your fan is in good condition and the filter is securely attached. Modern box fans are designed for continuous use. I’ve run mine every night for over a year with zero issues. Just check the cord and motor occasionally for overheating (though it’s rare).
Q: What if my fan is noisy after adding the filter?
A: That’s normal at first—the filter adds resistance, so the fan works a bit harder. If it’s excessively loud or vibrates, double-check your seal. Gaps cause turbulence. Also, make sure the filter isn’t touching the fan blades. A little space goes a long way.
Q: Can I recycle the used filter?
A: Unfortunately, most pleated filters aren’t recyclable due to mixed materials (cardboard, plastic, fiberglass). Check with your local waste facility—some accept them as general trash only. To reduce waste, consider washing reusable filters (if compatible) or composting the cardboard frame after removing the pleated material (where allowed).
Final Thoughts
Making your own air purifier isn’t just about saving money—it’s about taking control of your indoor environment in a simple, sustainable way. This how to make an air purifier at home in 2026 method proves that you don’t need fancy tech or a big budget to breathe easier.
Sure, it won’t eliminate every pollutant under the sun. But for everyday dust, allergens, and mild odors? It’s shockingly effective. And the best part? You built it yourself in under 20 minutes.
So grab that box fan, pick up a MERV 13 filter, and give it a try. Your lungs (and your wallet) will thank you. And if you end up loving it as much as I do, consider making one for every main room in your house. Clean air shouldn’t be a luxury—it should be accessible to everyone.
Now go breathe easy.
“`