Transform your home into a cleaner, healthier space in 2026 by making a natural air purifier using simple, eco-friendly ingredients like activated charcoal, baking soda, and essential oils. This easy DIY solution effectively absorbs toxins, neutralizes odors, and improves indoor air quality without harsh chemicals or costly devices. With just a few household items and minutes of effort, you can create a sustainable air purifier that works continuously—naturally.
“`html
How to Make Natural Air Purifier at Home in 2026
Key Takeaways
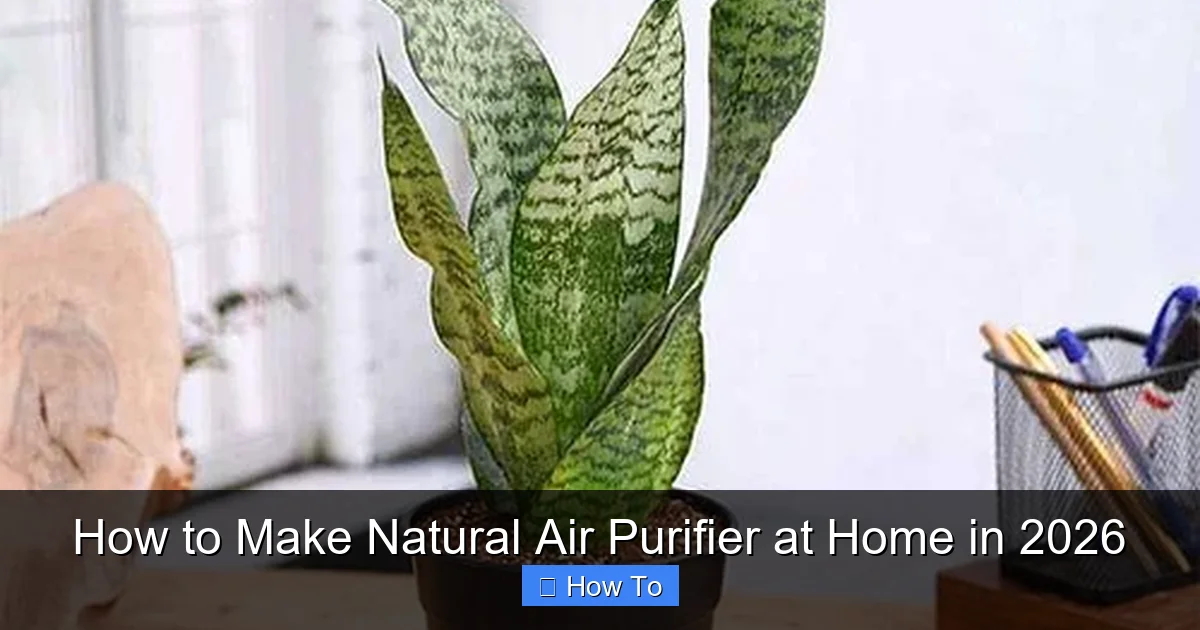
- Use houseplants: Snake plants and peace lilies naturally filter toxins.
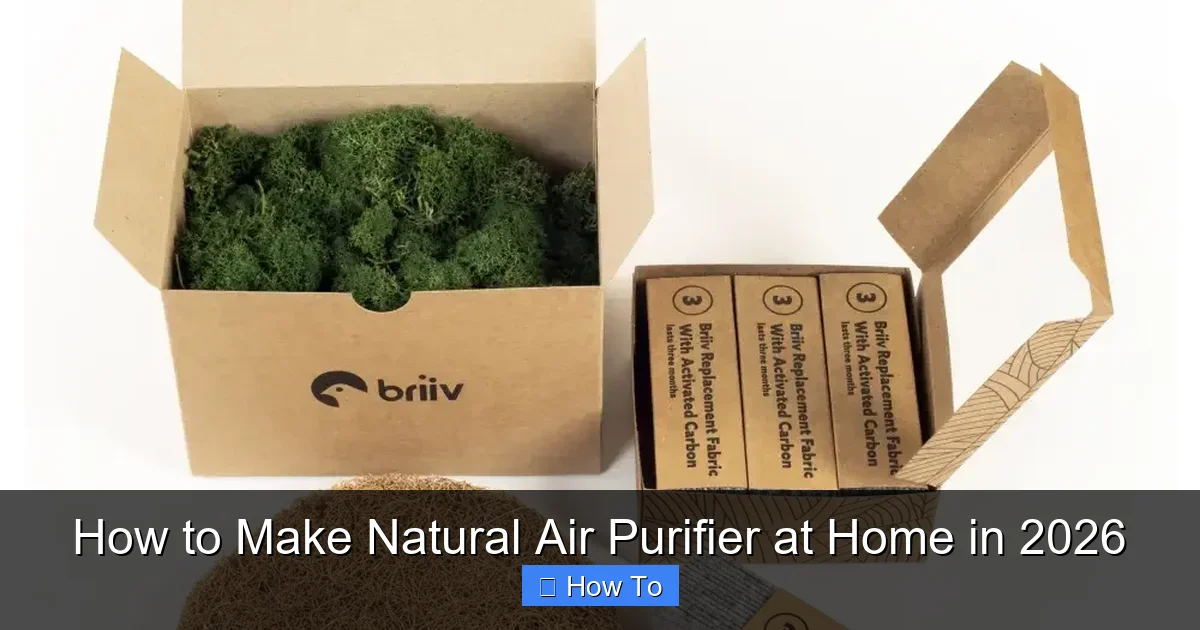
- DIY charcoal filters: Activated charcoal absorbs odors and pollutants effectively.
- Ventilate daily: Open windows to circulate fresh air and reduce buildup.
- Simmer herbs: Boil citrus peels and rosemary for natural air freshening.
- Make beeswax candles: They release negative ions to purify air.
- Clean with vinegar: Spray diluted vinegar to neutralize airborne bacteria.
Why This Matters / Understanding the Problem
Let’s be honest—indoor air quality isn’t something we think about until we start sneezing, coughing, or feeling like we’re breathing through a wet sock. I remember one winter, my apartment felt stuffy no matter how much I opened the windows. My allergies flared up, and I realized my “cozy” space was actually full of dust, pet dander, and who-knows-what floating around. That’s when I started looking for ways to clean the air without spending hundreds on high-tech purifiers.
Fast forward to 2026, and making a natural air purifier at home isn’t just a DIY trend—it’s a smart, sustainable choice. With rising concerns about indoor pollutants, mold spores, and even off-gassing from furniture, people are turning to simple, plant-powered, and non-toxic solutions. The best part? You don’t need a science degree or fancy equipment. Whether you’re dealing with seasonal allergies, a smoky city environment, or just want fresher air, learning how to make natural air purifier at home in 2026 is easier than you think.
And here’s the kicker: many commercial air purifiers use filters that eventually end up in landfills, or they run on electricity 24/7. A homemade version? It’s eco-friendly, budget-friendly, and surprisingly effective—especially when you combine the right plants, natural materials, and a little know-how.
What You Need
Before we dive into the steps, let’s gather what you’ll need. Don’t worry—this isn’t a shopping spree. Most of these items are probably already in your kitchen, garage, or local garden center.

Visual guide about how to make natural air purifier
Image source: wiladu.de
- A large glass jar or container (mason jars, pickle jars, or even a clear vase work great)
- Activated charcoal (available at pet stores, aquarium suppliers, or online—look for food-grade or bamboo-based)
- Houseplants known for air-purifying qualities (like snake plant, peace lily, spider plant, or aloe vera)
- Potting soil (organic, if possible)
- Small pebbles or gravel (for drainage)
- Essential oils (optional but helpful)—eucalyptus, tea tree, or lavender for added antimicrobial benefits
- A small fan (optional)—a USB desk fan can boost circulation
- Scissors or pruning shears
- Measuring spoon or small scoop
Total cost? Probably under $20 if you already have the jar and plant. And unlike store-bought purifiers, this one grows with you—literally.
Step-by-Step Guide to How to Make Natural Air Purifier at Home in 2026
Step 1: Choose the Right Container
Start with a clear glass jar or container. Transparency matters because it lets light in—essential for your plant’s photosynthesis. I used an old olive oil jar once, and while it worked, the narrow opening made planting tricky. A wide-mouth mason jar is ideal.
Visual guide about how to make natural air purifier
Image source: mlvtgiqzoszz.i.optimole.com
Make sure it’s clean and dry. Any residue or moisture can encourage mold, which is the opposite of what we’re trying to achieve. Rinse it out with vinegar and water, then let it air dry completely.
Step 2: Layer the Drainage
Good drainage is key. Without it, your plant’s roots will rot, and you’ll end up with a smelly, slimy mess instead of clean air.
Add about 1–2 inches of small pebbles or gravel to the bottom of your jar. This creates a reservoir for excess water and prevents the soil from getting waterlogged. Think of it like the foundation of a house—skip it, and everything collapses.
Pro tip: If you’re using a very tall jar, you can use a coffee filter or mesh screen between the gravel and soil to keep the layers separate. I learned this the hard way after soil clogged my drainage and my first plant died in a week.
Step 3: Add Activated Charcoal
This is the secret weapon. Activated charcoal isn’t just for fish tanks—it’s a natural filter that traps odors, chemicals, and even some bacteria.
Sprinkle a thin layer (about ½ inch) of activated charcoal over the pebbles. Don’t go overboard—too much can dry out the soil. A little goes a long way.
I like to use bamboo-based activated charcoal because it’s renewable and highly porous. It’s like giving your jar a built-in air filter that never needs replacing (just refresh it every 6 months).
Step 4: Prepare the Soil and Plant
Now it’s time for the green part—literally. Use organic potting soil and fill the jar about halfway. Make a small hole in the center for your plant.
Choose a hardy, low-maintenance plant. Snake plants are my go-to because they thrive in low light and actually release oxygen at night—perfect for bedrooms. Peace lilies are great too, but they need more water, so they’re better for humid areas like bathrooms.
Gently remove the plant from its nursery pot, loosen the roots a bit, and place it in the hole. Fill in around it with soil, pressing lightly to secure it. Don’t pack it too tight—roots need air too.
Step 5: Optional—Add Essential Oils
Want an extra boost? Add 2–3 drops of essential oil to the soil. Tea tree oil is a natural antifungal, eucalyptus helps clear sinuses, and lavender adds a calming scent.
Just don’t overdo it. Essential oils are potent, and too much can harm the plant or irritate pets. I once added five drops of peppermint oil and my cat avoided the room for a week. Lesson learned.
Alternatively, you can place a cotton ball with a few drops of oil near the plant—not in the soil—so the scent diffuses slowly.
Step 6: Water Lightly and Place Strategically
Water your plant sparingly. Since the jar is enclosed, evaporation is slow. Overwatering is the #1 killer of DIY air purifiers.
Use a spray bottle to moisten the soil—just enough to make it damp, not soggy. Then place your jar in a spot with indirect sunlight. Direct sun can overheat the jar and cook your plant.
Great locations include:
- Near a window with filtered light
- On a bookshelf away from drafts
- In a bedroom or home office—where you spend the most time
If you’re using a small USB fan, position it to gently blow air across the top of the jar. This helps circulate purified air into the room. I set mine on a timer—10 minutes every few hours—to keep things moving without wasting power.
Step 7: Maintain and Monitor
Your natural air purifier isn’t “set it and forget it.” Check it weekly. Look for:
- Yellowing leaves (sign of overwatering)
- Mold on the soil (wipe it off with a paper towel and reduce watering)
- Dust on the leaves (wipe gently with a damp cloth—clean leaves absorb more toxins)
Every 3–6 months, rinse the activated charcoal under warm water to recharge it. Let it dry completely before putting it back. This keeps it effective longer.
And if your plant outgrows the jar? Repot it into a bigger container or propagate it. I’ve turned one spider plant into five—each in its own purifying jar. My living room now looks like a mini jungle, and the air feels noticeably fresher.
Pro Tips & Common Mistakes to Avoid
After making several of these over the years, I’ve learned a few things the hard way. Here’s what to keep in mind when you’re figuring out how to make natural air purifier at home in 2026.

Visual guide about how to make natural air purifier
Image source: thumbs.dreamstime.com
Pro Tip: Pair your DIY purifier with regular ventilation. Open windows when the air outside is clean (like after rain) to let fresh air in. Your plant can’t do all the work alone.
Warning: Don’t use regular charcoal (like from a grill). It’s not activated and can contain harmful chemicals. Always choose food-grade or aquarium-safe activated charcoal.
Common Mistake: Using a plant that needs full sun in a shaded apartment. If your home doesn’t get much light, stick with low-light champions like snake plants or ZZ plants. They’ll survive—and purify—where others would wilt.
Pro Insight: Rotate your jar every few weeks. Plants lean toward light sources, and uneven growth can make them unstable. A little rotation keeps them healthy and upright.
Bonus Hack: Make a mini version for your car. Use a small glass bottle, a tiny succulent, and a pinch of charcoal. It won’t replace a car air filter, but it can help reduce odors on long drives.
FAQs About How to Make Natural Air Purifier at Home in 2026
Q: How effective is a DIY natural air purifier compared to a store-bought one?
A: It won’t remove all airborne particles like a HEPA filter, but it’s great for reducing odors, absorbing some VOCs (volatile organic compounds), and increasing oxygen levels. Think of it as a gentle, continuous cleanse—not a high-speed filter. For best results, use it alongside other clean-air habits like vacuuming and opening windows.
Q: Can I use any plant?
A: Stick with known air-purifying plants. NASA’s Clean Air Study highlights snake plants, spider plants, peace lilies, and aloe vera as top performers. Avoid plants that are toxic to pets if you have furry friends—like lilies or pothos.
Q: Do I really need activated charcoal?
A: It’s not 100% necessary, but it significantly boosts performance. Charcoal absorbs odors and chemicals that plants alone can’t handle. If you skip it, your purifier will still work—just not as efficiently.
Q: How often should I water the plant?
A: It depends on the plant and environment. Snake plants? Once every 2–3 weeks. Peace lilies? When the soil feels dry to the touch. Always check before watering. Overwatering is the #1 cause of failure.
Q: Can I make more than one?
A: Absolutely! In fact, the EPA recommends having one air-purifying plant per 100 square feet. I have three in my 800-square-foot apartment—one in the bedroom, one in the living room, and one in the kitchen. It’s like a wellness squad for your air.
Q: Is this safe for pets and kids?
A: Generally yes, but do your research. Some plants are toxic if ingested. Keep the jar out of reach of curious toddlers or chewing pets. And never let kids handle activated charcoal—it’s safe in the jar, but not meant for eating.
Q: Will this help with allergies?
A: It can help reduce some allergens like mold spores and dust mites, especially when combined with regular cleaning. But if you have severe allergies, consult a doctor and consider a medical-grade air purifier as a supplement.
Final Thoughts
Making a natural air purifier at home in 2026 isn’t just a fun weekend project—it’s a step toward healthier, more sustainable living. You’re not just cleaning your air; you’re connecting with nature, reducing waste, and saving money. Plus, there’s something deeply satisfying about watching a plant thrive in a jar you built with your own hands.
Start small. Try one jar in a room where you spend the most time. Notice how the air feels over a few weeks. Maybe you’ll breathe a little easier, sleep a little better, or just enjoy the quiet hum of a living air filter.
And remember: this isn’t about perfection. It’s about progress. Whether you’re a seasoned gardener or someone who kills cacti, you can do this. The planet—and your lungs—will thank you.
So go ahead. Grab a jar, pick a plant, and start purifying. Your future self will breathe easier.
“`