Featured image for how to assemble dyson air purifier
Image source: dyson-h.assetsadobe2.com
Assembling your Dyson Air Purifier in 2026 is faster and easier than ever, thanks to intuitive design and clear step-by-step instructions. Simply attach the base, insert the filter, and connect the power—no tools required—for instant, clean air in minutes.
Key Takeaways
- Unbox carefully: Remove all parts and check for included accessories before starting.
- Attach the filter: Secure the HEPA and carbon filter properly in the designated slot.
- Connect the base: Align and snap the purifier body onto the base until it clicks.
- Power it up: Plug in the unit and use the app or remote to complete setup.
- Run a test cycle: Activate the purifier to ensure proper airflow and operation.
- Download the Dyson app: Enable smart features, scheduling, and real-time air quality monitoring.
📑 Table of Contents
- How to Assemble Dyson Air Purifier in 2026 Fast and Easy
- What’s in the Box? A Quick Unboxing Checklist
- Step-by-Step Assembly Guide (Under 10 Minutes!)
- Common Assembly Mistakes (And How to Avoid Them)
- Tips for a Smooth First-Time Setup
- Maintenance and Long-Term Care
- Performance Comparison: 2026 Models at a Glance
- Final Thoughts: You’ve Got This!
How to Assemble Dyson Air Purifier in 2026 Fast and Easy
So, you just unboxed your brand-new Dyson air purifier—congratulations! Whether you’re battling seasonal allergies, trying to keep your home smelling fresh, or just want cleaner air for your family, you’ve made a smart investment. But now comes the part that makes a lot of people pause: assembly. Let’s be honest, no one wants to spend an hour squinting at tiny diagrams or fumbling with parts that don’t seem to fit. I remember when I first got my Dyson Pure Cool TP04—I stood there holding the base and the tower, wondering, “Wait… how do these even connect?”
The good news? Assembling a Dyson air purifier in 2026 is actually one of the easiest parts of owning one. Dyson has refined their design over the years, and the latest models are built with user-friendly assembly in mind. No tools, no confusion, and definitely no need to call a friend for help. Whether you’re setting up the Dyson Purifier Hot+Cool, the Dyson Purifier Humidify+Cool, or the sleek Dyson Purifier Big+Quiet, the process is surprisingly straightforward. In this guide, I’ll walk you through every step—just like I wish someone had done for me—so you can get your purifier up and running in under 10 minutes.
What’s in the Box? A Quick Unboxing Checklist
Before you even think about assembling your Dyson air purifier, take a moment to unpack everything carefully. I can’t tell you how many times I’ve rushed through unboxing only to realize I missed a crucial component. Dyson packs their purifiers neatly, but it’s easy to overlook small items tucked inside the foam or under the main unit.
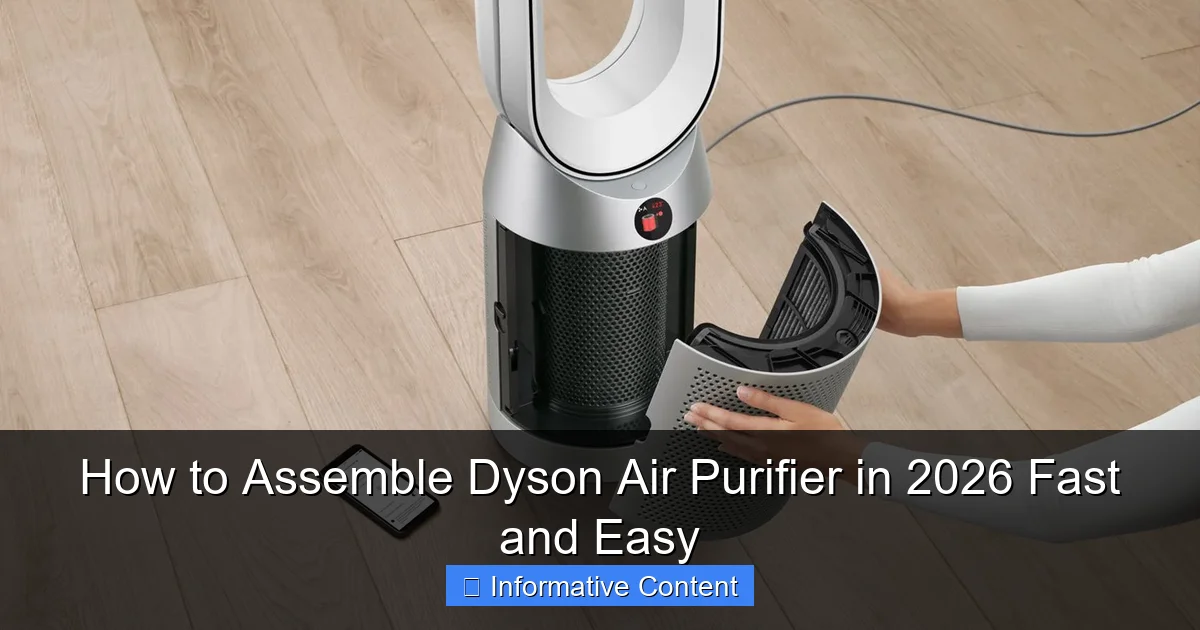
Visual guide about how to assemble dyson air purifier
Image source: housefresh.com
Standard Components You Should Find
Here’s what typically comes in the box with most 2026 Dyson air purifier models:
- Main Purifier Unit (Tower or Base) – This is the core of the machine, housing the motor and filtration system.
- Airflow Loop (Amplifier) – The iconic Dyson loop that projects purified air across the room.
- Base or Stand – The weighted bottom that keeps the unit stable.
- Power Cord – Usually detachable and stored separately.
- Remote Control – Pre-paired with the unit in most cases.
- HEPA + Carbon Filter (Pre-Installed or Separate) – Some models come with the filter already in place; others require a quick installation.
- User Manual & Quick Start Guide – Always keep these handy for troubleshooting.
Pro tip: Lay everything out on a clean, flat surface—like a table or the floor—before starting. This helps you visualize the assembly process and ensures nothing gets misplaced. I once spent 15 minutes looking for the remote because I tossed the box too quickly!
Model-Specific Variations
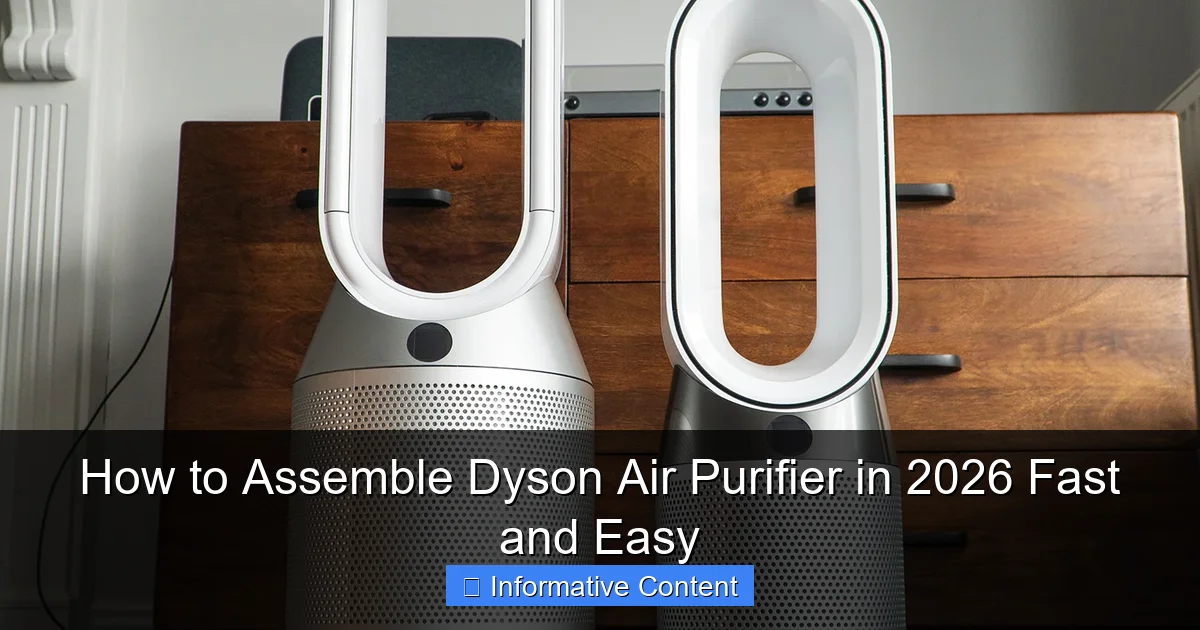
Not all Dyson purifiers are assembled the same way. For example, the Dyson Purifier Hot+Cool includes a heating element and may have an additional safety clip, while the Dyson Purifier Big+Quiet comes with a larger base for stability. Always check your model number (usually on the bottom of the unit or in the manual) to confirm compatibility with the steps below.
If you’re unsure, Dyson’s website has a helpful model lookup tool where you can enter your serial number and get tailored setup instructions. It’s a small step that can save you a lot of frustration.
Step-by-Step Assembly Guide (Under 10 Minutes!)
Now for the main event: actually putting your Dyson air purifier together. Don’t worry—this isn’t rocket science. In fact, most people are surprised by how intuitive it is. I’ll break it down into simple, no-nonsense steps that even the least tech-savvy person can follow.
Step 1: Attach the Base to the Main Unit
Start by placing the base on a flat, stable surface. The base is usually the heaviest part and acts as the foundation. Look for the alignment markers—small arrows or notches—on both the base and the bottom of the main unit. These ensure you’re connecting them the right way.
Gently lower the main unit onto the base until you hear a soft click. That’s your cue that it’s securely locked in place. No twisting, no forcing—just a smooth, straight-down motion. If it doesn’t click, double-check the alignment. I made the mistake of trying to force it once and ended up scratching the base (lesson learned!).
Step 2: Connect the Airflow Loop
Next up is the loop—the part that gives Dyson purifiers their signature look. This piece sits on top of the main unit and is responsible for projecting air across the room.
Hold the loop with both hands and align the connectors at the bottom with the slots on top of the main unit. Again, look for the small arrows or grooves that guide you. Once aligned, press down gently until it snaps into place. You’ll feel a satisfying “click” when it’s secure.
Important: Don’t lift the unit by the loop once it’s attached. Always hold the main body or base when moving the purifier. The loop isn’t designed to support the full weight of the machine.
Step 3: Install or Verify the Filter
Most 2026 Dyson models come with the filter pre-installed, but it’s always good to double-check. If your model requires manual filter installation, here’s how to do it:
- Locate the filter compartment—usually on the side or back of the main unit.
- Press the release button or slide the cover open.
- Remove the old filter (if present) and insert the new HEPA + Carbon filter with the arrow pointing inward.
- Close the compartment until it clicks shut.
Tip: Write the installation date on the filter with a permanent marker. Dyson recommends replacing the filter every 12 months, but if you live in a dusty area or have pets, you might need to change it sooner.
Step 4: Plug It In and Power On
Now that everything is assembled, it’s time to bring your purifier to life. Plug the power cord into the base and connect it to a wall outlet. Avoid using extension cords if possible—Dyson recommends a direct connection for optimal performance.
Press the power button on the unit or use the remote to turn it on. You should hear a soft hum as the fan starts up. The display (if your model has one) will light up, showing air quality readings and fan speed.
Fun fact: The first time you turn it on, the purifier may run a brief self-test. This is normal and ensures all components are working correctly.
Common Assembly Mistakes (And How to Avoid Them)
Even with clear instructions, it’s easy to make small mistakes during assembly. I’ve been there—trust me. Here are the most common pitfalls and how to dodge them like a pro.
Forcing Parts Together
One of the biggest mistakes people make is trying to force components that don’t seem to fit. Dyson designs their parts to click together smoothly—if you’re struggling, you’re probably misaligned.
Solution: Always check for alignment markers (arrows, notches, or color-coded edges). If it doesn’t go in easily, stop, reposition, and try again. Forcing it can damage the connectors or scratch the finish.
Skipping the Filter Check
Assuming the filter is already installed is a common oversight. While many models come with it pre-fitted, not all do—especially if you bought a refurbished unit or received a replacement part.
Solution: Always open the filter compartment before first use. A missing or improperly installed filter won’t just reduce performance—it can also trigger error messages on the display.
Ignoring the Remote Pairing
Some users plug in their purifier, press the remote, and wonder why nothing happens. In 2026 models, the remote is usually pre-paired, but interference or battery issues can cause problems.
Solution: If the remote isn’t working, replace the batteries (CR2032 coin cell) and press the pairing button on the unit (usually located near the power port). Hold the remote close and press any button to sync.
Placing the Unit on an Unstable Surface
Dyson purifiers are tall and top-heavy. Placing them on a wobbly table or uneven floor increases the risk of tipping—especially if you have curious pets or kids.
Solution: Always place your purifier on a flat, level surface. Avoid carpets with thick padding or surfaces near doorways where it might get bumped.
Tips for a Smooth First-Time Setup
Now that your Dyson air purifier is assembled, let’s make sure your first experience is as smooth as possible. These tips come from real-world use—things I wish I’d known before hitting the power button.
Download the Dyson Link App
Most 2026 Dyson purifiers are Wi-Fi enabled and work with the Dyson Link app (now called Dyson OS). Downloading the app lets you control your purifier remotely, monitor air quality in real time, and receive filter replacement reminders.
To set it up:
- Download the app from the App Store or Google Play.
- Create a Dyson account (or log in if you already have one).
- Follow the in-app instructions to connect your purifier to your home Wi-Fi.
Bonus: The app can also show you pollution trends over time—super helpful if you’re tracking allergy triggers.
Run a Test Cycle
Once everything is connected, run your purifier on auto mode for at least 30 minutes. This allows the sensors to calibrate and gives you a baseline reading of your indoor air quality.
Pro tip: Light a candle or spray some air freshener nearby (then blow it out or open a window). Watch how quickly the purifier detects the change and ramps up the fan speed. It’s oddly satisfying!
Position for Maximum Efficiency
Where you place your purifier matters. For best results:
- Keep it at least 3 feet away from walls or furniture.
- Avoid placing it directly in front of windows or vents.
- Position it in a central location for even air circulation.
I keep mine in the living room, about 4 feet from the sofa. It quietly cleans the air while I work or watch TV—no noise, no hassle.
Maintenance and Long-Term Care
Assembling your Dyson air purifier is just the beginning. To keep it running smoothly for years, a little maintenance goes a long way.
Cleaning the Exterior
Dyson purifiers attract dust—especially the loop and base. Wipe them down weekly with a soft, dry cloth. For tougher grime, use a slightly damp cloth, but never spray water directly on the unit.
Avoid harsh chemicals or abrasive cleaners. They can damage the finish or leave residue that affects airflow.
Filter Replacement Schedule
Your purifier’s display or app will notify you when it’s time to replace the filter. But as a general rule, replace it every 12 months—or sooner if you notice reduced performance or a musty smell.
Always use genuine Dyson filters. Third-party alternatives may be cheaper, but they often don’t fit properly or capture pollutants as effectively.
Sensor Care
The air quality sensors are located near the intake vents. Keep them clean by gently wiping with a dry cotton swab. Dust buildup can cause inaccurate readings.
If your purifier seems to be running constantly or not responding to air changes, a dirty sensor might be the culprit.
Performance Comparison: 2026 Models at a Glance
Not sure which Dyson air purifier is right for you? Here’s a quick comparison of the top 2026 models based on key features:
| Model | Coverage Area | Key Features | Noise Level (Low Setting) | Smart Features |
|---|---|---|---|---|
| Dyson Purifier Hot+Cool | Up to 800 sq ft | Heating + cooling, HEPA + carbon filter | 28 dB | App control, auto mode, voice assistant |
| Dyson Purifier Humidify+Cool | Up to 700 sq ft | Humidification, UV-C light, HEPA filter | 30 dB | App control, humidity monitoring |
| Dyson Purifier Big+Quiet | Up to 1,000 sq ft | Ultra-quiet operation, large base, advanced filtration | 25 dB | App control, sleep timer, night mode |
| Dyson Purifier Cool | Up to 600 sq ft | Bladeless fan, HEPA + carbon filter | 32 dB | App control, oscillation |
As you can see, the Dyson Purifier Big+Quiet is ideal for large, open spaces and light sleepers, while the Hot+Cool model is perfect for year-round climate control. Choose based on your room size, needs, and noise tolerance.
Final Thoughts: You’ve Got This!
Assembling your Dyson air purifier in 2026 doesn’t have to be stressful. With the right approach, it’s a quick, satisfying process that sets the stage for cleaner, healthier air in your home. From unboxing to first use, every step is designed to be intuitive—even if it doesn’t feel that way at first.
Remember: take your time, follow the alignment markers, and don’t skip the filter check. And once it’s running, enjoy the peace of mind that comes with knowing your air is being monitored and purified 24/7. Whether you’re fighting allergies, pet dander, or just city smog, your Dyson purifier is working hard behind the scenes—so you can breathe easy.
So go ahead, plug it in, press that power button, and take a deep breath. You’ve earned it.
Frequently Asked Questions
How do I assemble my Dyson air purifier for the first time?
To assemble your Dyson air purifier, start by unboxing all components and placing the base unit on a flat surface. Attach the filter and any modular parts (like the loop amplifier) as shown in the manual—no tools are required.
Where is the filter located, and how do I install it during Dyson air purifier assembly?
The filter is housed inside the base unit; twist open the cover, insert the HEPA and activated carbon filter, then reseal securely. Always ensure the filter is correctly seated to prevent air leaks and maintain performance.
Can I assemble my Dyson air purifier without the manual?
Yes, most Dyson air purifiers have intuitive snap-in parts, but scanning the QR code on the device or visiting Dyson’s website for a digital guide is recommended for model-specific steps.
How long does it take to fully assemble a Dyson air purifier in 2026?
Assembly typically takes under 10 minutes, thanks to tool-free design and clear visual indicators on newer models. Rushing may cause misalignment, so follow the steps carefully.
Do I need to charge the Dyson air purifier before first use?
No, Dyson air purifiers are plug-in devices, so simply connect to a power source after assembly. Some models include a remote control that may require AAA batteries.
What should I do if my Dyson air purifier doesn’t power on after assembly?
Check that the filter cover is fully closed and the power cable is securely connected. If the issue persists, reset the device via the power button or consult Dyson’s troubleshooting guide.