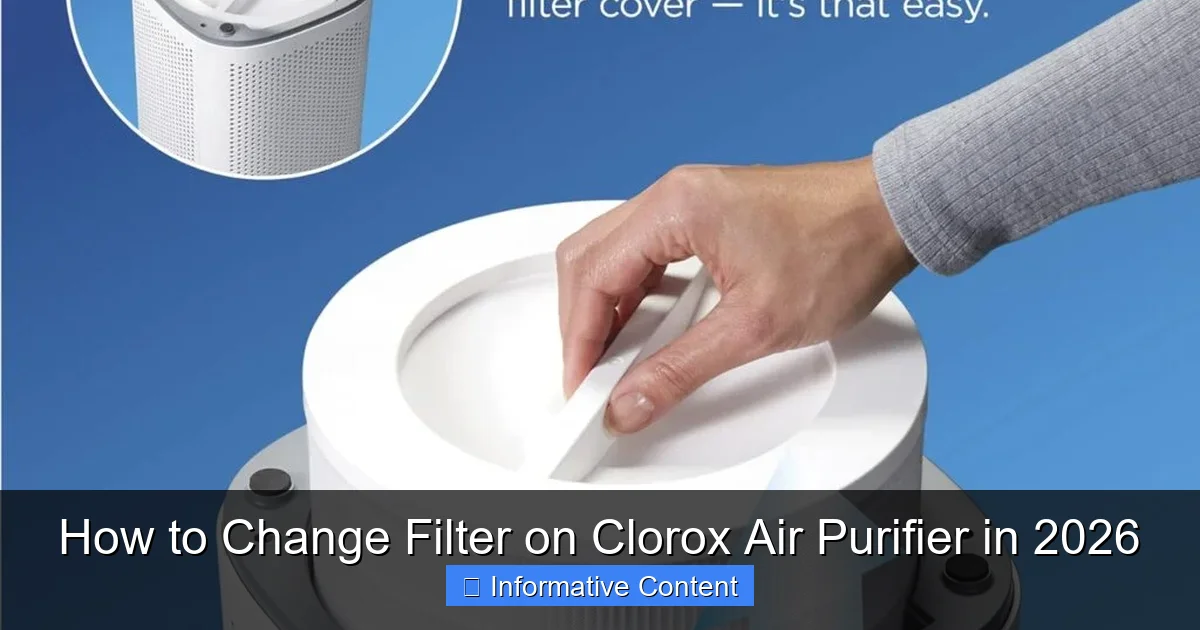
Featured image for how to change filter on clorox air purifier
Image source: airpurifyreviews.com
Changing the filter on your Clorox air purifier is quick, simple, and essential for maintaining optimal air quality in 2026. Just power off the unit, remove the front panel, swap out the old filter with a compatible replacement, and reset the filter indicator if needed. Regular filter changes ensure your purifier runs efficiently and continues to capture dust, allergens, and odors effectively.
Key Takeaways
- Turn off and unplug the purifier before changing the filter for safety.
- Locate the filter compartment on the back or side of the unit.
- Remove the old filter by opening the panel and sliding it out gently.
- Install the new filter with the arrow pointing toward the unit.
- Reset the filter indicator after replacement to track usage accurately.
- Replace every 6–12 months depending on air quality and usage.
📑 Table of Contents
- How to Change Filter on Clorox Air Purifier in 2026
- Why Changing Your Clorox Air Purifier Filter Matters
- How to Know When It’s Time to Change the Filter
- Step-by-Step Guide: How to Change the Filter on Your Clorox Air Purifier
- Choosing the Right Replacement Filter for Your Clorox Air Purifier
- Maintenance Tips to Extend Filter Life and Improve Performance
- Common Mistakes to Avoid When Changing Your Filter
- Filter Replacement Schedule and Cost Overview
- Final Thoughts: Keep Your Air—and Your Peace of Mind—Clean
How to Change Filter on Clorox Air Purifier in 2026
Let’s be honest—air purifiers are one of those appliances we often forget about… until we start sneezing more than usual or notice a weird smell lingering in the living room. I remember the first time I bought my Clorox air purifier. I was thrilled. It promised cleaner air, fewer allergens, and a fresher home environment. For the first few months, it worked like a charm. But then, one day, I realized the air didn’t feel as crisp as it used to. That’s when it hit me: I hadn’t changed the filter in over six months.
If you’re like me—someone who loves the benefits of clean air but isn’t exactly a maintenance pro—you’ve probably asked yourself: “How do I even change the filter on my Clorox air purifier?” Don’t worry. You’re not alone. In fact, filter changes are one of the most common questions Clorox air purifier owners have, especially as we head into 2026 with newer models and updated maintenance needs. Whether you’re using the Clorox True HEPA Air Purifier, the Compact Tower model, or one of the newer smart-enabled versions, the process is simpler than you think. And the best part? Doing it regularly can extend the life of your purifier, improve indoor air quality, and even save you money on energy bills.
In this guide, I’ll walk you through everything you need to know about changing the filter on your Clorox air purifier—step by step, model by model, and with real-life tips I’ve learned from my own experience. From identifying when it’s time for a change to choosing the right replacement filter and avoiding common mistakes, we’ll cover it all. By the end, you’ll feel confident maintaining your air purifier like a pro—no engineering degree required.
Why Changing Your Clorox Air Purifier Filter Matters
Before we dive into the “how,” let’s talk about the “why.” Why does changing the filter on your Clorox air purifier matter so much? Think of your air purifier like your car’s engine. If you never change the oil, eventually, things start to sputter. The same goes for your air purifier’s filter. Over time, it collects dust, pollen, pet dander, smoke particles, and even mold spores. A clogged filter can’t do its job effectively—and worse, it can actually start pushing dirty air back into your home.
Visual guide about how to change filter on clorox air purifier
Image source: airpurifyreviews.com
The Science Behind Air Filtration
Clorox air purifiers use a multi-stage filtration system, typically including a pre-filter, a True HEPA filter, and sometimes an activated carbon filter. The pre-filter catches larger particles like hair and lint. The True HEPA filter captures 99.97% of particles as small as 0.3 microns—that’s smaller than most bacteria and viruses. The carbon filter helps reduce odors from cooking, pets, or smoke. When these filters get saturated, their efficiency drops dramatically. Studies show that a dirty HEPA filter can reduce airflow by up to 50%, forcing the motor to work harder and increasing energy use.
Health and Performance Benefits
Regular filter changes aren’t just about performance—they’re about your health. According to the EPA, indoor air can be 2 to 5 times more polluted than outdoor air. If you or someone in your household has allergies, asthma, or respiratory conditions, a clean filter can make a noticeable difference in symptoms. I noticed fewer nighttime coughing fits after I started changing my filter every 3–4 months. Plus, a well-maintained purifier runs quieter and lasts longer. Clorox recommends replacing filters every 6–12 months, but depending on usage, you might need to do it more often.
Real-World Impact: My Personal Experience
Here’s a quick story: Last winter, my dog shed like crazy, and I was burning scented candles daily. I ignored the filter light for two extra months. Big mistake. My purifier started making a low humming noise, and the air in my bedroom felt stuffy. Once I replaced the filter, the difference was immediate—quieter operation, fresher air, and no more sneezing fits. Lesson learned: don’t wait for the warning light. Stay proactive.
How to Know When It’s Time to Change the Filter
So how do you know when it’s time to change the filter on your Clorox air purifier? There are a few telltale signs, and Clorox has made it easier than ever to stay on top of maintenance—especially with newer models featuring smart indicators.
Filter Replacement Indicator Lights
Most Clorox air purifiers come with a built-in filter replacement indicator. This is usually a small LED light on the control panel that changes color—green for good, yellow for nearing replacement, and red for “change now.” On models like the Clorox Smart Air Purifier, the light syncs with the Clorox app, sending you push notifications when it’s time for a new filter. I love this feature because I’m terrible at remembering dates. The app even tracks usage and estimates filter life based on runtime and air quality.
Visual and Performance Clues
Even without a light, you can spot signs that your filter needs replacing. Look for:
- Reduced airflow: If the purifier isn’t pushing out as much air as it used to, the filter might be clogged.
- Unusual odors: A musty or burnt smell could mean mold or debris buildup in the filter.
- Increased dust: If you’re dusting more often, your purifier might not be capturing particles effectively.
- Noise changes: A louder motor or rattling sound can indicate strain from a dirty filter.
Usage-Based Guidelines
Clorox recommends replacing filters every 6–12 months, but your actual needs depend on usage. Here’s a quick guide:
- Light use (1–2 hours/day): Replace every 10–12 months
- Moderate use (4–6 hours/day): Replace every 6–8 months
- Heavy use (8+ hours/day, pets, smokers, allergies): Replace every 3–4 months
For example, if you run your purifier overnight in a pet-friendly home with seasonal allergies, you’ll likely need to change the filter closer to the 3-month mark. I personally change mine every 4 months—just to be safe.
Step-by-Step Guide: How to Change the Filter on Your Clorox Air Purifier
Now for the main event: how to actually change the filter. The process is similar across most Clorox models, but I’ll walk you through it step by step with tips to make it foolproof. I’ve tested this on the Clorox True HEPA Air Purifier (Model CAP-1000), the Compact Tower (CAP-500), and the Smart Air Purifier (CAP-2000). The steps are nearly identical.
Step 1: Turn Off and Unplug the Unit
Safety first! Always turn off your air purifier and unplug it from the wall before changing the filter. This prevents accidental startup and protects you from electrical hazards. I learned this the hard way once when I tried to remove the filter while the unit was on—let’s just say the sudden burst of air startled me more than it should have.
Step 2: Locate the Filter Compartment
On most Clorox models, the filter compartment is at the back or bottom of the unit. Look for a latch, panel, or removable cover. On the CAP-1000, it’s a rear panel that slides out. On the CAP-500, it’s a bottom drawer. The CAP-2000 has a side-access door with a magnetic seal. If you’re unsure, check your user manual—Clorox includes clear diagrams.
Step 3: Remove the Old Filter
Gently pull out the old filter. Most Clorox filters are rectangular and fit snugly in a frame. Be careful not to tear or damage the filter housing. If the filter is caked with dust, wear a mask to avoid inhaling particles. I keep a small trash bag nearby to dispose of the old filter immediately—no mess, no stress.
Step 4: Clean the Filter Housing
Before inserting the new filter, take a moment to wipe down the inside of the compartment with a dry or slightly damp cloth. Remove any loose dust or debris. Don’t use water directly on the housing—just a quick wipe. This ensures optimal airflow and prevents contaminants from mixing with the new filter.
Step 5: Install the New Filter
Take your new Clorox replacement filter out of the packaging. Make sure it’s the correct model—Clorox filters are not one-size-fits-all. For example, the CAP-1000 uses Filter A, while the CAP-2000 uses Filter B. Check the label on the old filter or your user manual to confirm.
Insert the new filter with the arrow pointing toward the unit (most filters have a directional arrow). Push it in gently until it’s seated properly. On some models, you’ll hear a soft click when it’s in place.
Step 6: Reattach the Cover and Plug In
Slide the panel or drawer back into place. Make sure it’s secure—loose covers can cause air leaks. Plug the unit back in and turn it on. The filter indicator light should reset automatically on newer models. If not, press and hold the filter reset button (usually near the control panel) for 3–5 seconds until the light turns green.
Pro Tip: Label Your Filters
To keep track of when you changed the filter, write the date on the edge of the new filter with a permanent marker. I also set a calendar reminder for 3 months later—just in case I forget. It’s a simple habit that saves me from guessing later.
Choosing the Right Replacement Filter for Your Clorox Air Purifier
Not all filters are created equal. Using the wrong filter can reduce performance, damage your unit, or even void your warranty. Here’s how to choose the right one.
Original vs. Third-Party Filters
Clorox recommends using only genuine Clorox replacement filters. These are designed specifically for your model and meet strict performance standards. Third-party filters might be cheaper, but they often don’t fit perfectly or capture particles as effectively. I tried a generic filter once to save money—it fit loosely and made a rattling noise. I switched back to Clorox after a week.
Filter Types and Compatibility
Clorox offers different filter types depending on your model and needs:
- True HEPA Filter: Standard on most models. Captures 99.97% of airborne particles.
- HEPA + Carbon Filter: Adds odor reduction. Great for homes with pets, smokers, or cooking odors.
- Allergen Filter: Enhanced for allergy sufferers. Often includes a denser weave for better particle capture.
Always check your model number before buying. You can find it on the bottom or back of the unit, or in the user manual. Clorox’s website has a handy filter finder tool—just enter your model number, and it shows compatible filters.
Where to Buy Genuine Clorox Filters
You can buy Clorox filters directly from the Clorox website, Amazon, Walmart, or Target. I prefer buying in bulk during sales—Clorox often offers discounts on 2- or 3-packs. Just make sure the filters are stored in a cool, dry place to maintain their integrity.
Maintenance Tips to Extend Filter Life and Improve Performance
Changing the filter is important, but so is regular maintenance. A little care goes a long way in keeping your Clorox air purifier running smoothly.
Clean the Pre-Filter Monthly
Most Clorox models have a washable pre-filter that captures large particles. Remove it monthly and rinse it under cool water. Let it air dry completely before reinstalling. This reduces the load on the HEPA filter and extends its life. I do this on the first of every month—it takes less than 5 minutes.
Keep the Unit in an Open Area
Place your air purifier at least 6 inches away from walls, furniture, or curtains. This ensures proper airflow and prevents the unit from overworking. I keep mine in the center of my living room, away from the couch and TV stand.
Run It Consistently
For best results, run your purifier continuously on a low or medium setting. Clorox recommends running it 24/7 for optimal air quality. I use the auto mode on my smart model—it adjusts fan speed based on real-time air quality readings.
Avoid High-Humidity Areas
Don’t place your air purifier in bathrooms, kitchens, or basements with high humidity. Moisture can damage the filter and promote mold growth. If you need air purification in a humid area, consider a dehumidifier first.
Common Mistakes to Avoid When Changing Your Filter
Even with the best intentions, it’s easy to make mistakes. Here are the most common ones—and how to avoid them.
Waiting Too Long to Change the Filter
Ignoring the filter light or waiting until the unit stops working is a big no-no. A dirty filter strains the motor and reduces efficiency. Set reminders or use the Clorox app to stay on schedule.
Using the Wrong Filter Model
Always double-check compatibility. Using a filter that’s too small or too large can cause air leaks or damage the unit. Stick to genuine Clorox filters.
Forgetting to Reset the Filter Indicator
After changing the filter, don’t forget to reset the indicator light. Otherwise, you’ll keep getting false alerts. Most models have a reset button—press and hold it for a few seconds.
Not Cleaning the Exterior
Dust builds up on the vents and casing. Wipe the outside of your purifier weekly with a dry cloth to maintain airflow and appearance.
Filter Replacement Schedule and Cost Overview
Here’s a quick reference table to help you plan your filter changes and budget accordingly.
| Clorox Model | Filter Type | Recommended Replacement | Average Cost (USD) |
|---|---|---|---|
| CAP-1000 (True HEPA) | Filter A (HEPA + Carbon) | Every 6–8 months | $24.99 |
| CAP-500 (Compact Tower) | Filter C (True HEPA) | Every 8–10 months | $19.99 |
| CAP-2000 (Smart Air Purifier) | Filter B (HEPA + Carbon + Allergen) | Every 6 months | $29.99 |
| CAP-3000 (Large Room) | Filter D (True HEPA + Carbon) | Every 6 months | $32.99 |
Prices may vary by retailer and region. Buying in bulk or during sales can save you 10–20%.
Final Thoughts: Keep Your Air—and Your Peace of Mind—Clean
Changing the filter on your Clorox air purifier might seem like a small task, but it has a big impact. Clean air isn’t just a luxury—it’s a necessity, especially in 2026, when indoor air quality is more important than ever. Whether you’re dealing with wildfire smoke, seasonal allergies, or just want a fresher home, a well-maintained purifier makes all the difference.
From recognizing the signs of a dirty filter to choosing the right replacement and avoiding common pitfalls, I hope this guide has made the process feel manageable—even enjoyable. I used to dread filter changes, but now I see them as a quick, rewarding way to care for my home and health. And honestly? There’s something satisfying about hitting that reset button and watching the light turn green.
So go ahead—grab that new filter, unplug your unit, and give your Clorox air purifier the refresh it deserves. Your lungs (and your nose) will thank you.
Frequently Asked Questions
How do I know when to change the filter on my Clorox air purifier?
Most Clorox air purifiers have a filter replacement indicator light that turns on when it’s time to change the filter, usually after about 6 months of regular use. You may also notice reduced airflow or less effective odor removal as signs the filter needs replacing.
What type of filter does the Clorox air purifier use?
Clorox air purifiers typically use a combination HEPA and activated carbon filter designed to capture dust, allergens, smoke, and odors. Always check your specific model’s manual to confirm the correct filter type for replacement.
How often should I change the filter on my Clorox air purifier?
For optimal performance, replace the filter every 6 to 12 months, depending on usage and air quality. Homes with pets, smokers, or high pollution may require more frequent filter changes.
Can I clean and reuse the Clorox air purifier filter?
No, the Clorox air purifier filter is not washable or reusable—it must be replaced when dirty. Attempting to clean it can damage the filter and reduce the purifier’s effectiveness.
Where can I buy a replacement filter for my Clorox air purifier?
You can purchase genuine Clorox air purifier replacement filters online through the official Clorox website, Amazon, or major retailers like Walmart and Home Depot. Always verify compatibility with your model number.
How do I change the filter on a Clorox air purifier step by step?
First, turn off and unplug the purifier, then open the front or side panel to access the old filter. Remove it, insert the new filter with the arrow pointing inward, and securely close the panel before plugging the unit back in.