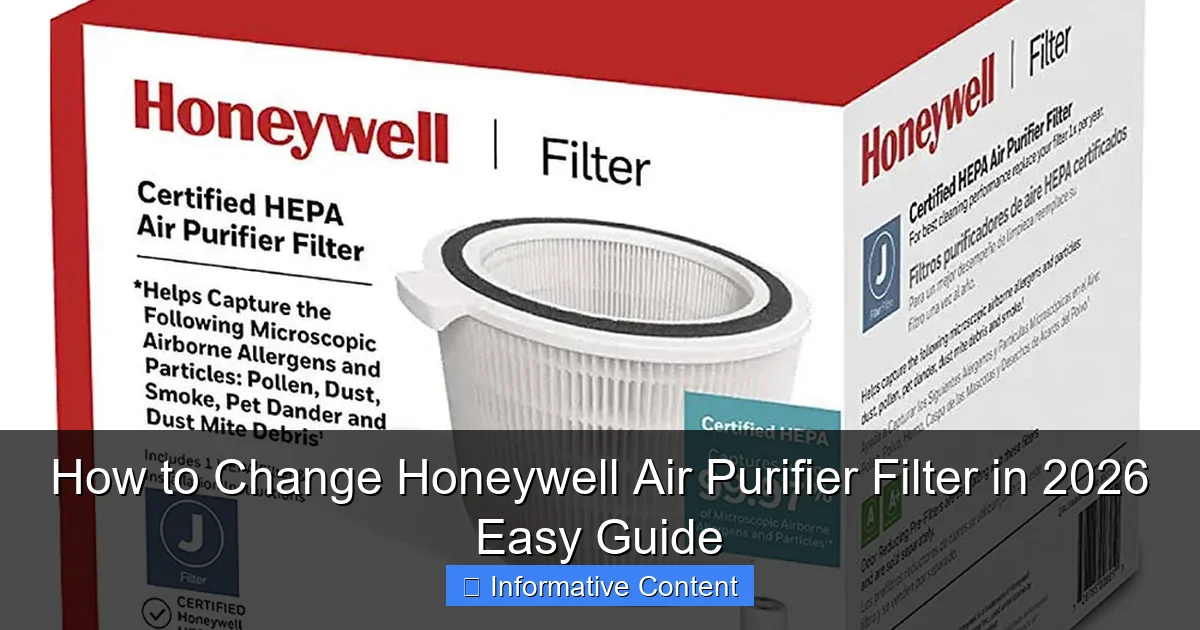
Featured image for how to change honeywell air purifier filter
Image source: honeywellstore.com
Changing your Honeywell air purifier filter in 2026 is quick, simple, and essential for optimal air quality. This easy guide walks you through locating the filter compartment, removing the old filter, and installing a new one—ensuring your purifier runs efficiently. Regular filter changes improve performance, extend device life, and keep your indoor air clean and healthy.
Key Takeaways
- Turn off and unplug the air purifier before starting any filter replacement.
- Locate the filter compartment by checking the back or side panel of your Honeywell model.
- Remove the old filter carefully to avoid spreading trapped dust and debris.
- Insert the new filter with the airflow direction arrow pointing inward.
- Reset the filter indicator if your model has one to track replacement timing.
- Replace filters every 3–12 months depending on usage and air quality.
- Use genuine Honeywell filters for optimal performance and warranty compliance.
📑 Table of Contents
- Why Changing Your Honeywell Air Purifier Filter Matters
- Understanding Your Honeywell Air Purifier Filter
- When to Change Your Honeywell Air Purifier Filter
- Step-by-Step Guide to Changing Your Honeywell Air Purifier Filter
- Tips for Maintaining Your Honeywell Air Purifier
- Common Mistakes to Avoid When Changing Filters
- Comparison of Popular Honeywell Air Purifier Models and Their Filters
- Conclusion: Breathe Easier with a Well-Maintained Air Purifier
Why Changing Your Honeywell Air Purifier Filter Matters
Let’s be honest—how often do you actually think about the filter inside your Honeywell air purifier? I’ll admit, for years I treated mine like a set-it-and-forget-it appliance. I’d plug it in, turn it on, and assume it was quietly doing its job. But then one day, my allergies started acting up again, even though the purifier was running nonstop. That’s when I realized: the filter might be the problem.
It turns out, a dirty or clogged filter doesn’t just reduce efficiency—it can actually make your indoor air worse. Instead of trapping dust, pollen, and pet dander, a saturated filter can start releasing trapped particles back into the air. Plus, your purifier has to work harder, which means higher energy bills and a shorter lifespan for the unit. Changing the filter regularly isn’t just a maintenance task—it’s essential for clean, healthy air in your home.
Whether you’re a first-time Honeywell owner or you’ve been using one for years, knowing how to change the filter properly can make a big difference. In this guide, I’ll walk you through everything you need to know—from identifying when it’s time for a change to step-by-step instructions for different models. By the end, you’ll feel confident maintaining your air purifier like a pro, ensuring it delivers the clean air you and your family deserve.
Understanding Your Honeywell Air Purifier Filter
Types of Filters Used in Honeywell Air Purifiers
Not all Honeywell air purifiers use the same filter, and understanding the type you have is the first step to proper maintenance. Most models rely on a combination of filters to tackle different pollutants. Here’s a breakdown of the most common types:
Visual guide about how to change honeywell air purifier filter
Image source: honeywellstore.com
- Pre-Filter: This is the first line of defense. It captures large particles like pet hair, dust, and lint. It’s usually washable and reusable, so you don’t need to replace it as often.
- True HEPA Filter: This is the star of the show. True HEPA filters remove 99.97% of airborne particles as small as 0.3 microns, including pollen, mold spores, and smoke. These filters are not washable and must be replaced periodically.
- Activated Carbon Filter: Often included in models designed to tackle odors and chemicals, this filter absorbs gases, VOCs (volatile organic compounds), and household smells like cooking or pet odors. It’s especially helpful in homes with smokers or strong cooking smells.
- Combination Filters: Some newer Honeywell models use all-in-one filters that combine HEPA and carbon layers. These simplify maintenance since you only need to replace one unit.
How Filters Work Together
Think of your air purifier like a team of defenders. The pre-filter grabs the big invaders, the HEPA filter takes out the tiny, dangerous ones, and the carbon filter neutralizes odors and chemicals. When one filter is clogged, the whole system suffers. For example, if the pre-filter is full of pet hair, the HEPA filter has to work harder to catch smaller particles, which shortens its lifespan.
I learned this the hard way when my cat shed heavily during spring. I didn’t clean the pre-filter for months, and eventually, the HEPA filter got clogged faster than usual. Replacing it cost me $50—money I could’ve saved with a simple monthly rinse of the pre-filter.
Signs You’re Using the Wrong Filter
Using the correct filter for your model is crucial. Honeywell designs filters specifically for each purifier, and using a generic or incompatible one can reduce performance or even damage the unit. Here are a few red flags:
- The filter doesn’t fit snugly or requires forcing it into place.
- The purifier makes unusual noises or vibrates more than usual.
- Airflow feels weaker, even on the highest setting.
- You notice a lingering odor that the purifier used to eliminate.
Always check your user manual or the Honeywell website for the exact filter model number. For example, the Honeywell HPA300 uses a True HEPA filter (part number 203740), while the HPA100 uses a different size. Buying the right one ensures optimal performance and protects your warranty.
When to Change Your Honeywell Air Purifier Filter
Manufacturer Recommendations
Honeywell provides general guidelines for filter replacement, but these are just starting points. According to the company, most True HEPA filters should be replaced every 12 months under normal use. Pre-filters can be cleaned every 2–3 months, and carbon filters typically last 3–6 months, depending on air quality.
However, “normal use” is a broad term. If you live in a city with high pollution, have pets, or suffer from allergies, your filters will clog faster. I live in a suburban area with two dogs and a cat, and I find myself replacing my HEPA filter every 8–10 months. The carbon filter? That’s every 4 months during allergy season.
Visual and Performance Indicators
Don’t wait for a reminder light (if your model has one) to tell you it’s time. Learn to spot the signs yourself:
- Visible dirt or discoloration: If the filter looks gray or black, especially near the edges, it’s time for a change.
- Reduced airflow: Place your hand near the outlet. If the air feels weaker than usual, the filter may be clogged.
- Increased noise: A struggling motor often means the filter is restricting airflow.
- Persistent odors: If cooking smells or pet odors linger longer than they used to, the carbon filter might be saturated.
- Allergy flare-ups: If you or your family members start sneezing or coughing more, even with the purifier running, the filter could be releasing trapped particles.
Using the Filter Life Indicator (If Available)
Many newer Honeywell models, like the HPA3000 series, come with a built-in filter life indicator. This light changes color or blinks when it’s time to replace the filter. While convenient, don’t rely on it blindly. These indicators are often based on time or usage estimates, not actual filter condition.
For example, my HPA300 has a filter reset button. After replacing the filter, I press it to reset the timer. But during a particularly dusty renovation project, I noticed the light turned red after just 6 months. I checked the filter and—yep—it was packed with drywall dust. I replaced it early and reset the timer. The lesson? Use the indicator as a guide, but always inspect the filter visually.
Step-by-Step Guide to Changing Your Honeywell Air Purifier Filter
Preparation: What You’ll Need
Before you start, gather these items to make the process smooth and mess-free:
- A replacement filter (check your model number)
- A vacuum cleaner with a brush attachment (optional but helpful)
- A soft cloth or microfiber towel
- Latex gloves (to keep your hands clean)
- A trash bag (for the old filter)
Pro tip: Do this near a trash can or outside to avoid spreading dust indoors. I learned this after changing a filter in my living room and accidentally releasing a cloud of dust into the air.
Step 1: Turn Off and Unplug the Unit
Safety first! Always turn off the air purifier and unplug it from the wall. This prevents accidental startup and protects you from electrical hazards. Even if the unit seems off, there could still be power flowing to internal components.
Step 2: Locate the Filter Compartment
Most Honeywell air purifiers have a front or side panel that opens to reveal the filter. Look for a latch, button, or sliding mechanism. On models like the HPA100, the front grille pops off with a gentle tug. On the HPA300, you’ll need to press a release button on the side.
If you’re unsure, consult your user manual. Honeywell’s website also has video tutorials for popular models, which can be a huge help if you’re doing this for the first time.
Step 3: Remove the Old Filter
Once the compartment is open, carefully pull out the old filter. Note how it’s positioned—most filters have arrows indicating airflow direction. This ensures you install the new one correctly.
If there’s a pre-filter, remove it first. Gently tap it over a trash can to loosen dust, or use a vacuum to clean it. If it’s washable, rinse it under cool water and let it air dry completely before reinserting.
Step 4: Clean the Interior (Optional but Recommended)
While the filter is out, take a moment to clean the inside of the purifier. Use a dry or slightly damp cloth to wipe away dust from the fan blades and housing. Avoid using water near electrical components.
I use a can of compressed air to blow out dust from hard-to-reach areas. It’s quick, effective, and prevents buildup that could affect performance.
Step 5: Install the New Filter
Take your new filter out of the packaging—don’t remove any plastic wrapping until you’re ready to install it. Place it in the compartment, making sure the airflow arrows point toward the fan (usually inward).
Push it in gently until it sits flush. Don’t force it. If it doesn’t fit easily, double-check the model number. Using the wrong filter can damage the unit.
Step 6: Reassemble and Reset
Close the filter compartment securely. If your model has a filter reset button, press it now to reset the indicator light. Plug the unit back in and turn it on. Listen for smooth operation—no rattling or unusual noises.
Run the purifier on low for the first hour to let the new filter settle. You might notice a slight plastic smell at first, but it should fade within a day.
Tips for Maintaining Your Honeywell Air Purifier
Regular Cleaning Routine
Changing the filter is important, but so is general upkeep. Here’s a simple maintenance schedule I follow:
- Weekly: Wipe the exterior with a damp cloth. Dust the grilles with a soft brush.
- Monthly: Clean the pre-filter (if washable). Vacuum the intake and outlet vents.
- Every 3–6 months: Deep clean the interior with compressed air. Check for loose parts or wear.
- Annually: Replace the True HEPA filter (or as needed based on usage).
Consistency is key. A little effort each month prevents big problems down the road.
Maximizing Filter Lifespan
You can extend the life of your filters with a few smart habits:
- Run the purifier continuously: Contrary to popular belief, running it 24/7 on low uses less energy than cycling it on and off. It also keeps air circulating and reduces strain on the filter.
- Keep windows closed during high-pollution days: This reduces the amount of outdoor allergens entering your home.
- Vacuum and dust regularly: Less dust in your home means less work for the purifier.
- Avoid smoking indoors: Cigarette smoke quickly saturates carbon filters.
I started vacuuming twice a week and noticed my filter stayed cleaner longer. Small changes, big results.
Storing Replacement Filters
If you buy filters in bulk (which can save money), store them properly. Keep them in their original packaging, in a cool, dry place away from sunlight. Humidity can degrade the filter material over time.
I keep mine in a sealed plastic bin in my basement. Just make sure it’s not near any chemicals or moisture sources.
Common Mistakes to Avoid When Changing Filters
Using Generic or Counterfeit Filters
It’s tempting to save money with third-party filters, but they often don’t meet Honeywell’s standards. I tried a cheaper alternative once and noticed a drop in performance within weeks. The filter didn’t seal properly, allowing unfiltered air to bypass it.
Stick with genuine Honeywell filters or certified equivalents. They’re designed to fit perfectly and maintain optimal airflow.
Ignoring the Pre-Filter
Many people forget about the pre-filter, but it’s just as important as the HEPA filter. A clogged pre-filter forces the HEPA filter to work harder, shortening its life. Clean or replace it regularly—especially if you have pets.
Forgetting to Reset the Filter Indicator
If your model has a filter life light, always reset it after changing the filter. Otherwise, you might replace a perfectly good filter too early or miss a needed change.
Installing the Filter Backwards
Airflow direction matters. Installing the filter backward reduces efficiency and can damage the motor. Always check the arrows on the filter frame.
Not Disposing of Old Filters Properly
Old filters can contain trapped allergens and pollutants. Seal them in a plastic bag before throwing them away to prevent re-releasing particles into your home.
Comparison of Popular Honeywell Air Purifier Models and Their Filters
| Model | Filter Type | Filter Model Number | Replacement Frequency | Special Features |
|---|---|---|---|---|
| HPA100 | True HEPA + Pre-Filter | 38002 (HEPA), 38001 (Pre-Filter) | HEPA: 12 months, Pre-Filter: Clean monthly | Compact design, ideal for small rooms |
| HPA200 | True HEPA + Pre-Filter | 38002 (HEPA), 38001 (Pre-Filter) | HEPA: 12 months, Pre-Filter: Clean monthly | Covers medium rooms, 3 speed settings |
| HPA300 | True HEPA + Pre-Filter | 38002 (HEPA), 38001 (Pre-Filter) | HEPA: 12 months, Pre-Filter: Clean monthly | High performance, covers large rooms |
| HPA5000 Series | True HEPA + Carbon + Pre-Filter | 38002 (HEPA), 38003 (Carbon), 38001 (Pre-Filter) | HEPA: 12 months, Carbon: 6 months, Pre-Filter: Clean monthly | Advanced odor control, smart features |
| HAF-C1 | Combination HEPA + Carbon | HAF-C1 | 6–12 months | All-in-one filter, easy replacement |
This table helps you quickly identify the right filter for your model and understand how often to replace it. Always double-check your specific unit’s requirements before purchasing.
Conclusion: Breathe Easier with a Well-Maintained Air Purifier
Changing your Honeywell air purifier filter might seem like a small task, but it has a big impact on your indoor air quality, your health, and the longevity of your device. By understanding your filter types, knowing when to replace them, and following the right steps, you can keep your purifier running efficiently year after year.
I used to treat filter changes like a chore, but now I see them as a simple act of self-care. Every time I swap in a fresh filter, I know I’m giving my family cleaner air to breathe—especially during allergy season or when the windows are closed in winter. It’s a small effort with a big payoff.
So don’t wait for the warning light or a sneezing fit. Take a few minutes today to check your filter. If it’s time for a change, follow this guide and do it right. Your lungs—and your Honeywell air purifier—will thank you.
Frequently Asked Questions
How do I know when to change my Honeywell air purifier filter?
Most Honeywell models have a filter replacement indicator light that turns on when it’s time to change the filter. Typically, pre-filters need changing every 3 months, while HEPA filters last 12–18 months depending on usage and air quality.
Where is the filter located in my Honeywell air purifier?
The filter compartment is usually at the back or side of the unit, secured by a removable panel or latch. Refer to your model’s manual for exact placement—some newer 2026 models feature front-loading designs for easier access.
How to change Honeywell air purifier filter without damaging the unit?
Power off and unplug the purifier first, then gently remove the cover to avoid breaking clips. Slide out the old filter carefully, noting its orientation, and insert the new one with the airflow arrow pointing inward.
Can I reuse or wash my Honeywell air purifier filter?
Only the pre-filter is washable—rinse it monthly with water and let it dry completely. The HEPA and carbon filters are not washable and must be replaced to maintain optimal performance.
What type of replacement filter does my Honeywell model need?
Check your purifier’s manual or the label on the old filter for the correct model number (e.g., HRF-R3). Honeywell’s 2026 lineup uses smart filters with RFID tags to ensure compatibility and track usage.
How long does it take to complete a Honeywell air purifier filter change?
The process takes less than 5 minutes once you’re familiar with your model. Newer Honeywell units in 2026 feature tool-free designs and magnetic covers for faster, hassle-free filter swaps.