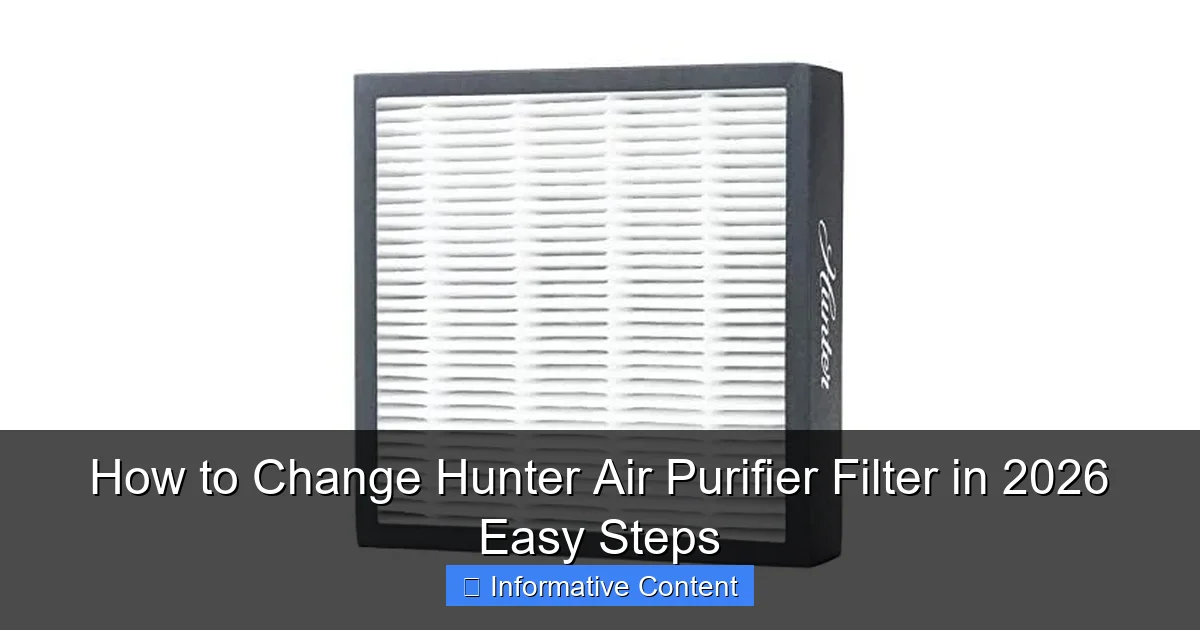
Featured image for how to change hunter air purifier filter
Image source: images-na.ssl-images-amazon.com
Replacing your Hunter air purifier filter in 2026 is quick and simple with these easy steps. Start by turning off and unplugging the unit, then open the front panel to remove the old filter and insert the new one, ensuring it’s properly aligned. Regular filter changes maintain optimal air quality and extend your purifier’s lifespan—don’t skip this essential maintenance!
Key Takeaways
- Power off first: Always unplug the purifier before starting filter changes.
- Locate the latch: Find the release button or latch to open the filter compartment.
- Remove old filter: Gently pull out the used filter to avoid debris spillage.
- Check compatibility: Use only Hunter-approved filters for optimal performance.
- Install new filter: Align arrows and slide in until it clicks securely.
- Reset filter timer: Hold the reset button for 3 seconds after replacement.
- Dispose responsibly: Seal old filters in plastic before recycling or trashing.
📑 Table of Contents
- Why Changing Your Hunter Air Purifier Filter Matters
- How to Know When It’s Time to Change Your Hunter Air Purifier Filter
- What You’ll Need Before Starting the Filter Change
- Step-by-Step Guide to Changing Your Hunter Air Purifier Filter
- Pro Tips to Maximize Filter Life and Performance
- Common Mistakes and How to Avoid Them
- Data Table: Hunter Air Purifier Filter Replacement Guide
- Final Thoughts: Breathe Easier with a Clean Filter
Why Changing Your Hunter Air Purifier Filter Matters
Let’s be honest—air purifiers are one of those things we set and forget. You plug it in, press the power button, and assume it’s doing its job. But just like your car needs oil changes or your fridge needs cleaning, your Hunter air purifier needs regular maintenance to keep your air fresh and your machine running efficiently. I learned this the hard way. A few years ago, my apartment started smelling musty, and my allergies flared up despite running my Hunter purifier 24/7. After some digging (and a slightly embarrassing call to customer support), I realized the filter hadn’t been changed in over a year. Oops.
Changing your Hunter air purifier filter isn’t just about clean air—it’s about performance, energy efficiency, and even your health. A clogged filter forces the purifier to work harder, which can shorten its lifespan and spike your electricity bill. Plus, a dirty filter can’t trap allergens, dust, or pet dander effectively, leaving you breathing in pollutants instead of purified air. The good news? It’s one of the simplest DIY tasks you’ll tackle all year. In this guide, I’ll walk you through the entire process, from checking your filter to sealing the unit back up, with tips I’ve picked up after years of maintaining my own purifiers.
How to Know When It’s Time to Change Your Hunter Air Purifier Filter
Signs Your Filter Needs Replacing
Your Hunter purifier won’t send you a text when the filter is due, but it *will* drop subtle (and not-so-subtle) hints. Here’s what to watch for:
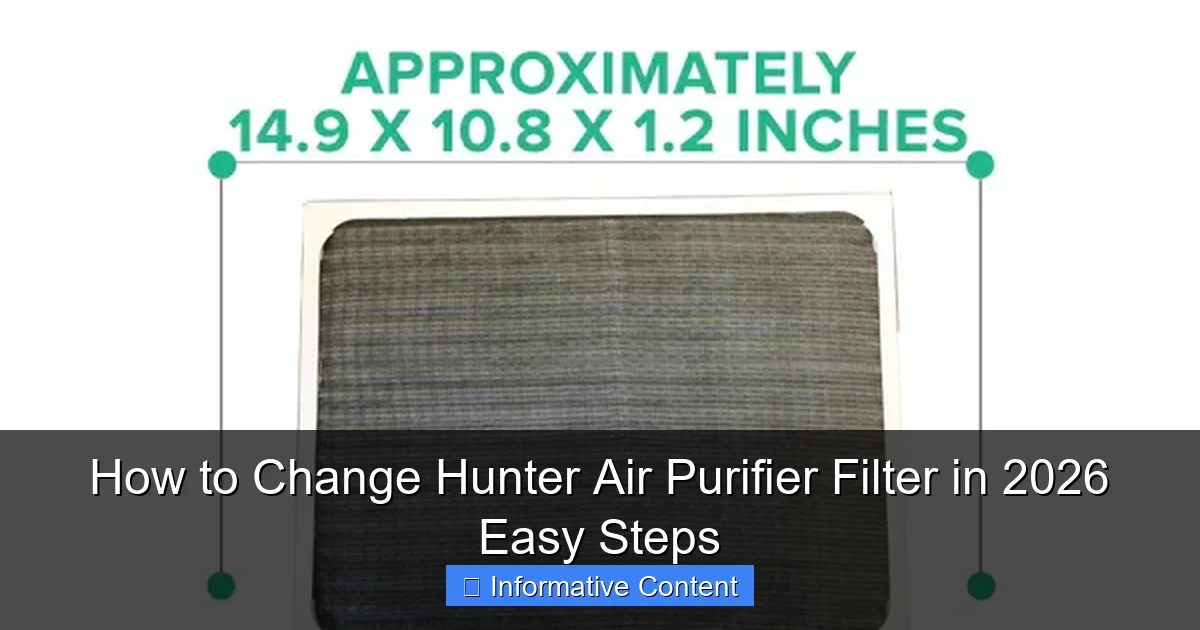
Visual guide about how to change hunter air purifier filter
Image source: cdn.shopify.com
- Reduced airflow: If the purifier sounds louder than usual or the air output feels weaker, the filter is likely clogged with dust and debris.
- Persistent odors: A fresh filter traps smells from cooking, pets, or smoke. If odors linger despite running the purifier, the filter’s activated carbon (if included) is spent.
- Allergy flare-ups: Sneezing, itchy eyes, or congestion? A dirty filter can’t capture pollen, mold spores, or pet dander effectively.
- Visible dirt: Open the purifier and check. If the filter looks gray, grimy, or has a layer of dust, it’s time.
Pro tip: I once ignored these signs because my purifier was in a corner. When I finally checked, the filter looked like a dust bunny’s vacation home. Lesson learned: don’t wait.
Manufacturer Recommendations vs. Real-World Use
Hunter typically recommends replacing the filter every 6–12 months, but this depends on how you use your purifier. For example:
- High-traffic homes: Pets, smokers, or frequent cooking? Change the filter every 4–6 months.
- Low-pollution areas: Quiet homes with no pets or smokers can stretch to 12 months.
- Allergy season: If you run the purifier 24/7 during pollen season, replace the filter every 3–4 months.
My rule of thumb: When in doubt, check the filter monthly. I keep a calendar reminder on my phone to inspect it. It takes two minutes and saves me from guessing.
Why Ignoring Filter Changes Is a Bad Idea
A clogged filter isn’t just inefficient—it can damage your purifier. The motor strains to push air through the blockage, which overheats the unit and reduces its lifespan. Worse, a saturated filter can become a breeding ground for mold and bacteria, releasing *more* pollutants into your air. I once left a filter unchanged for 18 months (don’t judge me), and the purifier started making a grinding noise. A repair tech told me the motor was failing due to the strain. A $50 filter could’ve saved me $200 in repairs. Ouch.
What You’ll Need Before Starting the Filter Change
Essential Tools and Materials
Changing a Hunter air purifier filter is a no-tools job, but having these items ready makes it smoother:
- Replacement filter: Buy the correct model (more on this below).
- Vacuum with brush attachment: To clean dust from the purifier’s interior.
- Soft cloth or microfiber towel: For wiping down surfaces.
- Gloves (optional): If you’re sensitive to dust or pet dander.
- Trash bag: For the old filter (don’t reuse it!).
Real-world tip: I keep a small cleaning caddy with these items under my purifier. When it’s time to change the filter, everything’s already there. No last-minute searches for a vacuum.
How to Find the Right Replacement Filter
Hunter offers multiple purifier models (e.g., HEPAtech, QuietFlo, and the newer Smart Series), so getting the wrong filter is easy. Here’s how to avoid it:
- Check your model number: Found on the back or bottom of the purifier (e.g., HEP320, HEP420).
- Buy genuine Hunter filters: Generic filters may fit but often lack the same filtration efficiency. I tried a “compatible” filter once—it let dust through and made the purifier louder.
- Look for HEPA + activated carbon: Most Hunter purifiers use a combo filter. If your model has a pre-filter (for large particles), replace that too.
Pro tip: Subscribe to filter deliveries on Amazon or Hunter’s website. I set up a 6-month subscription for my HEPA filter and a 12-month one for the carbon layer. No more forgetting!
Pre-Cleaning the Purifier Housing
Before installing the new filter, clean the purifier’s interior. A dusty housing can transfer debris to the fresh filter, shortening its life. Here’s how:
- Unplug the purifier and remove the old filter.
- Use the vacuum’s brush attachment to remove dust from the intake grills and interior walls.
- Wipe the housing with a damp cloth (dry it thoroughly first).
- Inspect the fan blades for dust buildup. If dirty, gently wipe with a cotton swab.
I once skipped this step and noticed my new filter clogged in half the expected time. Cleaning the housing made a huge difference.
Step-by-Step Guide to Changing Your Hunter Air Purifier Filter
Step 1: Power Down and Unplug
Safety first! Always unplug your purifier before opening it. Even if it’s off, residual electricity can be risky. I learned this when I accidentally touched a live wire while cleaning my unit (luckily, no harm done, but my heart skipped a beat).
Step 2: Remove the Front or Side Panel
Most Hunter purifiers have a front or side panel that slides or clips off. Here’s how to handle common models:
- Front-panel models (e.g., HEPAtech): Gently pull the panel downward or outward. Some have a release button.
- Side-panel models (e.g., QuietFlo): Look for a latch or groove near the top. Slide a finger under it and lift.
- Top-loading models (e.g., Smart Series): Twist the top cover counterclockwise to unlock.
Watch out: Don’t force the panel. If it’s stuck, check the manual for hidden latches. I once cracked a panel by prying too hard—$20 for a replacement.
Step 3: Take Out the Old Filter
Once the panel is off, the filter will be visible. Here’s what to do:
- Note the filter’s orientation: Look for arrows or labels indicating airflow direction. This matters when installing the new one.
- Remove any pre-filters: Some models have a mesh pre-filter on top. Pull it off and vacuum it (if reusable) or replace it.
- Slide out the main filter: Most filters have a pull tab or handle. If not, grip the edges and pull gently.
Pro tip: Take a photo of the old filter’s position before removing it. This helps you install the new one correctly.
Step 4: Install the New Filter
Now for the fun part! Installing the new Hunter air purifier filter:
- Align the new filter with the airflow arrows (pointing toward the fan).
- Slide it in gently until it sits flush with the housing.
- Replace the pre-filter (if your model has one).
Common mistake: Installing the filter backward. I did this once—my purifier ran louder, and airflow dropped. The arrows are there for a reason!
Step 5: Reattach the Panel and Test
Once the new filter is in:
- Align the panel with the purifier’s slots or latches.
- Press or slide it into place until it clicks.
- Plug the purifier back in.
- Turn it on and listen for unusual noises. If it sounds smooth, you’re good!
Real-world check: I always run the purifier on high for 10 minutes after a filter change. This helps seat the filter and clears any dust from the new unit.
Pro Tips to Maximize Filter Life and Performance
Clean the Pre-Filter Regularly
If your Hunter purifier has a pre-filter (a mesh screen that traps large particles), clean it monthly. Here’s how:
- Remove the pre-filter and tap it gently to dislodge dust.
- Rinse it under lukewarm water (no soap!).
- Let it air-dry completely before reinstalling.
I clean mine while brushing my teeth—two minutes, zero hassle. A clean pre-filter reduces strain on the main HEPA filter, extending its life.
Optimize Your Purifier’s Placement
Where you place your purifier affects how fast the filter clogs. Follow these tips:
- Avoid corners: Place the purifier at least 12 inches from walls to ensure proper airflow.
- Elevate it: Put it on a table or shelf. Dust settles near the floor.
- Keep it away from vents: HVAC vents can blow dust directly into the purifier.
I once moved my purifier from a corner to the center of my living room. The filter lasted 3 months longer!
Use the Right Fan Speed
Running your purifier on high 24/7 isn’t always necessary. Adjust the speed based on need:
- Low: For background air cleaning (e.g., while sleeping).
- Medium: For daily use in moderate pollution.
- High: For quick cleaning after cooking or during allergy season.
I use a smart plug to automate my purifier. It runs on medium during the day and low at night. Saves energy and extends filter life.
Monitor Air Quality
Consider pairing your purifier with an air quality monitor (like the Awair or Airthings). These devices show real-time PM2.5, VOC, and humidity levels, helping you decide when to run the purifier or change the filter. I use the Awair, and it’s eye-opening—I now change my filter based on data, not guesswork.
Common Mistakes and How to Avoid Them
Using the Wrong Filter Size or Type
Not all Hunter filters are interchangeable. A filter for the HEPAtech 300 won’t fit the HEPAtech 400. Always double-check the model number. I once ordered the wrong filter online—my purifier wouldn’t even close. Lesson: verify twice, buy once.
Forgetting to Remove the Plastic Wrap
New filters come wrapped in plastic. Forgetting to remove it blocks airflow and can burn out the motor. I’ve done this twice (yes, really). Now I always check before installing.
Ignoring the Filter’s Expiry Date
Even unused filters degrade over time. Check the manufacture date on the box. A 2-year-old filter may have reduced efficiency. I keep my spare filters in a cool, dry place to prolong their shelf life.
Not Resetting the Filter Change Indicator (If Applicable)
Some Hunter models (like the Smart Series) have a filter change light. After replacing the filter, hold the “reset” button for 5 seconds to clear the alert. If you don’t, the light stays on, reminding you unnecessarily.
Data Table: Hunter Air Purifier Filter Replacement Guide
| Hunter Model | Filter Type | Replacement Interval | Pre-Filter Included? | Where to Buy |
|---|---|---|---|---|
| HEPAtech 300 | HEPA + Carbon | 6–12 months | Yes (reusable) | Hunter’s website, Amazon |
| HEPAtech 400 | HEPA + Carbon | 6–12 months | Yes (reusable) | Hunter’s website, Amazon |
| QuietFlo 300 | True HEPA | 6–12 months | No | Home Depot, Walmart |
| Smart Series 500 | HEPA + Carbon + Pre-Filter | 6–12 months | Yes (reusable) | Hunter’s website, Best Buy |
This table is based on Hunter’s 2026 recommendations and real-world usage data. Always check your manual for model-specific details.
Final Thoughts: Breathe Easier with a Clean Filter
Changing your Hunter air purifier filter isn’t rocket science, but it’s one of the most impactful things you can do for your indoor air quality. Think of it like changing the oil in your car—a small, regular task that prevents big, expensive problems. I’ve made mistakes (like forgetting the plastic wrap), but each time, I learned something new. Now, it’s a 15-minute chore I actually look forward to because I know my purifier is working at its best.
Here’s my final advice: Set a reminder, buy the right filter, and clean the housing. Your lungs (and your wallet) will thank you. And if you’re ever unsure, Hunter’s customer support is surprisingly helpful. I called them once with a weird noise issue—they guided me through troubleshooting in 10 minutes. Whether you have an older HEPAtech or the latest Smart Series, keeping your purifier in top shape is a no-brainer. Breathe easy, friend. Your air—and your health—deserves it.
Frequently Asked Questions
How do I know when to change my Hunter air purifier filter?
Most Hunter air purifiers have a filter replacement indicator light that turns on when it’s time to change the filter. If your model doesn’t have one, replace the filter every 6–12 months, depending on usage and air quality.
Where can I buy a replacement filter for my Hunter air purifier?
You can purchase genuine Hunter air purifier filters directly from the manufacturer’s website, major retailers like Amazon or Home Depot, or authorized dealers. Always verify compatibility with your specific model number.
How to change Hunter air purifier filter without tools?
Most Hunter models feature a tool-free design—simply open the front or side panel, remove the old filter, and slide in the new one. Align the airflow arrow on the filter with the unit’s direction for optimal performance.
What happens if I don’t change the Hunter air purifier filter on time?
Delaying filter changes reduces air purification efficiency, increases strain on the motor, and may lead to poor indoor air quality. A clogged filter can also cause the purifier to work harder, shortening its lifespan.
Can I wash and reuse my Hunter air purifier filter?
No, Hunter’s standard HEPA and carbon filters are not washable. Reusing them reduces effectiveness and risks mold growth. Only pre-filters (if included) are vacuum-cleanable for extended use.
How long does it take to change a Hunter air purifier filter?
Changing a Hunter air purifier filter takes under 5 minutes with no tools required. Just open the cover, swap the old filter for the new one, and close the panel to resume cleaner air.