Featured image for how to change mooka air purifier filter
Image source: cleanestor.com
Changing your Mooka air purifier filter in 2026 is quick and simple—just power off the unit, remove the front panel, and swap the old filter with a new one. Always check the filter indicator light or app notification to ensure timely replacements for optimal air quality and performance. This easy maintenance step keeps your purifier running efficiently and your indoor air clean year-round.
Key Takeaways
- Turn off and unplug the purifier before starting any filter change.
- Locate the filter compartment by opening the front or side panel as per your model.
- Remove the old filter carefully to avoid spreading trapped particles.
- Check filter type and install the correct Mooka replacement filter.
- Reset the filter indicator after installation to ensure accurate monitoring.
- Dispose of old filters responsibly, especially if they contain allergens or pollutants.
📑 Table of Contents
- Why Changing Your Mooka Air Purifier Filter Matters
- How to Tell When Your Mooka Air Purifier Filter Needs Replacing
- Tools and Materials You’ll Need (Spoiler: It’s Minimal!)
- Step-by-Step Guide: How to Change Mooka Air Purifier Filter
- Common Mistakes (And How to Avoid Them)
- Data Table: Mooka Air Purifier Filter Replacement Guide
- Final Thoughts: Breathe Easy, Stay Consistent
Why Changing Your Mooka Air Purifier Filter Matters
Let’s be honest—air purifiers are like the silent guardians of your home. You plug them in, they hum quietly in the corner, and you forget about them… until the air starts to feel a little stale, or that faint pet odor creeps back in. I remember the first time I noticed my Mooka air purifier wasn’t working as well as it used to. I’d just brought home a new rescue cat (hi, Mr. Whiskers), and within a week, the air in my living room had that unmistakable “cat litter + wet fur” blend. I checked the purifier—still running, but the air didn’t feel as fresh. That’s when I realized: the filter was due for a change.
If you own a Mooka air purifier, you’ve likely experienced that same moment. Whether it’s pet dander, cooking smells, dust, or seasonal allergies, these devices work hard to keep your indoor air clean. But just like a car needs oil changes, your air purifier needs fresh filters. And the good news? Changing a Mooka air purifier filter in 2026 is easier than ever. With a few simple steps, a little time, and zero special tools, you can restore your purifier to peak performance. In this guide, I’ll walk you through the entire process—from spotting the signs you need a new filter to safely installing it—so you can breathe easier, literally.
How to Tell When Your Mooka Air Purifier Filter Needs Replacing
Signs Your Filter Is Worn Out
You don’t need to be a scientist to know when your filter’s past its prime. Your Mooka air purifier will give you subtle (and sometimes not-so-subtle) hints. Here are the most common signs:
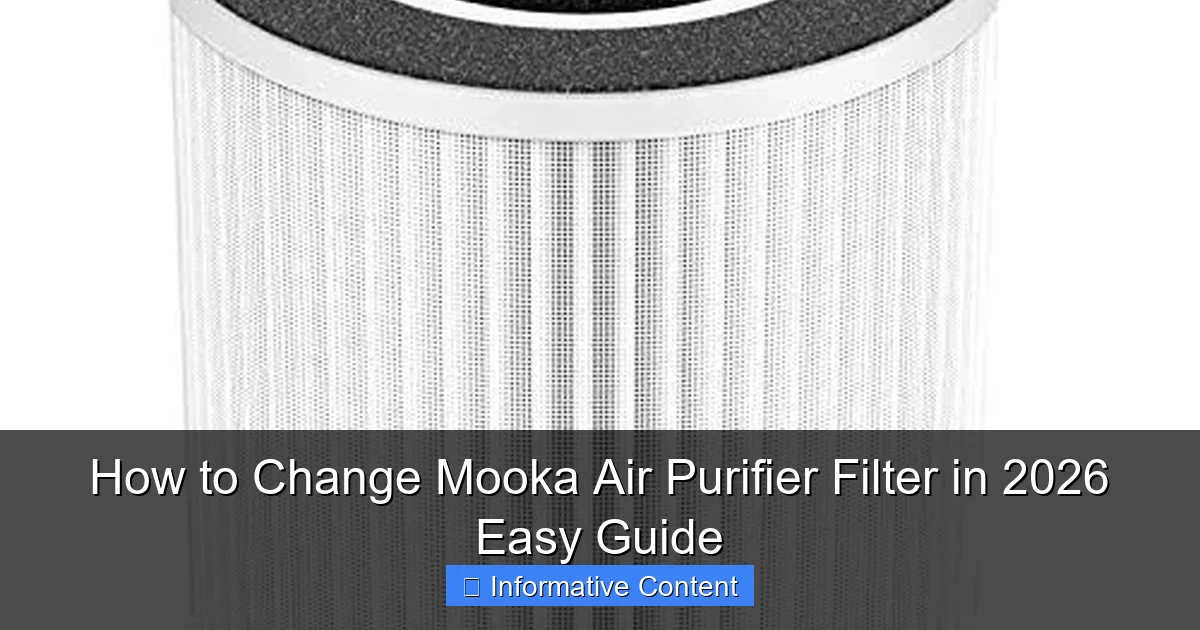
Visual guide about how to change mooka air purifier filter
Image source: cdn11.bigcommerce.com
- Reduced airflow: If the purifier sounds louder or the air coming out feels weaker, it might be struggling to push air through a clogged filter.
- Persistent odors: If cooking smells, pet scents, or mustiness linger longer than they used to, the activated carbon layer is likely saturated.
- Increased allergy symptoms: Sneezing, itchy eyes, or congestion indoors? Your HEPA filter may no longer be trapping allergens effectively.
- Filter indicator light: Many Mooka models (like the KJ800F and KJ720F) have built-in filter replacement reminders. If the light turns yellow or red, it’s time.
- Visible dirt or discoloration: Open the purifier and take a look. A clean HEPA filter is white or off-white. If it’s gray, brown, or black, it’s time to swap it.
I learned this the hard way when I ignored the indicator light for two extra months. I thought, “It’s still running—why fix what isn’t broken?” But after replacing the filter, the difference was night and day. The air felt lighter, and Mr. Whiskers’ fur stopped floating around like confetti.
How Often Should You Change It?
Mooka recommends changing the HEPA filter every 6 to 12 months, depending on usage. But your environment plays a big role. Here’s a quick rule of thumb:
- Light use (1–3 hours/day, low pollution): 12 months
- Moderate use (4–8 hours/day, average urban air): 9 months
- Heavy use (9+ hours/day, pets, smokers, allergies): 6 months
For example, my purifier runs 10 hours a day in a 700 sq ft apartment with a cat and a partner who cooks spicy food nightly. I change the filter every 6 months—sometimes even 5 if the winter air gets extra dusty. If you live in a city with high pollution or have multiple pets, err on the side of caution. A fresh filter isn’t just about performance—it’s about your health.
Tools and Materials You’ll Need (Spoiler: It’s Minimal!)
What You Actually Need
Good news: You don’t need a toolbox full of gadgets. Changing a Mooka air purifier filter is a no-tools-required job. Here’s your checklist:
- A replacement Mooka filter: Make sure it matches your model (e.g., KJ800F, KJ720F, KJ500F). Mooka sells genuine filters on Amazon, their website, and select retailers. Avoid third-party knockoffs—they may not fit properly or offer the same filtration efficiency.
- Your hands: That’s it. Seriously. No screwdrivers, no pliers.
- A clean, dry surface: Lay a towel or paper towels down to catch any dust or debris.
- Optional: a soft brush or microfiber cloth: To wipe down the inside of the purifier after removing the old filter.
Where to Buy Genuine Mooka Filters
I’ve made the mistake of buying “compatible” filters off eBay. They were cheaper, sure—but one didn’t seal properly, letting unfiltered air sneak through. Another had a weaker carbon layer and couldn’t handle my cat’s litter box odor. Save yourself the hassle: buy genuine Mooka filters.
Here’s where I recommend:
- Amazon: Fast shipping, easy returns, and often Prime-eligible. Look for “sold by Mooka” or “fulfilled by Amazon” to avoid counterfeits.
- Mooka’s official website: They sometimes offer multi-packs at a discount, plus you get direct support if something’s wrong.
- Authorized retailers: Check Mooka’s site for a store locator. Big-box stores like Best Buy may carry them.
Pro tip: Set a reminder in your phone or calendar to check your filter every 5 months. That way, you’re not scrambling when the indicator light turns red. I use the “Reminders” app with a note: “Check Mooka filter – 6-month mark.”
Step-by-Step Guide: How to Change Mooka Air Purifier Filter
Step 1: Turn Off and Unplug the Purifier
Safety first! Before you touch anything, turn off the purifier and unplug it from the wall. I learned this the hard way when I accidentally knocked the unit over while changing the filter (RIP, my favorite succulent). Even if the purifier has a “filter reset” button, always unplug it. No exceptions.
Wait 30 seconds after unplugging. This ensures any residual charge is gone. It’s a small step, but it keeps you safe.
Step 2: Open the Air Purifier
Most Mooka models use a front or side panel that pops open. Here’s how to do it:
- KJ800F/KJ720F: Press the small button or tab on the front. The panel will release with a gentle click. Pull it toward you.
- KJ500F: Slide the side panel upward (there’s a groove on each side). It lifts straight off.
- Other models: Look for a latch or groove. If you’re unsure, check the manual (or Google “Mooka [model] filter access”).
When I first opened mine, I was surprised by how much dust had collected on the outer panel. I wiped it down with a microfiber cloth—no need to scrub. Just a quick pass to keep things clean.
Step 3: Remove the Old Filter
Now you’ll see the filter housing. It’s usually a white or gray rectangular box with a handle or tab. Here’s how to remove it:
- Grasp the handle or tab (often on the top or side).
- Gently pull straight out. Don’t yank it. The filter should slide out smoothly.
- If it’s stuck, wiggle it slightly from side to side. Avoid using force—this could damage the housing.
When I pulled out my old filter, a small cloud of dust puffed out. That’s normal! Just hold it away from your face and over the towel. I also took a photo of the old filter before removing it—helpful for remembering how it was positioned.
Step 4: Clean the Purifier Interior (Optional but Recommended)
While the filter’s out, take 2 minutes to clean the inside. Use a soft brush or microfiber cloth to wipe:
- The filter housing
- Any visible dust or debris
- The pre-filter screen (if your model has one)
I found a few pet hairs stuck in the pre-filter screen—easy to miss, but they reduce airflow. A quick brush made a noticeable difference in performance after I reinstalled the new filter.
Step 5: Install the New Filter
This is the easiest part—but attention to detail matters:
- Check the new filter’s airflow arrow. It must point toward the back of the purifier. (Yes, I’ve installed one backward before. Don’t be like me.)
- Align the filter with the housing. The handle should face outward.
- Slide it in smoothly. It should click or seat snugly—no gaps.
- Double-check the arrow direction once more. This ensures air flows through the filter correctly.
Pro tip: If your new filter has a plastic cover (common with carbon filters), remove it before installation. I once left the plastic on—my purifier ran for a week before I noticed the airflow was terrible. Rookie mistake!
Step 6: Reassemble and Reset
- Snap or slide the front/side panel back into place.
- Plug the purifier back in.
- Turn it on. If your model has a filter reset button, press and hold it for 3–5 seconds until the light turns green or off. This resets the timer.
I always run the purifier on high for 15 minutes after a filter change. It helps the new filter “settle in” and clears any loose particles.
Common Mistakes (And How to Avoid Them)
Installing the Filter Backward
It’s easy to do. The HEPA filter has an airflow arrow for a reason. If it’s pointing the wrong way, air bypasses the filter. Your purifier will sound louder but clean less effectively. Always check the arrow. I keep a sticky note on my purifier: “Arrow → Back.”
Using Non-Genuine Filters
Third-party filters might seem like a bargain, but they often:
- Don’t seal properly (letting unfiltered air through)
- Have weaker HEPA or carbon layers
- Don’t trigger the reset button correctly
I tested a “budget” filter once. My allergies flared up within a day. Genuine Mooka filters use true HEPA (H13) and high-quality activated carbon. Stick with the original.
Forgetting to Reset the Filter Timer
Many Mooka models have a built-in timer. If you don’t reset it, the indicator light will still turn red in 6 months—even if you just changed the filter. To reset:
- Press and hold the “Filter Reset” button (usually for 3–5 seconds)
- Wait for the light to change (green, off, or a chime)
I set a phone reminder to reset the timer after every filter change. No more false alarms!
Ignoring the Pre-Filter
Some Mooka models (like the KJ800F) have a washable pre-filter. It catches large particles like pet hair and dust. Wash it every 2–4 weeks with water and let it dry completely before reinstalling. A clogged pre-filter forces the main filter to work harder, shortening its life.
Data Table: Mooka Air Purifier Filter Replacement Guide
| Model | Filter Type | Replacement Frequency | Reset Button? | Washable Pre-Filter? |
|---|---|---|---|---|
| KJ800F | True HEPA + Activated Carbon | 6–12 months | Yes | Yes |
| KJ720F | True HEPA + Activated Carbon | 6–12 months | Yes | Yes |
| KJ500F | True HEPA + Activated Carbon | 6–12 months | No | No |
| KJ420F | True HEPA + Activated Carbon | 6–12 months | Yes | No |
| KJ300F | True HEPA + Activated Carbon | 6–12 months | No | No |
Note: Frequency varies based on usage and environment. Check your user manual for model-specific details.
Final Thoughts: Breathe Easy, Stay Consistent
Changing your Mooka air purifier filter isn’t just a chore—it’s an investment in your home’s air quality and your well-being. I’ve seen how a simple filter swap can turn a stale, stuffy room into a breath of fresh air (literally). And in 2026, with wildfire smoke, urban pollution, and indoor allergens on the rise, keeping your purifier in top shape is more important than ever.
Remember: Changing a Mooka air purifier filter takes less than 10 minutes, costs around $30–$40 per filter, and can make a huge difference. You don’t need to be handy or tech-savvy. Just follow the steps, stay consistent, and don’t ignore the signs. Set a reminder, buy genuine filters, and give your purifier the care it deserves.
After all, every breath you take at home should be clean, fresh, and free of dust, odors, and allergens. Your lungs—and Mr. Whiskers—will thank you.
Frequently Asked Questions
How do I know when to change my Mooka air purifier filter?
Mooka air purifiers typically have a filter replacement indicator light that alerts you when it’s time to change the filter. If your model doesn’t have this feature, check the filter every 6–12 months for visible dirt or reduced airflow. Regularly replacing the filter ensures optimal performance.
How to change Mooka air purifier filter without damaging the device?
To safely change the Mooka air purifier filter, first power off and unplug the unit. Gently remove the front cover, take out the old filter, and insert the new one with the airflow arrow pointing inward—avoid forcing parts to prevent damage.
Where can I buy a replacement filter for my Mooka air purifier?
Replacement filters for Mooka air purifiers are available on Amazon, the official Mooka website, or home improvement stores. Always check the model number (e.g., Mooka EPI810) to ensure compatibility before purchasing.
Can I wash and reuse my Mooka air purifier filter?
No, Mooka air purifier filters are not washable—they use HEPA and carbon materials designed for one-time use. Washing can damage the filter media and reduce effectiveness. Replace it with a new one for clean air.
How long does it take to replace a Mooka air purifier filter?
Changing a Mooka air purifier filter takes less than 5 minutes. Simply remove the cover, swap the old filter for a new one, and snap the cover back in place—no tools required.
Is changing the Mooka air purifier filter the same for all models?
While the basic steps to change a Mooka air purifier filter are similar, filter size and access may vary slightly by model (e.g., EPI810 vs. EPI180). Always consult your user manual for model-specific instructions.