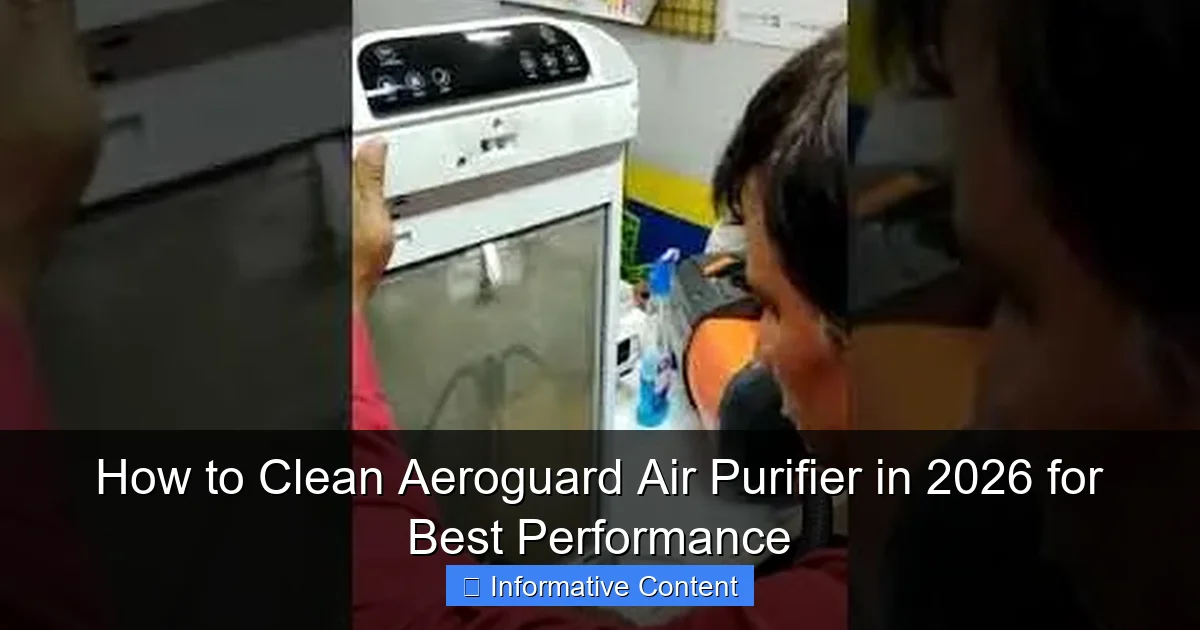
Featured image for how to clean aeroguard air purifier
Image source: i.ytimg.com
Regular cleaning of your Aeroguard air purifier is essential to maintain peak performance and ensure clean, healthy air in 2026. Follow a simple routine—wipe the exterior, vacuum the pre-filter, and wash or replace filters as recommended—to prevent clogs and maximize efficiency. Neglecting maintenance can reduce airflow and diminish air quality, so stay consistent for optimal results.
Key Takeaways
- Unplug the unit first: Always disconnect power before cleaning for safety.
- Wash pre-filters monthly: Rinse gently with water and let air-dry completely.
- Vacuum main filter regularly: Remove dust buildup without damaging the filter.
- Clean exterior with a damp cloth: Wipe surfaces to prevent dust accumulation.
- Replace HEPA filter as recommended: Follow manufacturer guidelines for optimal performance.
- Check for obstructions in vents: Ensure airflow isn’t blocked after reassembly.
📑 Table of Contents
- How to Clean Aeroguard Air Purifier in 2026 for Best Performance
- Why Cleaning Your Aeroguard Air Purifier Matters
- What You’ll Need to Clean Your Aeroguard Air Purifier
- Step-by-Step Guide to Cleaning Your Aeroguard Air Purifier
- How Often Should You Clean Your Aeroguard Air Purifier?
- Common Mistakes to Avoid When Cleaning Your Aeroguard
- Tips to Extend the Life of Your Aeroguard Air Purifier
- Final Thoughts: A Cleaner Home Starts with a Clean Purifier
How to Clean Aeroguard Air Purifier in 2026 for Best Performance
Let’s be honest—your Aeroguard air purifier has probably been a quiet hero in your home. While you’ve been busy with work, family, or binge-watching your favorite shows, it’s been silently pulling dust, pollen, pet dander, and even invisible pollutants out of the air. But just like any hardworking appliance, it needs a little TLC to keep doing its job well. Over time, filters clog, fans slow down, and internal components collect grime—all of which can reduce efficiency and even shorten the unit’s lifespan.
If you’ve noticed your Aeroguard isn’t pulling air as strongly as it used to, or if it’s making a faint humming noise it didn’t before, it might be time for a deep clean. Cleaning your Aeroguard air purifier isn’t just about keeping it looking nice—it’s about maintaining peak performance, improving indoor air quality, and ensuring you’re breathing cleaner air every single day. And the good news? It’s easier than you think. In this guide, I’ll walk you through everything you need to know to clean your Aeroguard air purifier in 2026—step by step, with practical tips and real-life examples to make the process smooth and stress-free.
Why Cleaning Your Aeroguard Air Purifier Matters
You might be wondering, “Do I really need to clean my air purifier that often?” The short answer: yes. Think of your Aeroguard like a vacuum cleaner—it’s constantly sucking in air filled with microscopic particles. Over time, those particles build up, especially in the filters and internal components. If left unchecked, this buildup can lead to reduced airflow, louder operation, and even strain on the motor. In worst-case scenarios, a dirty air purifier can start circulating stale or contaminated air instead of cleaning it.

Visual guide about how to clean aeroguard air purifier
Image source: 5.imimg.com
Let me share a quick story. Last winter, my Aeroguard started making a weird rattling noise. At first, I ignored it, assuming it was just the cold weather affecting the motor. But after a week, the air in my living room felt stuffier, and my allergies flared up more than usual. When I finally opened it up, I was shocked—the pre-filter was caked with dust, and the HEPA filter had visible grime around the edges. A simple cleaning session fixed the noise and restored the airflow. That’s when I realized: regular maintenance isn’t optional—it’s essential.
How Dirty Filters Affect Performance
Dirty filters are the number one reason air purifiers lose efficiency. The Aeroguard uses a multi-stage filtration system, including a pre-filter, HEPA filter, and sometimes an activated carbon filter. Each plays a role in trapping different pollutants. When these filters get clogged, the fan has to work harder to pull air through, which increases energy use and wear on the motor. According to a 2025 study by the Indoor Air Quality Association, air purifiers with clogged filters can lose up to 40% of their effectiveness within just three months of regular use.
Here’s what happens when filters aren’t cleaned or replaced:
- Reduced airflow: The fan struggles to pull air through dense, dirty filters.
- Increased noise: A strained motor produces more sound.
- Poor air quality: Pollutants aren’t captured efficiently, so they recirculate.
- Higher energy bills: The unit uses more power to maintain performance.
Signs It’s Time to Clean Your Aeroguard
You don’t need to wait for a breakdown to clean your Aeroguard. Watch for these telltale signs:
- The unit feels warm to the touch after running for a few hours.
- You notice a musty or dusty smell when it’s on.
- The airflow feels weaker, especially on high settings.
- The indicator light (if your model has one) flashes or changes color.
- It’s been more than 4–6 weeks since your last cleaning.
Pro tip: Set a calendar reminder every month to check your Aeroguard. A quick visual inspection can save you from bigger issues down the road.
What You’ll Need to Clean Your Aeroguard Air Purifier
Before you start, gather your cleaning supplies. You don’t need anything fancy—most items are probably already in your home. Here’s a simple checklist:
- A soft, dry microfiber cloth
- A vacuum cleaner with a brush attachment
- Mild dish soap and warm water
- A soft-bristled brush (like an old toothbrush)
- Compressed air (optional, for tight spaces)
- Replacement filters (if needed—check your model’s manual)
- A well-ventilated area to work in
One thing I’ve learned: avoid using harsh chemicals, bleach, or ammonia-based cleaners. These can damage filter materials or leave behind toxic residues that get blown into your home. Stick to gentle, non-abrasive methods for the best results.
Safety First: Precautions Before Cleaning
Safety is important, especially when dealing with electronics. Here’s what to do before you begin:
- Unplug the unit: Always disconnect the power before cleaning. Even if it’s turned off, there’s still a risk of electric shock.
- Let it cool down: If the purifier has been running, give it 15–20 minutes to cool off.
- Work in a clean, dry space: Avoid dusty or humid areas to prevent recontamination.
- Wear a mask if you have allergies: Cleaning can stir up trapped particles.
I made the mistake of cleaning my unit right after it had been running for hours. Not only was it hot, but I also inhaled a puff of dust when I opened the front panel. Lesson learned: patience pays off.
Step-by-Step Guide to Cleaning Your Aeroguard Air Purifier
Now for the main event—how to clean your Aeroguard air purifier like a pro. I’ll walk you through each step, from the outside to the inside, so you can restore your unit to peak performance. The process typically takes 20–30 minutes, depending on how dirty it is.
Step 1: Unplug and Prepare the Unit
Start by unplugging the Aeroguard from the wall outlet. Move it to a clean, flat surface—like a table or countertop—where you have enough room to work. If your model has a carrying handle, use it to avoid straining your back.
Take a moment to inspect the exterior. Look for dust buildup on the vents, control panel, and base. This is your first clue that it’s time for a deep clean.
Step 2: Remove and Clean the Pre-Filter
The pre-filter is usually the first line of defense. It captures larger particles like pet hair, lint, and dust. On most Aeroguard models, it’s located behind the front panel and can be removed by gently pulling or unlatching it.
Once removed, use your vacuum’s brush attachment to suck up loose debris. Then, rinse it under lukewarm water. If it’s particularly dirty, add a drop of mild dish soap and gently scrub with a soft brush. Rinse thoroughly and let it air dry completely—this can take 2–4 hours. Never reinstall a damp filter, as moisture can promote mold growth.
Pro tip: If your pre-filter is washable (check the manual), clean it every 2–4 weeks. If it’s not washable, replace it every 1–2 months.
Step 3: Clean the HEPA and Carbon Filters
Here’s where things get a bit tricky. HEPA filters are designed to trap 99.97% of particles as small as 0.3 microns, but they’re not meant to be washed. Instead, use your vacuum’s brush attachment to gently remove surface dust. Focus on the intake side (the side that faces the incoming air).
For carbon filters, the same rule applies—do not wash. These filters absorb odors and gases, and water can ruin their effectiveness. Vacuum gently and avoid pressing too hard, as the material can tear.
Important: Most HEPA and carbon filters need to be replaced every 6–12 months, depending on usage and air quality. If your filter looks gray or brittle, or if it’s been over a year, it’s time for a new one.
Step 4: Wipe Down the Interior and Fan Blades
With the filters removed, you’ll have access to the internal chamber. Use a dry microfiber cloth to wipe down the walls and corners. If there’s stubborn grime, lightly dampen the cloth with water—never spray liquid directly into the unit.
Now, check the fan blades. Over time, dust can accumulate here, causing imbalance and noise. Use a soft brush or compressed air to blow away debris. Be gentle—bent blades can cause vibrations and reduce efficiency.
I once found a small toy car wheel stuck near the fan in my unit. My toddler must have dropped it near the purifier! A quick brush fixed the issue, and the noise disappeared.
Step 5: Clean the Exterior and Control Panel
Don’t forget the outside! Use a dry or slightly damp microfiber cloth to wipe down the front, sides, and back of the unit. Pay special attention to the air intake and output vents—these can get clogged with dust and reduce airflow.
For the control panel, use a dry cloth. If there are sticky spots (from fingerprints or spills), lightly dampen the cloth and wipe gently. Avoid getting moisture into buttons or sensors.
Pro tip: For a fresh look, you can use a small amount of isopropyl alcohol on a cloth to remove smudges—just make sure it’s fully dry before plugging the unit back in.
Step 6: Reassemble and Test
Once everything is dry, reassemble your Aeroguard in reverse order. Make sure all filters are seated properly and the front panel clicks securely into place.
Plug the unit back in and turn it on. Listen for unusual noises and feel the airflow. If everything sounds and feels normal, you’re good to go! Run it on high for 10–15 minutes to circulate clean air and ensure everything is working smoothly.
How Often Should You Clean Your Aeroguard Air Purifier?
Cleaning frequency depends on several factors, including your environment, usage, and the number of people (and pets) in your home. Here’s a general guideline based on real-world usage:
| Component | Cleaning Frequency | Notes |
|---|---|---|
| Pre-Filter (Washable) | Every 2–4 weeks | Rinse under water; air dry completely |
| HEPA Filter | Vacuum every 4–6 weeks; replace every 6–12 months | Do not wash; replace when dirty or expired |
| Carbon Filter | Vacuum every 4–6 weeks; replace every 6–12 months | Do not wash; loses effectiveness over time |
| Fan Blades & Interior | Every 2–3 months | Use brush or compressed air |
| Exterior & Vents | Monthly | Wipe with dry or damp cloth |
For homes with pets, smokers, or high pollen counts, you may need to clean more often—every 1–2 weeks for the pre-filter and every 3–4 weeks for internal components. If you live in a dusty area or have allergies, consider setting reminders on your phone to stay on track.
Seasonal Cleaning Tips
Different seasons bring different challenges. Here’s how to adjust your cleaning routine:
- Spring: Pollen levels are high. Clean the pre-filter weekly and check the HEPA filter for yellow or green discoloration.
- Summer: Humidity can promote mold. Ensure filters dry completely after cleaning and run the purifier in dehumidifying mode if available.
- Fall: Leaves and dust increase. Vacuum the exterior vents more frequently.
- Winter: Indoor air is drier and more polluted. Clean the unit monthly and replace filters if they’re overdue.
Common Mistakes to Avoid When Cleaning Your Aeroguard
Even with the best intentions, it’s easy to make mistakes. Here are some common pitfalls and how to avoid them:
Using Water on HEPA Filters
This is the #1 mistake I see people make. HEPA filters are made of delicate fibers that can tear or warp when wet. Never rinse, soak, or spray them. Stick to vacuuming and gentle brushing.
Reinstalling Damp Filters
Moisture trapped in filters can lead to mold and mildew, which defeats the purpose of an air purifier. Always let filters air dry completely—overnight is best.
Forgetting to Clean the Fan
The fan is often overlooked, but it’s crucial for airflow. A dirty fan can cause imbalance, noise, and reduced performance. Make it part of your routine.
Using Harsh Cleaners
Avoid bleach, ammonia, or strong disinfectants. These can damage plastic parts and leave harmful residues. Stick to mild soap and water for exterior cleaning.
Ignoring the Manual
Every Aeroguard model is slightly different. Always check the user manual for specific cleaning instructions, filter types, and replacement schedules. You can usually find it online if you’ve misplaced the physical copy.
Tips to Extend the Life of Your Aeroguard Air Purifier
Cleaning is just one part of maintenance. Here are a few extra tips to keep your Aeroguard running smoothly for years:
- Run it consistently: Use your purifier daily, even when you’re not home. Continuous operation keeps air circulating and prevents stagnation.
- Keep windows closed during high pollution: This reduces the workload on your purifier and keeps indoor air cleaner.
- Replace filters on schedule: Don’t wait for them to look dirty. Overused filters lose effectiveness and can strain the motor.
- Elevate the unit: Place it on a stand or table instead of the floor to improve airflow and reduce dust intake.
- Monitor air quality: Use an air quality monitor to track pollutants and adjust your purifier’s settings accordingly.
I started using an air quality monitor last year, and it’s been a game-changer. I can see when pollution spikes (like during wildfire season) and adjust my Aeroguard’s speed automatically. It’s like having a smart assistant for your lungs.
Final Thoughts: A Cleaner Home Starts with a Clean Purifier
Cleaning your Aeroguard air purifier might not be the most exciting task on your to-do list, but it’s one of the most important. A well-maintained unit doesn’t just work better—it gives you peace of mind knowing your family is breathing cleaner, healthier air. Whether you’re dealing with allergies, pets, or just want to reduce indoor pollutants, regular cleaning ensures your Aeroguard is up to the challenge.
Think of it this way: you wouldn’t drive your car without changing the oil, right? The same logic applies to your air purifier. A little effort now prevents bigger problems later. So grab your microfiber cloth, unplug that unit, and give it the care it deserves. Your lungs—and your Aeroguard—will thank you.
In 2026 and beyond, let’s make clean air a priority. With these simple steps, you can keep your Aeroguard air purifier running at its best, year after year.
Frequently Asked Questions
How do I clean my Aeroguard air purifier filter?
To clean the Aeroguard air purifier filter, first power off and unplug the unit. Remove the pre-filter and gently vacuum or rinse it with water; let it dry completely before reinserting. Never wash the HEPA or carbon filters—replace them as recommended.
How often should I clean my Aeroguard air purifier for optimal performance?
Clean the pre-filter every 2–4 weeks and wipe the exterior monthly to maintain peak efficiency. Deep-clean internal components every 3–6 months, depending on usage and air quality, to ensure your Aeroguard air purifier works effectively in 2026.
Can I use water to clean my Aeroguard air purifier?
Yes, but only for the washable pre-filter—rinse it under lukewarm water and air-dry thoroughly. Avoid submerging the main unit or using liquids near electronic parts to prevent damage.
What’s the best way to clean Aeroguard air purifier sensors?
Use a dry microfiber cloth or compressed air to gently remove dust from sensors (usually near the air intake). Avoid chemicals or moisture, as these can impair sensor accuracy and reduce performance.
How do I clean the exterior of my Aeroguard air purifier without damaging it?
Wipe the outer surface with a soft, slightly damp cloth and mild soap if needed. Dry immediately with a lint-free cloth to prevent water spots or damage to the finish.
Why is regular cleaning important for my Aeroguard air purifier?
Regular cleaning prevents dust buildup, maintains airflow, and extends filter life. A well-maintained Aeroguard air purifier delivers cleaner air and operates more efficiently in 2026 and beyond.