Featured image for how to clean air purifier at home
Image source: i.pinimg.com
Regularly cleaning your air purifier is essential to maintain peak performance and extend its lifespan. Follow a simple routine: unplug the unit, vacuum or rinse the pre-filter, wipe down the exterior, and deep-clean or replace the HEPA and carbon filters as recommended by the manufacturer. Neglecting maintenance can reduce efficiency and worsen indoor air quality over time.
“`html
How to Clean Air Purifier at Home 2026 Guide
Key Takeaways
- Unplug first: Always disconnect power before cleaning for safety.
- Wipe exterior weekly: Use a damp cloth to remove dust and debris.
- Replace filters timely: Follow manufacturer schedule to maintain efficiency.
- Vacuum pre-filters: Remove large particles to extend filter lifespan.
- Clean fan blades: Use a soft brush to prevent airflow blockage.
- Sanitize water tanks: For humidifier models, use vinegar monthly.
- Check for mold: Inspect damp areas regularly to avoid contamination.
Why This Matters / Understanding the Problem
Let’s be honest—your air purifier works hard. It’s quietly pulling in dust, pet dander, pollen, and even invisible pollutants day after day. But what happens when it starts getting clogged up? Just like a vacuum with a full bag, an unclean air purifier loses its power. You might notice weaker airflow, louder noises, or even a musty smell. That’s your machine telling you it’s time for a deep clean.
Cleaning your air purifier isn’t just about maintenance—it’s about performance. A dirty filter can’t trap new particles effectively, and over time, that buildup can even become a breeding ground for mold or bacteria. Plus, a well-maintained unit uses less energy and lasts longer. So if you’ve been wondering how to clean air purifier at home 2026 guide, you’re not just saving money—you’re breathing easier too.
I learned this the hard way. Last winter, my allergies spiked even though I had an air purifier running 24/7. Turns out, I hadn’t cleaned the pre-filter in over six months. Once I gave it a proper scrub, the difference was night and day. My nose stopped itching, and the machine ran quieter. That’s when I realized: cleaning isn’t optional—it’s essential.
What You Need
Before we dive into the steps, let’s gather the basics. Most of these items are probably already in your cleaning cabinet. No need for fancy tools—just simple, effective supplies.
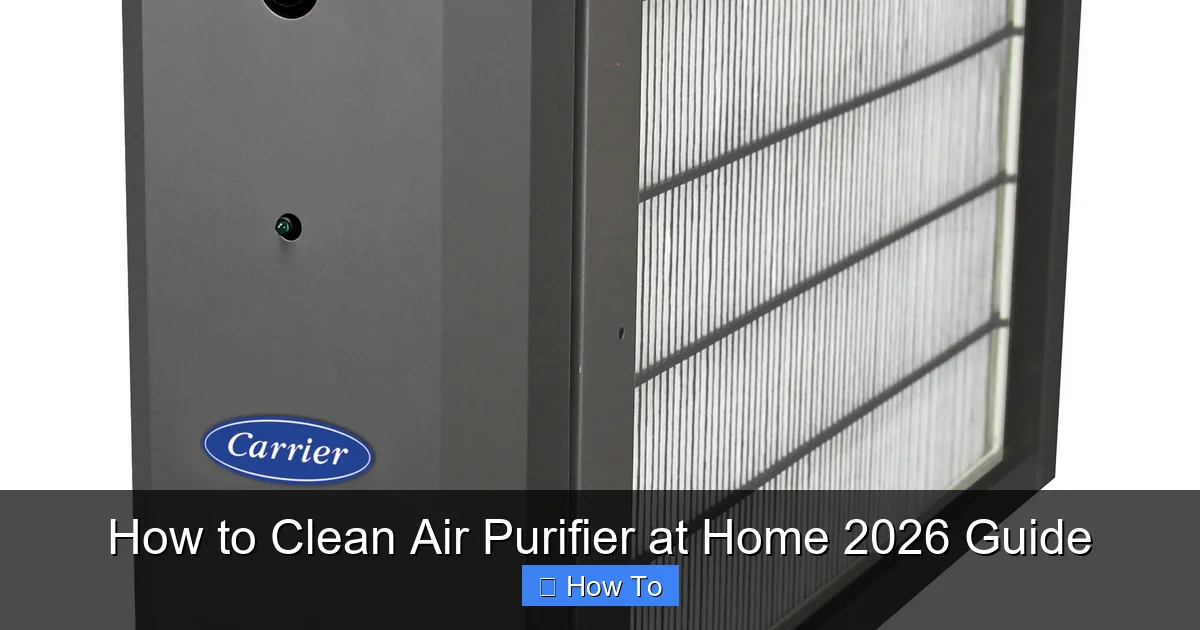
Visual guide about how to clean air purifier at home
Image source: wantheat.com
- Soft microfiber cloths – Great for wiping down surfaces without scratching.
- Mild dish soap – Gentle enough for filters and housing, tough on grime.
- White vinegar – A natural disinfectant that cuts through odors and mineral buildup.
- Vacuum with brush attachment – Perfect for loosening dust from vents and filters.
- Compressed air (optional) – Helpful for tight spots or electronic components.
- Replacement filters (if needed) – Check your manual—some filters aren’t washable.
- Warm water – Always use lukewarm, never hot, to avoid warping parts.
Pro tip: Always unplug your air purifier before cleaning. Safety first! And if your model has a HEPA or carbon filter, double-check whether it’s washable. Most HEPA filters aren’t—so you’ll only vacuum them, not rinse them.
Step-by-Step Guide to How to Clean Air Purifier at Home 2026 Guide
Step 1: Turn Off and Unplug the Unit
Before touching anything, make sure your air purifier is completely powered down and unplugged from the wall. This isn’t just about avoiding shocks—it protects the internal electronics from accidental damage during cleaning. I once forgot this step and accidentally triggered the power button while wiping the control panel. The sudden restart startled me (and probably shaved a year off the motor’s life).
Take a moment to move the unit to a well-lit, dry area—like a kitchen counter or table. You’ll want space to lay out parts and avoid water near electrical outlets.
Step 2: Remove and Inspect the Filters
Open the front or side panel (refer to your user manual if you’re unsure). Most models have a latch or sliding mechanism. Carefully pull out each filter layer. You’ll likely see:
- A pre-filter (usually foam or mesh) that catches large particles.
- A HEPA filter (white, pleated paper) that traps tiny allergens.
- Sometimes a carbon filter (dark, granular layer) for odors and gases.
Hold each filter up to the light. If the pre-filter looks gray or fuzzy, it’s definitely time for a clean. The HEPA filter should still look mostly white—if it’s dark or smells musty, it’s time to replace it (not clean it).
Step 3: Vacuum the Pre-Filter and Housing
Use your vacuum’s brush attachment to gently remove loose dust from the pre-filter. Don’t press too hard—you’re loosening debris, not compressing it. Then, vacuum inside the unit’s housing, especially around the intake vents and fan blades. Dust loves to hide in corners!
If you have compressed air, give the fan blades a quick blast (hold the can upright to avoid moisture). This helps dislodge stubborn particles without disassembling the motor.
Step 4: Wash the Washable Pre-Filter
If your pre-filter is labeled “washable” (common in models like Levoit or Winix), rinse it under lukewarm water. Add a drop of mild dish soap and gently rub it between your fingers. Avoid scrubbing—you don’t want to tear the mesh.
For extra sanitizing, soak it in a mix of 1 part white vinegar and 3 parts water for 10–15 minutes. Vinegar kills mold and neutralizes odors naturally. Rinse thoroughly and let it air-dry completely—never reinstall a damp filter. Moisture can lead to mold growth inside the unit.
Step 5: Wipe Down the Exterior and Interior Surfaces
Dampen a microfiber cloth with water (or a 50/50 vinegar-water solution) and wipe the outside of the purifier. Pay attention to the control panel—use a barely damp cloth here to avoid liquid seeping into buttons.
Inside, wipe down any accessible surfaces with the same cloth. If there’s sticky residue (maybe from a spilled drink?), a tiny bit of dish soap on the cloth will do the trick. Just don’t let water drip into the motor or electrical components.
Step 6: Check and Clean the Fan and Vents
Use a dry toothbrush or soft brush to clean around the fan blades and air vents. Dust builds up here fast, especially if you live in a dry or dusty climate. Be gentle—bent fan blades can cause imbalance and noise.
If your model allows access to the fan housing (some don’t), you can use compressed air to blow out debris. Otherwise, a handheld vacuum with a narrow nozzle works well.
Step 7: Reassemble and Test
Once everything is dry (especially the pre-filter!), carefully reinstall each component in reverse order. Make sure filters are seated properly—misaligned filters can cause air leaks and reduce efficiency.
Plug the unit back in and turn it on. Listen for unusual noises or vibrations. If it runs smoothly and airflow feels strong, you’re good to go! Run it on high for 10–15 minutes to circulate fresh air and ensure everything’s working.
Pro Tips & Common Mistakes to Avoid
Over the years, I’ve made my share of mistakes—and learned some golden rules along the way.
Pro Tip: Clean your pre-filter every 2–4 weeks if you have pets or allergies. For lighter use, once a month is fine. Set a phone reminder—it’s easy to forget!
Warning: Never soak a HEPA filter. These are delicate paper-based filters designed to be replaced, not washed. Water ruins their structure and voids warranties.
A common mistake? Using harsh chemicals like bleach or ammonia. These can degrade filter materials and leave toxic residues. Stick to mild soap and vinegar—they’re safe and effective.
Another pitfall: rushing the drying process. I once reinstalled a slightly damp pre-filter because I was in a hurry. Two days later, I noticed a faint mildew smell. Lesson learned: patience pays off.
Also, don’t ignore the user manual. Every model is different. Some have UV-C lights that need occasional wiping, while others have washable ionizers. Your manual is your best friend when following the how to clean air purifier at home 2026 guide for your specific unit.
FAQs About How to Clean Air Purifier at Home 2026 Guide
Q: How often should I clean my air purifier?
A: It depends! If you have pets, smoke, or live in a dusty area, clean the pre-filter every 2–3 weeks. Otherwise, monthly is usually enough. Replace HEPA filters every 6–12 months, depending on usage.
Q: Can I use a hairdryer to dry the filter faster?
A: Nope! Heat can warp or damage filter materials. Always air-dry filters at room temperature. It might take a few hours, but it’s worth the wait.
Q: My air purifier still smells bad after cleaning. What now?
A: That could mean mold inside the unit or a saturated carbon filter. Try wiping the interior with vinegar, and consider replacing the carbon filter if it’s old. If the smell persists, contact the manufacturer—there might be an internal issue.
Q: Is it okay to run my air purifier without the pre-filter?
A: Never! The pre-filter protects the HEPA filter from large particles. Running without it overloads the main filter, shortening its lifespan and reducing efficiency.
Q: Do I need special tools to clean my air purifier?
A: Not at all. A vacuum, cloth, soap, and vinegar are all you need. Avoid abrasive sponges or steel wool—they can scratch surfaces and damage filters.
Q: Can cleaning improve my air purifier’s performance?
A: Absolutely! A clean unit pulls in more air, traps more pollutants, and uses less energy. Many users notice better airflow and quieter operation after a thorough clean.
Q: What if my model doesn’t have a washable pre-filter?
A: That’s common with budget models. In that case, just vacuum it regularly and replace it as recommended (usually every 3–6 months). Check your manual for specifics.
Final Thoughts
Cleaning your air purifier might not be the most exciting chore, but it’s one of the simplest ways to protect your health and your investment. Think of it like changing the oil in your car—small effort, big payoff. By following this how to clean air purifier at home 2026 guide, you’ll keep your machine running efficiently, your air fresher, and your allergies at bay.
Start today: unplug your unit, grab a cloth, and give it some love. Your lungs (and your wallet) will thank you. And if you’ve got a tip or trick that’s worked for you, share it in the comments—I’m always learning from fellow clean-air enthusiasts!
“`