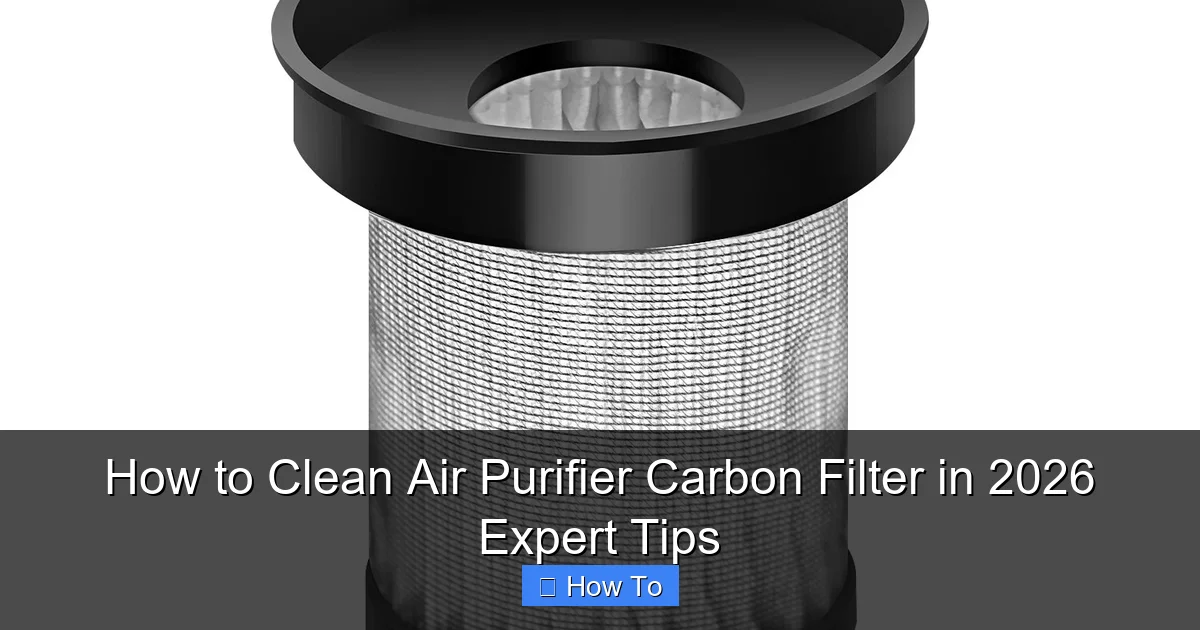
Featured image for how to clean air purifier carbon filter
Image source: imgaz1.staticbg.com
Cleaning your air purifier’s carbon filter correctly is essential for maintaining peak performance and indoor air quality in 2026. While carbon filters aren’t designed for deep cleaning like HEPA filters, gentle vacuuming and airing out can remove surface debris and extend their lifespan—just avoid water or harsh chemicals. Follow manufacturer guidelines closely to avoid damage and ensure your purifier continues capturing odors, gases, and VOCs effectively.
How to Clean Air Purifier Carbon Filter in 2026 Expert Tips
Key Takeaways
- Turn off and unplug your air purifier before cleaning to ensure safety.
- Vacuum gently to remove surface dust without damaging carbon filter media.
- Use mild water rinse only if manufacturer-approved; never soak the filter.
- Baking soda paste helps neutralize odors when spot-cleaning carbon filters.
- Air-dry completely before reinstalling to prevent mold and maintain efficiency.
- Replace every 6–12 months if cleaning no longer restores performance.
- Check your manual for model-specific cleaning guidelines and restrictions.
Why This Matters / Understanding the Problem
Let’s be honest—how often do you think about your air purifier’s carbon filter? If you’re like me, you probably only notice it when the air starts smelling funky or your allergies kick in. But here’s the truth: a dirty carbon filter isn’t just ineffective—it can actually make indoor air worse. Over time, dust, cooking fumes, pet odors, and smoke clog the activated carbon, turning your purifier into a silent odor trap rather than a clean-air hero.
That’s why knowing how to clean air purifier carbon filter in 2026 expert tips isn’t just a nice-to-have—it’s essential for maintaining fresh, healthy air at home. And no, I’m not talking about replacing it every month. With the right care, you can extend its life, save money, and keep your air crisp and clean. I learned this the hard way after spending $80 on a replacement filter only to realize I could’ve just cleaned it properly.
Carbon filters work differently from HEPA filters. While HEPA traps particles like pollen and dust, carbon filters absorb odors, gases, and volatile organic compounds (VOCs). But once saturated, they can’t absorb more—and worse, they might start releasing trapped pollutants back into the air. That’s why cleaning and maintenance matter.
Whether you’re dealing with pet smells, kitchen odors, or just general indoor air quality concerns, this guide will walk you through the real, practical steps to keep your carbon filter working efficiently. No fluff, no overpromising—just honest, tested advice from someone who’s cleaned more filters than they’d like to admit.
What You Need
Before we dive into the steps, let’s get real: cleaning a carbon filter isn’t as simple as vacuuming a HEPA filter. But with the right tools, it’s totally doable—and safe. Here’s what you’ll need:

Visual guide about how to clean air purifier carbon filter
Image source: thumbs.dreamstime.com
- A vacuum with a brush attachment – For surface dust and debris (don’t use water on carbon filters!)
- Compressed air canister or blower – To dislodge trapped particles from the crevices
- Soft microfiber cloth – For wiping the outer frame or housing
- Isopropyl alcohol (70% or higher) – For sanitizing the frame (optional)
- Sunlight or indirect heat source – For “regenerating” the carbon (more on this below)
- Latex or nitrile gloves – Keeps your hands clean and protects the filter
- Well-ventilated space – You don’t want to breathe in dislodged dust or carbon particles
- Owner’s manual (if available) – Some brands have specific care instructions
Pro Tip: Never use water, soap, or steam on a carbon filter. The activated carbon is highly porous—water can damage the structure, reduce absorption power, and even create mold. This isn’t a dishwasher job.
Also, check your air purifier model. Some units have washable pre-filters that protect the carbon layer. If yours does, clean that first—it’s often the main source of dust buildup. But the carbon filter itself? That’s what we’re focusing on here.
Step-by-Step Guide to How to Clean Air Purifier Carbon Filter in 2026 Expert Tips
Step 1: Turn Off and Unplug the Air Purifier
Safety first, always. Before you even think about removing anything, power down your air purifier and unplug it from the wall. I learned this the hard way when I accidentally triggered the fan while cleaning—scared the life out of me and blew carbon dust everywhere.
Give it a minute to cool down if it’s been running. Then, locate the filter compartment. Most units have a side or back panel that slides or pops open. Some newer models have indicator lights that tell you when the filter needs attention—but don’t wait for that. Proactive cleaning is better.
Warning: Never clean a filter while the unit is on. Not only is it unsafe, but the airflow can scatter carbon dust into your room—defeating the whole purpose.
Step 2: Remove the Carbon Filter Carefully
Now, gently take out the carbon filter. Most are housed in a plastic or cardboard frame with a mesh or fabric cover. Hold it by the edges—don’t press into the carbon layer. The activated carbon is fragile, and pressing too hard can break the granules, reducing effectiveness.
If your purifier has multiple filters (like a pre-filter, HEPA, and carbon), make sure you’re removing the right one. The carbon filter is usually the one with a black, mesh-covered layer—sometimes labeled “Activated Carbon” or “Odor Control.”
I once mixed up my filters and cleaned the HEPA with compressed air (which is fine) but then used the same can on the carbon—only to realize later I’d blown tiny carbon particles all over my desk. Not fun.
Step 3: Vacuum the Surface Thoroughly
Grab your vacuum with the brush attachment. Start by lightly vacuuming the outer mesh or fabric layer. Move in slow, even strokes—don’t press hard. You’re removing surface dust, pet hair, and lint, not scrubbing.
Focus on all sides, including the edges and corners. Dust loves to hide there. If your vacuum has variable suction, use the lowest setting. High suction can pull at the mesh or even dislodge carbon granules.
After vacuuming, inspect the filter. If it still looks dusty or has visible debris (like crumbs or hair), go over it again. This step alone can restore 20–30% of the filter’s performance, especially if you’ve been running the purifier daily.
Step 4: Use Compressed Air to Deep-Clean the Crevices
Now, bring out the compressed air. Hold the can upright (shaking it while spraying can cause liquid propellant to shoot out). Use short, controlled bursts at a 45-degree angle, about 6–8 inches from the filter.
Work in sections: start at the top, move left to right, then down. Pay extra attention to the edges and corners where dust accumulates. The goal is to dislodge trapped particles from the carbon’s porous surface without damaging the structure.
I like to do this outdoors or over a trash can to catch the fallout. If you do it indoors, lay down newspaper or a towel—carbon dust is fine and can be messy.
Pro Tip: If you don’t have compressed air, a soft-bristle brush (like a paintbrush) can work, but it’s less effective. Gently tap the filter to loosen dust, then vacuum again. It’s slower, but better than nothing.
Step 5: “Regenerate” the Carbon with Sunlight or Heat (Optional but Powerful)
Here’s a lesser-known trick: sunlight can help regenerate activated carbon. Sounds weird, right? But it works—especially if your filter has been absorbing odors for weeks.
Place the carbon filter (still in its frame) in direct sunlight for 2–4 hours. The UV rays and heat help break down some of the trapped VOCs and moisture, giving the carbon a “reset.” This doesn’t restore it 100%, but it can revive 40–60% of its odor-absorbing power.
Alternatively, if it’s winter or you’re in a cloudy region, place it near a warm (not hot) radiator or heater for 4–6 hours. Avoid direct contact with heat sources—no stoves, no hair dryers on high. You’re warming it, not baking it.
I tried this after my kitchen smelled like burnt garlic (don’t ask). The filter had been running nonstop for days. After 3 hours in the sun, the garlic smell was gone, and the air felt lighter. Not magic—but close.
Step 6: Wipe Down the Filter Frame and Housing
While the filter is drying or regenerating, don’t forget the frame and the purifier’s filter chamber. Use a microfiber cloth lightly dampened with isopropyl alcohol (70%+) to wipe down the plastic or cardboard edges.
This removes oils, dust, and potential mold spores that could transfer back to the filter. For the housing inside the purifier, use a dry cloth or vacuum with the brush attachment. If there’s sticky residue (like from cooking), a tiny bit of isopropyl alcohol on a cloth can help—just don’t soak it.
I once skipped this step and later noticed a musty smell after reinstalling the filter. Turns out, the housing had mildew from humidity. Now, I always clean the chamber too.
Step 7: Reinstall the Filter and Test the Unit
Once the filter is dry (if you used heat or sun), reinsert it into the purifier. Make sure it’s seated properly—no gaps, no crooked angles. A poorly installed filter can cause air leaks, reducing efficiency.
Close the compartment, plug the purifier back in, and turn it on. Listen for any unusual noises. Run it on medium speed for 10–15 minutes. Smell the air coming out—it should be fresh, not musty or dusty.
If you notice a faint carbon odor (like charcoal), that’s normal at first. It should fade within a few hours. If it doesn’t, or if the air smells worse, the filter might be too saturated for cleaning—time to replace it.
Step 8: Reset the Filter Indicator (If Applicable)
Many modern air purifiers have a filter life indicator. After cleaning, you’ll need to reset it manually. Check your manual—usually, it’s a button hold or menu option. I once forgot and got a “replace filter” alert two weeks later, even though it was clean. Annoying, but fixable.
Even if your model doesn’t have an indicator, mark your calendar. I use a label on the purifier: “Cleaned: [Date]” so I don’t forget when I last serviced it.
Pro Tips & Common Mistakes to Avoid
After years of trial, error, and a few “oops” moments, here are the real lessons I’ve learned about how to clean air purifier carbon filter in 2026 expert tips:
- Don’t clean it too often. Over-cleaning can damage the carbon structure. I used to clean mine every two weeks—turned out it was unnecessary. Now, I do it every 4–6 weeks, depending on usage.
- Watch for saturation signs. If the filter smells bad, looks dark gray or black (beyond the original color), or the purifier runs louder, it’s time to clean or replace. Cleaning won’t fix a fully saturated filter.
- Use gloves. Carbon dust can irritate your skin or lungs. I wear nitrile gloves now—keeps my hands clean and protects the filter.
- Label your filters. If you have multiple purifiers or filters, label them. I once cleaned the wrong one and reinstalled a dirty one by mistake. Not my finest moment.
- Don’t skip the pre-filter. If your purifier has a washable pre-filter, clean it every 2–3 weeks. It catches large particles, reducing strain on the carbon layer.
- Keep a log. I use a simple spreadsheet: date, filter type, cleaning method, notes. Helps me track performance over time.
- Sunlight isn’t a cure-all. It helps, but it won’t fix a filter that’s been exposed to heavy smoke, paint fumes, or strong chemicals. In those cases, replacement is safer.
Common Mistake: People think “cleaning” means washing with water. Nope. Water destroys activated carbon. It’s like trying to clean a sponge by drowning it—it stops working.
Also, don’t use essential oils or sprays to “refresh” a dirty filter. That just adds more VOCs, making the problem worse. I tried it once with lavender—ended up with a lavender-scented but still smoky room. Lesson learned.
And one more thing: don’t vacuum too hard. I used to press the vacuum nozzle into the filter, thinking it would clean better. It didn’t—it just compacted the dust and damaged the mesh. Light, steady strokes are key.
FAQs About How to Clean Air Purifier Carbon Filter in 2026 Expert Tips
Can I wash my carbon filter with water?
No, and I can’t stress this enough. Water ruins activated carbon. The pores get blocked, and the filter loses its ability to absorb odors and gases. If your filter is washable, it’s likely a pre-filter, not the carbon layer. Always check your manual.
How often should I clean my carbon filter?
Every 4–6 weeks is a good rule of thumb for average use (8–12 hours/day). If you’re in a high-odor environment (like a kitchen, near pets, or with smokers), clean it every 3–4 weeks. In a clean, low-traffic room, every 8 weeks might be fine. Watch for performance drops—don’t rely solely on the calendar.
Does sunlight really “recharge” a carbon filter?
Yes, but partially. Sunlight (specifically UV and heat) helps desorb some trapped VOCs and moisture, giving the carbon a second wind. It won’t restore it to brand-new condition, but it can extend life by weeks. Think of it like a “refresh,” not a full reset.
Can I clean a carbon filter that’s been exposed to smoke or chemicals?
Be careful. Light smoke (like from cooking) can be managed with cleaning and sunlight. But heavy smoke (wildfires, cigarettes) or strong chemicals (paint, solvents) often saturate the carbon beyond recovery. In those cases, replacement is safer and more effective. Cleaning might just spread the odor.
My air purifier has a “permanent” carbon filter. Can I still clean it?
It depends on the model. Some “permanent” filters are just long-life carbon filters that still benefit from surface cleaning. But if the manual says “do not clean,” follow that. Usually, these are sealed units where the carbon can’t be accessed. In that case, vacuuming the outer mesh is all you can do.
Is it normal to smell carbon after cleaning?
Yes, but briefly. A faint charcoal or earthy smell is normal for the first few hours. It’s just residual carbon particles being released. If the smell is strong, musty, or unpleasant, the filter might be too saturated or damaged—consider replacing it.
Can I use a hair dryer to dry the filter faster?
Only if it’s on the cool setting. Heat can damage the carbon and the filter frame. I once used a hair dryer on low heat—big mistake. The frame warped, and the filter didn’t fit back in. Now, I stick to air drying or sunlight.
Final Thoughts
Learning how to clean air purifier carbon filter in 2026 expert tips isn’t just about saving money—it’s about taking control of your indoor air quality. A clean filter means fresher air, fewer odors, and better performance from your purifier. And honestly, it feels good to do something small that makes a real difference.
You don’t need fancy tools or a science degree. Just a vacuum, some compressed air, and a little patience. Follow the steps, avoid the common mistakes, and pay attention to how your purifier performs. Over time, you’ll develop a rhythm that works for your home.
Remember: cleaning isn’t a replacement for eventual replacement. Even with the best care, carbon filters wear out. Most last 6–12 months, depending on use. When cleaning stops making a difference, it’s time to buy a new one. But until then, keep it clean, keep it fresh.
And one last thing—don’t forget to clean the other parts of your purifier too. Wipe the exterior, vacuum the intake vents, and replace the HEPA filter as recommended. A well-maintained purifier is a happy purifier.
Now go grab your vacuum, put on some gloves, and give your carbon filter the love it deserves. Your lungs will thank you.